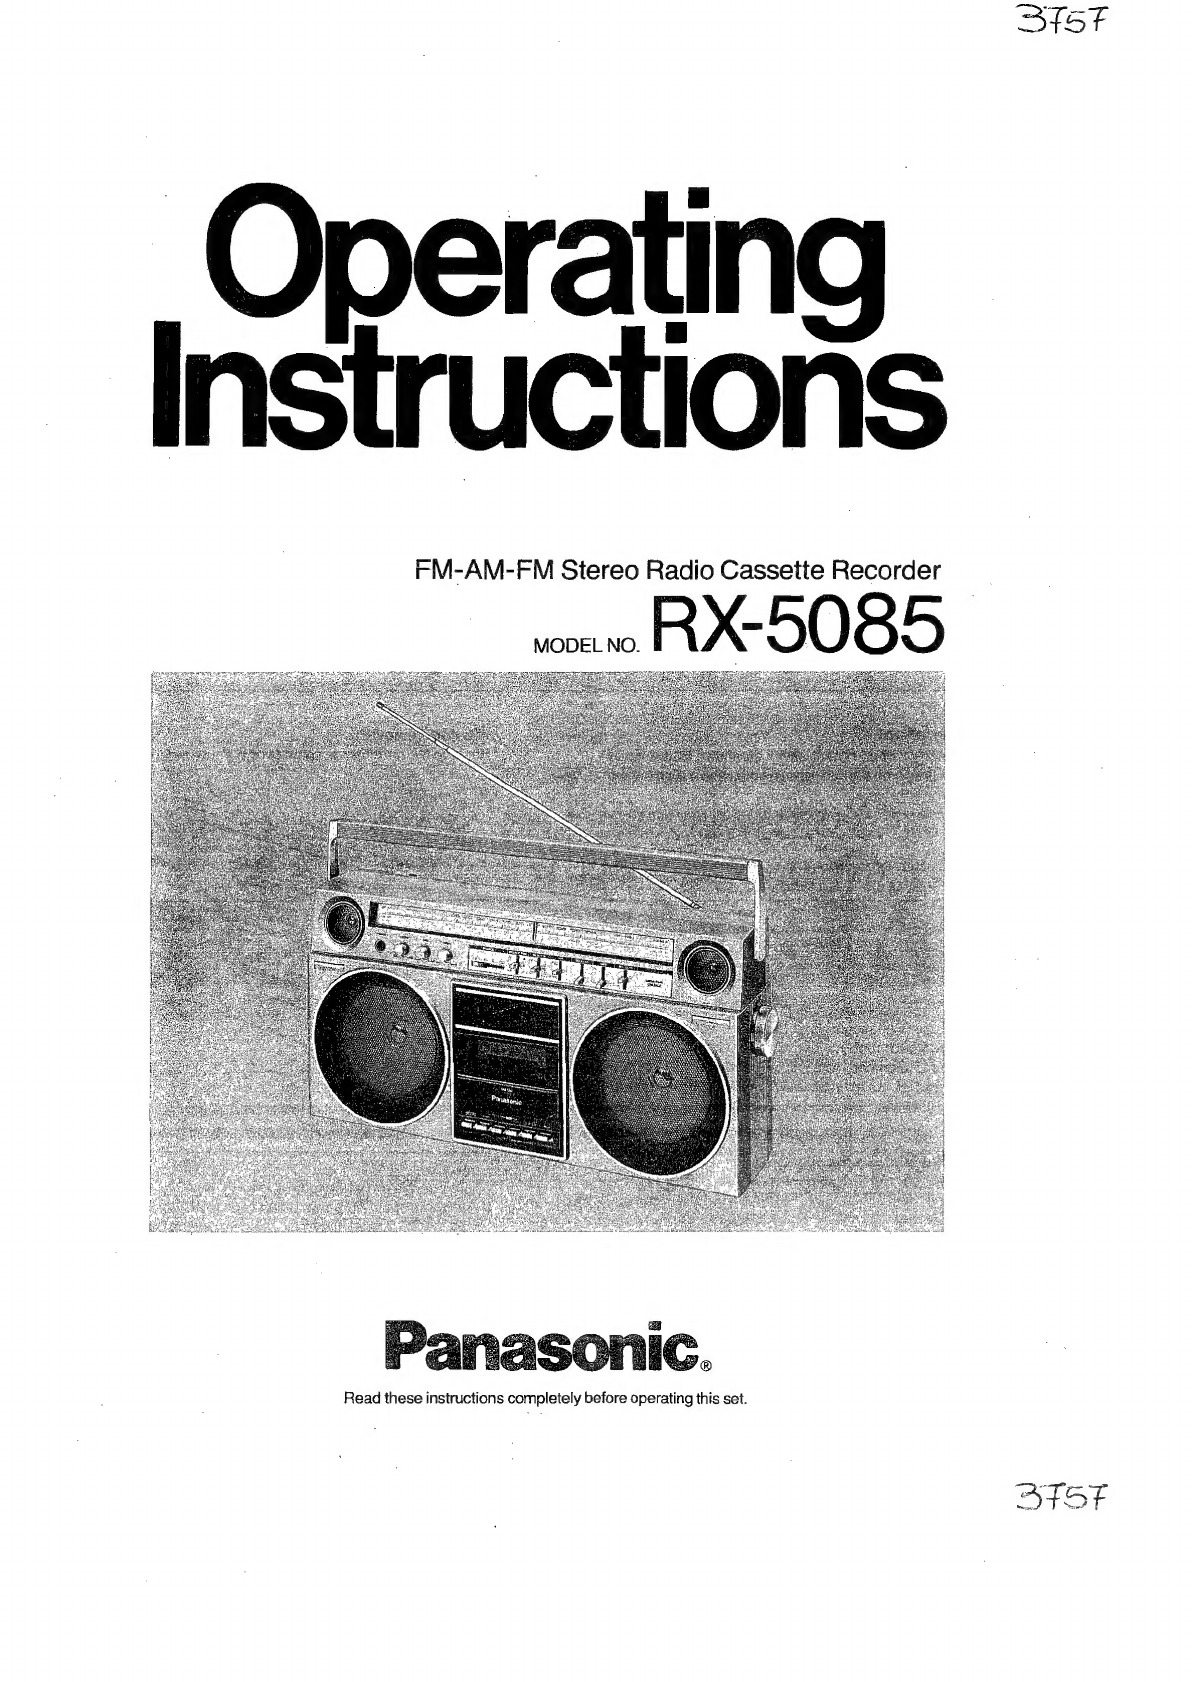
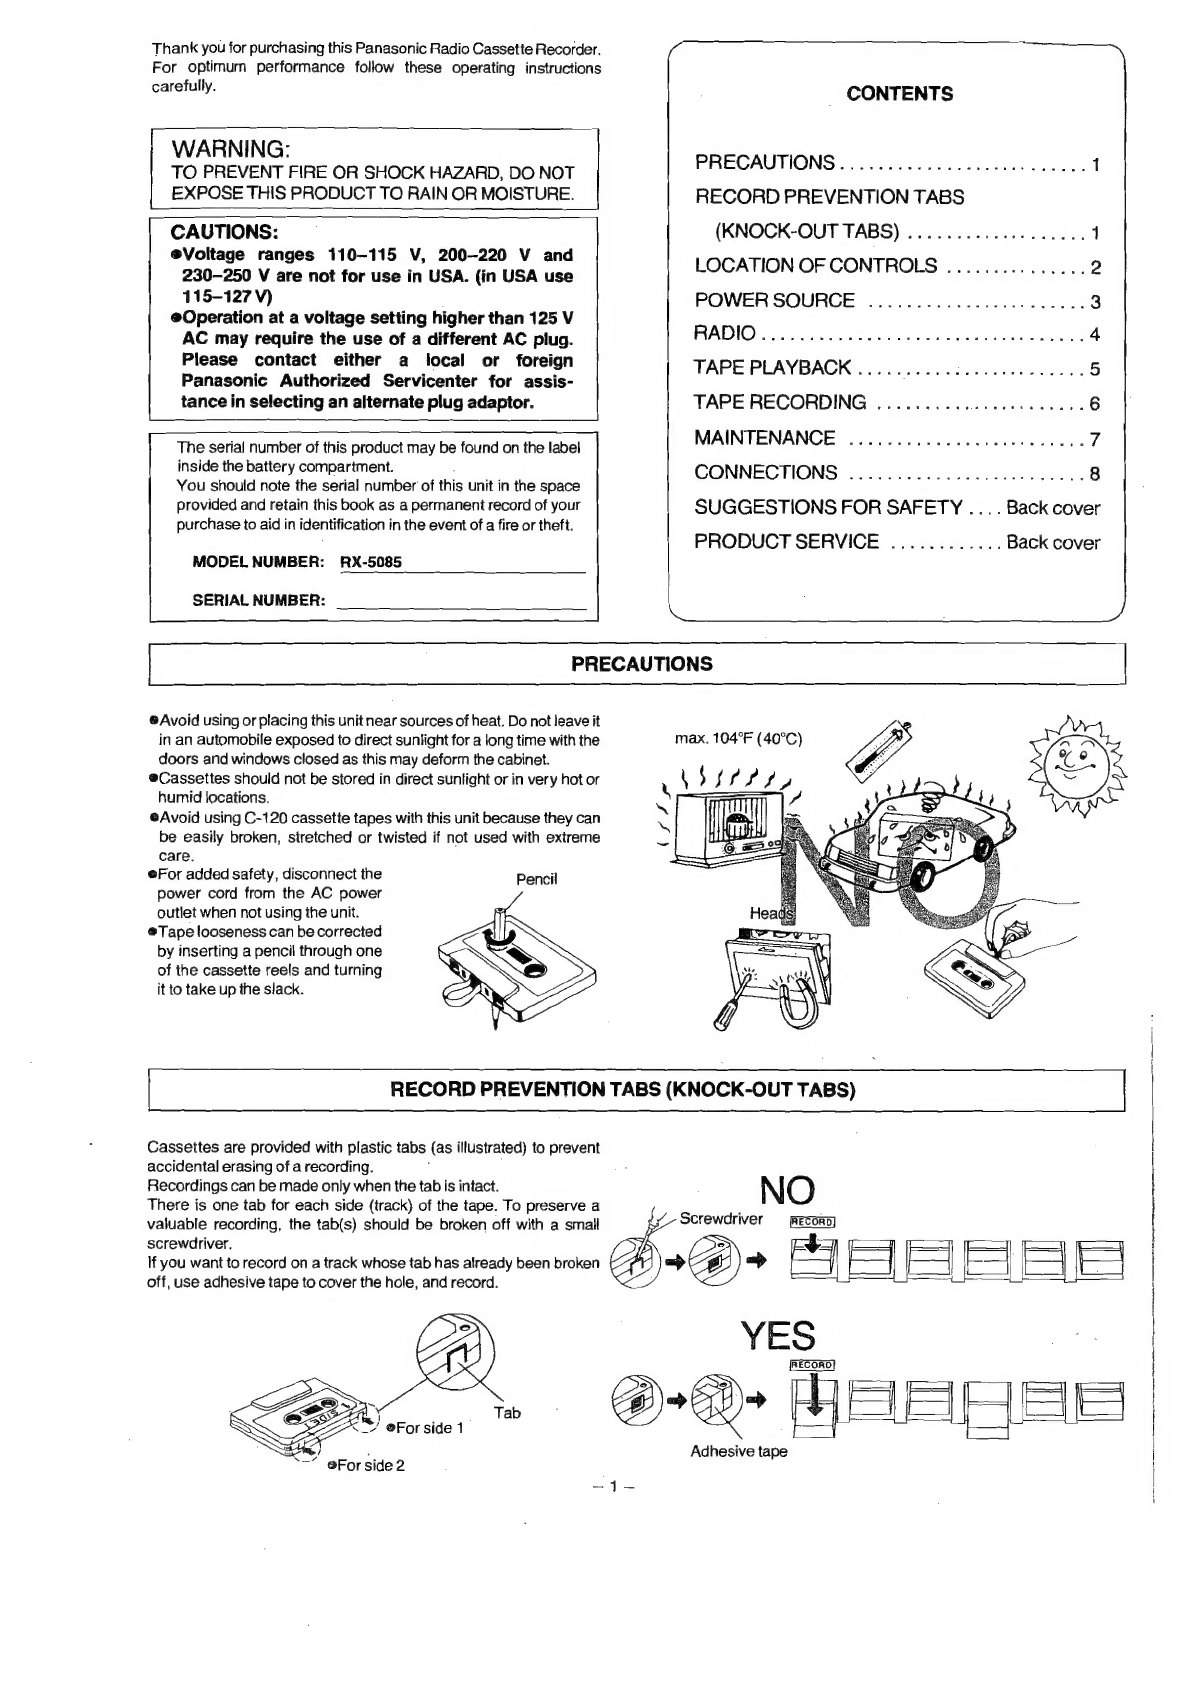
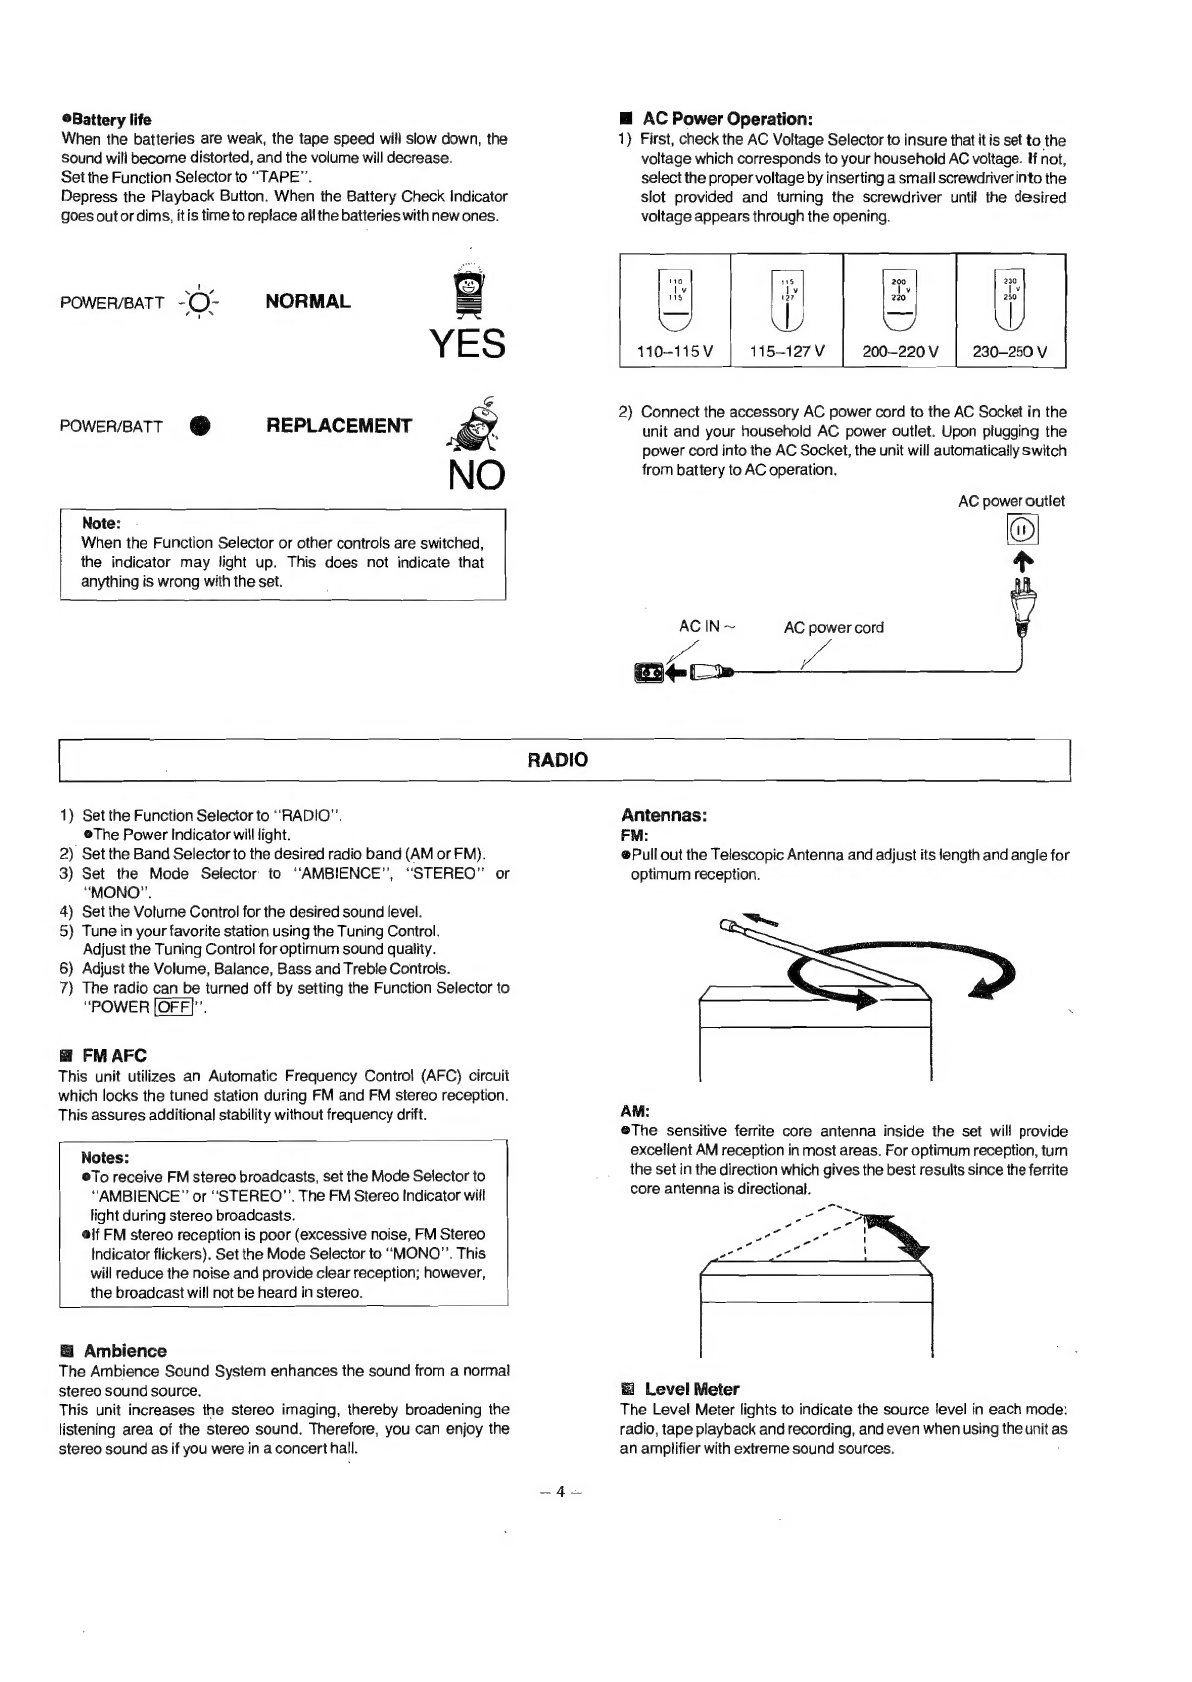
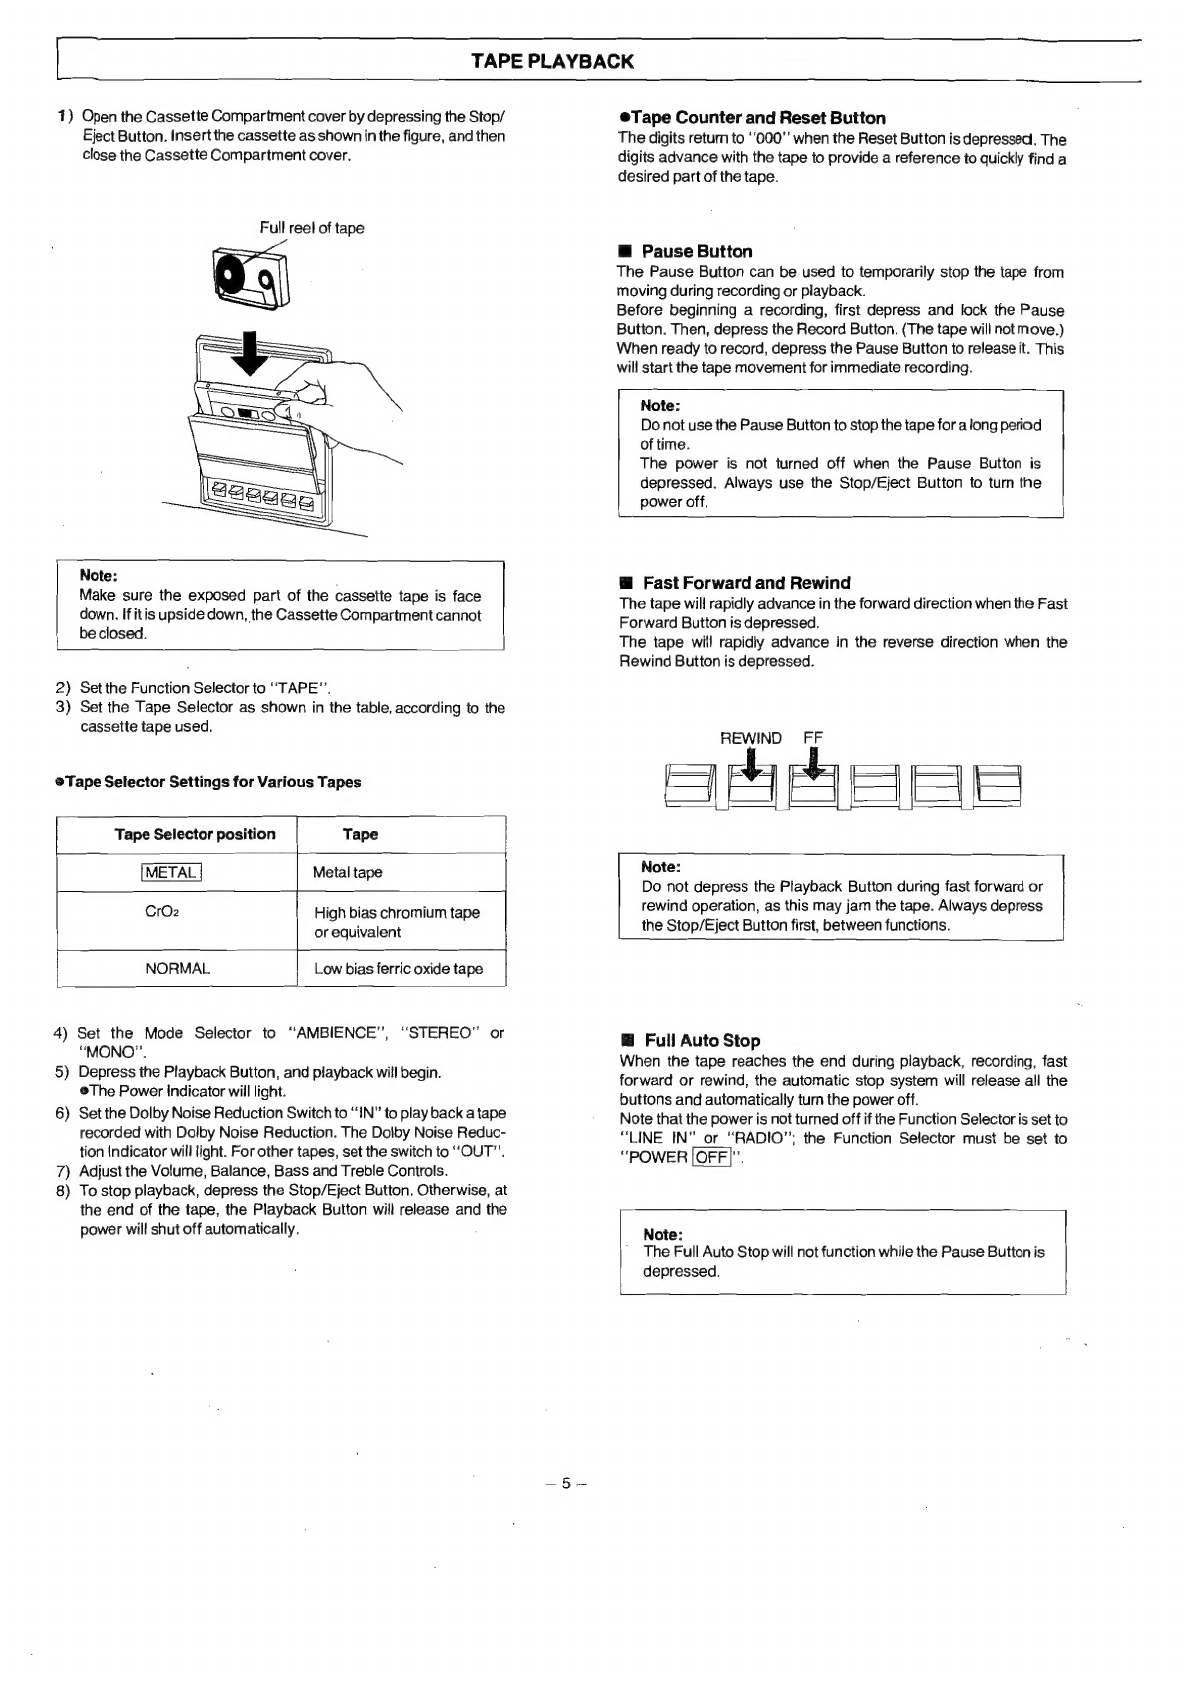
Panasonic RX-5085 User manual
Other Panasonic Cassette Player manuals

Panasonic
Panasonic NV- HD600 Series User manual

Panasonic
Panasonic RQ-2107 Series User manual

Panasonic
Panasonic RQ-L70 User manual

Panasonic
Panasonic RQ-V180 User manual

Panasonic
Panasonic RQ-SX57 User manual

Panasonic
Panasonic RN-402 User manual

Panasonic
Panasonic RQ-SX73 User manual

Panasonic
Panasonic RQ-SX53 User manual

Panasonic
Panasonic RQ-A220EG User manual

Panasonic
Panasonic RQ-SX78V User manual

Panasonic
Panasonic RQ-CR18V User manual

Panasonic
Panasonic RQ-SX93F User manual

Panasonic
Panasonic RQ-SX70V User manual

Panasonic
Panasonic RX-FT570 User manual

Panasonic
Panasonic RQ-V202 User manual

Panasonic
Panasonic RQ-SX14Z User manual

Panasonic
Panasonic RN-405 User manual

Panasonic
Panasonic RQ-CR18V User manual

Panasonic
Panasonic RQ-V65 User manual

Panasonic
Panasonic RQ-E11 User manual