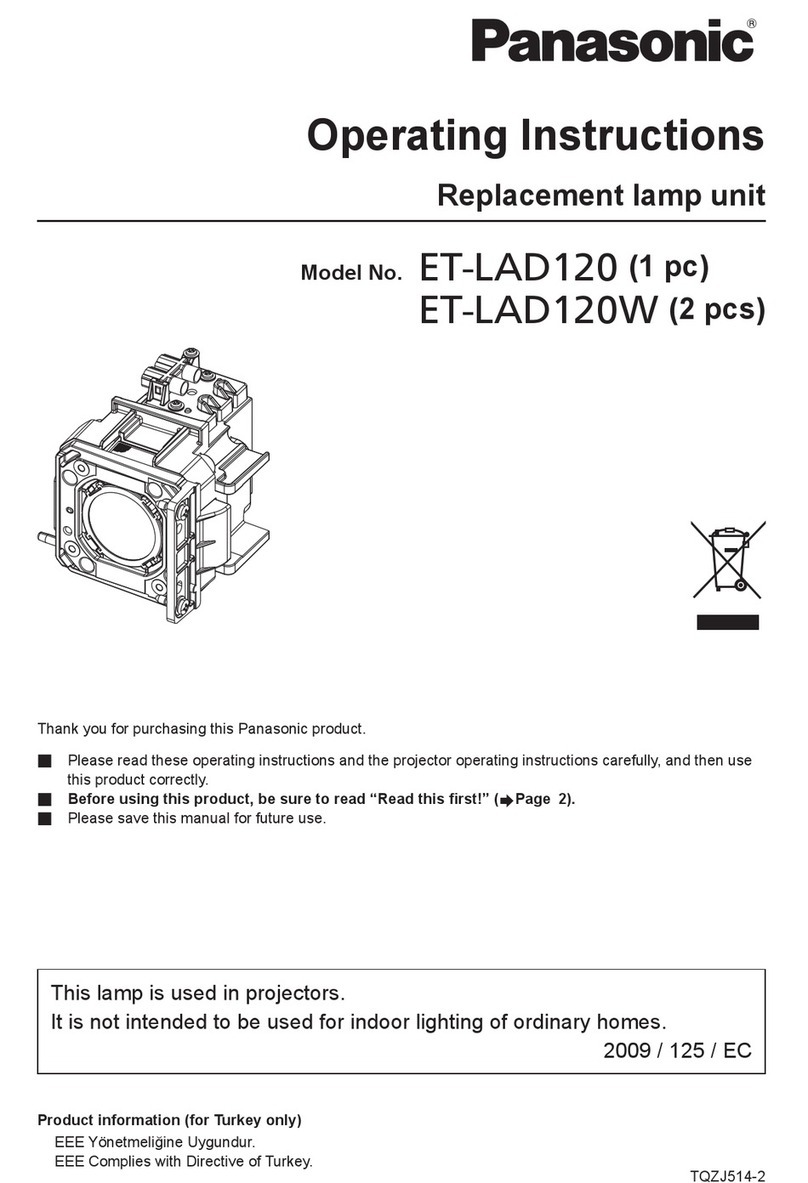
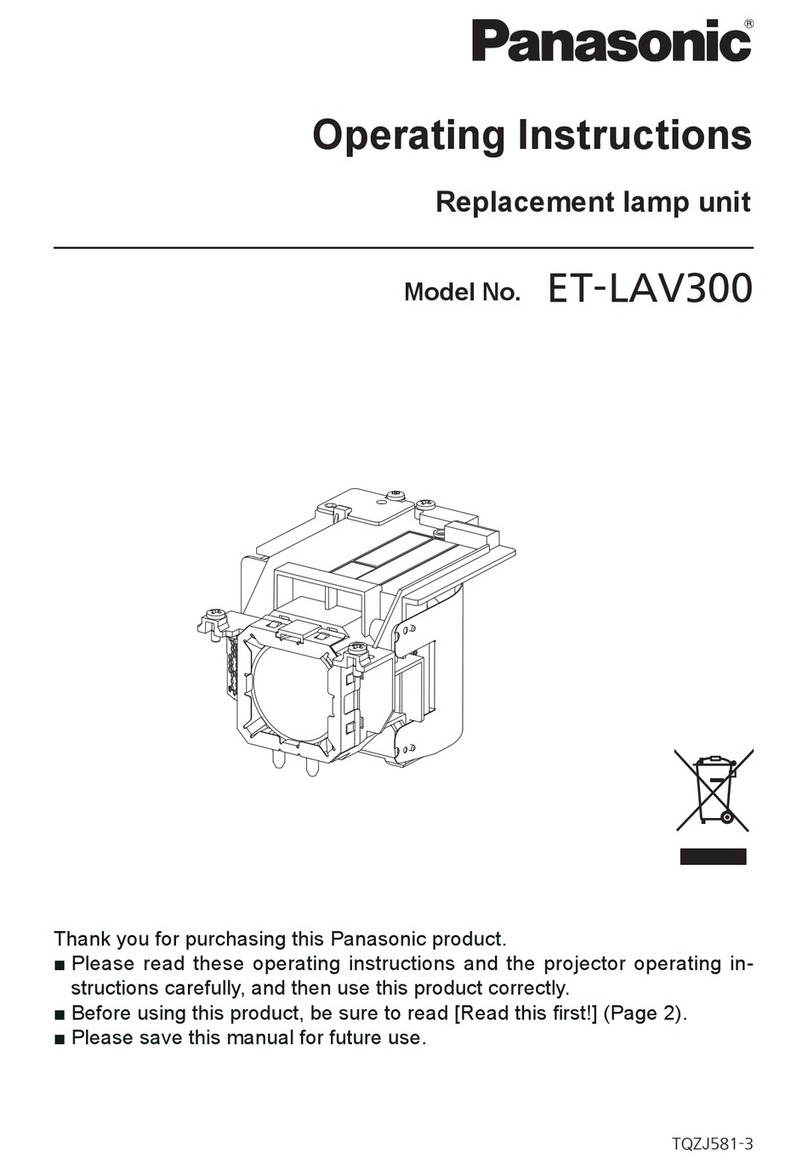
Panasonic ET-LAA310 User manual

Thank you for purchasing this Panasonic product.
Please read these operating instructions and the projector operating instructions carefully, and then use this product
•
correctly.
Before using this product, be sure to read “Read this first!” (Page 2).
•
Please save this manual for future use.
•
EEE Yönetmeliğine Uygundur.
EEE Complies with Directive of Turkey.
Replacement lamp unit
Operating Instructions
Model No.
ET-LAA310
Disposal of Old Equipment
Only for European Union and countries with recycling systems
This symbol on the products, packaging, and/or accompanying documents means that used electrical and
electronic products must not be mixed with general household waste.
For proper treatment, recovery and recycling of old products, please take them to applicable collection points in
accordance with your national legislation.
By disposing of them correctly, you will help to save valuable resources and prevent any potential negative
effects on human health and the environment.
For more information about collection and recycling, please contact your local authority.
Penalties may be applicable for incorrect disposal of this waste, in accordance with national legislation.
TQZJ393-2

2-ENGLISH
Read this rst! Always follow these precautions
WARNING
Do not remove any screws other than those indicated when replacing the lamp ■
unit.
If this is not observed, electric shocks, burns or other injuries may occur.
•
Wait until the lamp unit has cooled sufciently before replacing the lamp unit ■
(wait one hour or longer).
The lamp cover gets very hot, and contact with it can cause burns.
•
Remove the power plug before replacing the lamp unit.■
If the lamp unit is replaced without removing the power plug, electric shocks and breakage may occur.
•
Notes on replacing the lamp unit, air lter, and electrostatic lter
A Phillips screwdriver is necessary when carrying out replacement.
•
Hold the screwdriver firmly.
The light source lamp is a glass component. If it is hit on a hard object or dropped, breakage may occur.
•
Be careful when handling a light source lamp.
Do not disassemble or modify the lamp unit.
•
Grip the handle when you remove the lamp unit. Some parts of the lamp unit are sharpened and may cause injury.
•
The lamp may be ruptured. Care should be taken not to scatter pieces of the broken lamp glass when replacing the lamp
•
unit. Pieces of the broken lamp may fall from the lamp unit especially when the projector is mounted on the ceiling, so when
replacing the lamp unit do not stand directly underneath it or position your face close to it.
The lamp contains mercury. Contact the local government office or distributor for the correct disposal of the old lamp unit.
•
Illustrations in these operating instructions
Illustrations contained in these operating instructions that show the projector and screens may differ from the actual objects
•
they depict.
NOTICE
For USA only
Hg-LAMP CONTAINS MERCURY, Manage in Accord with Disposal Laws.
See: www.lamprecycle.org or 1-888-411-1996
Accessories
The following accessories (2 x filter/bagged) are included.
Air filter (black) x 1
Electrostatic filter (white) x 1
Attention
Dispose of the packaging materials properly after unpacking the product.
•
ENGLISH- 3
Replacing the lamp unit, air filter, and electrostatic filter
Attention
If the projector is operating, turn off the power by the following procedure and wait for the lamp unit to cool down before
•
carrying out replacement.
1) Press the power button.
The confirmation screen is displayed.
2) Select [OK] with the ◀▶ buttons and press the <ENTER>
button. (Alternatively, press the power button once more.)
The lamp extinguishes and video projection halts.
The cooling fan continues to operate and the power indicator
illuminates orange.
Wait for the power indicator to illuminate or flash red.
3) Press the <OFF> side of the <MAIN POWER> switch to turn
off the power.
Never switch off the main power or remove the power cord
when the cooling fan is running.
Turn off the <MAIN POWER> switch, remove the1)
power plug from the power outlet, and then wait at
least one hour before checking whether the area
surrounding the lamp unit has cooled down.
Remove the video cable connected to the2)
connecting terminal.
Attention
If you open the top panel fully, it may come into contact
•
with connectors such as the video cable which may result
in breakage of the video cable. Before opening the top
panel, be sure to remove the connected video cables, etc.
Hold the protrusions at the front corner of the top3)
cover of the projector and push up to open.
When the projector is mounted on the ceiling, stand
*
at the lens side of the projector when opening/closing
the top cover.
Top cover
Protrusion
Attention
Be careful not to open the top panel too far. For what to
•
do if the top panel comes off, see “Care and replacement”
in “Operating Instructions - Functional Manual”.
Use a Philips screwdriver to unscrew the lamp4)
cover fixing screw (one) until it becomes loose, and
then remove the lamp cover.
Slowly remove the lamp cover from the projector.
*
Lamp cover
Lamp
cover fixing
screw
Use a Phillips screwdriver to unscrew the lamp unit5)
fixing screws (2 screws) until loose.
Hold the handle of the lamp unit and with the lamp unit6)
lock held in the direction of the black arrow, carefully
pull it out of the projector unit in a vertical motion.
モ
Lamp unit fixing
screws
Handle Lamp unit lock
Replace the new lamp unit while making sure that the7)
direction of insertion is correct. Press the top of the
lamp unit downwards and make sure the unit is installed
securely. Tighten the lamp unit fixing screws (2 screws)
securely with a Phillips screwdriver.
Press down on the A part firmly when inserting the
•
lamp unit.
Mount the lamp cover, and tighten the lamp cover fixing8)
screw (one screw) securely with a Phillips screwdriver.
Close the top cover of the projector.9)
Close the top cover using the reverse of the
•
procedure in 3) and push the center of the top cover.
Reconnect the video cable disconnected in 2) to10)
the connecting terminal.
Remove the air filter cover.11)
Using a Phillips screwdriver to turn the fixing screw of
•
the air filter cover until loose and remove the cover.
Air filter cover
Air filter cover fixing
screw
Remove the air filter unit.12)
Hold the grips on the air filter unit, and remove it from
•
the projector.
Air filter unit
Grips (
UP
arrow engraved)
Replacement procedure■
Power indicator
Main power
<MAIN POWER>
switch
Controls for device
Power < STANDBY ( )>
button

Replacing the lamp unit, air filter, and electrostatic filter (continued)
* After removing the air filter unit, remove any large build
ups of dirt or dust in the air filter unit bay and the air
intake port on the projector.
Press the protrusions of air filter unit removed from13)
the projector in the direction of the black arrow and
remove the air filter frame.
Replace the air filter/electrostatic filter.14)
Replace the air filter and electrostatic filter in the air
•
filter unit with new ones.
Ensure you attach the electrostatic filter and air filter
*
in the correct order.
Air filter case
Air filter (black)
Electrostatic filter
(white)
Protrusions
Ribs
Air filter frame
Catches
Assemble the air filter unit.15)
First insert the electrostatic filter (white) into the
•
center of the case ensuring that its edges do not ride
on top of the ribs, and then insert the air filter (black)
so that its four corners are within the case before
attaching the air filter frame.
Take care so that the air filter does not get caught
*
between the air filter frame and the case.
Align the catches and protrusions on the air filter
*
case and air filter frame when assembling the
air filter unit. When attaching the air filter frame,
ensure that the 4 catches are properly aligned with
the protrusions on the air filter case and they have
clicked into place.
Attach the air filter unit to the projector.16)
Attach the air filter unit to the projector using the
•
reverse of the procedure in 12).
Insert the air filter unit into the projector in the
*
direction of the arrow engraved into the air filter (
UP
)
frame until it clicks into place.
Attach the air filter cover, and firmly tighten the17)
air filter cover fixing screw (one) with a Philips
screwdriver.
Insert the power plug into a power outlet, and press18)
the <ON> side of the <MAIN POWER> switch to
turn on the power.
Press the power <19) > button on the projector or
on the remote control to start video projection.
Press the <MENU> button to display the menu20)
screen, and select [OPTION] with the ▲▼ buttons.
Press the <ENTER> button, and select [LAMP21)
RUNTIME] with the ▲▼ buttons.
Hold the <ENTER> button down for 3 seconds.22)
The [LAMP RUNTIME] screen is displayed.
•
LAMP RUNTIME
LAMP RUNTIME RESET.
CANCELOK
Select [OK] with the23) ◀▶ buttons and then press
the <ENTER> button.
LAMP RUNTIME is reset to "0" and the projector
•
prepares to power off. After a short while, the
projector enters power off (standby) mode.
Attention
The air filter unit must always be installed in the projector.
•
Failure to do so will result in malfunctions due to foreign
materials, such as dust, entering the projector.
Do not use water to wash the air filter unit as this
•
decreases its ability to absorb dust.
Always replace the air filter and electrostatic filter
•
whenever replacing the lamp unit.
Install the lamp unit and the lamp cover securely.
•
© Panasonic Connect Co., Ltd. 2022
Web Site : https://panasonic.net/cns/projector/
Panasonic Connect Co., Ltd.
TI0811AM3042 -PS
Printed in China
Other Panasonic Outdoor Light manuals
Popular Outdoor Light manuals by other brands

Malibu Boats
Malibu Boats HV230PL Assembling & installation instructions

Performance In Lighting
Performance In Lighting WIN PRO+ 30 manual

Kowa
Kowa SL-19 instruction manual

Paradise Datacom
Paradise Datacom GL28637SS quick start guide

RH
RH COLLETTE 30 TABLE LAMP Assembly/installation instructions

HUDSON VALLEY LIGHTING
HUDSON VALLEY LIGHTING TROY LIGHTING SANDERS P2745 manual