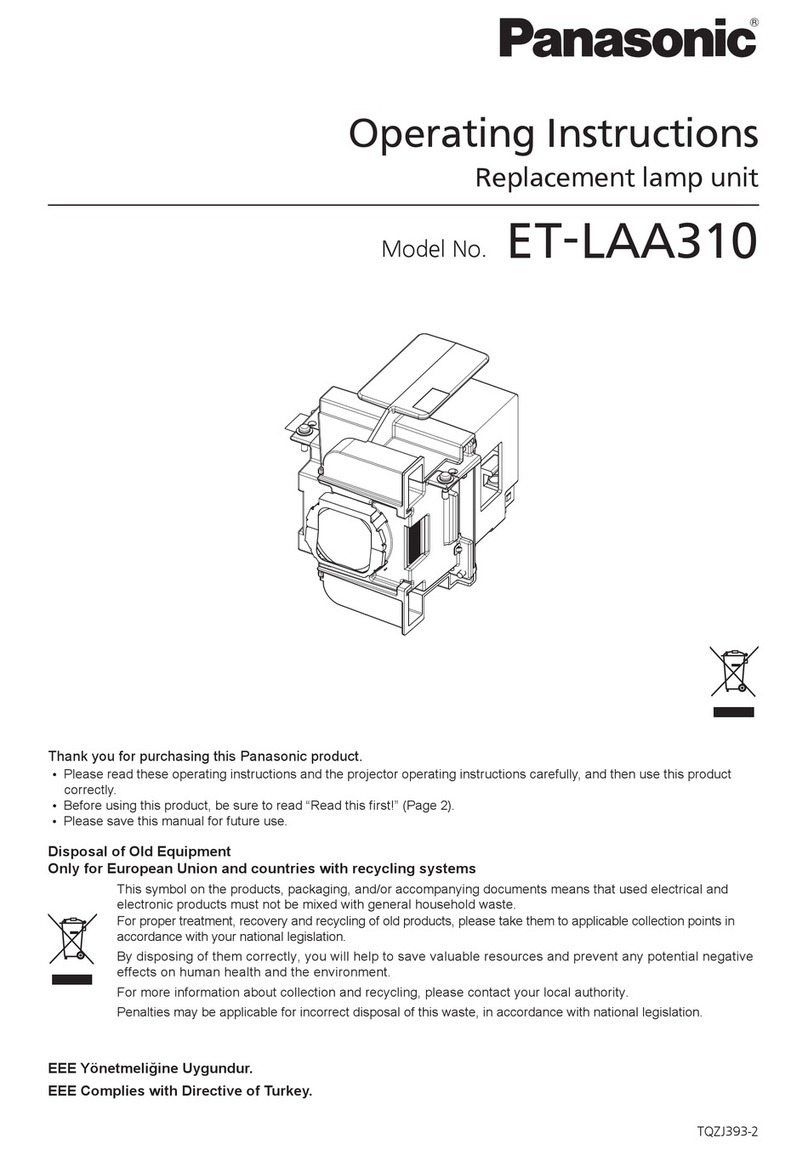
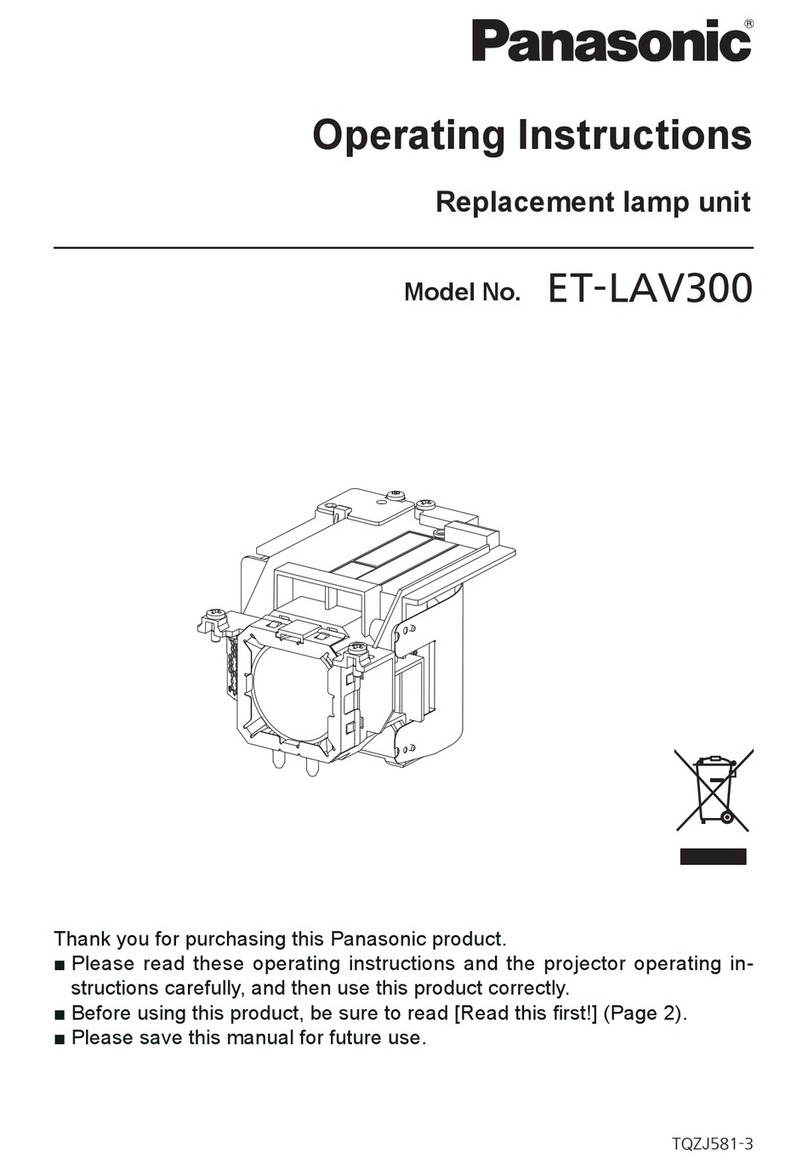
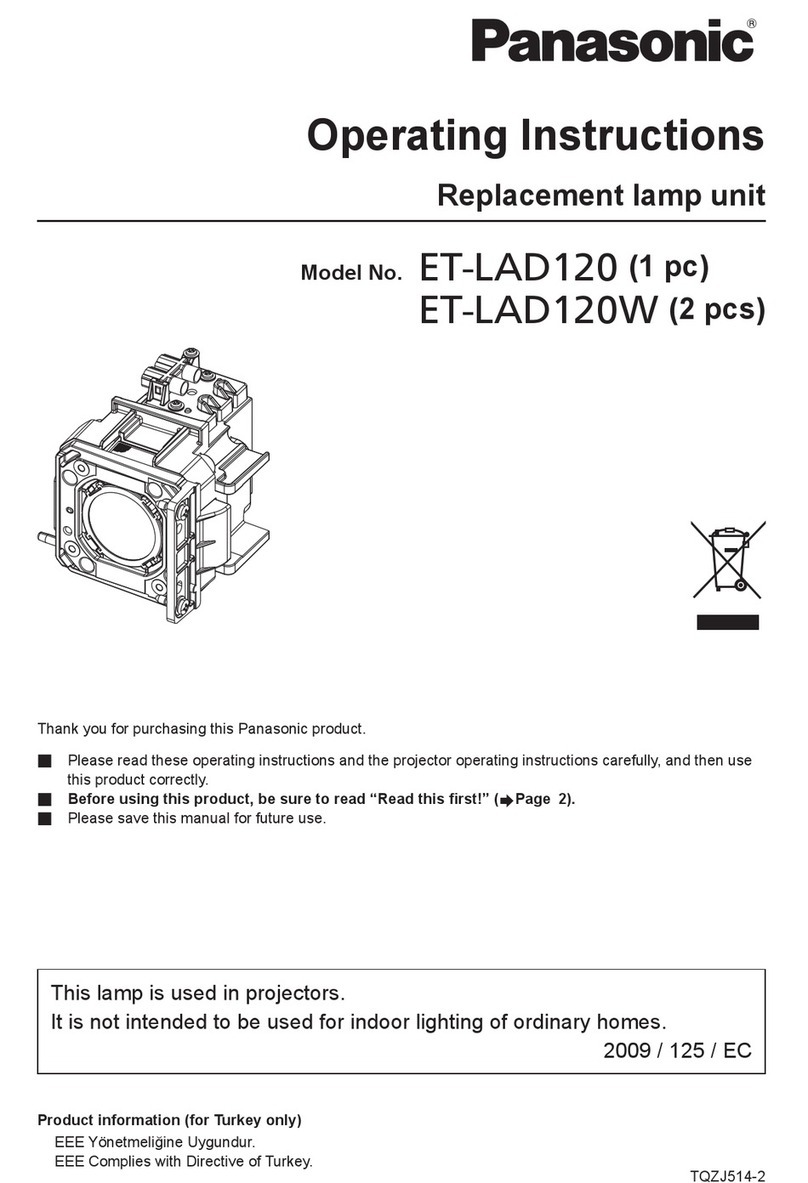
Panasonic ET-LAD12K User manual

Operating Instructions
Replacement lamp unit
for DLP® Projectors
Model No.
ET-LAD12K (1 pc)
ET-LAD12KF (4 pcs)
Read these instructions completely before operating this unit.
Information for Users on Collection and Disposal of Old Equipment and used Batteries
Commercial Use
These symbols on the products, packaging, and/or accompanying documents mean that used
electrical and electronic products and batteries should not be mixed with general household waste.
For proper treatment, recovery and recycling of old products and used batteries, please take them to
applicable collection points, in accordance with your national legislation and the Directives 2002/96/
EC and 2006/66/EC.
By disposing of these products and batteries correctly, you will help to save valuable resources and
prevent any potential negative effects on human health and the environment which could otherwise
arise from inappropriate waste handling.
For more information about collection and recycling of old products and batteries, please contact your
local municipality, your waste disposal service or the point of sale where you purchased the items.
Penalties may be applicable for incorrect disposal of this waste, in accordance with national legislation.
For business users in the European Union
If you wish to discard electrical and electronic equipment, please contact your dealer or supplier for
further information.
[Information on Disposal in other Countries outside the European Union]
These symbols are only valid in the European Union. If you wish to discard these items, please contact
your local authorities or dealer and ask for the correct method of disposal.
Note for the battery symbol (bottom two symbol examples):
This symbol might be used in combination with a chemical symbol. In this case it complies with the
requirement set by the Directive for the chemical involved.
LAD12000_eng_080715.fm 1 ページ 2008年9月10日 水曜日 午後1時29分
4
4)取り換えたいランプユニット固定ねじ
(各 3本)をプラスドライバーで取り
外し、ランプユニットの取っ手を
持って、ゆっくりと本機から引き出す
5)新しいランプユニットを挿入方向に注意して押し込む
挿入時、特に 部と 部をよく押し込んでください。
6)ランプユニット固定ねじ(各 3本)をプラスドライバーでしっかりと締めつける
7)ロックレバーを元に戻し、ランプユニット
収納カバーを閉め、ランプユニット収納
カバー固定ねじ(1本)をプラスドライバー
でしっかり締めつける
8)プロジェクター取扱説明書の「エアーフィルターの清掃と交換」の手順を守り、エアー
フィルター内の古い静電メッシュフィルターを同梱の新しい静電メッシュフィルターに
交換してください。
同時にエアーフィルター(フィルタークリーニングユニット、可動式金属メッシュフィ
ルタ、ブラシ)を清掃してください。
静電メッシュフィルター
付属品
取っ手
ランプユニット2
ランプユニット1 ランプユニット3
ランプユニット4
ランプユニット固定ねじ
使用直後のランプユニットおよび
ランプユニット周辺の構造物は
高温なので注意する
・触るとやけどの原因になります。
高温注意
注 意
ランプユニット収納カバー固定ねじ
ランプユニット収納カバー
ランプユニットやランプユニット収納カバーは
確実に取り付けてください。ランプユニットや
ランプユニット収納カバーの取り付けが不完全
ですと保護回路が動作し電源が入りません。
S0808-1098B
LAD12000_JP_080715.fm 4 ページ 2008年9月10日 水曜日 午後1時27分
S0808-3020D

3 - ENGLISH
If the projector is operating, turn off the power by the following procedure and wait for the lamp unit to cool
downbefore carrying out replacement.
AIf the lamp monitor (LAMP 1 - LAMP 4) is illuminated, if it is necessary to replace the
associated lamp.
BPress the ( ) button.
CSelect “Execute” with or button and press the ENTER button. (or press the ( ) button
again.)
The projection of the image stops, and the power indicator lamp of the main unit lights up orange. (Thecooling
fan keeps running.)
DWait until the power indicator lamp of the main unit turns to red (i.e., until the cooling
fanstops). (Approx. 3 minutes)
While the cooling fan is still running, never turn off the MAIN POWER switch, nor unplug the projector from
the outlet.
EPress the ( ) marked side of the MAIN POWER switch to remove all power from the
projector.
JReplacement procedure
1) Be sure to observe the procedure “Powering off the projector” of the
projector's Operating Instructions, remove the power plug and confirm
that the surroundings of the lamp unit have cooled off.
2) Use a Phillips screwdriver to loosen the lamp unit cover screw at the rear
of the projector until the screw turns freely.
3) Open the lamp unit cover and remove it from the projector.
Replacing the lamp unit
Lamp unit cover screw
Lamp unit cover
Engage
the lock lever
Lock lever
Lamp unit cover
For ceiling installation, use the lock lever to
secure the lamp unit cover before carrying out
this procedure.
LAD12000_eng_080715.fm 3 ページ 2008年9月10日 水曜日 午後1時29分
2 - ENGLISH
Warning
Wait until the lamp is cooled sufficiently before replacing the lamp unit.
The lamp cover gets very hot, and contact with it can cause burns.
Make sure that all four lamp units are installed.
Do not remove any screws (such as the black screws) other than those indicated when
replacing the lamp unit.
If this is not observed, electric shocks, burns or other injuries may occur.
Do not disassemble the lamp unit.
If the lamp section breaks, it may cause injury.
Replace of the lamp unit should be carried out by a qualified technician.
Notes on replacing the lamp unit
Be careful when handling a light source lamp. The lamp unit has high internal pressure. If improperly handled,
failure might result.
A used lamp unit may burst if it is handled violently. For disposition of used lamps, request an industrial waste
disposal contractor.
If you continue to use a lamp after the replacement time, the lamp may break.
Phillips screwdriver is necessary when replacing a lamp unit. Take care not to slip your hand when using a
screwdriver.
Grip the handle when you remove the lamp unit. Some parts of the lamp unit are sharpened and may cause
injury.
Precautions with regard to safety
NOTICE
For USA only
Hg-LAMP CONTAINS MERCURY, Manage in Accord with Disposal Laws,
See: www.lamprecycle.org or 1-888-411-1996
LAD12000_eng_080715.fm 2 ページ 2008年9月10日 水曜日 午後1時29分

4 - ENGLISH
4) Use a Phillips screwdriver to loosen the three fixing screws for the lamp
unit to be replaced until the screws turn freely. Hold the handle of the
lamp unit and gently pull the lamp unit out from the projector.
5) Install the new lamp unit.
When inserting the new lamp unit, be
particularly sure to push it in at points
and .
6) Use a Phillips screwdriver to securely tighten the lamp unit fixing screws
for each lamp unit.
7) Install and close the lamp unit cover, and then use a Phillips screwdriver
to securely tighten the lamp unit cover screw.
8) Replace the static electric mesh filter with the new filter provided as an
accessory with the projector according to the replacement procedure
given in the projector's Operating Instructions (“Cleaning and
replacement of air filter”).
Clean the air filter (filter cleaning unit, movable metal mesh filter and
brush) at the same time.
Static electric mesh filter
Handle
Lamp unit 2
Lamp unit 1 Lamp unit 3
Lamp unit 4
Fixing screws
CAUTION
The lamp unit and structural parts around the
lamp unit will be hot immediately after the
projector has been used.
You might get burned if you touch it while it is still
hot.
Accessory
Lamp unit cover screw
Lamp unit cover
Firmly install the lamp unit and lamp unit cover.
Printed in Japan
Web Site : https://panasonic.net/cns/projector/
This manual suits for next models
1
Table of contents
Other Panasonic Outdoor Light manuals
Popular Outdoor Light manuals by other brands

HEPER
HEPER LB6059.599-EN Installation & maintenance instructions

Briloner
Briloner MAL 2084 Mounting instructions

KUNDALINI
KUNDALINI KUSHI FLOOR Assembly instructions

Spectronics
Spectronics Spectroline SuperFlood UV-400 Series Operator's manual

SONNEMAN
SONNEMAN REALS Series Assembly instructions

LIGMAN
LIGMAN LEEDS 2 installation manual