INTRODUCTION............................................................................................................................................ 1
SYSTEM REQUIREMENTS .................................................................................................................................... 2
DELIVERY ............................................................................................................................................................ 2
COPYRIGHTS....................................................................................................................................................... 2
SIZE..................................................................................................................................................................... 2
WEIGHT ............................................................................................................................................................... 2
INSTALLATION AND CONNECTION ......................................................................................................... 3
FRONT ................................................................................................................................................................. 3
PANELS ............................................................................................................................................................... 3
TOP ..................................................................................................................................................................... 3
OPERATION ......................................................................................................................................................... 3
POWERING ON/OFF,IDLE STATE......................................................................................................................... 3
STARTING MESSAGE ........................................................................................................................................... 3
DISPLAY AND INSTALLATION .................................................................................................................. 4
USB DRIVER INSTALLATION................................................................................................................................ 4
WINDOWS XP ..................................................................................................................................................... 4
WINDOWS 7......................................................................................................................................................... 4
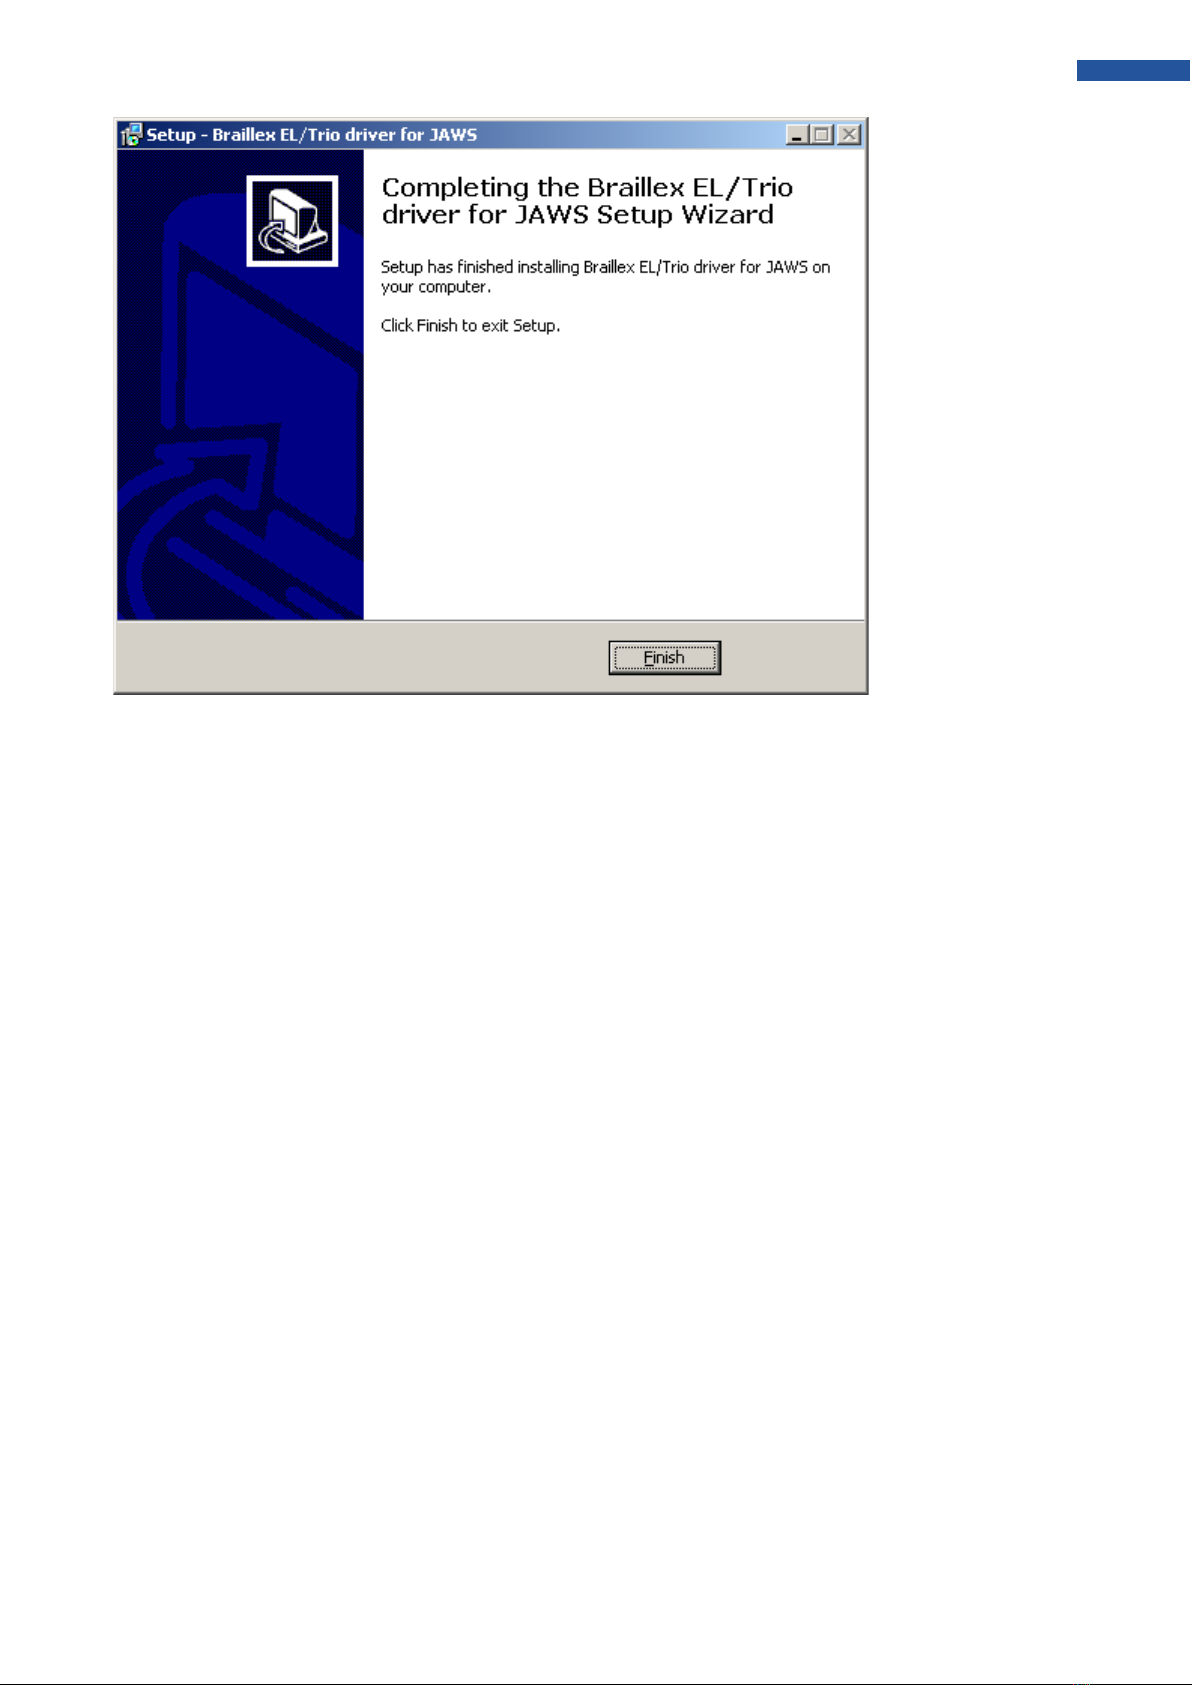
INSTALLATION...................................................................................................................................................... 4
THE EASY ACCESS BAR............................................................................................................................ 7
CONFIGURING THE BRAILLE DISPLAY FOR JAWS ............................................................................. 8
SIMPLE OPERATION ............................................................................................................................................ 8
BRAILLE ATTRIBUTES.......................................................................................................................................... 8
BRAILLE OPTIONS ............................................................................................................................................... 8
WORKING MODE ................................................................................................................................................. 8
KEYS ON BRAILLEX ELC ........................................................................................................................... 9
COMMAND LISTS ................................................................................................................................................. 9
NAVIGATION WITH THE EASY ACCESS BAR...................................................................................................... 10
WORKING MODES ............................................................................................................................................. 10
BRAILLEX EL IN NAVIGATION MODE.............................................................................................................. 11
ADDITIONAL NAVIGATION FUNCTIONS WITH THE BRAILLE DISPLAY................................................................. 11
BRAILLEX EL IN PC MODE ............................................................................................................................ 11
BRAILLEX EL IN COMBINED MODE ................................................................................................................ 12
FUNCTIONS WITH BRAILLEX EL ............................................................................................................ 13
MOUSE FUNCTIONS WITH BRAILLEX EL ........................................................................................................ 13
THE UPPER ROUTING KEY ............................................................................................................................... 13
ATTRIBUTES ...................................................................................................................................................... 13
BRAILLE MARKING ............................................................................................................................................ 13
ATTRIBUTES ON THE BRAILLE DISPLAY ............................................................................................................ 14
BRAILLE PRESENTATION ................................................................................................................................... 14
BRAILLE MODE .................................................................................................................................................. 14
GRADE TWO TRANSLATION............................................................................................................................... 14
SPACES ON THE BRAILLE DISPLAY ................................................................................................................... 15