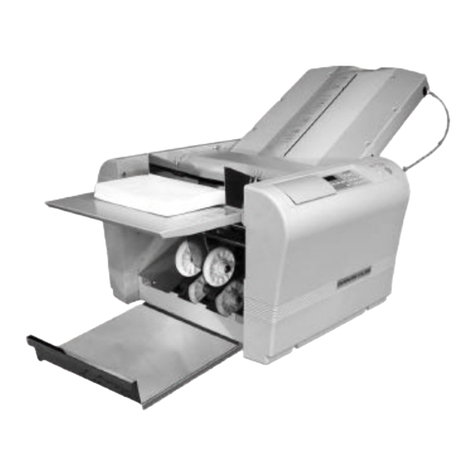
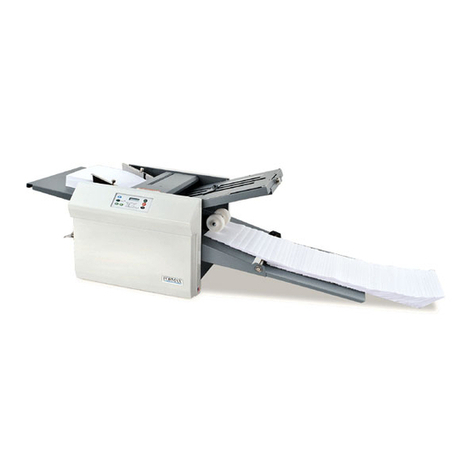
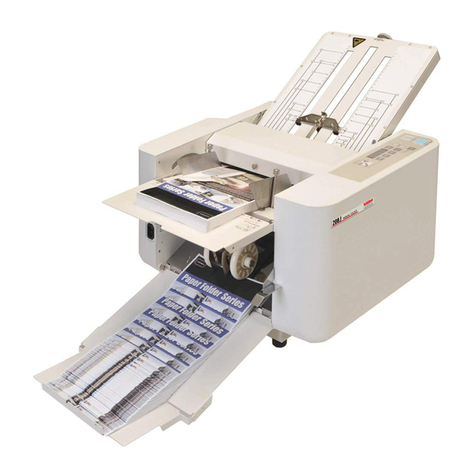
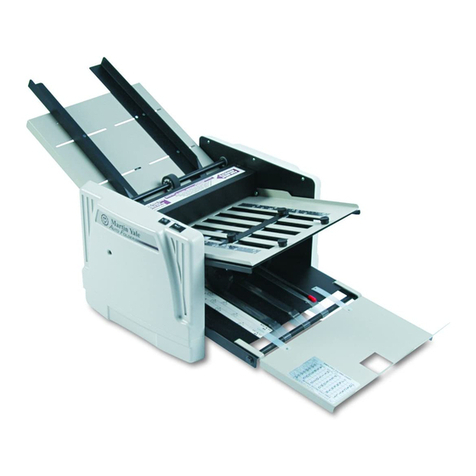
PaperFolder PF-34 M User manual

The PaperFolder Co. PF-34 M
4 Plate Paper Folding Machine
Operator Manual
800.520.6008
Page 20191

tdr
1. Installation - 3......................................................................................................
1. Output Tray and Wheels
2. Fold plates
3. Paper Thickness Adjustment
4. Paper Feeding Separation
5. Paper Creasers
2. Paper Loading 4................................................................................................
3. Setting the folding table 4............................................................................
4. The LCD Control Panel 5................................................................................
5. Folding modes exampling 5........................................................................
6. Folding alignment 9.........................................................................................
7. Troubleshooting 11...........................................................................................
8. Maintenance and cleaning 14..................................................................
9. Function introduction 15................................................................................
10. Technical Parameters
Page 20192

INSTALLATION
Unpack machine. Put machine on a table. Open the paper Feed Tray. Make it can
move up and down to load paper.
Open the Cover. Cut plastic tie.
Page 20193

OUTPUT TRAY
Slide output tray into machine just below rubber rollers. The 2 slots on the end fit on a
bar. Lower it with the slots on the bottom on the outer bar. Make sure the gears are
aligned on the right side.
Page 20194

OUTPUT WHEELS
Install the output wheels by placing the side with the spring in the hole closest to the
rollers on the left side of the machine. Note that it has to go under the cross bar. Press it
in so that you have clearance to put the right side in the hole on the right side. Attach
the output wheels.
Plug the electrical cord in and switch on. O is Off. –– is On.
Page 20195

INSTALLING THE FOLD PLATES
Install fold plates in this order: 4, 2, 3, 1. The trays have numbers on them. They fit on
the 2 posts with the corresponding numbers, e.g. Plate 4 goes on the 2 posts marked 4.
The slot on the end attaches to the inner post; the slot on the bottom fits over the outer
post. IF THE FOLD PLATES ARE NOT IN THE CORRECT ORDER THEY WILL NOT WORK
PROPERLY. They should not move installed correctly.
If a fold does not work as it should, check that the fold plates are properly installed and
on the right posts. THIS IS USUALLY THE PROBLEM IF THE FOLD IS NOT WORKING
CORRECTLY OR THE PAPER JAMS. IF THAT HAPPENS, TAKE THEM OUT AND REINSTALL THEM.
Page 20196

PAPER ADJUSTMENTS
The 34M has many adjustments which aid in the processing of different paper stocks.
These should be set for the paper you are using.
Paper Thickness
Start with the setting here for standard thickness paper. Copy paper is usually 20# bond
or 50# text. If the machine does not feed properly, try adjusting the feed either way.
Thicker paper may require increasing this setting.
Paper Feeding Separation
This dial is located under the cover on the top that hides the feed wheels. This setting
adjusts the paper feed plate under the middle feed wheel. Increasing the setting
moves the plate UP towards the wheel making the gap smaller for thinner paper. Put
the initial setting around the 2 mark. If it is not feeding correctly, you may have to
adjust this up for thinner paper, down for thicker.
Skew Adjustment
If the paper is not straight side to side, it can be straightened by turning the Skew
Adjustment knob. It is located on the right side of the paper Feed Tray. Turning the
knob left moves the bottom left; turning right moves the bottom right. Make an
adjustment and then run a sample. Continue until it is corrected.
Page 20197

Paper Creasers
There are 3 paper creasers on the back of the 34M which can be used when you want
to perform a cross fold. A crease makes the fold better. To see these more clearly,
remove the fold plates in the back.
In this example, the upper one is set to crease the paper. It would place a crease in the
middle of the paper to make a cross fold in half. Note that the side wheels are tight
against the creaser, directly above 2 other wheels below them. A crease is made when
the wheels on each side are tight against the crease wheel. The side wheels should be
directly on top of another set of wheels below them. Use an Allen wrench to loosen the
set screws so they can be moved.
To stop creasing, move the side wheels away from the creaser using an Allen wrench to
loosen the set screws. If the side wheels are not tight to the creaser. no crease is made.
This is shown with the lower 2 creasers.
Page 20198

Loading the paper
•Add a stack of paper to the Paper Tray.
•Press the front of the tray down to load the paper.
•Move the side guides to be snug with each side of the stack. It should be
centered on the tray.
Adjusting the Speed
There are 2 knobs on the back of the machine for speed adjustment. The upper knob
controls the speed of the paper feed. The lower knob controls the folding speed.
PLEASE SET THESE AT 80 TO START. You can experiment with them if you like. DO NOT SET
FEED SPEED GREATER THAN FOLD SPEED. The machine will feed more than can be
folded and will jam.
Setting the fold
The 34M has 4 fold plates which allow it to perform 1, 2, 3 or 4 folds on a piece of paper.
It starts with fold plate 1. A single fold, like a half fold, is done in plate 1. All other plates
are not involved, so they are set to 0 to be fully closed. A letter or tri-fold is performed in
plates 1 and 2, with 3 and 4 closed, and so on. A chart appears below.
Each fold plate has 2 sizing adjustments and 2 skew adjustments (small black knobs).
Normally, you will not have to do anything to the skew adjustment knobs. There is
another adjustment for skew on the machine.
To set the size for the fold you want to perform, consult the chart. It will require that you
measure the paper you are folding and calculate where the stop(s) should be placed.
Pull out the middle knob on each fold plate and move the top of the bar to the position
required. This one is set at 7 3/8”.
Page 20199

Close all plates that are not used in the fold. If you need to make a fine adjustment,
turn the knob on the end of the fold plate, right (clockwise) to increase the fold size, left
to decrease the size. WHEN YOU GET THE FOLD WHERE YOU WANT IT, MAKE A MARK ON
THE FOLD PLATE AND GIVE IT A NAME. Felt tip pins work great. Saves time when you
need that fold again.
OutPut Wheels
Adjust the output wheels for the type of fold. In for shorter; out for longer.
FOLD CHART
Fold Type
Image
Plate 1
Plate 2
Plate 3
Plate 4
Single (half)
1/2 e.g.
5.5” on
letter size
(8.5” x 11”)
Closed
Closed
Closed
Letter
2/3
1/3
Closed
Closed
Z
1/3
3
Closed
Closed
Page 201910

LCD CONTROL PANEL
Double
1/2
1/4
Closed
Closed
Engineering
1/4
1/4
Closed
Closed
Gate
3/4
1/2
Closed
Closed
4 panel
accordion
1/4
1/4
1/4
Closed
5 panel
accordion
1/5
1/5
1/5
1/5
Roller
3/4
1/4
Closed
1/4
Triple Double
1/2
1/4
1/8
Closed
Single + letter
1/2
1/6
1/6
Closed
Single + Z
1/2
1/6
Closed
1/6
Page 201911

PLEASE NOTE: THE COUNTER CAN BE SET TO 4 AND ABOVE. IT WILL NOT RUN IF SET AT 1, 2
OR 3.
Setting Pause Intervals
The 34m can be set to pause for a set period after one or more folds. There are several
situations where this is handy, such as:
1. THE COUNTER STOPS BEFORE COMPLETING THE STACK
Remedy: Increase the time between each sheet.
a. Press the C button.
b. Press and hold the Count button until xxxmS appears. Now you can set the
pause time. Press the button repeatedly until the counter reads 125mS.
c. Press the C button
d. Press the Count button so that 1 shows. It will pause for that time after every
sheet
e. Press the C button
f. Press the Start button. Stop when you have the number of sheets you want.
Page 201912

2. SET A PAUSE AFTER A CERTAIN NUMBER OF FOLDS
You want to fold a certain number, and then stop so you can remove that number as a
set.
Remedy: Increase the time between each sheet.
a. Press the C button.
b. Press and hold the count button until a xxxmS appears. Press the button
repeatedly until the counter reads 5S (5 Seconds).
c. Press the C button
d. Press the counter button so that the number in the set you want shows (e.g.
100).
e. Press the C button
f. Press the Start button.
g. The machine will stop after it folds the number you set. Remove them. It will
start again after the period you set expires.
h. Stop when you have the number of sets you want.
Setting the Folding Speed
The 34m has 2 speed controls, one for feeding and the other for folding. The feed
should always be slower than the folding.
The feed knob is on the top; the fold knob is on the bottom. We recommend that you
start at a slower speed and then move up.
Maintenance
Folding machines need to be cleaned on a regular basis. All paper is dusted with
powder that keeps the sheets separate, but also can build up on feed wheels and
rollers in folding machines. Once it does, the wheels and rollers cannot grip the paper.
To clean the machine, make sure that all paper bits are out of the paper path. A can
of compressed air is handy for this purpose.
Wipe the wheels and rollers with a cloth that has been moistened with rubbing alcohol
or rubber roller cleaner (available at office supply stores). Turn the rollers by hand to get
all of the surface.
Remove and inspect the feed trays to make sure there is nothing in the path of the
paper and that they are installed correctly.
If paper is not feeding well, check the plastic separator under the middle feed wheel.
Both the separator and the feed wheel wear over time and may have to be replaced.
If paper is not feeding properly, check the separator under the feed wheel, the setting
for the separator and the paper thickness setting and make any necessary adjustments.
Specifications
Page 201913

Fold speed: Max 7000 sheets/h
Paper size: !B6(182 x 128mm) US 5" x 7" - A3(420x297mm) US11" x 17"
Paper weight:!50—200 gsm Bond: 16 to 50# Text: 40 to 135#
Paper stack capacity: 500 sheets, 64gsm Bond: 500 sheets 18# bond
Dimensions:!1240 x 550 x 464 mm (49" x 21.7" x 18.3")
Weight:!48 Kg (106 lbs.)
Troubleshooting
Error Messages
MESSAGE
Cause
Solution
No Paper
Stack paper of feed tray
PAPER ERR
A jam has occured or other
error
Press C. Clean sensor if
needed
OVERLOAD
Motor is overloaded
Turn off, then on.
Troubleshooting
Problem
Cause
solution
Machine won't turn on
No power to machine
Check power cord and outlet
Machine on but won't
start
Paper has not reached the
guide plate of the paper
feed table.
Push in the paper until its lead
edge touches the guide plate.
Fold plates are not in or a paper
jam has occurred
Remove and replace fold
plates. Remove any jam.
Internal problem
Call your dealer.
When the start button is
pressed, the paper feed
wheels rotate but no
paper is fed.
The paper feed table has been
lowered.
Lower the paper set lever to raise
the paper feed table.
The paper has not been
fanned well.
Fan the paper well
The paper is curled
Straighten the paper curl.
Page 201914

The paper is thick
Set the paper feed pressure
adjust knob to “Thick paper”.
The paper is either glossy, too
thick or too thin.
Try using regular copy paper.
If that works, change the
paper to one that works.
The paper does not fold
at the proper position.
The paper fold plate is not
installed properly
Reinstall the paper fold plate
properly.
Static electricity (paper
sticks together) Room is too
dry.
Fan the paper. Let it rest for a
few hours. Some laser printers
cause static. If persistent, add
humidifier and/or purchase a
paper jogger.
Paper does not feed
correctly
Clean the rollers with rubber
roller cleaner or rubbing
alcohol
Paper double-feeds
frequently
Paper too thin
Set paper feed pressure to
thinner paper. Make sure
paper is at least 18# bond.
The paper separator is dirty or
worn.
Clean with alcohol or replace
separator if worn.
Paper slips at the paper
feed frequently.
The paper feed pressure
adjustment knob is set to Thin
paper.
Set the paper feed pressure
adjust knob to Thicker.
Static electricity has occurred
in the paper.
Fan the paper. Let it rest for a
few hours. Some laser printers
cause static. If persistent, add
humidifier and/or purchase a
paper jogger.
Wheels, separator or rollers
are dirty.
Clean all with rubbing alcohol
Paper jams frequently.
Fold plates not installed
correctly
Reinstall fold plates correctly.
Check for any paper bits in
path.
Not set up correctly
Check thick/thin setting,
separator; output wheels.
Separator, rollers, wheels
worn or dirty
Clean all components of
machine, particularly
separator, rollers and wheels.
Static electricity on paper;
curled paper
See above on static.
Straighten paper if curled.
If Jam is at output tray,
check output wheels
Reset position of output
wheels
Paper slips in the
vertical direction.
After a paper type was
changed, a folding position
has not been adjusted.
Check that the fold position is
correct on both fold plates.
Run one sample, then adjust
Paper slips in the
horizontal direction.
The paper is stacked
unevenly.
Stack the paper neatly on the
paper feed table.
Page 201915

I
Stack the paper neatly on
the paper feed table.
Set the side guides so that they
push against the paper lightly.
The rubber roller is damaged.
Get a replacement from the
dealer.
The paper is outside the
specifications.
Check to see that the paper is
not glossy or too thick or thin
Paper jam at the rubber
roll when thick paper or
cross folded thick paper
is folded into two.
The paper is outside the
specifications.
Use paper that meets
specifications.
Page 201916
Table of contents
Other PaperFolder Folding Machine manuals
Popular Folding Machine manuals by other brands

Martin Yale Industries
Martin Yale Industries RapidFOLD P7200 instruction manual

NanaWall
NanaWall PrivaSEE owner's manual

Martin Yale
Martin Yale 1701 instruction manual

Formax
Formax FD 340 Operator's manual

Intimus
Intimus 2051 operating instructions

Martin Yale
Martin Yale intimus 2020VS Installation, maintenance & operating instructions