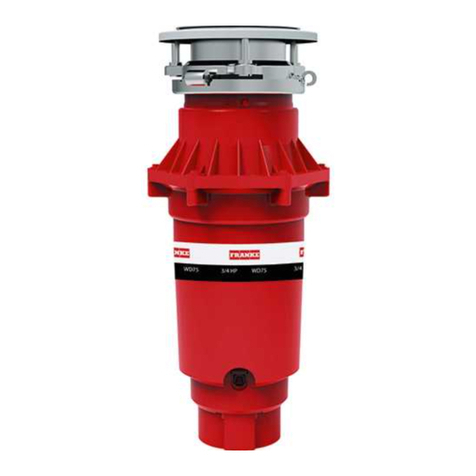
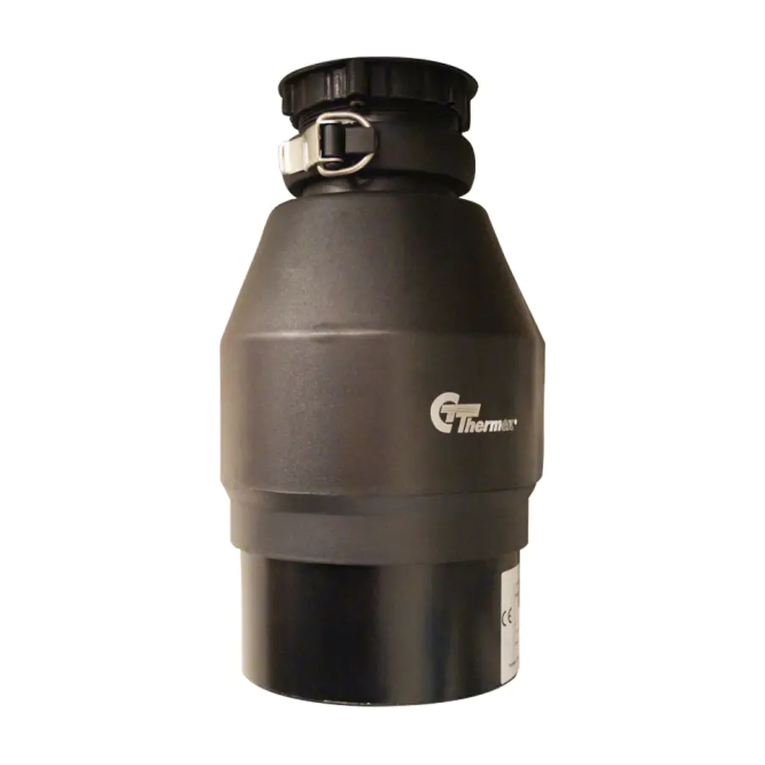
Parts Connect GD12 Assembly Instructions

If you are replacing an existing dis-
poser, continue to Step 2. If there is
no existing disposer, disconnect sink
drain and skip to Step 9.
Disconnect electrical power at fuse box or
circuit breaker box. Disconnect drain trap
from waste discharge tube. Disconnect the
dishwasher if connected to the disposer.
Support disposer, insert end of wrenchette
into right side of mounting lug, and turn. Dis-
poser will fall free.
Invert the disposer and remove the electrical
cover plate.
1
2
3
SHOCK HAZARD
FALLING HAZARD
GD12 ½HP GA BAGE DISPOSE
INSTALLATION & USE INST UCTIONS
Disconnect the disposer wires from the
electrical supply.
5
4
Is the new disposer mounting
the same as the old one?
If YES, skip to Step 15.
If NO, continue to Step 6.
You must install Part # SF1
available separately.
Page 1

Page 2
6
Using a flathead screwdriver, loosen the 3
screws on the mounting assembly.
8
Remove the old flange from the sink.
10
Evenly apply a 1/2” thick rope of plumber’s
putty (45325) around the new sink flange
from kit SF1.
11
Press the new sink flange firmly into the sink
drain. Remove the excess plumber’s putty.
12
Place a weight, such as the old disposer, on
the sink flange to hold it in place. Use a soft
cloth such as a towel to avoid scratching the
sink.
9
Remove old plumber’s putty from the sink.
7
Using a flathead screwdriver, pry off the snap
ring. The fiber gasket, backup flange &
mounting ring can be removed.
13
Insert the fiber gasket , backup flange, &
mounting ring. Hold in place while inserting
the snap ring. Pull the snap ring open and
press firmly until it snaps into place.

14 17
15
Using a flathead screwdriver, tighten the 3
screws on the mounting assembly firmly
against the backup flange.
INSTALL THE MOUNT ING ONTO THE
NEW DISPOSE .
If replacing an old disposer, remove the ex-
isting mount ring to be mounted on the new
disposer. A new Mount Ring is included in the
SF1 kit.
Remove the rubber splash guard from the
new disposer. Slip the Mount Ring over the
disposer throat. Replace the splash guard
making sure the flange securely seats with
the groove in the splash guard.
Turn the disposer onto its side & insert a
screwdriver into dishwasher inlet. Knock out
the plastic drain plug and remove it from in-
side of the disposer.
16
* CAUTION: DISHWASHE CONNECTION
ONLY
If you do not need to attach the dishwasher,
go to step 17.
Page 3
Turn the disposer over
and remove the electrical
cover plate.
18
Run the electrical cable
or power cord (PS1 to be
purchased separately)
through the access hole
on side bottom of the disposer. Tighten the
internal cable connector.
19
*WA NING!
Improper grounding can result in electric
shock hazard. Insert the neutral (white) wire
from power source into the terminal block op-
posite the white wire from disposer. Tighten
the clamping screw in the terminal block.
Then insert into the terminal block the hot
(black, red) wire from power source opposite
the black wire from the disposer. Tighten the
clamping screw in the terminal block . Fasten
ground wire to green grounding screw. Unit
must be grounded for safe and proper instal-
lation.
Grounding
Screw

Page 4
Replace the electrical cover plate.
This disposer requires a switch with a
marked “ff” position (wired to discon-
nect all ungrounded supply conductors)
installed within sight of the disposer sink
opening (1 hp minimum rating).
20
You may need to trim the waste pipe to
ensure proper fit.
21
Slide the flange over the waste pipe. Insert
the gasket into the discharge outlet. Secure
the flange and the waste pipe to the disposer
with 3 bolts.
22
Hang the disposer by aligning the 3 mounting
tabs with the slide-up ramps on the mounting
ring.
23
Turn the mounting ring until all 3 mounting
tabs lock over the ridges on the slide-up
ramps.
24
Rotate disposer so that the waste pipe is
aligned with the drain trap. Reconnect the
plumbing (and the dishwasher connection if
used).
25

Page 5
GD12 ½HP GA BAGE DISPOSE
USE INST UCTIONS
• Read all instructions before using the appliance.
• To reduce the risk of injury, close supervision is required when an appliance is used near children.
• Do not put fingers or hands into a waste disposer.
• Turn the power switch to the off position before attempting to clear a jam, removing an object from the
disposer or pressing reset button.
• When attempting to loosen a jam in a waste disposer, use the self-service wrenchette (included).
• When attempting to remove objects from a waste disposer, use an ARB1 Alligetter (must be purchased
separately).
• Do not put the following into the disposer: clam or oyster shells, caustic drain cleaners or similar prod-
ucts, glass, china, or plastic, large (whole) bones, metal (such as bottle caps, steel shot, tin cans, or
utensils), hot grease or other hot liquids.
• When not operating the disposer, leave the stopper in place to reduce the risk of objects falling into the
disposer.
• This product has been designed to dispose of normal household food waste; inserting materials other
than food waste into disposer could cause personal injury and/or property damage.
• To reduce the risk of injury, do not use the sink containing the disposer for purposes other than food
preparation (such as baby bathing or washing hair).
• Do not dispose of the following in the disposer: paints, solvents, household cleaners and chemicals,
automotive fluids, plastic wrap.
• FIRE HAZARD: Do not store flammable items such as rags, paper or aerosol cans near the disposer.
Do not store or use gasoline or other flammable vapors and liquids in vicinity of disposer.
Basic precautions are always to be followed, including:
A B1
ALLIGETTE
Do not use plumber's putty on any other disposer connection other than sink flange. Do not use thread
sealants or pipe dope. These may harm disposer and cause property damage.
G OUNDING INST UCTIONS
ELEASING A DISPOSE JAM
CLEANING DISPOSE
Improper connection of the equipment-grounding conductor can result in a risk of electric shock. Check
with a qualified electrician or serviceman if you are in doubt as to whether the disposer is properly
grounded. If the plug provided with the disposer does not fit the outlet, do not modify the plug or attempt
to force the plug into the outlet – have a proper outlet installed by a qualified electrician.
• This disposer must be properly grounded.
• Do not attach ground wire to gas supply line.
• Disconnect power before installing or servicing disposer.
• If three-prong grounded plug is used, the plug must be inserted into the three hole grounded receptacle.
• All wiring must comply with local electrical codes.
• Do not reconnect electrical current at main service panel until proper grounds are installed.
If motor stops while the disposer is operating, the disposer may be jammed. To release a jam:
1. Turn off the disposer and the water.
2. Insert one end of the self-service wrenchette into the center hole on bottom of the disposer (see Fig-
ure A). Work the wrenchette back and forth until it turns one full revolution. Remove the wrenchette.
3. Reach into the disposer with tongs (Alligetter ARB1) and remove object(s). Allow the disposer motor to
cool for 3 - 5 minutes, then lightly push the red reset button on the disposer bottom (see Figure B). (If
the motor remains inoperative, check the service panel for tripped circuit breakers or blown fuses.)
A B
ver time, food particles may accumulate in the grind chamber and baffle. An odor from the disposer is
usually a sign of food buildup. To clean disposer:
1. Place stopper in sink opening and fill sink halfway with warm water.
2. Mix 1/4 cup baking soda with water. Turn disposer on and remove stopper from the sink at same time
to wash away loose particles.
3. Disposers may also be cleaned with Disposer Care® (DP36F) or PLINK® (19010).
Disposer
Care®
DP36F
PLINK
19010
Page 6
Table of contents
Popular Garbage Disposal manuals by other brands

Jobsite
Jobsite CT0567 instruction manual

MULTIQUIP
MULTIQUIP Mikasa Series MVH306ds2 Operation and parts manual

Samoa
Samoa EXTRACTOR 100 Parts and technical service guide

Weber mt
Weber mt VPR 450 DC Operating and maintenance manual

Electrolux
Electrolux D300 Instruction booklet

Max
Max Maxmatic 4000c operating instructions