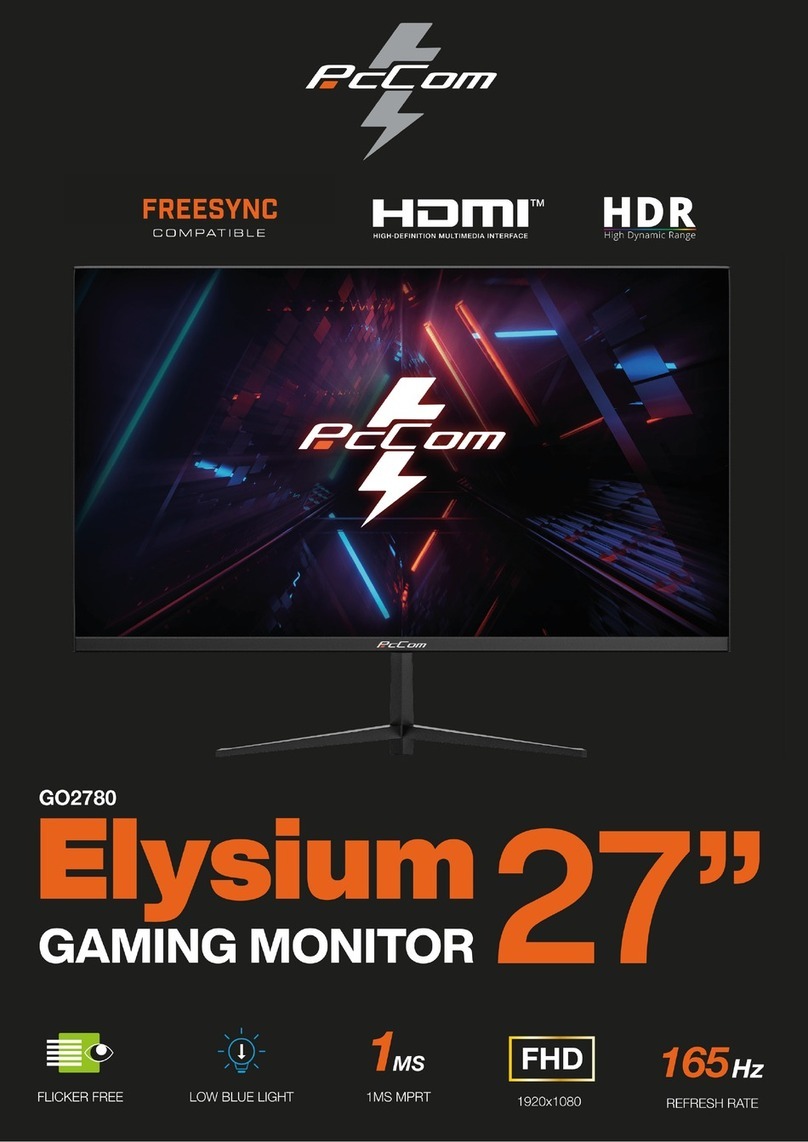
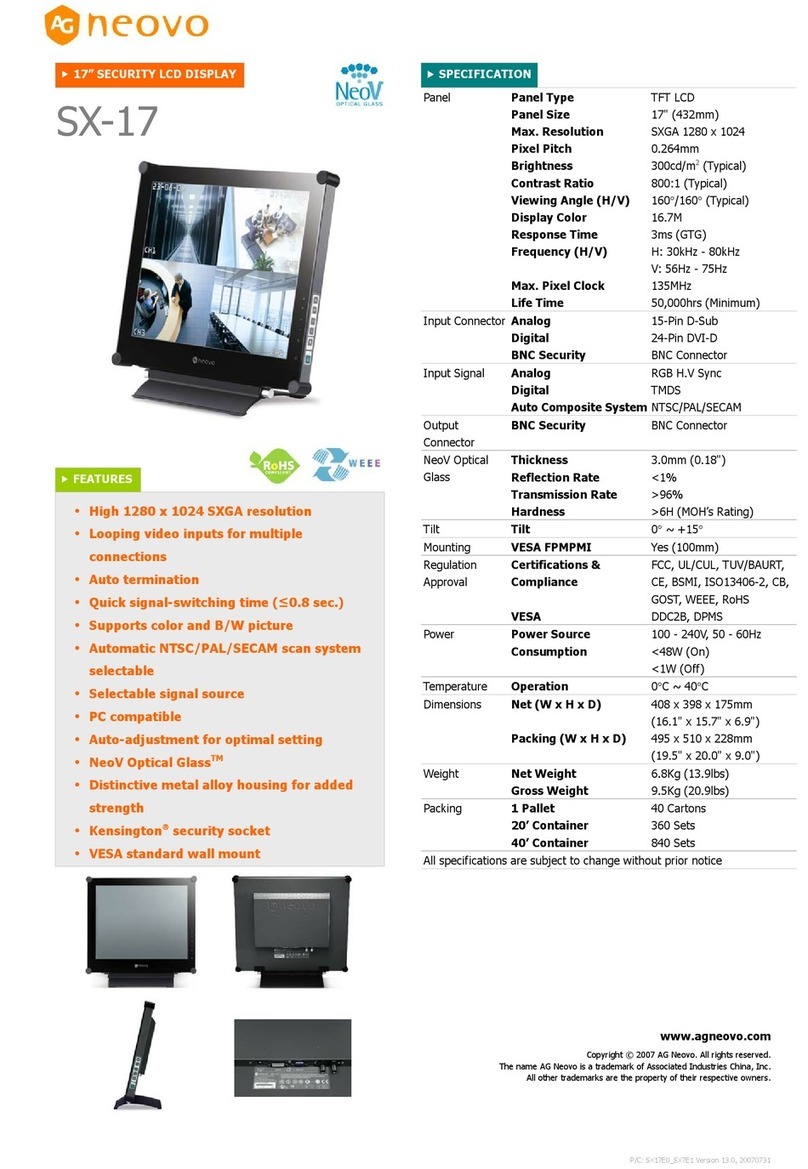
PcCom Discovery GO2780 User manual

DCR READY
Dynamic Contrast Ratio Technology
Adaptive sync
27”
FLICKER FREE
CURVED
R1500 CURVEDLOW BLUE LIGHT 1MS MPRT
FHD
1920x1080
165
REFRESH RATE
Hz
GO2780


The terms HDMI and HDMI High-Denition Multimedia
Interface, and the HDMI Logo are trademarks or
registered trademark of HDMI Licensing Administrator,
Inc. in the United States and other countries.

WARRANTY
Dear customer:
Thank you for purchasing an PCCOM product. If you have any difculty installing or using
the product, we recommend you rstly consult the operating instructions before contacting
the after sales service.
We apologize if your product is not working as expected. In this case, PCCOM will arrange
for repair, replacement, refund or provide spare parts under the terms of the warranty.
Warranty period starts on the day of purchase of the product from an authorized dealer or
vie online and will ends after 24 MONTHS. The conditions of the warranty are:
• The guarantee is valid only on presentation of the product's purchase invoice.
• Damage caused during transportation; negligence or misuse; incorrect assembly or
installation, or external inuences, such as: atmospheric or electrical rays, ooding,
humidity, etc. are not covered by the warranty.
• Damage caused as a result of improper installation, power connection (electricity, water,
gas), drainage and disposal are also not covered by the warranty.
• Aesthetic damage (scratches, chips, etc.) cause by use are not covered by the warranty.
• This warranty ends when that the product is found to have been subjected to repairs,
alterations or interventions by any person not authorized.
• During reparation time, no amount will be paid for action damages for the time the
appliance is out of service.
• The warranty does not cover deciencies resulting from improper use and periodic
maintenance of the product as specied in the user manual.
• Accessories or consumable components are not covered by the warranty.
• Rubber components are excluded from the warranty.
• The product is not covered by the warranty if it lacks the corresponding identication
label. The user must inform the technical service of the data included on the identication
label when required.
To make use of the guarantee please contact our support department by the website,
https://www.pccomponentes.com/.
THE WARRANTY DOES NOT AFFECT THE LEGAL RIGHTS OF THE CONSUMER IN THE
EVENT OF NON-CONFORMITY OF THE PRODUCTS WITH THE CONTRACT.

GARANTÍA
Estimado cliente:
Gracias por comprar este producto PCCOM. Si tiene alguna dicultad para instalar o utilizar
el producto, le recomendamos que consulte primero las instrucciones de funcionamiento
antes de ponerse en contacto con el servicio técnico.
Le pedimos disculpas si su producto es defectuoso o tiene algún problema de fabricación.
En ese caso, por favor, póngase en contacto con PC Componentes para tramitar la
reparación, sustitución o reembolso según las condiciones de la garantía.
La garantía comienza el día de compra del producto en un distribuidor autorizado o a través
de compra on-line y naliza pasados 24 MESES. Las condiciones de la garantía son:
• La garantía es válida sólo con la presentación de la factura de compra del producto.
• No están cubiertos por la garantía los daños causados durante el transporte, negligencia
o mal uso, montaje o instalación incorrecta, así como las inuencias externas, tales
como: rayos atmosféricos o eléctricos, inundaciones, humedad, etc.
• Tampoco estarán cubiertos por la garantía los daños causados como consecuencia
de inadecuada instalación, conexión de alimentación (eléctrica, agua, gas), desagüe y
evacuación.
• No están cubiertos por la garantía los daños estéticos (como rasguños, desconchados,
etc) surgidos por el uso.
• Esta garantía termina cuando se descubre que han sido sometidas a reparaciones,
reformas o intervenciones por cualquier persona no autorizada.
• Durante el tiempo que pase entre el contacto con el servicio técnico y la reparación del
aparato, no se abonará importe alguno en concepto de daños y perjuicios por el tiempo
que el aparato esté fuera de servicio.
• La garantía no cubre aquellas deciencias derivadas de una incorrecta utilización
y mantenimiento periódico del producto, tal y como se especica en el manual de
instrucciones.
• No están cubiertos por la garantía los accesorios o componentes consumibles.
• Se excluyen de la garantía los componentes de goma.
• El producto no está cubierto por la garantía si carece de la placa identicativa
correspondiente. El usuario deberá comunicar al servicio técnico los datos incluídos en
la placa identicativa cuando así se requiera.
Para hacer uso de la garantía póngase en contacto con el centro de soporte a través de la
web https://www.pccomponentes.com/.
LA GARANTÍA NO AFECTA A LOS DERECHOS LEGALES DEL CONSUMIDOR ANTE LA
FALTA DE CONFORMIDAD DE LOS PRODUCTOS CON EL CONTRATO.

Product Description.............................................................................................
Product Overview................................................................................................
Stand Installation.................................................................................................
Wall Mounting......................................................................................................
Basic Operation...................................................................................................
Indicator Light......................................................................................................
OSD....................................................................................................................
ECO Modes and Gameplus Switching................................................................
Technical Specications of Product.....................................................................
04
05
06
07
08
08
09
12
13
Contents

Listado del producto............................................................................................
Descripción del producto.....................................................................................
Instalación del soporte.........................................................................................
Instalación en pared............................................................................................
Uso básico...........................................................................................................
Indicador de luz...................................................................................................
Menú en pantalla (OSD)......................................................................................
Función ECO y Gameplus...................................................................................
Especicaciones Técnicas..................................................................................
14
15
16
17
18
18
19
22
23
ÍNDICE

EN
8
IMPORTANT SAFETY PRECAUTIONS
Operation
Keep the monitor out of direct sunlight and away from stoves or any other heat source.
Keep the monitor out of water source.
Remove any object that could fall into ventilation holes or prevent proper cooling of the monitor's electronics.
Do not block the ventilation holes.
Do not knock or drop the monitor during operation or transportation.
Maintenance Guidelines
CAUTION
Do not place the monitor in rain, humid environment or open the monitor case to avoid any shock electrica hazards, and/
or mechanical hazards.
Before cleaning the monitor, unplug the monitor power cable from the electrical outlet.
Caring for Your Monitor
To clean your screen, slightly dampen a soft, clean cloth with water.
lf possible, use a special screen-cleaning tissue or solution. Do not use benzene, thinner, ammonia, abrasive cleaners,
or compressed air.
Use a slightly dampened, warm cloth to clean the frame. Avoid using detergent of any kind as some detergents might
leave a milky lm on the plastics.
Unplug the monitor if you are not going to use it for an extendedperiod of time.
To avoid the risk of shock or permanent damage to the set, do not expose the monitor to dust,rain, water, or excessive
moisture environment. If your monitor gets wet, wipe it with dry cloth as soon as possible.
1. Product Description
Packing list
Please check the following items in the packing case before installation:
lf any of above items is missing, please contact with the dealer.
Monitor×1
Wall mount screws×4
Stand stem×1
DP cable×1
Stand base×1
Power cable×1
Harness seat×1
Power Adaptor×1
Foot pad×1
User Manual×1
Screws×1

EN
9
2. Product Overview
2.1 Monitor Buttons
1
1
7
7
2
2
8
8
3
3
9
9
4
4
10
10
5
5
6
6
MMenu Button Press to display the OSD menu or enter sub-menus.
Down Button Press to move down in the menus.
Up Button Press to move up in the menus.
EExit Button Press to exit.
Power Button Press to turn the monitor on/off.
LED Indicator Changes colour according to status.
Power Connector Insert the power cable to supply power to the monitor.
HDMI Connectors Insert one end of the HDMl cable into the computer's HDMI
output and connect the other end to the monitor's HDMl port.
DP Connectors Insert one end of the DP cable into the computer's DP output
and connect the other end to the monitor's DP port.
Audio Output
Plug one end of the audio cable into the audio output interface,
and connect the speaker to receive the audio signal from the
monitor.
2.2 Monintor Ports
Connect the signal line to output interfaces signal of DP/HDMI signals of PC, and then connect the other end of
the signal line to the corresponding signal input port of the display.
DC DPHDMI2 HDMI1 AUDIO
OUT

EN
10
3. Stand Installation
3.1 Bracket installation
In the process of assembling/disassembling the base of the bracket, the display screen cannot be left under the polyol
foam to prevent the screen from being broken.
Open the packing box, take out the bracket and the base, use 2 screws to pass through the base to lock the bracket
and paste the foot pads, and then clip it into the cable harness seat.
Take the machine out of the box, lay it at, with the back facing up, snap the stand into the monitor, and push the
quick release button to complete the stand removal.
1
2
Screws Harness Seat
Quick release button
Foor Pad

EN
11
The iron stud found from the accessory bag can be locked in the M4 threaded hole of the rear shell as shown in the
gure below and locked with a at-blade screwdriver.
Do not pinch the screen directly with your hands during the process of hanging the product to prevent the screen
from being broken.
1
2
Wall mount screws × 4
Wall Wall
Wall bracket
Wall stud lock position
4. Wall Mounting

EN
12
6. Basic Operation
1. Insert one end of the DP cable into your PC's graphics card.A HDMl cable may also be used. A HDMl cables is not included.
2. Connect the other end of the cable to the corresponding connector on your monitor.
DC DPHDMI2 HDMI1 AUDIO
OUT
DP Connector
HDMI Connector
Indicator Light
Adaptive-Sync
This feature is off by default. To activate,you must have hardware with Adaptive-Sync capa-bility, a DP or HDMl cable,
and the latest graphic drivers. After connecting your computer andmonitor with a DP or HDMl cable, you may receive a
prompt to enable the feature on yourcomputer. lf you do not, you may need to enable the function in your graphics card
menu.See your graphics card manufacturer's documentation for instructions.
7. Indicator Light
A steady blue light indicates that the power is on and the monitor is operating normally. The red light means that no video
source is detected. Please make sure your computer is turned on and all video cables are fully plugged in or connected.

EN
13
Press any one of the buttons ( ) to activate the navigation window.
Press M ( ) to enter the OSD menu.
Press to exit the current screen.
Press or to browse functions.
Highlight the desired function and then press to enter the sub-menu.
Press or to browse sub-menus then press to highlight the desired function.
Press or to highlight an option and then press to conrm the settings and exit the current screen.
1
2
4
3
8. OSD
The On-Screen Display (OSD) Menu may be used to adjust your monitor's settings and appears on screnn after turning on
the monitor and pressing the M button.
When using the monitor for the rst time, settings will automatically adjust to optimal settings
according to your computer's conguration and parts etc.
M
M
M
E

EN
14
8.1 OSD Menu Functions
Main Menu Sub-Menu Options Description
Brightness
Brightness 0-100 Adjust display brightness
Contrast 0-100 Adjust display contrast
ECO
Standard,Text,
Game,Movie,
FPS,RTS
Set visual mode
DCR
On Turn on DCR function
Off Turn off DCR function
Image
H. POSITION 0 - 100 Adjust display H. POSITION
V. POSITION 0 - 100 Adjust display V. POSITION
CLOCK 0 - 100 Adjust display CLOCK
PHASE 0 - 100 Adjust display PHASE
Aspect Wide, 4:3, Auto Select on-screen aspect ratio
Color Temp.
Color Temp. Warm, Cool, User Set the display color
temperature mode
Red 0-100 Customize the display screen
Green 0-100 Preference
Blue 0-100 RGB component according to
OSD Setting
Language
English, Français,
Deutsch, 简体中文
Italiano, Español,
Português, Turkce,
Polski, Nederlands,
Русский, 한국,
日本語
Set OSD language
OSD H.POS. 0-100 Adjust the OSD Horizontal
position
OSD V.POS. 0-100 Adjust the OSD Vertical position
OSD Timer 5-60 Adjust OSD display time
Transparency 0-100 Adjust OSD transparency

EN
15
Main Menu Sub-Menu Options Description
Reset
IMAGE AUTO
ADJUST None Monitor automatic image
adjustment
COLOR AUTO
ADJUST None Automatic adjustment of
monitor color
Reset None Reset monitor congurations
MPRT On, Off Turn MPRT on/off
Misc
Signal Source HDMI1, HDMI2, DP DP or HDMl signals input
Volume 0-100 Adjust audio volume
Low blue ray 0-100 Set blue light ltering level
Over Driver Off, Low, Middle, High Set the Overdriver function
Adaptive-Sync On, Off Turn the Adaptive-Sync function
on/off

EN
16
9. ECO Modes and Gameplus Switching
The On-Screen Display (OSD) Menu may be used to adjust your monitor's settings and appears on screnn after turning on
the monitor and pressing the M button.
Press any one of the buttons ( ) to activate the navigation window.
1
Press ( ) to switch Gameplus modes. According to the needs of your game, choose the corresponding game
icon.These game icons are primarilydesigned to optimize your aim during FPS games, though they can be usedfor
other scenarios.
2
Press ( ) button to switch ECO modes. These modes (Standard,Text,Movie, Game, FPS, and RTS)
can be used to optimize settings according toyour activity. Standard mode is suitable for most activities.
3

EN
17
10. Technical Specications of Product
Model PCC-27165VA-CV
Screen Size 27"
Aspect Rstio 16:9
Backlight ELED
Brightness 300nits(typ) , 250 nits (min)
Panel VA
Resolution DP1.2 : 1920x1080 165Hz, HDMI 1.4 : 1920x1080 120 Hz
Refresh Rate 165Hz
Response Time w/o OD 1Ms MPRT
Viewing Angle 178°(H)/178°(V)
Contrast Ratio 3000:1
VESA Mounting 75*75mm /100*100mm
Colours 16.7M
Adaptive-Sync Yes
Signal Input DP1.2*1,HDMl1.4*2
Power Supply 12.0V 4A
Audio
Speakers No
Audio Out Yes
Accessories
DisplayPort Cable Yes
Power Cable Yes
Power Adaptor Yes
Additional Functions
Low Blue Light Yes
Flicker Free Yes
Physical Dimensions
Dimensions (w/ Stand) 613.03*455.37*200.39mm
Dimensions (w/o Stand) 613.03*365.18*79.57mm
Net Weight 3.98Kg
Gross Weight 6.37Kg

ES
18
CONSEJOS DE SEGURIDAD
USO
Mantenga el monitor alejado de la luz solar directa y de estufas o cualquier otra fuente de calor
Mantenga el monitor alejado de fuentes de agua
Retire cualquier objeto que pueda caer en los oricios de ventilación o impedir la correcta refrigeración de los
componentes electrónicos del monitor
No toque ni deje caer el monitor durante el funcionamiento o el transporte.
CONSEJOS DE MANTENIMIENTO
PRECAUCIÓN
No coloque el monitor en la lluvia, ni en un ambiente húmedo, ni abra la carcasa del monitor para evitar cualquier riesgo
de descarga eléctrica, y/o riesgos mecánicos.
Antes de limpiar el monitor, desenchufe el cable de alimentación de la red eléctrica.
CUIDADOS PARA EL MONITOR
Para limpiar su pantalla, humedezca ligeramente un paño suave y limpio con agua
Si es posible, utilice un paño o una solución especial para la limpieza de la pantalla. No utilice benceno, diluyentes de
amoníaco, limpiadores abrasivos o aire comprimido.
Utilice un paño ligeramente humedecido y caliente para limpiar el marco. Evite el uso de cualquier tipo de detergente, ya
que algunos pueden dejar una película blanquecina en los plásticos.
Desenchufe el monitor si no lo va a utilizar durante un periodo prolongado de tiempo.
Para evitar el riesgo de descarga eléctrica o daños permanentes en el aparato, no exponga el monitor al polvo, la lluvia, el
agua o la humedad excesiva. Si el monitor se moja, límpielo con un paño seco lo antes posible.
1. Listado del producto
Listado de elementos incluidos
Revisa que los siguientes elementos estén dentro de la caja del producto,
si falta alguno, por favor ponte en contacto con tu vendedor.
Monitor×1
Tornillos para instalación
en pared×4
Brazo de soporte×1
Cable DP×1
Base de soporte×1
Cable de
alimentación×1
Clip para cables×1
Adaptador de
corriente×1
Pie de goma×1
Manual de
instrucciones×1
Tornillos soporte×1

ES
19
2. Descripción del producto
2.1 Descripción de panel de botones
1
1
7
7
2
2
8
8
3
3
9
9
4
4
10
10
5
5
6
6
MBotón de menú principal Presiona para entrar en el menú o acceder a los sub-menus.
Botón abajo Presiona para avanzar hacia abajo en los menús.
Botón arriba Presiona para avanzar hacia arriba en los menús.
EBotón de escape Presiona para salir del menú.
Botón de encendido Presiona para encender y apagar el monitor.
Indicador LED Cambia de color para indicar el estado del monitor.
Conector de alimentación Inserta el cable de la fuente de alimentación.
Conectores HDMI Conecta un cable HDMI a cualquier dispositivo compatible con
salida HDMI.
Conector DP Conecta un cable DisplayPort a cualquier dispositivo compatible
con salida DisplayPort (DP).
Salida de Audio Salida de audio tipo jack 3,5mm.
2.2 Supervisar puertos
DC DPHDMI2 HDMI1 AUDIO
OUT

ES
20
3. Instalación del soporte
3.1 Instalación del soporte
Durante el proceso de montaje del soporte, mantén la pantalla del monitor dentro de las protecciones para prevenir
cualquier tipo de daño y/o rotura del mismo.
Para montar el soporte une las dos partes, el brazo de soporte y la base con los dos tornillos y asegúralos. Una vez
hecho, adhiere el pie de goma debajo y acopla el clip para el cableado.
Coloca el monitor boca abajo en una supercie plana para evitar daños y acopla el soporte mediante el sistema de
montaje rápido, para desmontarlo, simplemente presiona el botón de seguridad y retíralo.
1
2
tornillos Clip para cableado
Botón de seguridad
Pie de goma
Table of contents
Languages:
Other PcCom Monitor manuals
