Page 4 of 10
06-13 peiker acustic, Inc., 480 Wrangler Drive, Suite 200, Coppell, 75019 Texas
A member of peikergroup
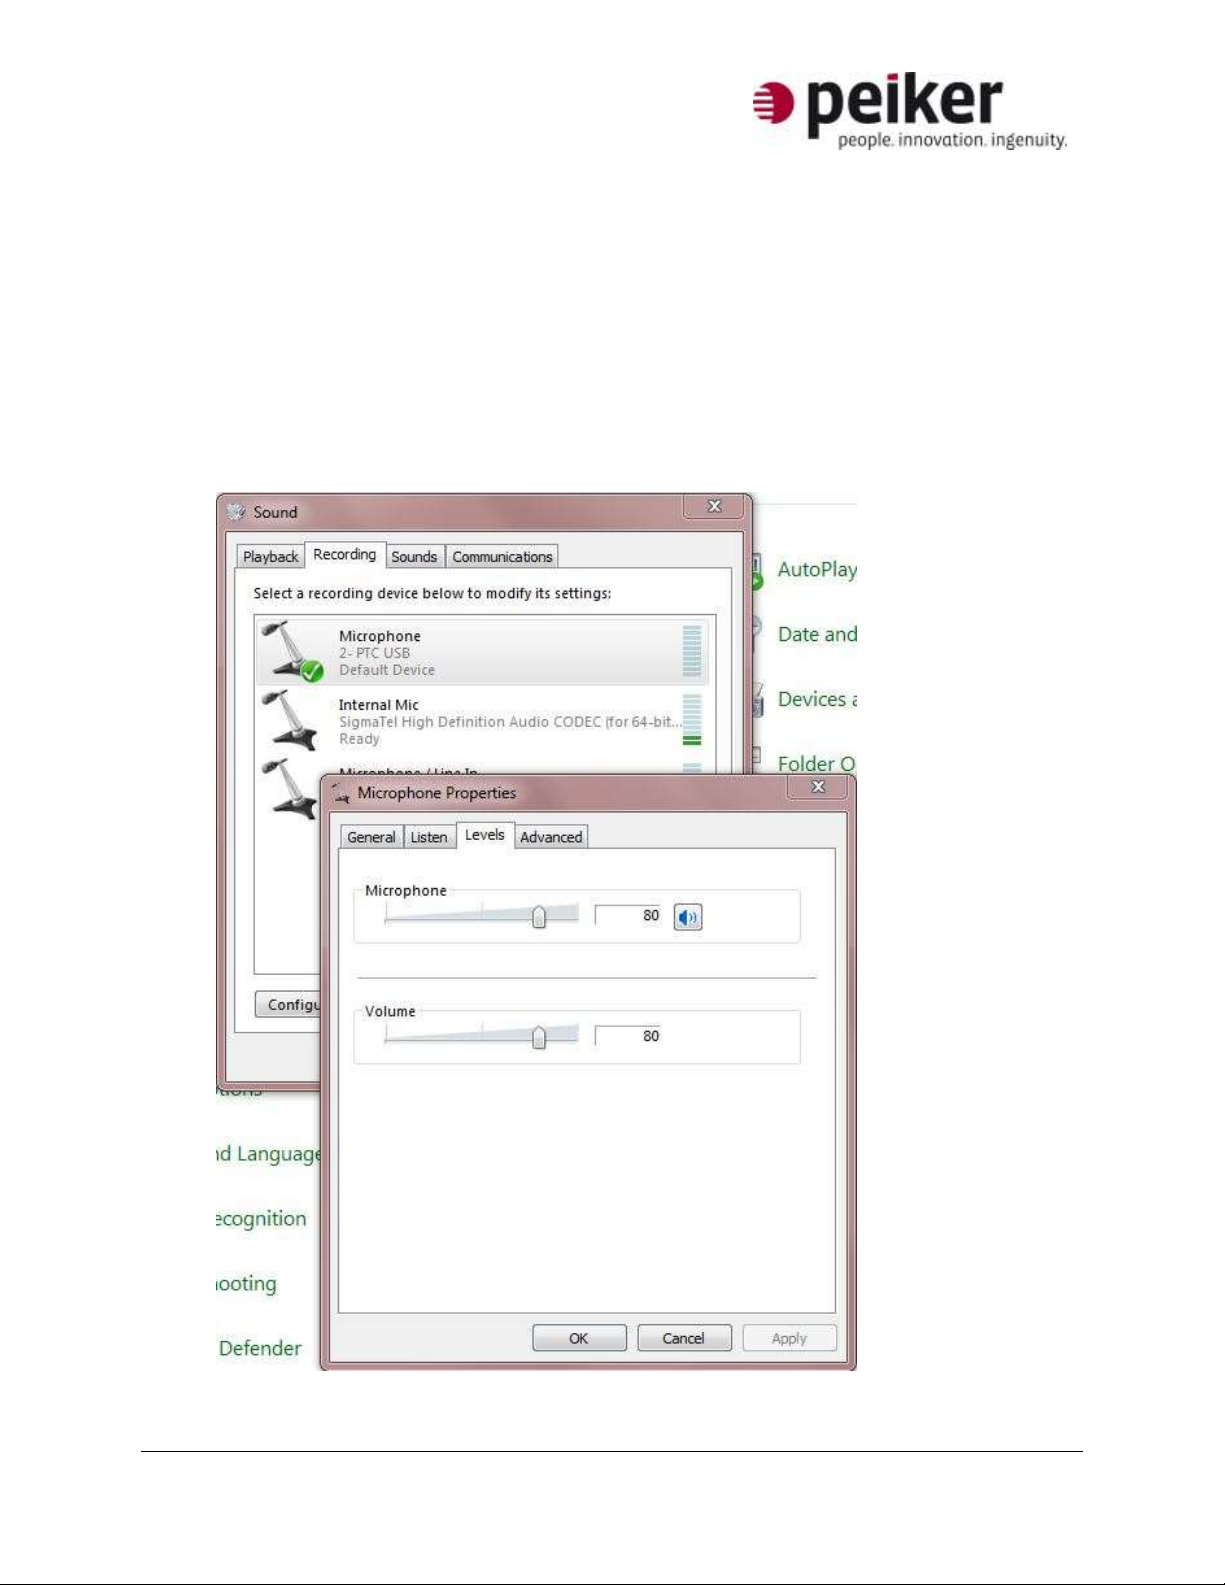
Installation
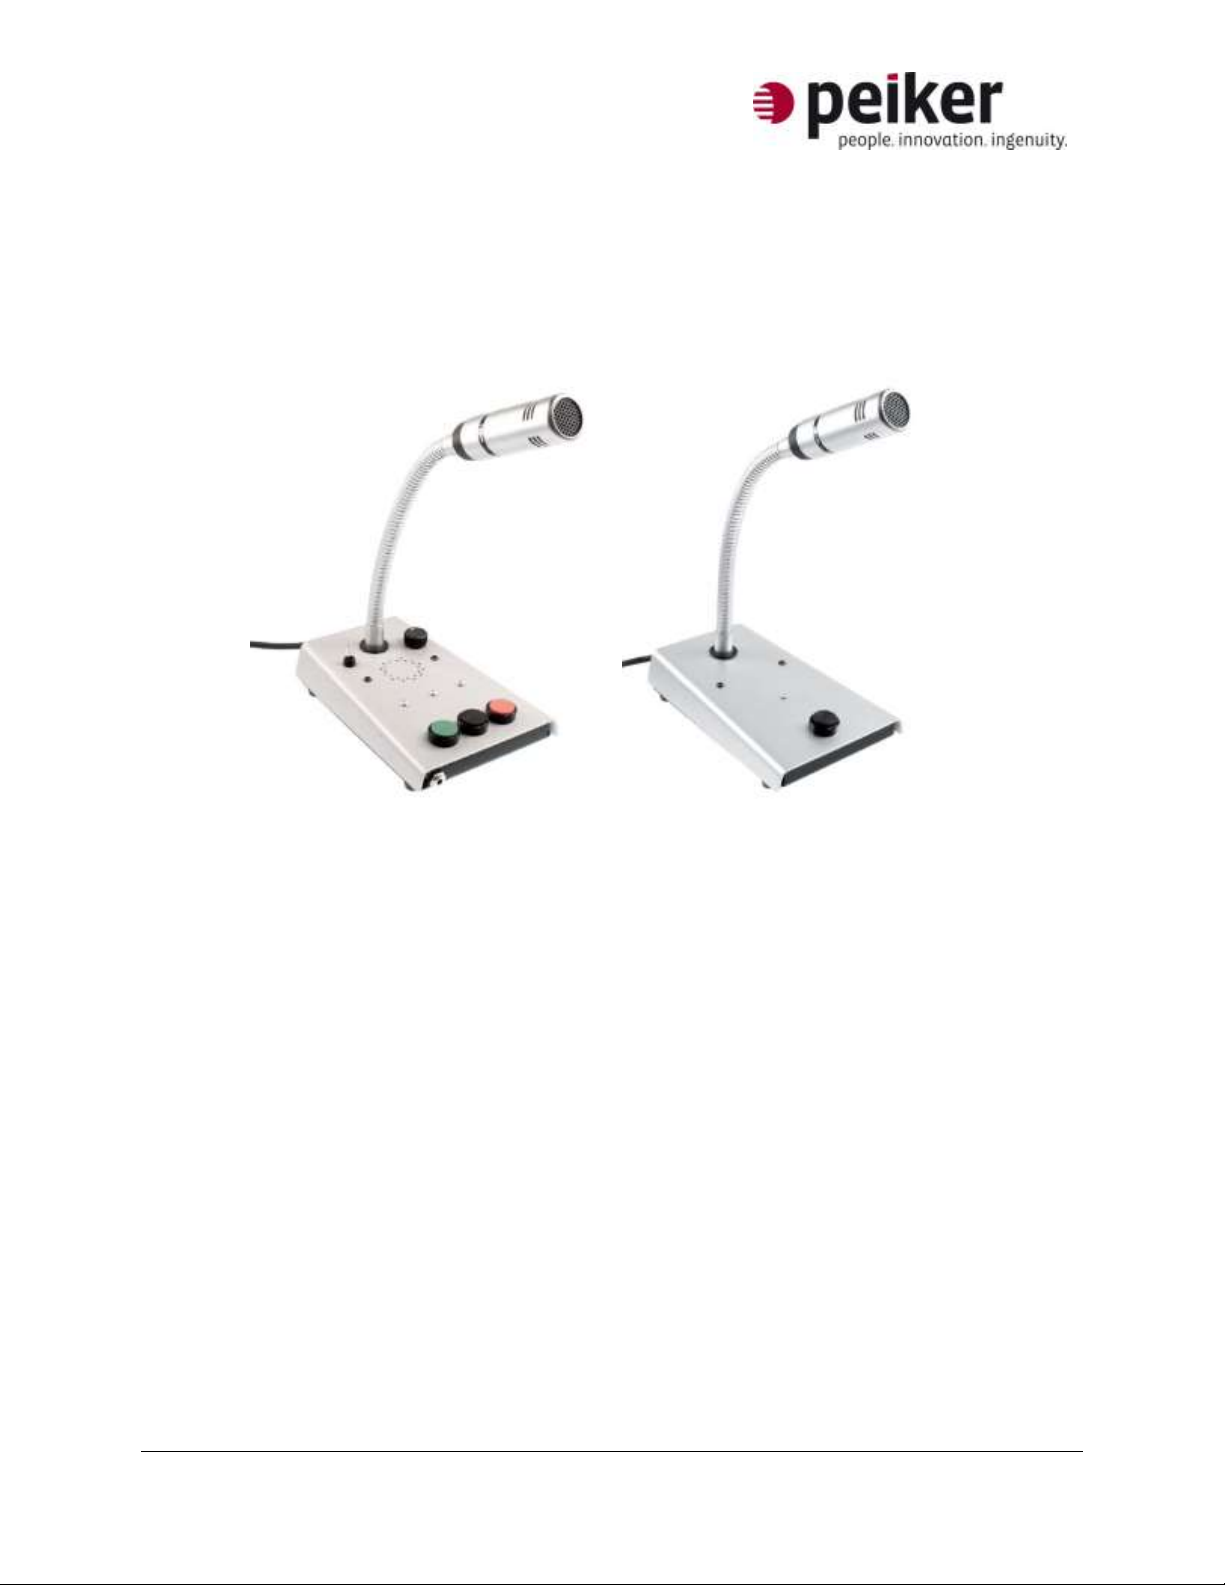
Note: The USB Desktop Microphone from peiker is designed to work with a wide range of two-way radio
computer-based consoles. In a few instances, the console software has been set up to recognize the HID
codes produced by the desktop microphone buttons automatically, but in most cases the system will
require the Keyboard Translation Application available free of charge from peiker acustic. This application
translates button presses into keyboard commands. The console can then be set up to recognize those
keyboard commands as functions such as PTT.
1. Unpack the desktop microphone from its box and determine if you need to install the
peiker PS Gateway keyboard translation application. (Contact your peiker representative
if you are unsure). If you need the application proceed to the next step, otherwise skip
to Step 10
2. Insert the USB drive included with your desktop microphone into an available USB drive
on the computer
3. Open the directory and copy the “peiker USB Interface Application” folder to your
desktop.
[Note: If running Windows XP or older, you will need to make sure Microsoft .NET is
installed on the computer. If required, please install the file in the “dotNet Install File” folder or
download it from Microsoft’s website]
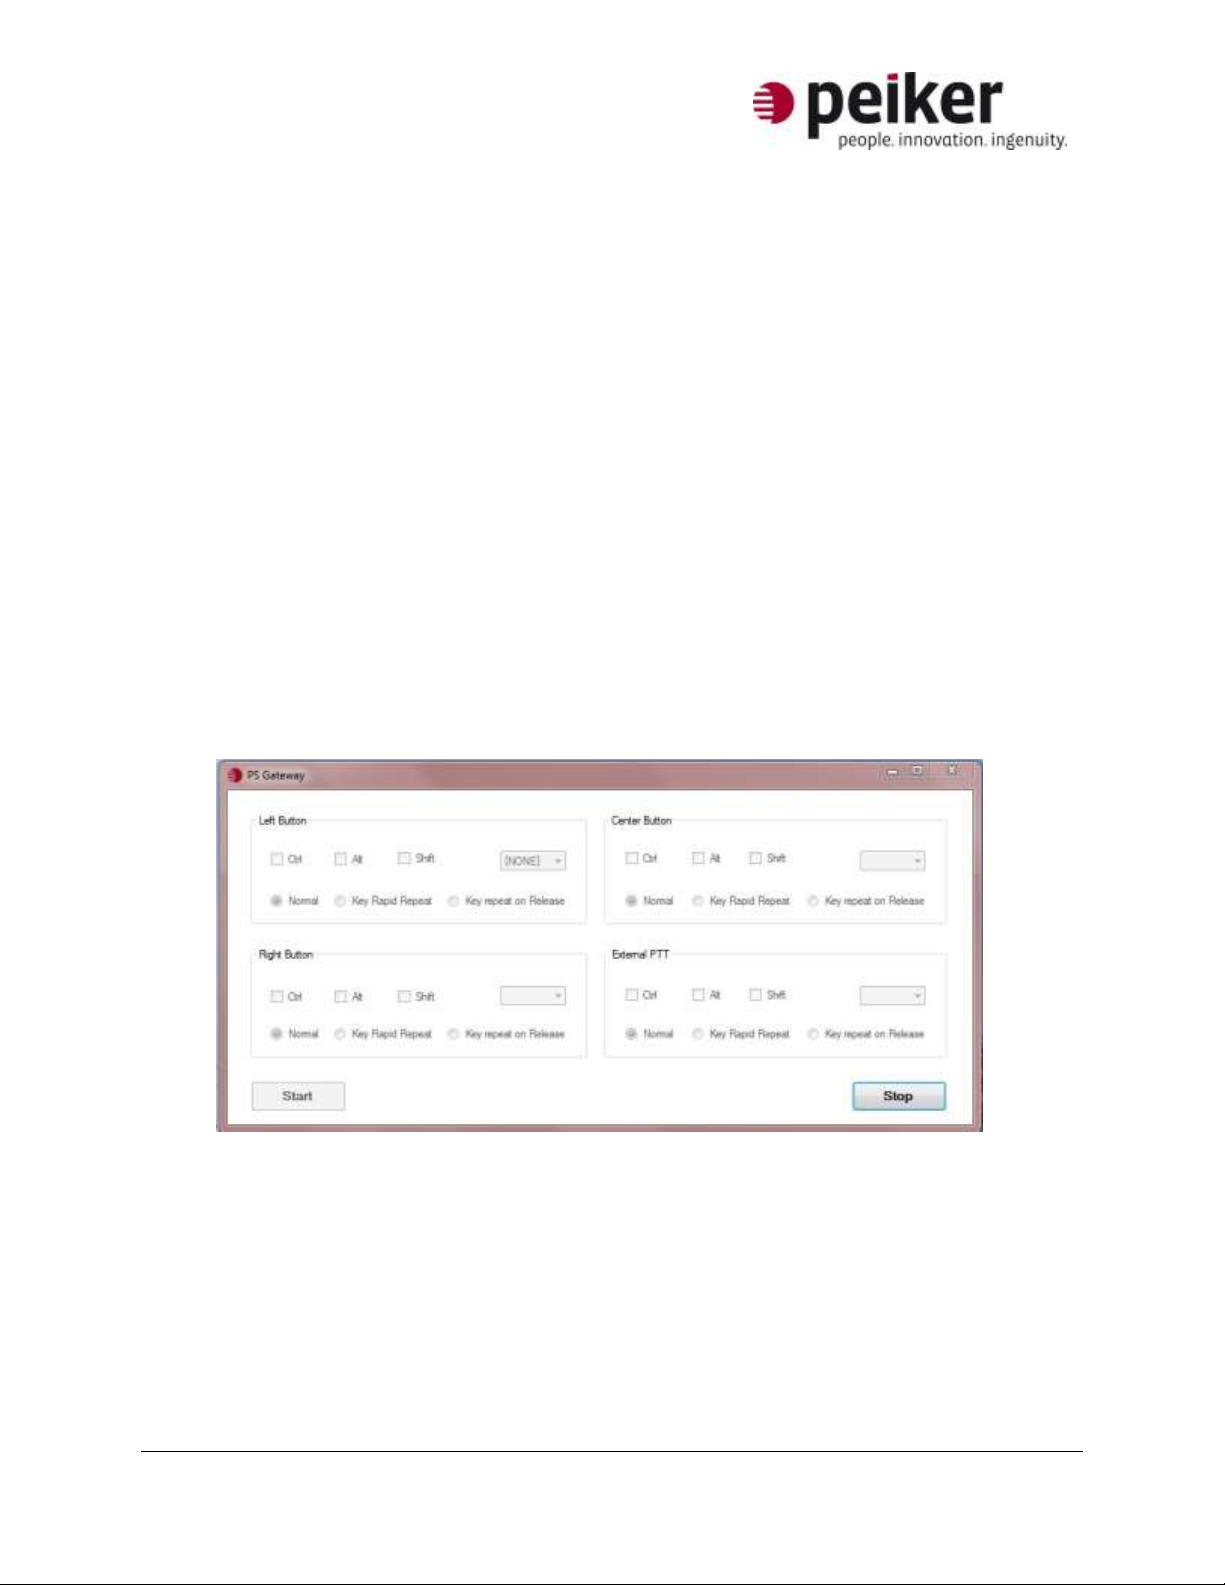
4. Open the file “peiker PS Gateway” in the previously copied folder on the desktop
5. Press the “Stop” button in the lower right of the control panel
6. Select the keyboard commands for the desktop microphone using the drop down boxes
for the corresponding button position (the PS12 only has 1 button and is defined as
“Center Button”)
a. Keyboard commands can be combined with CTRL, ALT or SHIFT using the
checkboxes.
b. The “Normal” setting should be used for most applications. Other applications
should use the following setting:
i. Cisco IPICS consoles, please use “Key Rapid Repeat”
ii. Kenwood KAS010 consoles, please use “Key Repeat on Release”