Page 7
midlandusa.com
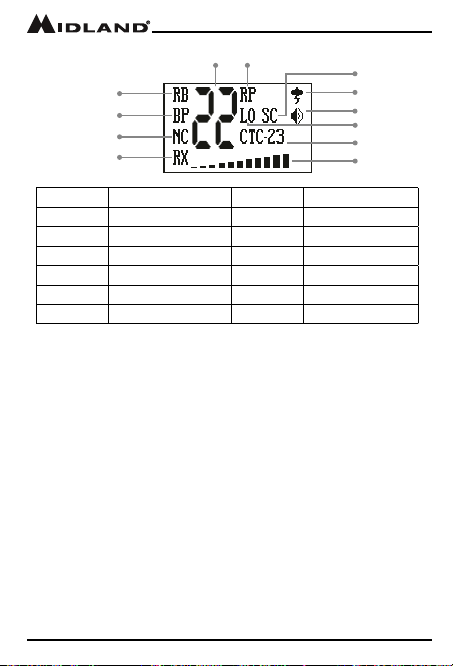
Model MXMC01
Locking the Keypad
You can use the keypad “lock” function to prevent accidentally
changing your radio’s settings. When the function is enabled, the
current radio settings are “locked” in place.
NOTE: When the “lock” function is enabled, the PTT button on the
microphone and the Volume Knob on the microphone remain active.
To “lock” and “unlock” the keypad:
1. Be sure the radio is turned on (see Power On/Off)
2. Press and hold the Lock button for three seconds.
• The Keypad Lock icon will turn on and the display will briey show
LC when the keypad is locked.
3. Repeat steps 1 and 2 to “unlock” the keypad.
• The Keypad Lock icon will turn off when the keypad is “unlocked”.
Using Monitor Mode
Monitor mode lets you check for activity on the current active
channel. You can also use Monitor mode to adjust the volume of your
radio when not receiving a signal.
To enter and exit Monitor mode:
1. Be sure the radio is turned on (see Power On/Off)
2. Be sure you have selected the desired channel
(see Selecting the Active Channel)
3. Press and release the Monitor button to enter Monitor mode.
(the display will show the icon if the radio channel is busy)
• You will hear any activity on the current selected channel.
4. Turn the Volume Knob to increase or decrease the volume
5. Once the volume has been adjusted to the desired level, press
and hold (3 seconds) the Monitor button to exit Monitor mode.
Scanning for Active Channels
Your MXMC01 includes an “auto-scan” mode that continuously scans
all available channels for activity.
To enter and exit “auto-scan” mode:
1. Be sure the radio is turned on (see Power On/Off)
2. Press and release the Scan button to enter “auto-scan” mode
• The Scanning icon will show on the LCD display when the radio is
in “auto-scan” mode.