Pelgrim ZOPI1066 User manual
GB
Instructions for Use
Upright - Freezer
ZOPI1066
ZOPI1061
Instructions for Use
2
Upright Freezer GB
Thank you for the confidence you have shown by buying this appliance. We hope it will successfully
serve its purpose for many years.
This upright freezer is intended for domestic use
only, for freezing fresh food and for long-term
storage of frozen food (up to one year, depending
on the type of food).
Before putting into use.................................... 2
Instructions for use
Mounting instructions
We care for the environment
Tips for energy saving
Important......................................................... 3
Disposing of the worn out appliance
Placing and installation .................................. 4
Choosing the right place
Connection to Power Supply
Adjusting the height of the appliance 4
Description of the appliance........................... 5
Operating the appliance ................................. 5
Switching on the appliance
Switching off the appliance
Selecting the temperature in the appliance
Freezing and storing frozen food ................... 6
Freezing process
Important warnings on freezing fresh food
Storage of frozen food
Defrosting of frozen food
Maintenance and Cleaning............................. 7
Freezer defrosting
Cleaning the appliance
Switch off the appliance when not in use
Troubleshooting............................................... 9
Before putting into use
• Before connecting the appliance to the power
mains, leave it stand for about 2 hours. This will
reduce the probability of malfunctions in the
cooling system due to transport and handling.
• Clean the appliance thoroughly, especially the
interior (see Cleaning and maintenance).
Instructions for use
These instructions for use were prepared for the
user. They describe the appliance and its correct
and safe use. They were prepared for various
types/models of appliances; therefore you might
find in them descriptions of some functions and
accessories that do not apply to your appliance.
Mounting instructions
Integrated appliances are equipped with
instructions for mounting the appliance into the
kitchen unit.
The appliance should be professionally mounted
by a qualified technician; mounting instructions are
for his use only.
We care for the environment
• Our products use environmentally friendly
packaging which can be either recycled or
disposed of in an environmentally friendly
manner. To this end, individual packaging
materials are clearly marked.
• These instructions are printed either on recycled
paper or chlorine-free bleached paper.
• When your appliance finally wears out, please
do not burden the environment with it; call your
nearest authorised service agent (see Disposing
of the worn out appliance).
Tips for energy saving
• Do not open the door too often, especially when
the weather is wet and hot. Once you open the
door, close it as soon as possible. This is
especially important if you have an upright
model.
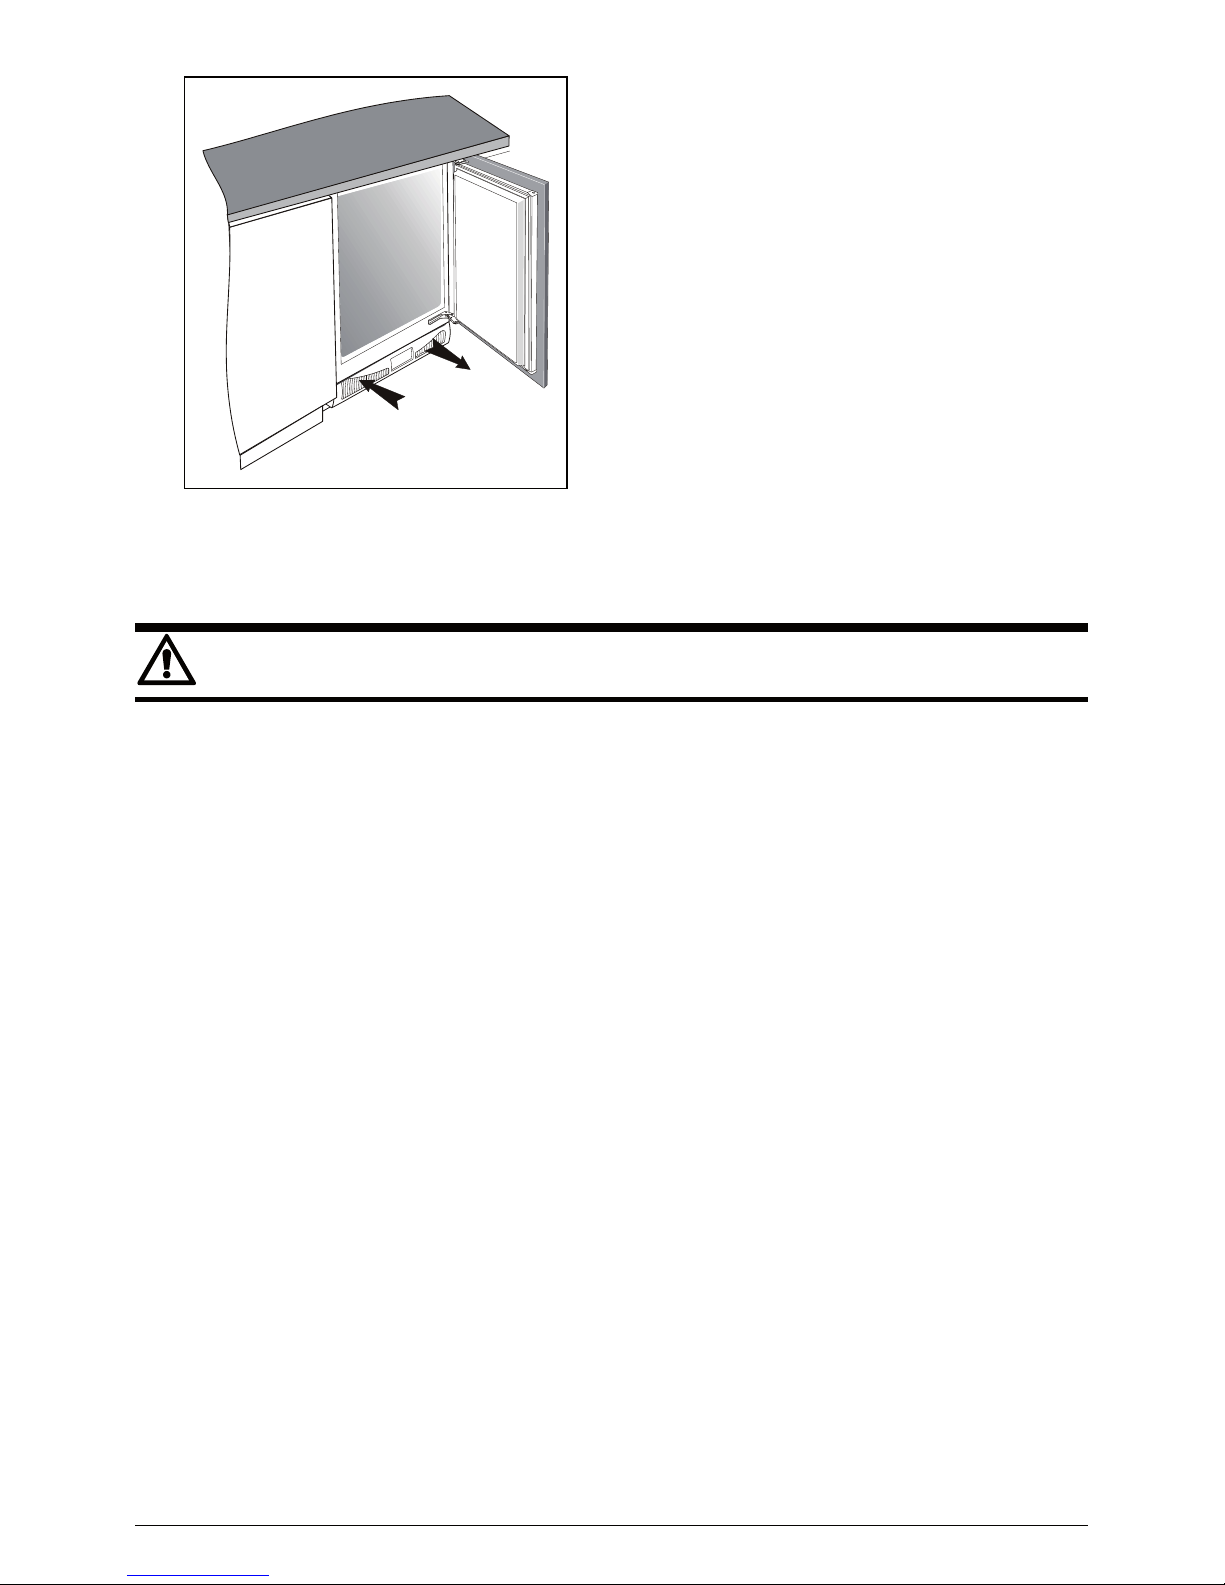
• Check periodically if sufficient ventilation is
provided (undisturbed circulation of air through
the bottom rail openings).
Instructions for Use 3
• Turn the thermostat knob from higher to lower
setting as soon as possible (depending on how
loaded the appliance is, ambient temperature
etc.).
• Never use continuous operation unless it is
absolutely necessary; switch the operation mode
selector switch to the setting for automatic
operation as soon as possible.
• Before freezing packages of fresh foods, make
sure they are cooled to ambient temperature.
• Ice and frost layer increase energy consumption,
so do clean the appliance as soon as the layer is
3-5 mm thick.
• If the gasket is damaged or if it turns out that the
sealing is poor, the energy consumption is
substantially higher. To restore efficiency,
replace the gasket.
• Condenser at the bottom of the appliance must
always be clean and dust free (see section
Cleaning of the appliance).
• Always observe the instructions given in sections
Positioning and Energy saving tips; otherwise
the energy consumption may be substantially
higher.
Important
• This appliance is manufactured in compliance
with relevant safety standards. However, it is still
advisable it is not used without due supervision
by persons with diminished physical, motoric, or
mental capabilities or persons with inadequate
experience or knowledge. The same
recommendation applies to minors using the
appliance.
• If you bought this appliance to replace an old
one that was equipped with a lock that cannot be
opened from the inside of the appliance (lock,
bolt), make sure that the lock is broken. This will
make it impossible for the children to lock
themselves into the appliance and suffocate.
• Make sure you connect the appliance correctly
to the power mains (see Connection to the
power mains).
• Do not touch the cooled surfaces while the
appliance operates, especially not with wet
hands, because your skin might stick to the cold
surfaces.
• Do not freeze bottled drinks, especially not fizzy
ones such as mineral water, sparkling wine,
beer, cola etc., because liquid expands during
freezing and the glass bottle is very likely to blow
up.
• Never try to eat frozen food (bread, fruit,
vegetables), because you may get frostbite.
• Carefully check the foods for colour and smell
and if you are in doubt about their quality, throw
them away because they may be spoiled and
therefore dangerous to eat.
• Disconnect the appliance from the power mains
before any repairs (only a qualified technician
should repair it) and before cleaning.
• Use only tools supplied with the appliance or
tools recommended by the manufacturer.
• To protect your environment, be careful not to
damage the rear wall of the appliance (the
condenser unit or the tubes – for example when
moving the appliance) or any part of the
refrigeration system inside the appliance.
• The refrigeration system of the appliance is filled
with refrigerant and lubricant. When the
appliance is damaged, handle it with care and
dispose it of in compliance with environment-
protection precautions (see We care for the
environment).
• Heating element integrated in the appliance, all
around the rim, is controlled by the operation of
the compressor and it prevents the door gasket
to freeze onto the freezer housing.
• If the power supply cord is damaged, it must be
replaced by the manufacturer or his service
agent or a qualified person in order to avoid
hazard.
• The rating plate is located in the interior or on
the rear wall of the appliance.
• Warning! Ventilation slots on the appliance or a
built-in element must always be clean and
unobstructed.
• Warning! Do not use mechanical devices or
tools to defrost the refrigerator, nor any other
methods except for those recommended by the
manufacturer.
Instructions for Use
4
• Warning! When installing, cleaning, or removing
the appliance, make sure the insulation on the
refrigeration system parts is not damaged. Thus
you will also prevent damage to the
environment.
• Warning! Do not use electric appliances in the
refrigerator or freezer interior, except for those
expressly allowed by the refrigerator-freezer
manufacturer.
• After the installation, the appliance mains plug
should be accessible!
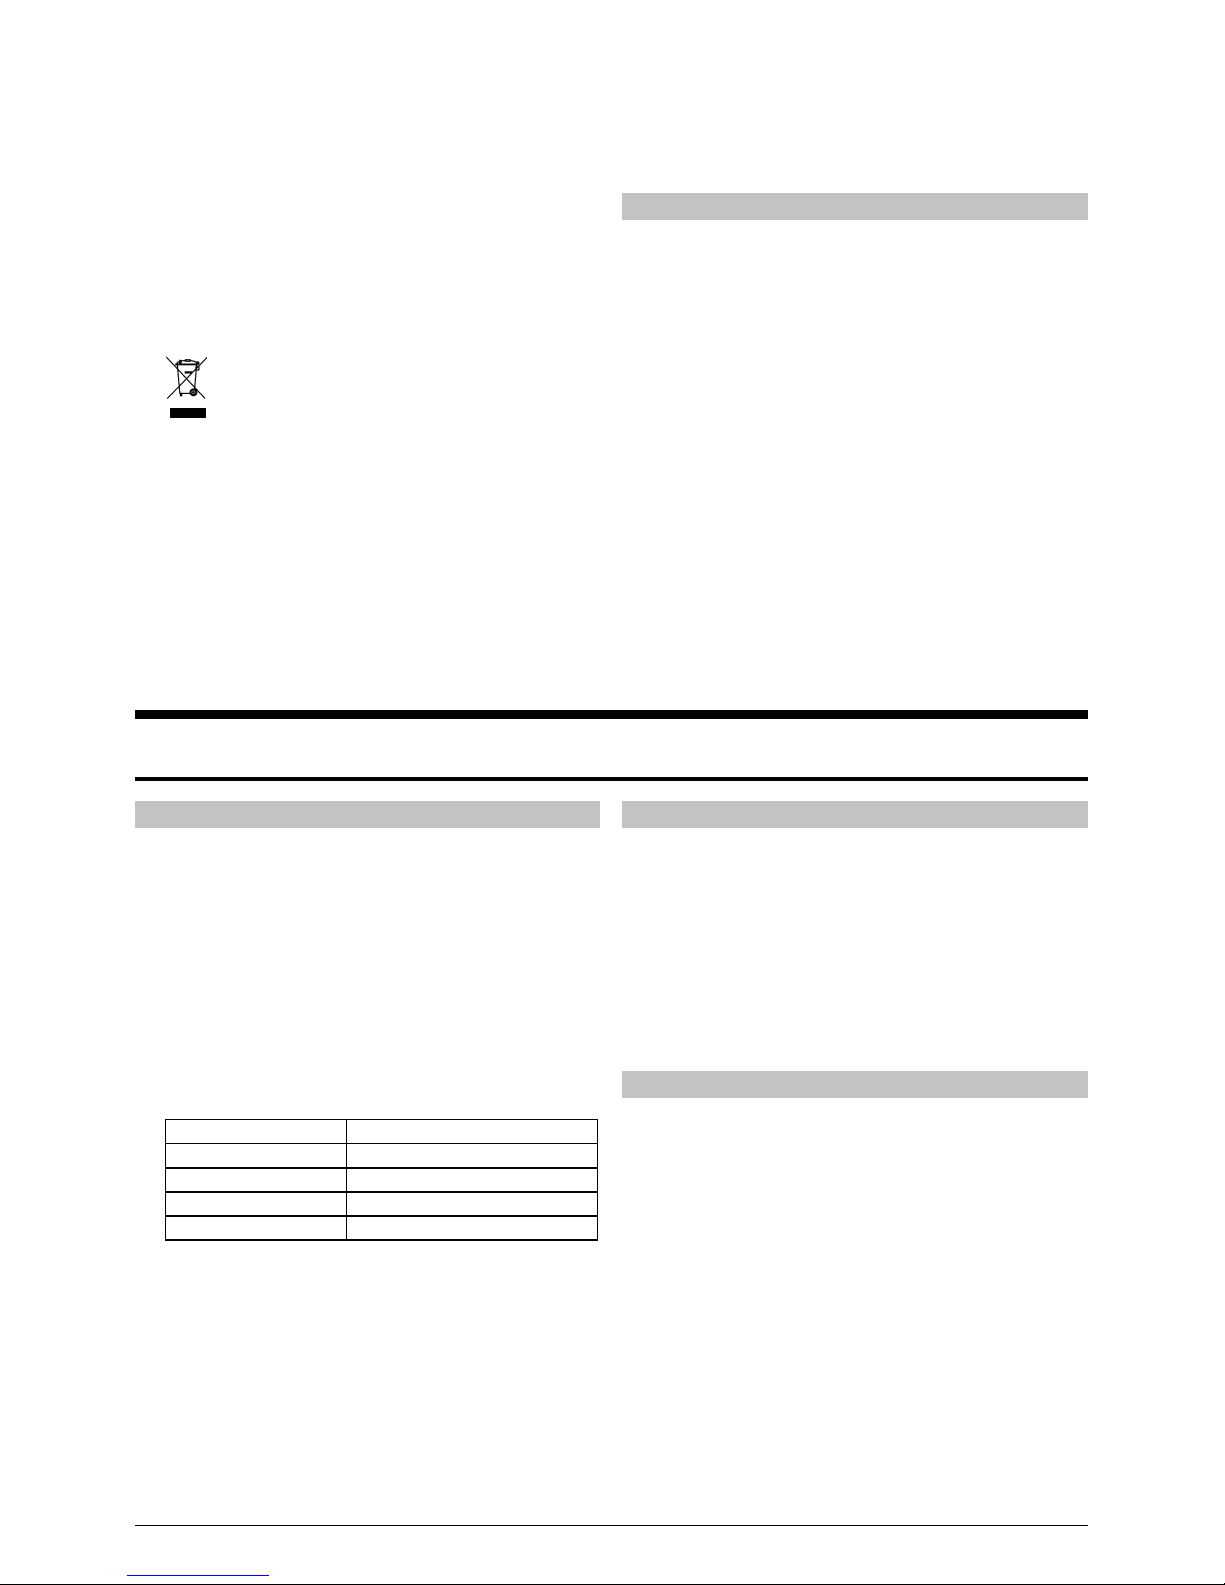
The symbol on the product or on its
packaging indicates that this product
may not be treated as household waste.
Instead it shall be handed over to the
applicable collection point for the recycling of
electrical and electronic equipment. By
ensuring this product is disposed of correctly,
you will help prevent potential negative
consequences for the environment and human
health, which could otherwise be caused by
inappropriate waste handling of thisproduct.
For more detailed information about recycling
of this product, please contact your local city
office, your household waste disposal service
or the shop where you purchased the product.
Storing time during power supply interruption
Avoid opening the freezer in case of failure or
power supply interruption unless the interruption
is extended over longer period of time (15 hours).
Disposing of the worn out appliance
• When your appliance finally wears out, dispose
of it. If the appliance has a lock, break it to
prevent any accidents (danger of children getting
locked inside the appliance).
• The refrigeration system of the appliance is filled
with refrigerant and insulating substances which
should be treated and processed separately.
Call your nearest authorised service agent or
specialised servicing centre. If you cannot find
one, contact your local authorities or your
distributor. Be careful not to damage the tubes
on the rear wall of the appliance (danger of
pollution).
• To avoid pollution of the environment make sure
not to damage the hose at the bottom of the
appliance.
Placing and installation
Choosing the right place
Place the appliance in a dry and well ventilated
room. Allowed ambient temperature depends on
the model (class) of the appliance and it is stated
on the rating plate of the appliance. Never place
the appliance near heat emitting devices (e.g.
cooker, radiator, water heater and similar devices)
and do not expose it to direct sunlight.
The appliance should be positioned at least 3 cm
away from the electric or gas cooker and at least
30 cm away from the oil or coal stove. If this is not
possible, use appropriate insulation.
Class Ambient temperature
SN (sub-normal) from + 10°C to + 32°C
N (normal) from + 16°C to + 32°C
ST (sub-tropical) from + 16°C to + 38°C
T (tropical) from + 16°C to + 43°C
Connection to Power Supply
Use the cable and plug to connect the appliance to
the power supply socket outlet with a ground
terminal (safety socket).
Required nominal voltage and frequency are
indicated on the rating plate.
The connections to the mains supply and earthing
have to be made according to relevant standards
and regulations. The appliance resists temporary
voltage fluctuations of up to +/- 6 %.
Adjusting the height of the appliance
The appliance is equipped with four adjustable
legs which allow adjusting the height in the range
from 82 to 90 cm. The height must be adjusted
prior to building the appliance into the opening
slot, and it should be set at such height that the
top panel of the appliance fits exactly below the
kitchen worktop (see Mounting instructions).
Instructions for Use 5
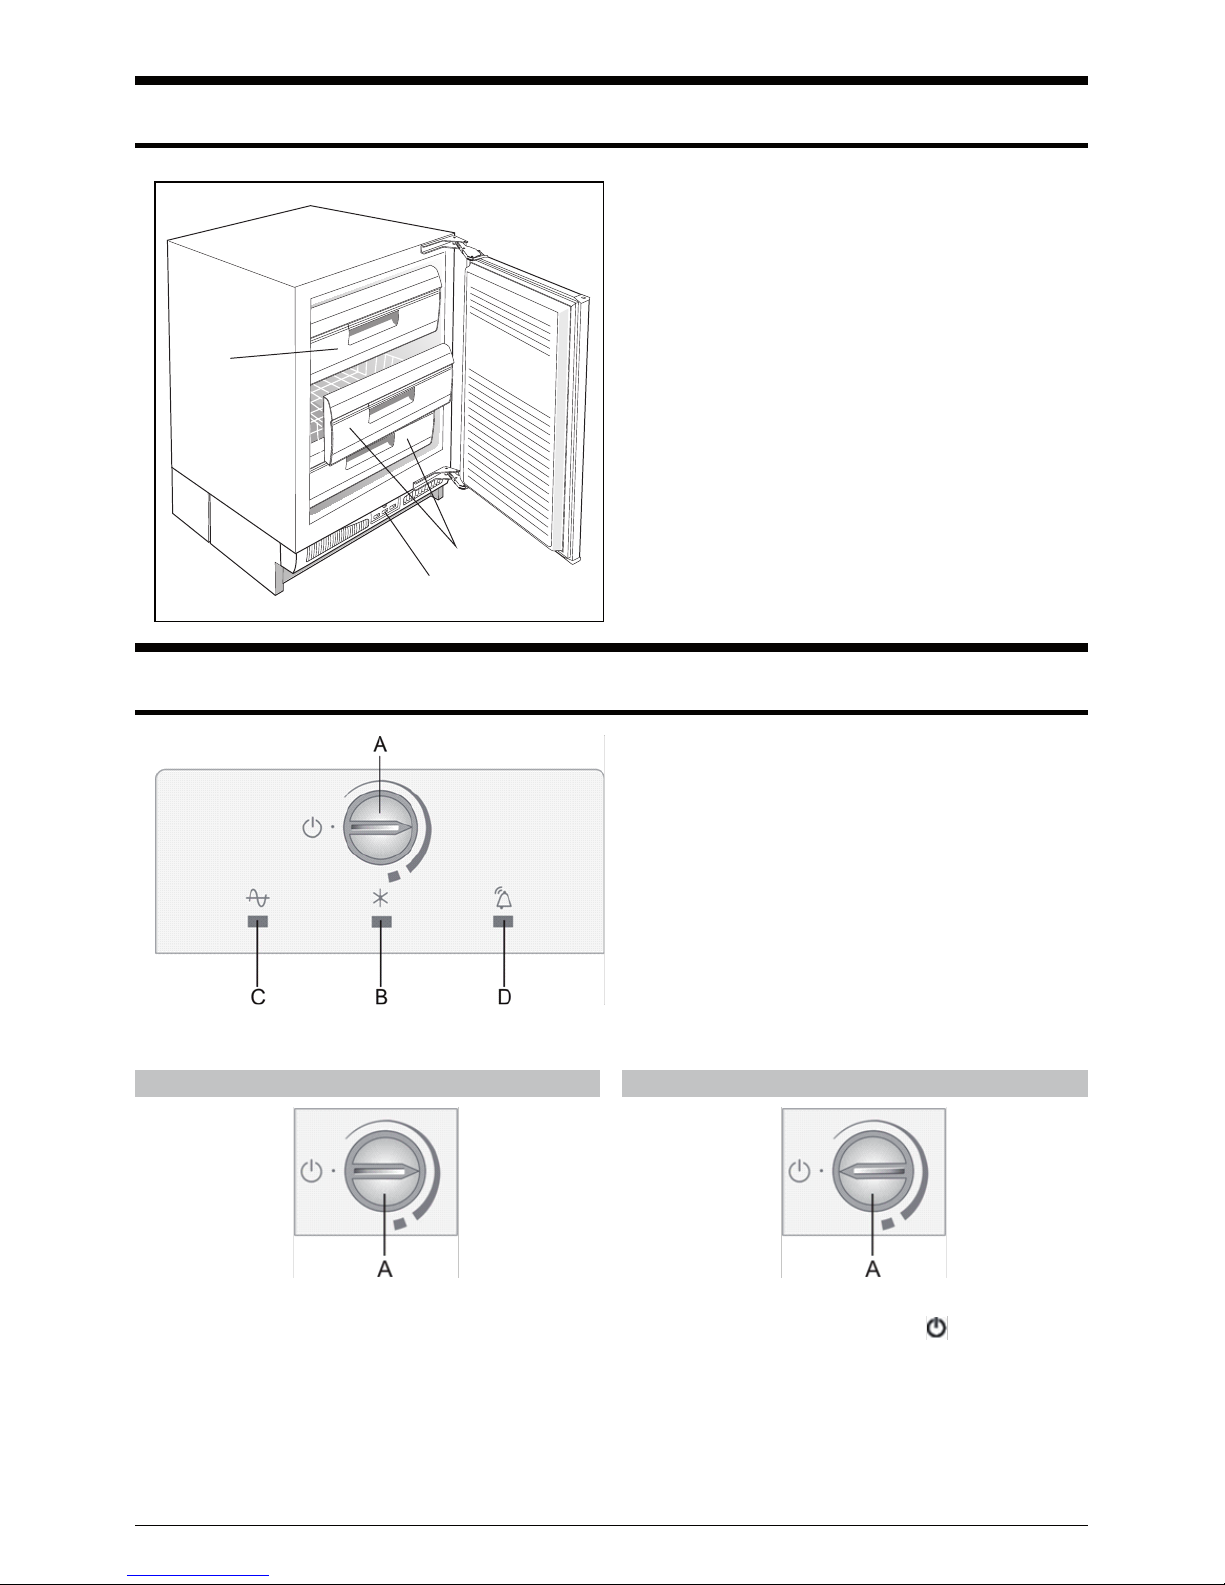
Description of the appliance
1
2
3
Freezing compartment (1)
is used for freezing fresh foods.
Storing basket (2)
is used for storing packages of frozen foods.
Control panel (3)
See Operation controls
Operating the appliance
A Temperature settings knob – Switching the
appliance on/off – Activating the super freeze
function
B Signal light on: Super freeze function is
activated
C Signal light on: The appliance is powered
(there is voltage in the appliance)
D Signal light flashing: High temperature
alarm
Switching on the appliance
Rotate the thermostat knob A clockwise towards
the thicker end of the sign.
When the appliance is switched on for the first
time, there is a 24-hour delay in temperature alarm
operation since the appliance will not have
reached the adequate temperature. Thus,
unnecessary activation of alarm is prevented.
Switching off the appliance
Rotate the A knob back to the position in which the
arrow is aligned with the symbol (appliance will
remain powered, i.e. there will still be electric
current in the appliance).
This manual suits for next models
1
Table of contents
Other Pelgrim Freezer manuals

Pelgrim
Pelgrim PVS35178N User manual

Pelgrim
Pelgrim PVS3102N User manual

Pelgrim
Pelgrim PVD25102N User manual

Pelgrim
Pelgrim PVS5178N User manual

Pelgrim
Pelgrim KV 7144 User manual

Pelgrim
Pelgrim PVD 9144M User manual

Pelgrim
Pelgrim OVG 214 User manual

Pelgrim
Pelgrim PVD25088L User manual

Pelgrim
Pelgrim PVS25178N User manual

Pelgrim
Pelgrim VS6102NF/E01 User manual


