PELLA®INSYNCTIVE™REMOTE CONTROL PRODUCT GUIDE | 7
5. Raising and Lowering Pella®BLINDS and SHADES
REMOTE CONTROL may be used to raise and lower BLINDS and
SHADES as described below. The LED at the top of REMOTE
CONTROL will illuminate red whenever a command is issued from
REMOTE CONTROL.
• Press and Release Up Button
Pressing the Up button for less than 1 second will cause BLIND
or SHADE to automatically move to the upper position that has
been programmed by the user.
• Press and Release Center Button
Pressing the Center button for less than 1 second will cause
BLIND or SHADE to automatically move to the user-dened
position.
• Press and Release Down Button
Pressing the Down button for less than 1 second will cause
BLIND or SHADE to automatically move to the lower position
that has been programmed by the user.
NOTE: While BLIND or SHADE is moving, pressing any button
on REMOTE CONTROL will cause movement to stop.
6. Tilting BLINDS
The slats on BLINDS may be tilted for better control of lighting
angle of BLINDS by rst placing it in tilt mode.
To place REMOTE CONTROL in tilt mode, press and hold the
Center button for 2 – 3 seconds until the LED light turns solid red.
REMOTE CONTROL will stay in tilt mode for 10 seconds following
the last button press and then the LED will turn off as REMOTE
CONTROL switches back to raise-and-lower mode. You may also
exit tilt mode at any time by pressing and releasing the Center
button. While in tilt mode, press the Up and Down buttons to
adjust the angle of the slats. See Blind or Shade Product Guide for
additional details.
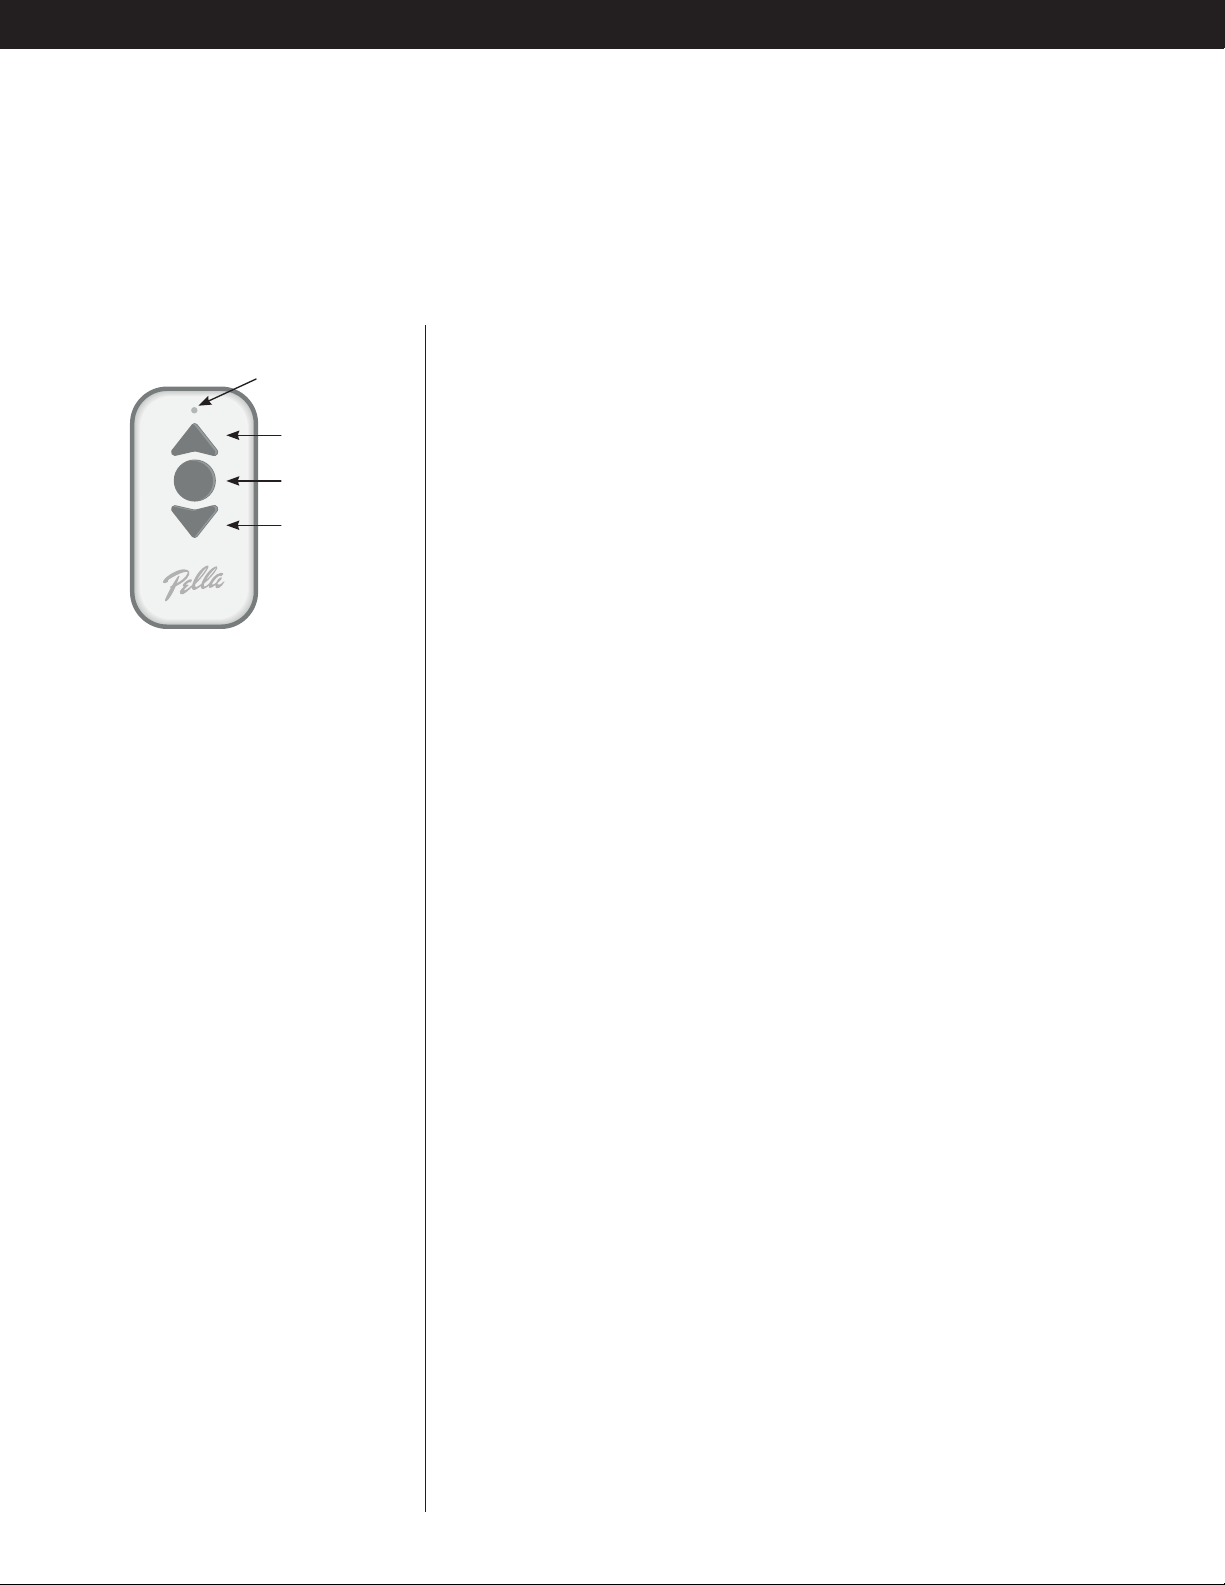
UP
BUTTON
DOWN
BUTTON
LED
LIGHT
CENTER
BUTTON
DETAILED INSTRUCTIONS (continued)