666
6
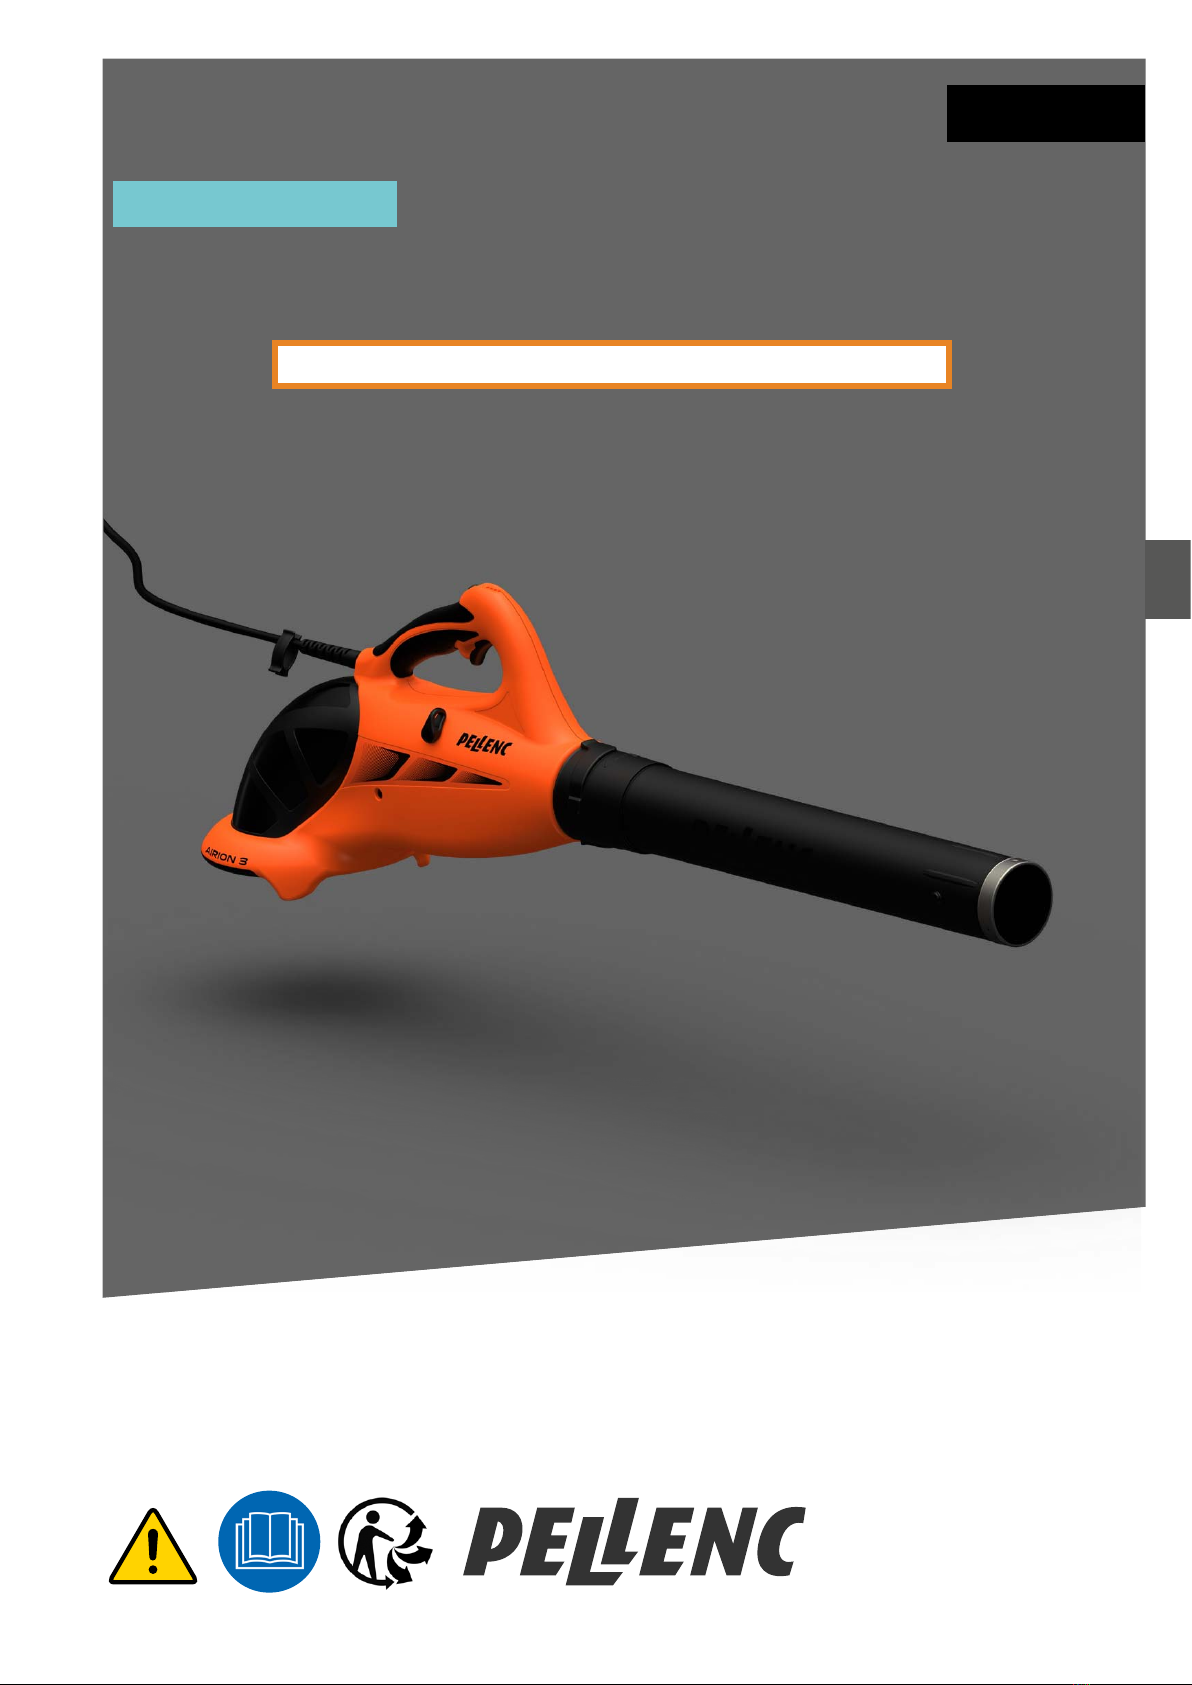
USER GUIDE AIRIon 3 BLoWER
57_147010_A
WORK AREA SAFETY
Keep the work area clean and well lit. Cluttered or dark areas invite accidents.
Do not operate power tools in an explosive atmosphere, for example in the presence of ammable
liquids, gases, or dust. Power tools create sparks, which can ignite dust or fumes.
Keep children and bystanders away while operating the power tool. Distractions can cause you to lose
control of the tool.
ELECTRICAL SAFETY
The power tool connector must be adapted to the socket. Never modify the connector in any way
whatsoever. Do not use adapter plugs with earthed (grounded) power tools. Unmodied plugs and
suitable sockets reduce the risk of electric shock.
Avoid contact with earthed surfaces such as pipes, radiators, cookers, and refrigerators. There is an
increased risk of electric shock if your body is in direct contact with the ground.
Do not expose power tools to rain or damp conditions. The entry of water into a power tool increases the
risk of electric shock.
Do not mishandle the power cord. Never use the cord for carrying, pulling or unplugging the power tool.
Keep cord away from heat, oil, sharp edges, and moving parts. Damaged or entangled cords increase the
risk of electric shock.
Use an extension cord suitable for outdoor use when operating power tools outdoors. Use a cord
suitable for outdoor to reduce the risk of electric shock.
Use a power supply protected by a residual current device (RCD) when the power
tool is operated in a damp location. Use of a RCD reduces the risk of electric shock.
NOTE: The term “Residual Current Device” (RCD) can be replaced by “Ground Fault Circuit Interrupter” (GFCI)
or “Earth Leakage Circuit Breaker” (ELCB).
PERSONAL SAFETY
Stay alert, watch what you are doing, and use common sense when operating the power tool. Do not
use a power tool when you are tired or under the inuence of drugs, alcohol, or medication. A moment
of inattention when using a power tool can result in serious personal injury.
Use personal protective equipment. Always wear eye protection. Safety equipment such as dust masks,
non-slip safety shoes, helmets, or ear protection used at the appropriate times reduces injuries.
Avoid accidental starting of the tool. Make sure the switch is in the off position before you connect the
tool to the power source and/or battery pack, pick it up, or carry it. Carrying a power tool with your nger
on the switch or connecting a power tool with the switch in the ‘on’ position can cause accidents.
Remove any adjusting wrench before switching the electric tool on. A wrench left attached to a rotating
part can cause injury.
• The PELLENC company accepts no responsibility for any damage caused by improper or unspecied use different
from its original intention.
• The PELLENC company accepts no responsibility for any damage caused by the use of non-original parts or
accessories.
This device is not intended for use by individuals (including children) with reduced physical,
sensory or mental capabilities, nor by anyone lacking in experience or knowledge, except if they
are supervised or have received prior instructions from a person responsible for their safety.
ʚGENERAL SAFETY INSTRUCTIONS FOR THE TOOL
■ SAFETY INSTRUCTIONS