manuals.online logo
Brands
  1. Home
  2. •
  3. Brands
  4. •
  5. Performance Furnishings
  6. •
  7. Indoor Furnishing
  8. •
  9. Performance Furnishings PLCUBED20 User manual

Performance Furnishings PLCUBED20 User manual

KLIX CAM INSTRUCTIONS
Insert the cam with the arrow
pointing towards the hole in the
edge.
Line up Cam Lock,
turn clockwise.
1 2
Insert the Cam Lock into Klix
Cam. Turn Klix Cam to lock.
3
PAGE 1 OF 2
ASSEMBLY INSTRUCTION FOR CUBE TABLE BASE
1 2 3
M4 x 65
Allen-Key
1 Pc
Adjustable
Glide
6 Pcs
4 5 6
JCBC Screw
M6 x 40mm = 8pcs
14Washer = 8pcs
Klix Cam
18 Pcs
Housing
Cap (Long)
14 Pcs
Cam Lock
18 Pcs
Support Rail
Left & Right
A
Side Panel LEFT
B
Back Panel
D
7
Remove all wrapping materials, including staples & packing straps before you start to assemble.
Do not tighten any screws or bolts until the unit is completely assembled.
Keep all hardware parts out of reach of children.
Check that you have all parts and hardware.
IMPORTANT NOTE :
Place all wooden parts on a clean, smooth surface to prevent the parts from being scratched.
REV. 1 PLCUBED20_AI
HARDWARE
COMPONENTS
Top Rail
E
Bottom Rail
F
Door Panel
GC
Side Panel RIGHT
6 Hole
L-Bracket
4 Pcs
Screw
#6 x 58"
24 Pcs
8 9
0' Compo
Door Hingers
1 Pair
Screw
#3.5 x 16mm
2 Pcs
Magnet
Catches
1 Set
Screw
#3.5 x 12mm
2 Pcs
10 11 12
GC
A
A
D
B
E
DETAIL x-x
BACK VIEW
ADJUST THIS SCREW FOR DOOR ALIGNMENT
AFTER ASSEMBLY OF THE HINGES.
HINGE INSTRUCTIONS
ACCESS DOOR
Housing
Cap (Short)
4 Pcs
13
ASSEMBLY INSTRUCTIONS
MODEL: PLCUBED20
1 of 2.
Before assembly, please remove all parts from the carton, verifying that you have the correct quantities, and read all the instructions.
IN THE CARTON:
INSTRUCTIONS:
ASSEMBLY INSTRUCTIONS
MODEL: PLCUBED20
2 of 2.
!ATTENTION !
Place all wooden parts on a clean, smooth surface to prevent them from being scratched.
Check to be sure that you have all parts and hardware. Remove all wrapping materials, including staples and packing straps before
you start to assemble. Do not tighten all screws/bolts until all completely assembled. Keep all hardware parts out of reach of children.
If any parts are missing, broken, damaged or worn, stop use of product until repairs have been made using factory authorized parts.
Failure to follow these warnings may result in injury.
PAGE 2 OF 2
1
Assemble Cube Base by attaching Side Panels (B)
& (C) to Back Panels (D),Top rail (E) & Bottom Rail
(F) with Cam Lock (1) and Klix Cam (2).
Screw Adjustable Glide (5) into
bottom of End Base (B,C).
5
B
B
2
4
Attach Cube Base Support (A) by using Cam Lock (1) and Klix Cam (2).
C
REV. 1
E
F
B
C
G
BOR C
G
10
11
C
F
A
A
10
12
9
G
BC
OR
9
8
7
A
B
C
&
Attach Magnet Catch (10) to Side Panel
(B) or (C) by using Screw (11).
Attach L-Bracket (7) to Side
Panel (B) & (C) and Hanging
Rail (A) by using Screw (8).
Attach Hinges (9) to Side Panel (B) or (C)
and Door (G) by using Screw (9).
Attach Catch Plate (10) to
Door (G) by using Screw (12).
ASSEMBLY INSTRUCTION FOR CUBE TABLE BASE
ACCESS DOOR
PLCUBED20_AI
F
D
E
3
Attach Housing Cap (3) or (4)
to all Klix Cams (2) by pushing
neck thought center of cam.
3
D
4

Other Performance Furnishings Indoor Furnishing manuals
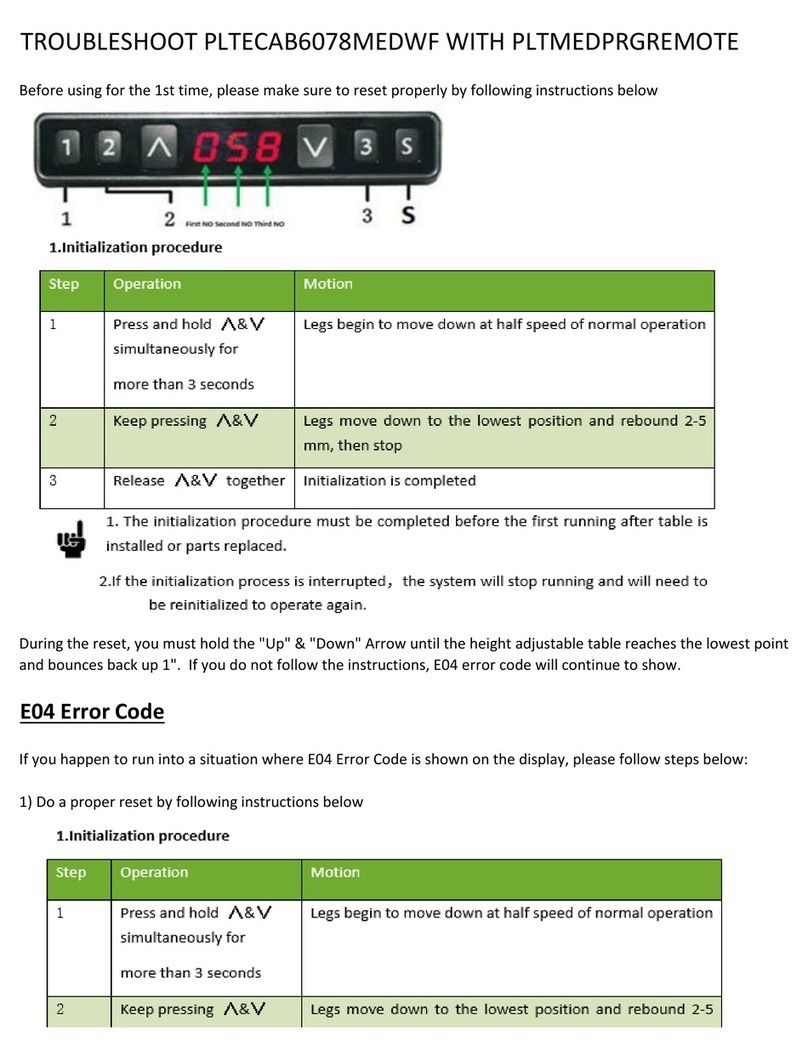
Performance Furnishings PLTECAB6078MEDWF User manual

Performance Furnishings

Performance Furnishings PLTECAB6078MEDWF User manual

Performance Furnishings PLCUBED2040 User manual

Performance Furnishings

Performance Furnishings PLCUBED2040 User manual

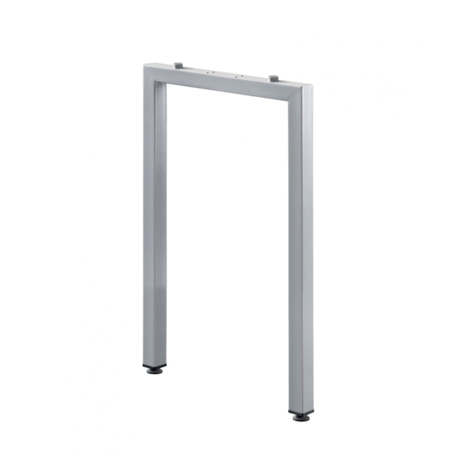
Performance Furnishings PLTLEG-U-24NB41H R2 User manual

Performance Furnishings

Performance Furnishings PLTLEG-U-24NB41H R2 User manual

Performance Furnishings MGWB3665SI User manual
Performance Furnishings

Performance Furnishings MGWB3665SI User manual

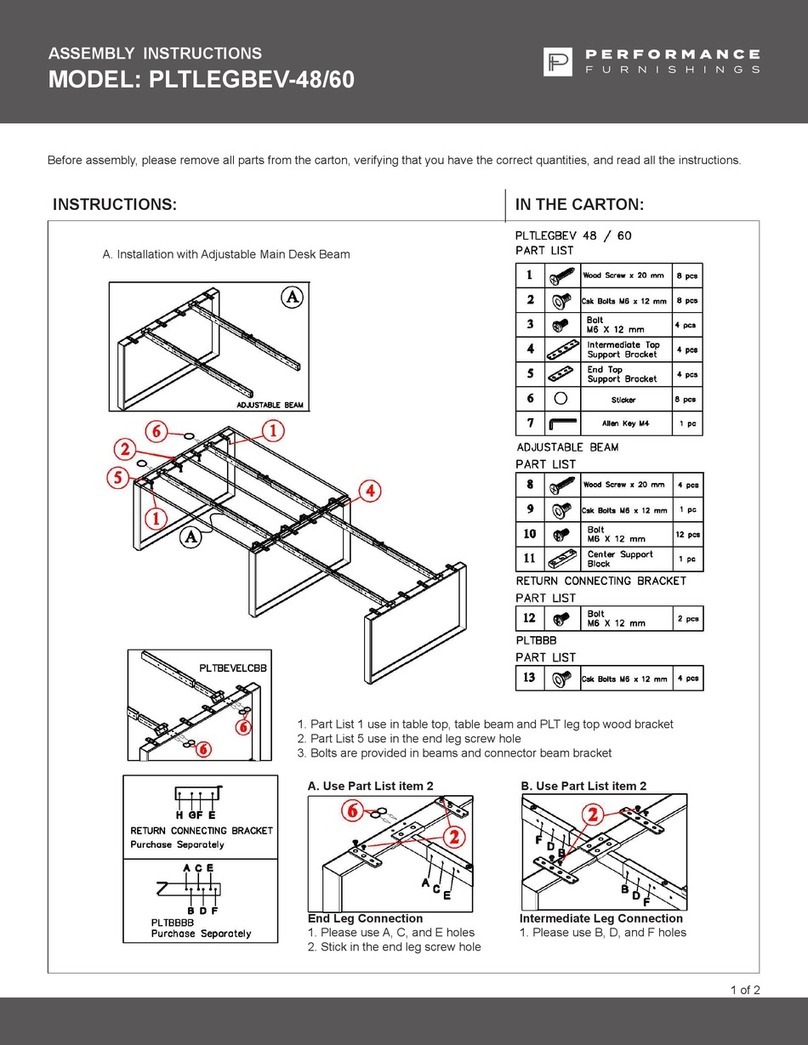
Performance Furnishings PLTLEGBEV-48 User manual
Performance Furnishings

Performance Furnishings PLTLEGBEV-48 User manual

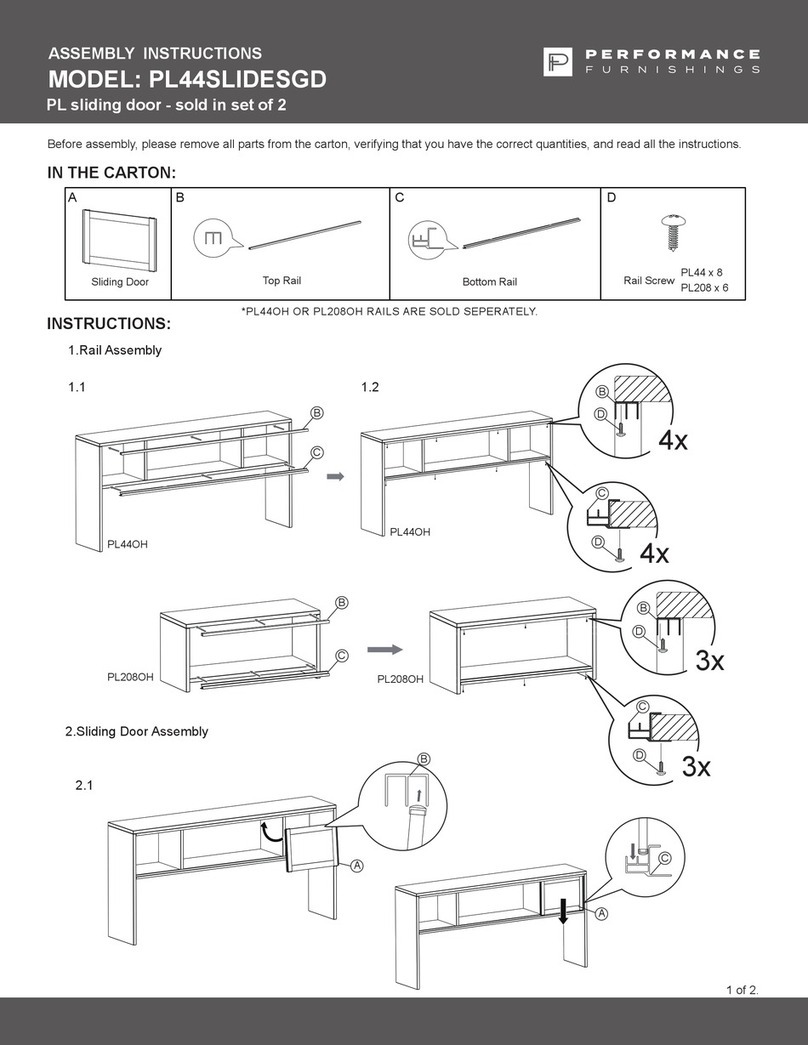
Performance Furnishings PL44SLIDESGD User manual

Performance Furnishings

Performance Furnishings PL44SLIDESGD User manual

Performance Furnishings PLTEAB4872E2S2MNF User manual
Performance Furnishings

Performance Furnishings PLTEAB4872E2S2MNF User manual

Popular Indoor Furnishing manuals by other brands

Permobil ROHO DRY FLOATATION Mattress Overlay Operation manual

Permobil

Permobil ROHO DRY FLOATATION Mattress Overlay Operation manual

Furinno 13239 Assembly instructions

Furinno

Furinno 13239 Assembly instructions

Bonzy Home L6113B51 Assembly instructions

Bonzy Home

Bonzy Home L6113B51 Assembly instructions

gen2 UP Installation and user instructions

gen2

gen2 UP Installation and user instructions

American Standard TENDENCE 2086.101X Specifications

American Standard

American Standard TENDENCE 2086.101X Specifications

Core Products TXG510 manual

Core Products

Core Products TXG510 manual

Eco-Chic Island Assembly manual

Eco-Chic

Eco-Chic Island Assembly manual

Furniture of America CM7171T Assembly instructions

Furniture of America

Furniture of America CM7171T Assembly instructions

Teknik 5427455 manual

Teknik

Teknik 5427455 manual

Forte CLFD211 Assembling Instruction

Forte

Forte CLFD211 Assembling Instruction

Forte TIQV431B Assembling Instruction

Forte

Forte TIQV431B Assembling Instruction

Auralex Acoustics Roominators Designer Series Guidelines

Auralex Acoustics

Auralex Acoustics Roominators Designer Series Guidelines

Connected Essentials Accord CED-102 Assembly instructions

Connected Essentials

Connected Essentials Accord CED-102 Assembly instructions

Forte TXCK231 Assembling Instruction

Forte

Forte TXCK231 Assembling Instruction

Steelcase Turnstone Scoop Chair manual

Steelcase

Steelcase Turnstone Scoop Chair manual

ofichairs Stuttgart manual

ofichairs

ofichairs Stuttgart manual

knapp FAST K058 Construction manual

knapp

knapp FAST K058 Construction manual

BLACK RED WHITE HELGA SZF2D2S/90 Assembly

BLACK RED WHITE

BLACK RED WHITE HELGA SZF2D2S/90 Assembly

manuals.online logo
manuals.online logoBrands
  • About & Mission
  • Contact us
  • Privacy Policy
  • Terms and Conditions

Copyright 2025 Manuals.Online. All Rights Reserved.