Before use
Remote controller 10
Before use
Controls diagram
09
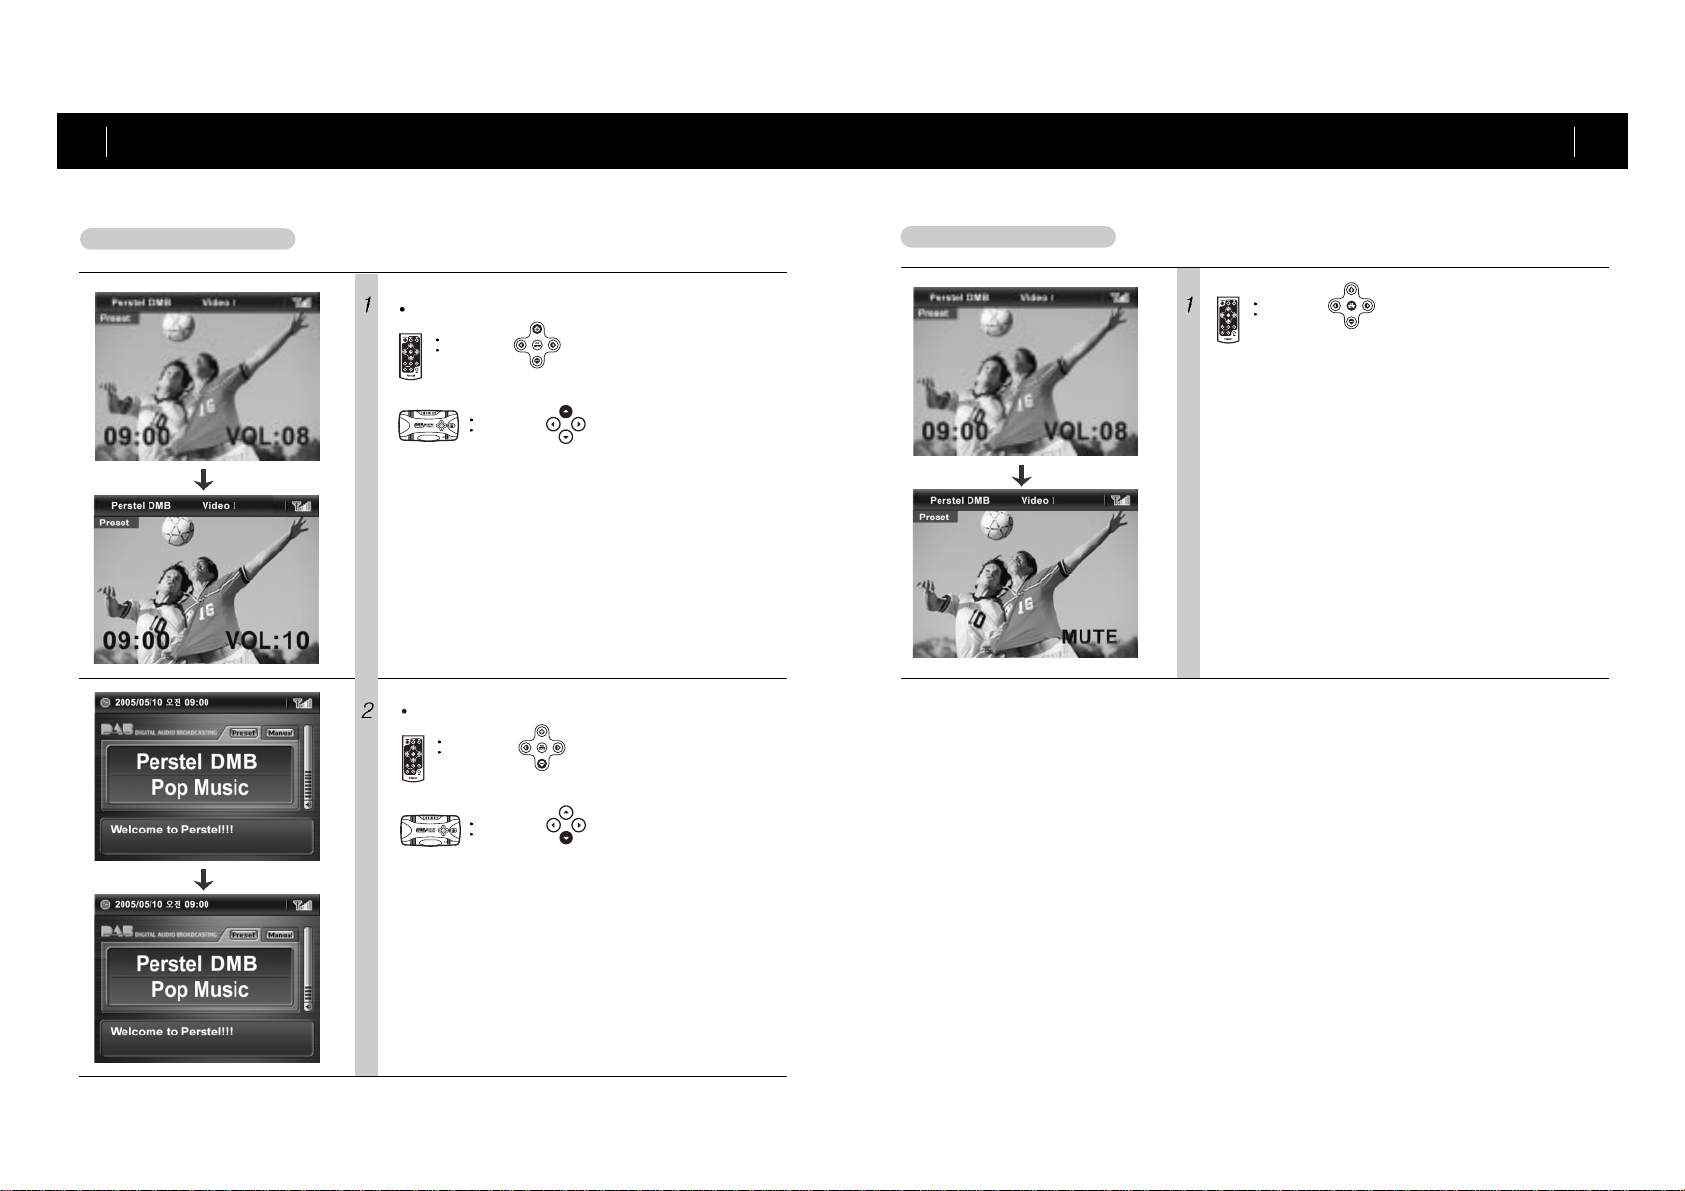
Navigation
Up/Down- For volume control, or scroll up and down the menu in menu
mode.
Left/Right - For service change while receiving signal, or entering or
escaping menu in menu mode.
Right - This button is used for confirming Select or Enter sub menu.
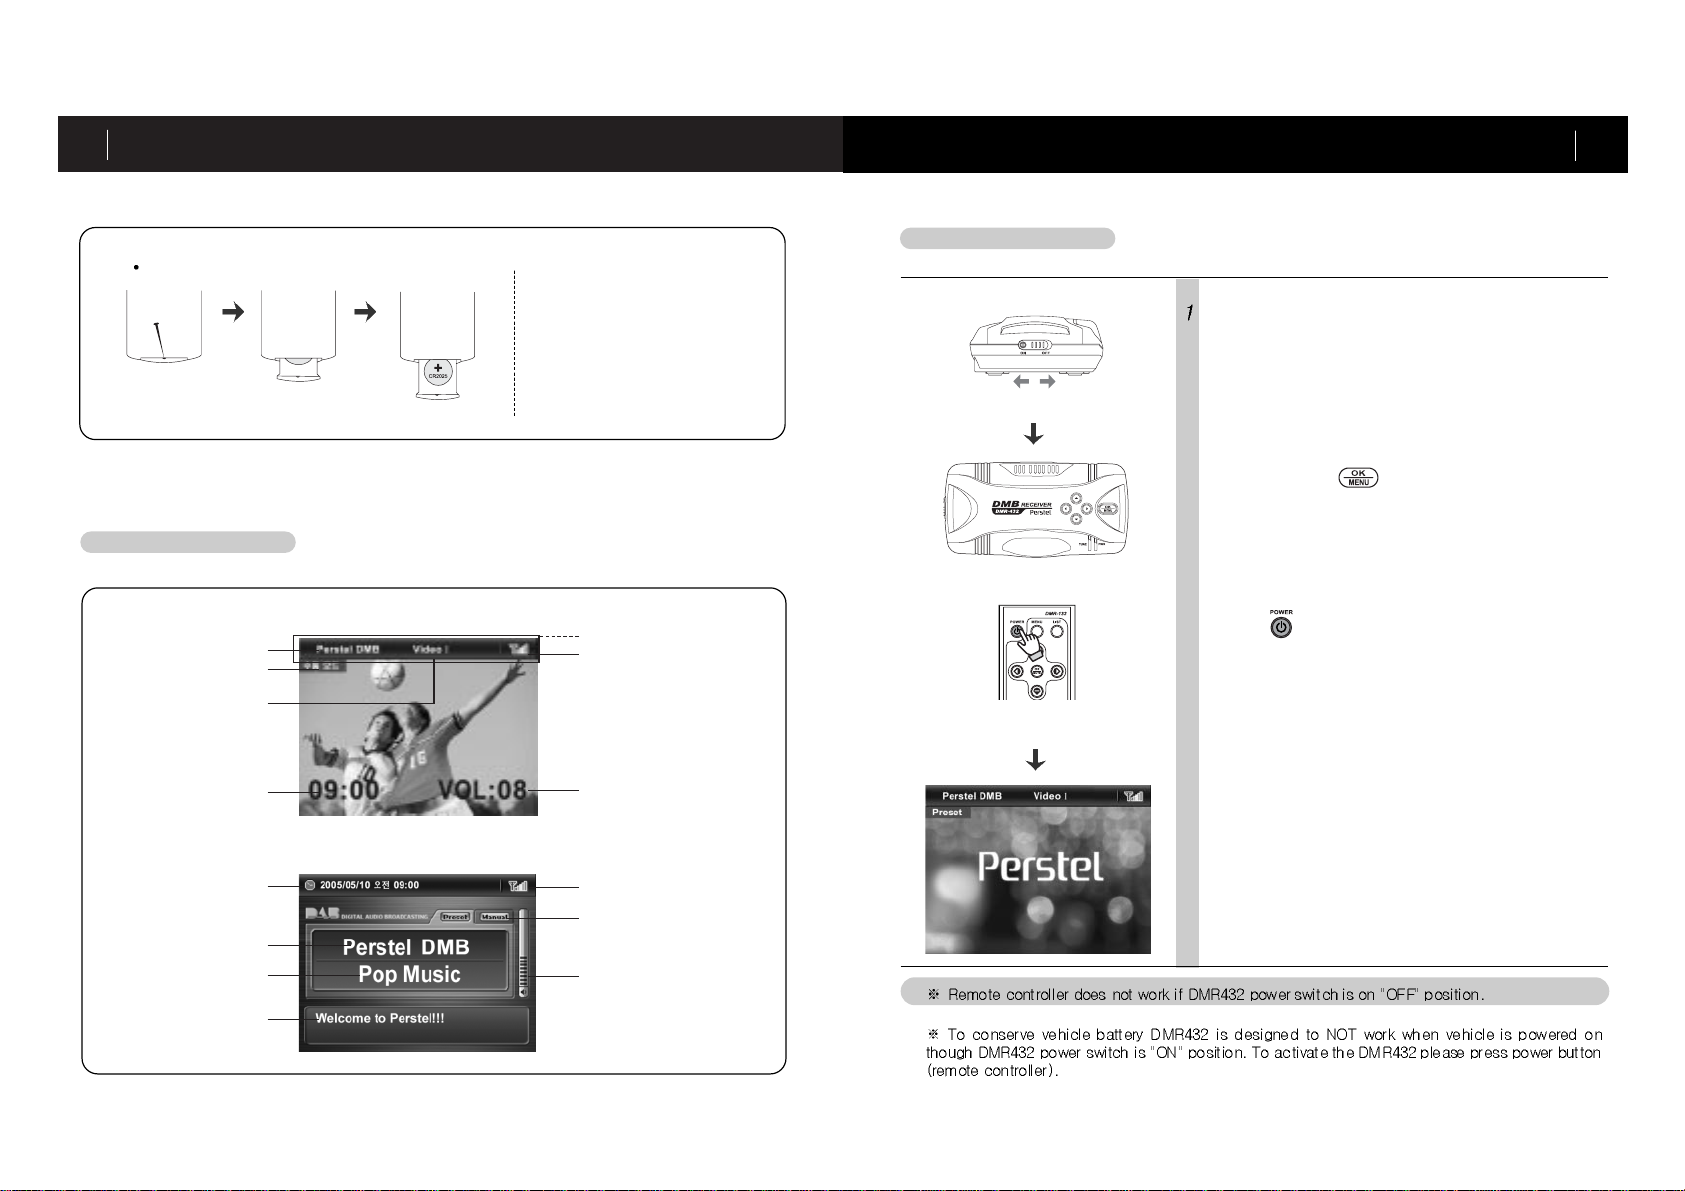
Menu/OK (Activation)
Enter the menu or escape the menu.
Activate or deactivate the unit when power is ON. (Press it and hold for more
than 3 seconds.)
LED
Tune LED - Green when service is tuned.
Power LED - Red when power is engaged.
Power switch
Turn on and off main power.
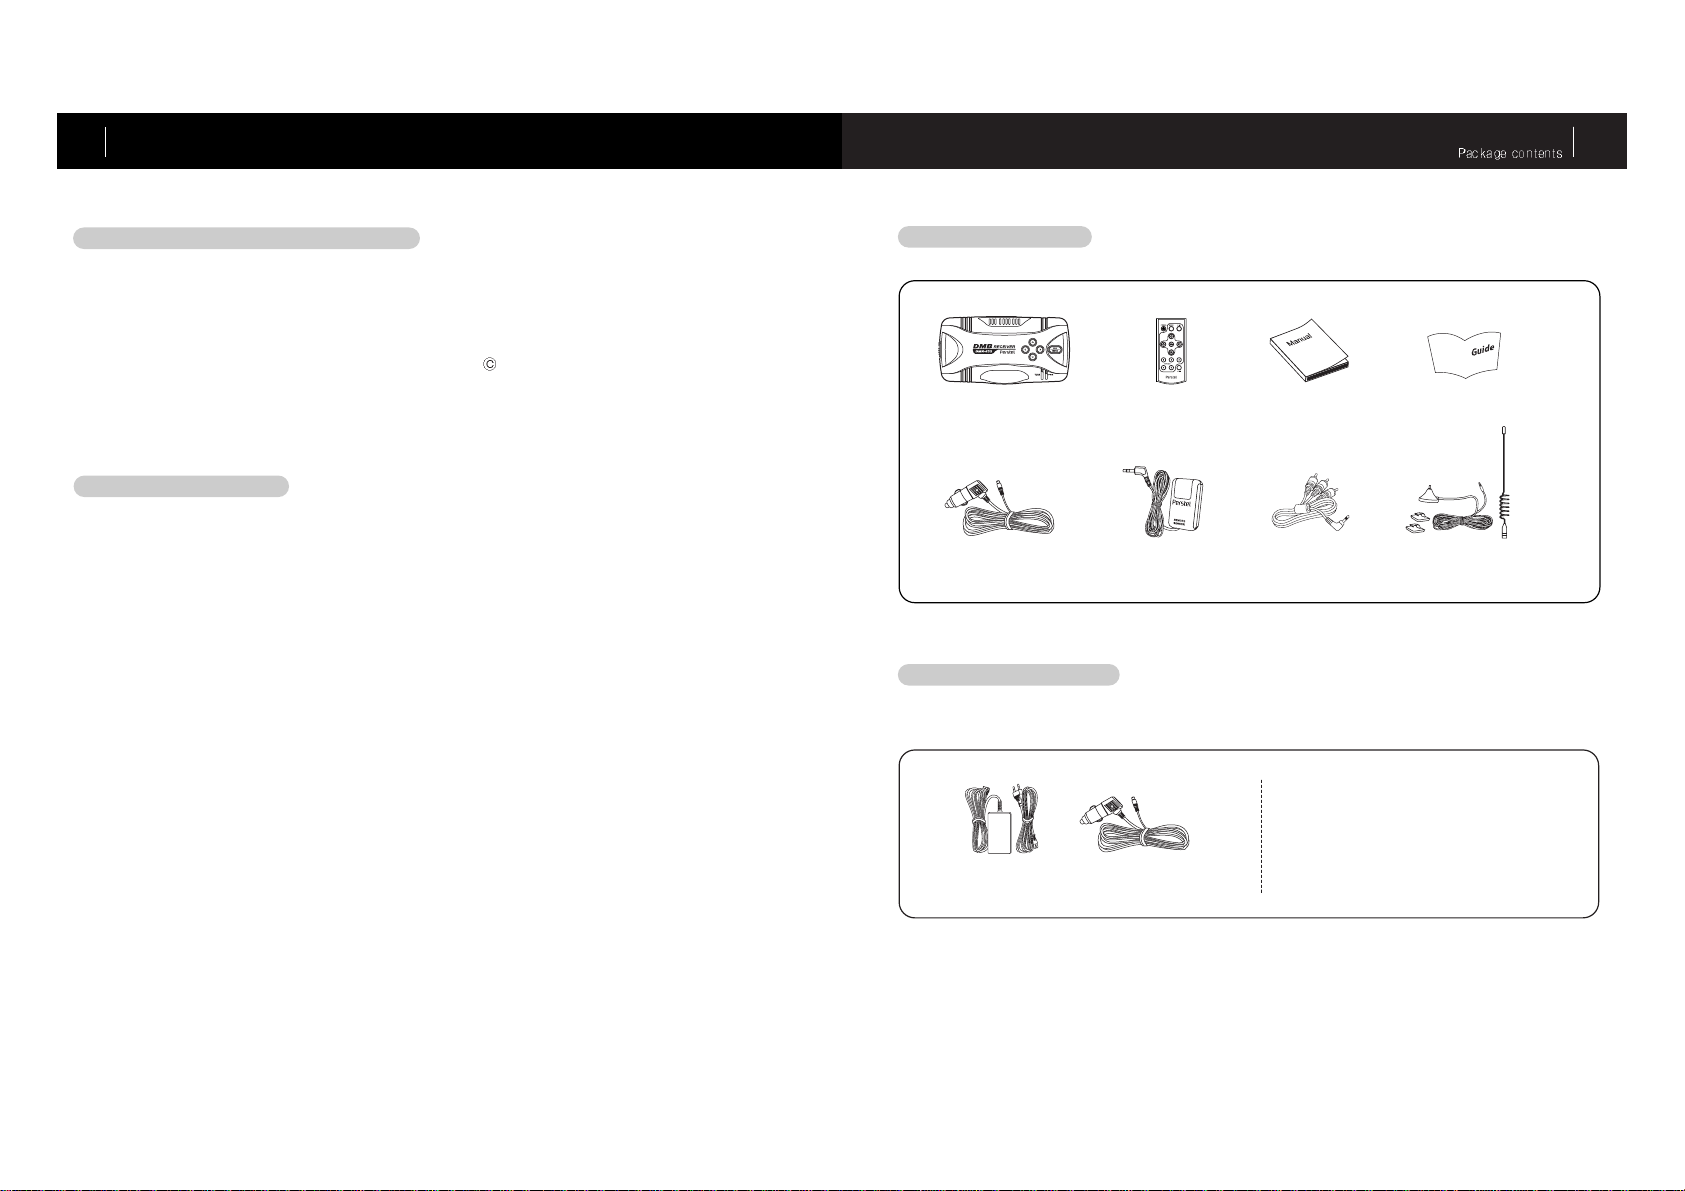
Antenna port
For connection of external antenna.
Remote sensor port
For connection of external remote sensor.
A/V out
For connection of external display and audio devices.
Power in
For connection of various power input. (12V/ 24V cigar lighter charger and 12V wall
adapter)
Functionality of DMR432 buttons Remote controller
List
Enter/ Mute
Menu
Display
Favorite
Navigation
Buttons of DMR432 main unit
do not provide full control. It is
recommended to use remote
controller for full control.
Power
Turn on and off of DMR432
Menu
Enter the menu or escape the menu.
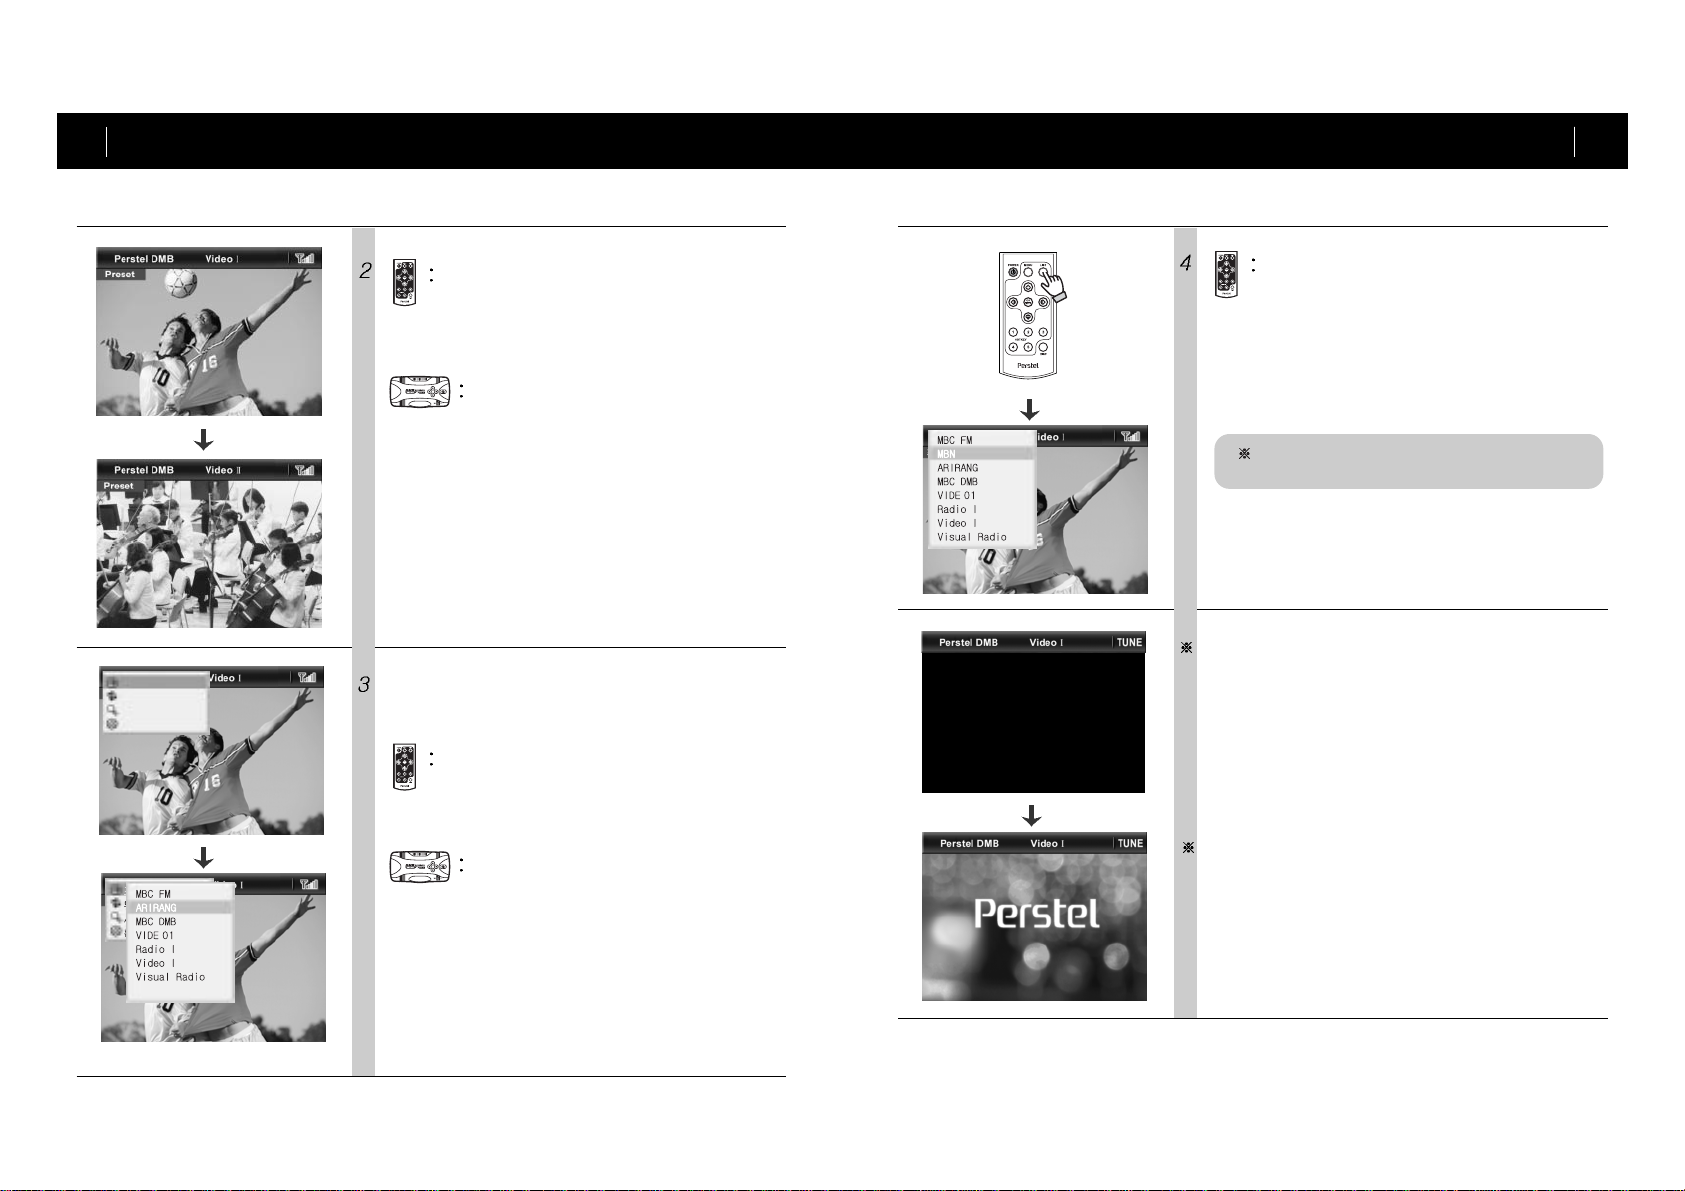
List
Shows preset list or hides the list.
Display
Shows information of current service.
OK/ Mute
Menu mode- For confirming Selection.
Long key when receiving - Current service will be saved in preset list. (Press it
for more than 3 seconds.)
Short key when receiving -Audio will be muted.
Navigation
Up/Down - For volume control, or scroll up and down the menu in menu
mode.
Left/Right - For service change while receiving signal, or entering or
escaping menu in menu mode.
Favorites
Press to instantly access to saved favorite memories.
While receiving services, press it (1 ~ 5) and hold to store or overwrite favorite
memory.