PET ZAPPY 3 User manual


Table of Contents
Technical Information-----------------------------------1
Warning Statement--------------------------------------2
Read Before Riding-------------------------------------3
List of Parts-----------------------------------------------4
Front Bar---------------------------------------------------6
Tool Kits In The Tool Bag------------------------------7
Assembling The PET Tricycle------------------------8
Charging The Batteries-------------------------------16
Riding The PET Tricycle------------------------------17
Maintenance---------------------------------------------19
Wiring Diagram-----------------------------------------20
Trouble Shooting Guide------------------------------22
Warranty--------------------------------------------------24

1
T
Te
ec
ch
hn
ni
ic
ca
al
l
I
In
nf
fo
or
rm
ma
at
ti
io
on
n
PET
Model No.
PET Tricycle
Product size
31L x 28W x 23H inch
(78 L x 71 W x 58 H cm)
Type of motor
DC Brushless Motor
Motor power
36V 350W
Battery type
Li Battery
Battery capacity
36V 10Ah
Charger
110V-240V, UL approved
Charging time
6-8 hours
Max. speed
Up to 13 MPH ( 22 km/h)
Single charge
Up to 15 MILES (25 km)
Max capacity
286 LBS (130kg)
Net weight
99 LBS (45 kg)

2
W
Wa
ar
rn
ni
in
ng
g
S
St
ta
at
te
em
me
en
nt
t
PET

3
R
Re
ea
ad
d
B
Be
ef
fo
or
re
e
R
Ri
id
di
in
ng
g
PET
WARNING
THE PET TRICYCLE IS NOT A TOY AND SHOULD NOT
BE OPERATED BY ANYONE UNDER 12 YEARS OLD.
Safety Instructions:
(Please take note of the following before each ride)
The maximum weight capacity is 286 lbs.
Only one person at a time should ride.
Always wear protective gear including knee and elbow pads and
an approved safety helmet when riding the PET.
Before riding, be sure to check that all pivot points, locking
buttons, quick releases, and latches are secured properly.
The power switch lock must be in the “off” position when the
PET is being charged.
Do not use the PET when it is raining.
Do not place the battery near heat or fire.
Do not expose the charger to water or any moisture.
Check if batteries are properly charged and installed.
Charge Batteries after each use.
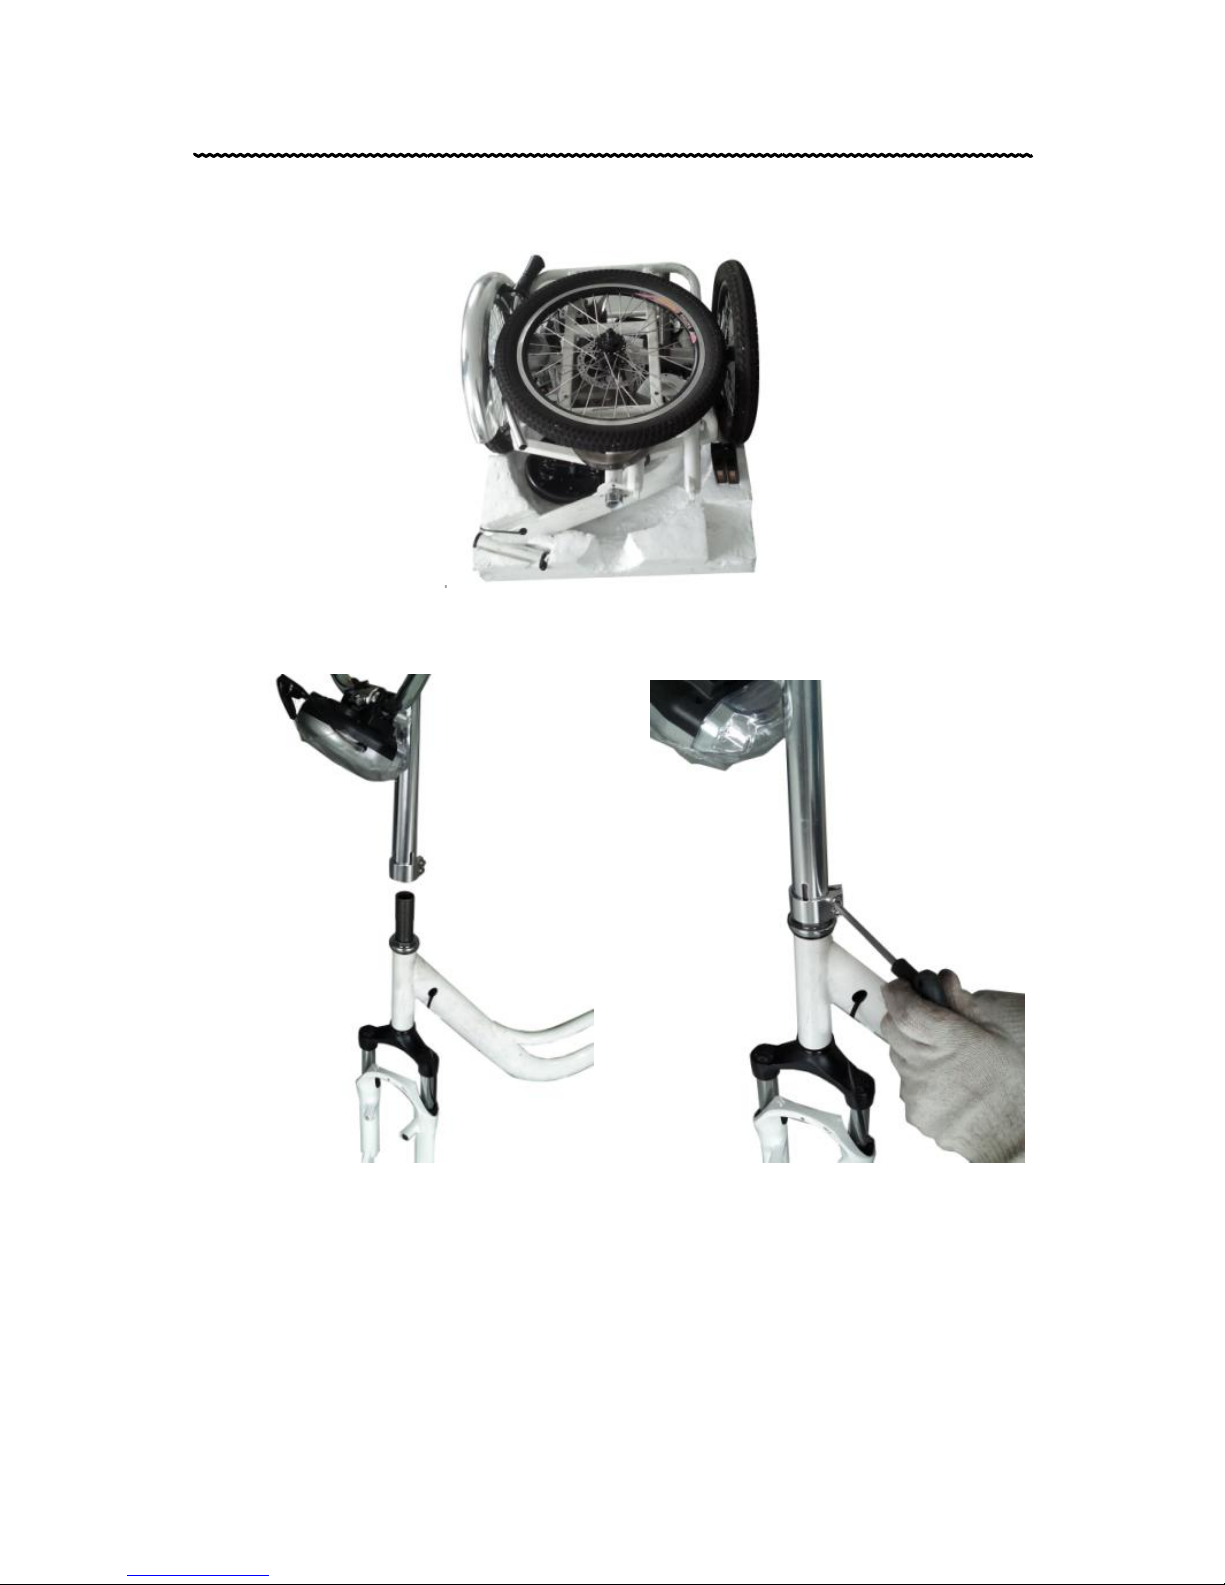
Always ride on dry paved surfaces. Gravel, wet, extreme
incline, and uneven surfaces are a hazard.
C
Ch
he
ec
ck
k
i
if
f
a
al
ll
l
t
ti
ir
re
es
s
a
ar
re
e
p
pr
ro
op
pe
er
rl
ly
y
i
in
nf
fl
la
at
te
ed
d.
.

4
L
Li
is
st
t
o
of
f
P
Pa
ar
rt
ts
s
PET

5
L
Li
is
st
t
o
of
f
P
Pa
ar
rt
ts
s
PET
1 Left brake lever
2 Instrument
3 Throttle
4 Right brake lever
5 Seat
6 Battery
7 Controller
8 Basket
9 Motor
10 Rear wheel
11 Tensioner
12 Rear fender compartment
13 Chain
14 Chain cover
15 Crank sprocket
16 Front wheel
17 Front fork
18 Frame

6
F
Fr
ro
on
nt
t
B
Ba
ar
r
PET
1 Left brake lever
2 Lock mechanism switch
3 Horn switch
4 Instrument
5 Right brake lever
6 Throttle

7
T
To
oo
ol
l
K
Ki
it
ts
s
I
In
n
T
Th
he
e
T
To
oo
ol
l
B
Ba
ag
g
PET
1 Screwdriver
2 Allen wrench (2.5mm)
3 Allen wrench (3mm)
4 Allen wrench (5mm)
5 Allen wrench (5mm)
6 Allen wrench (8mm)
7 Wrench (8 x 10mm)
8 Wrench (16 x 18mm)
9 charger

8
A
As
ss
se
em
mb
bl
li
in
ng
g
T
Th
he
e
P
PE
ET
T
T
Tr
ri
ic
cy
yc
cl
le
e
PET
1. Unpack the PET Tricycle carefully so that you
do not misplace any of the parts.
2. Install the handlebar, and tighten two bolts
with the nuts provided.
3. Place the PET Tricycle on a flat surface, and
keep vertical. This will make the next step
easier.

9
A
As
ss
se
em
mb
bl
li
in
ng
g
T
Th
he
e
P
PE
ET
T
T
Tr
ri
ic
cy
yc
cl
le
e
PET
4. Remove the bolts and nuts from the
connecting tube (B). Place the connecting
tube into the top opening (A). After aligning
the three holes, place the three bolts through
the connecting tube. Twist the bolts, do not
hammer them through as this can damage the
threads. Tighten these three bolts with the
nuts provided.

10
A
As
ss
se
em
mb
bl
li
in
ng
g
T
Th
he
e
P
PE
ET
T
T
Tr
ri
ic
cy
yc
cl
le
e
PET
5. Take out the front wheel. Put butterfly brake
disc (A) into butterfly brake base (B). Put the
front axle (C) into the front ear (D). Tighten
the quick release. Finish front wheel’s
installation. Place PET tricycle on all three
wheels.

11
A
As
ss
se
em
mb
bl
li
in
ng
g
T
Th
he
e
P
PE
ET
T
T
Tr
ri
ic
cy
yc
cl
le
e
PET
6. Install the chain. It is recommended to wear
gloves for protection. Properly align chain on
derailer (A). Then straighten the chain along
the “B” direction and put on the crank
sprocket(C). Turn the crank to verify
chain is on securely.
7. Install the chain cover over the crank. Align
the three holes. Secure chain cover with the bolts,
and nuts provided. Install pedals according to “L”
and “R”mark.

12
A
As
ss
se
em
mb
bl
li
in
ng
g
T
Th
he
e
P
PE
ET
T
T
Tr
ri
ic
cy
yc
cl
le
e
PET
8. Insert rear brake cable through brake cable
tube fixed seat(A). Then insert rear brake
cable through brake cable fixed seat(B). Pull
the brake cable back hard with your hand,
then tighen the bolt with the provided nuts.
Drive the Libert-e, slowly and test brake
function.

13
A
As
ss
se
em
mb
bl
li
in
ng
g
T
Th
he
e
P
PE
ET
T
T
Tr
ri
ic
cy
yc
cl
le
e
PET
If the brake is too tight, loosen the bolt and
loosen the brake cable a little, then tighten the
bolt and retest. If the brake is too loose, loosen
the bolt and pull the brake cable back a little
more, then tighten the bolt and retest.Repeat until
the brake performs correctly.
9. Install the front brake by following the rear
brake cable instructions.
10.Install the basket with the four nuts and bolts

14
A
As
ss
se
em
mb
bl
li
in
ng
g
T
Th
he
e
P
PE
ET
T
T
Tr
ri
ic
cy
yc
cl
le
e
PET
provided.
11. Install the seat. Adjust the seat post to the
desired height. Tighten the lock bolts with the
nuts provided.
Tilt seat forward. Insert the battery and lock it.
Plug the battery connector into the battery pack.

15
A
As
ss
se
em
mb
bl
li
in
ng
g
T
Th
he
e
P
PE
ET
T
T
Tr
ri
ic
cy
yc
cl
le
e
PET

16
C
Ch
ha
ar
rg
gi
in
ng
g
T
Th
he
e
B
Ba
at
tt
te
er
ri
ie
es
s
PET
●Before you ride the PET for the first time you
must charge the batteries for 4-6 hours or until
the charger light turns green using only the
supplied charger.
●To charge the batteries, plug the charger into
the charger socket located on the battery.
Then plug the charger into a wall outlet. Red
light on charger indicates charging, green light
indicates charged.
Warning: Never charge tricycle longer than 8
hours.

17
R
Ri
id
di
in
ng
g
T
Th
he
e
P
PE
ET
TT
Tr
ri
ic
cy
yc
cl
le
e
PET
●Once you have completed the initial charge you
are ready to ride. Remember, this is not a toy.
The PET can reach speeds up to 10 mph
depending on the terrain and the weight of the
rider. You must wear a helmet and protective
pads. Be aware of all local laws and ordinances
that govern and/or restrict the use of powered
tricycles. The laws and ordinances vary greatly
from municipality to municipality. It is your
responsibility to know and abide by your local
restrictions.
●To ride, insert the key into the key switch and
turn the key in clockwise direction till the first click.
The battery gauge will be illuminated indicating
that the battery is in operation. Turn the key to
the second click in clockwise direction to turn on
the headlight.
●Hold onto the front bar with both hands. Your
left hand will control the brakes and your right
hand will control the throttle and other brake. As

18
R
Ri
id
di
in
ng
g
T
Th
he
e
P
PE
ET
TT
Tr
ri
ic
cy
yc
cl
le
e
PET
you turn the throttle towards yourself, the speed
will increase. Release the throttle and apply the
brake to stop the scooter. You will control the
speed of the scooter by using both the throttle
and the brake. When the brake handle is
squeezed it cuts power off the throttle.
NOTE 1: WARNING: Never try stunts. Always
maintain a safe speed.
NOTE 2: When tricycle is parked, please remove
the key, this will avoid anyone from accidentally
turning the throttle causing the scooter to speed
forward. Failure to do this could lead to an
accident.
NOTE 3: If you need to stop in an emergency or
kill power quickly, you can turn the key off.
NOTE 4: When going downhill, reduce speed for
safety. After you level off, twist the throttle.
Should tricycle not accelerate, come to a
complete stop and then retry again.
Table of contents