Pfaff 3371-1 series User manual

Instruction Manual
3371-1/..
296-12-18 618/002
Betriebsanleitung engl. 06.05
This instruction manual applies to machines from software
version 0335/009
and serial number 6 001 000 onwards

The reprinting, copying or translation of PFAFF Instruction Manuals, whether in whole or in
part, is only permitted with our previous authorization and with written reference to the
source.
PFAFF Industrie Maschinen AG
Postfach 3020
D-67653 Kaiserslautern
Königstr. 154
D-67655 Kaiserslautern
This Instruction Manual is valid for all models and subclasses listed in the
chapter " Specifications ".
The adjustment manual for the machines can be downloaded free of charge
from the internet address
www.pfaff-industrial.com/de/service/download/index.php3.
As an alternative to the internet download the adjustment manual can also be
ordered in book form under part no. 296-12-18 619/002.

Contents
Contents ................................................................................. Chapter - Page
1Safety ........................................................................................................................... 1 - 1
1.01 Directives ...................................................................................................................... 1 - 1
1.02 General notes on safety ................................................................................................ 1 - 1
1.03 Safety symbols ............................................................................................................. 1 -2
1.04 Important points for the user ........................................................................................ 1 - 2
1.05 Operating and specialist personnel ............................................................................... 1 - 3
1.05.01 Operating personnel ...................................................................................................... 1- 3
1.05.02 Specialist personnel ......................................................................................................1- 3
1.06 Danger .......................................................................................................................... 1 - 4
2Proper use.................................................................................................................... 2 -1
3Specifications .............................................................................................................. 3 - 1
4Disposal of machine ................................................................................................... 4 - 1
5Transport, packaging and storage ............................................................................. 5 - 1
5.01 Transport to the customer ............................................................................................ 5 - 1
5.02 Transport within the customer’s premises ................................................................... 5 - 1
5.03 Disposal of the packaging ............................................................................................. 5 - 1
5.04 Storage ......................................................................................................................... 5 - 1
6Explanation of the symbols ........................................................................................ 6 - 1
7Control elements ......................................................................................................... 7 - 1
7.01 Main switch ..................................................................................................................7- 1
7.02 Pedal ............................................................................................................................. 7 - 1
7.03 Balance wheel ............................................................................................................... 7- 2
7.04 Control panel ................................................................................................................. 7 - 3
7.04.01 Screen displays ............................................................................................................. 7 - 3
7.04.02 Display symbols ............................................................................................................ 7 - 3
7.04.03 Function keys ................................................................................................................ 7 - 4
8Installation and commissioning ................................................................................. 8 - 1
8.01 Installation ..................................................................................................................... 8 - 1
8.01.01 Adjusting the table height ............................................................................................. 8 - 1
8.01.02 Removing the transit support ........................................................................................ 8 - 2
8.01.03 Fitting the reel stand ..................................................................................................... 8 - 2
8.01.04 Mounting the table top (for deliveries without stand) .................................................... 8 - 3
8.01.05 Table top drill hole plans ................................................................................................8- 4
8.01.06 Connecting the plug-in connections and earth cable ..................................................... 8 - 6
8.02 Commissioning the machine ......................................................................................... 8 - 6
8.03 Switching the machine on/off ....................................................................................... 8 - 6

Contents
Contents ................................................................................. Chapter - Page
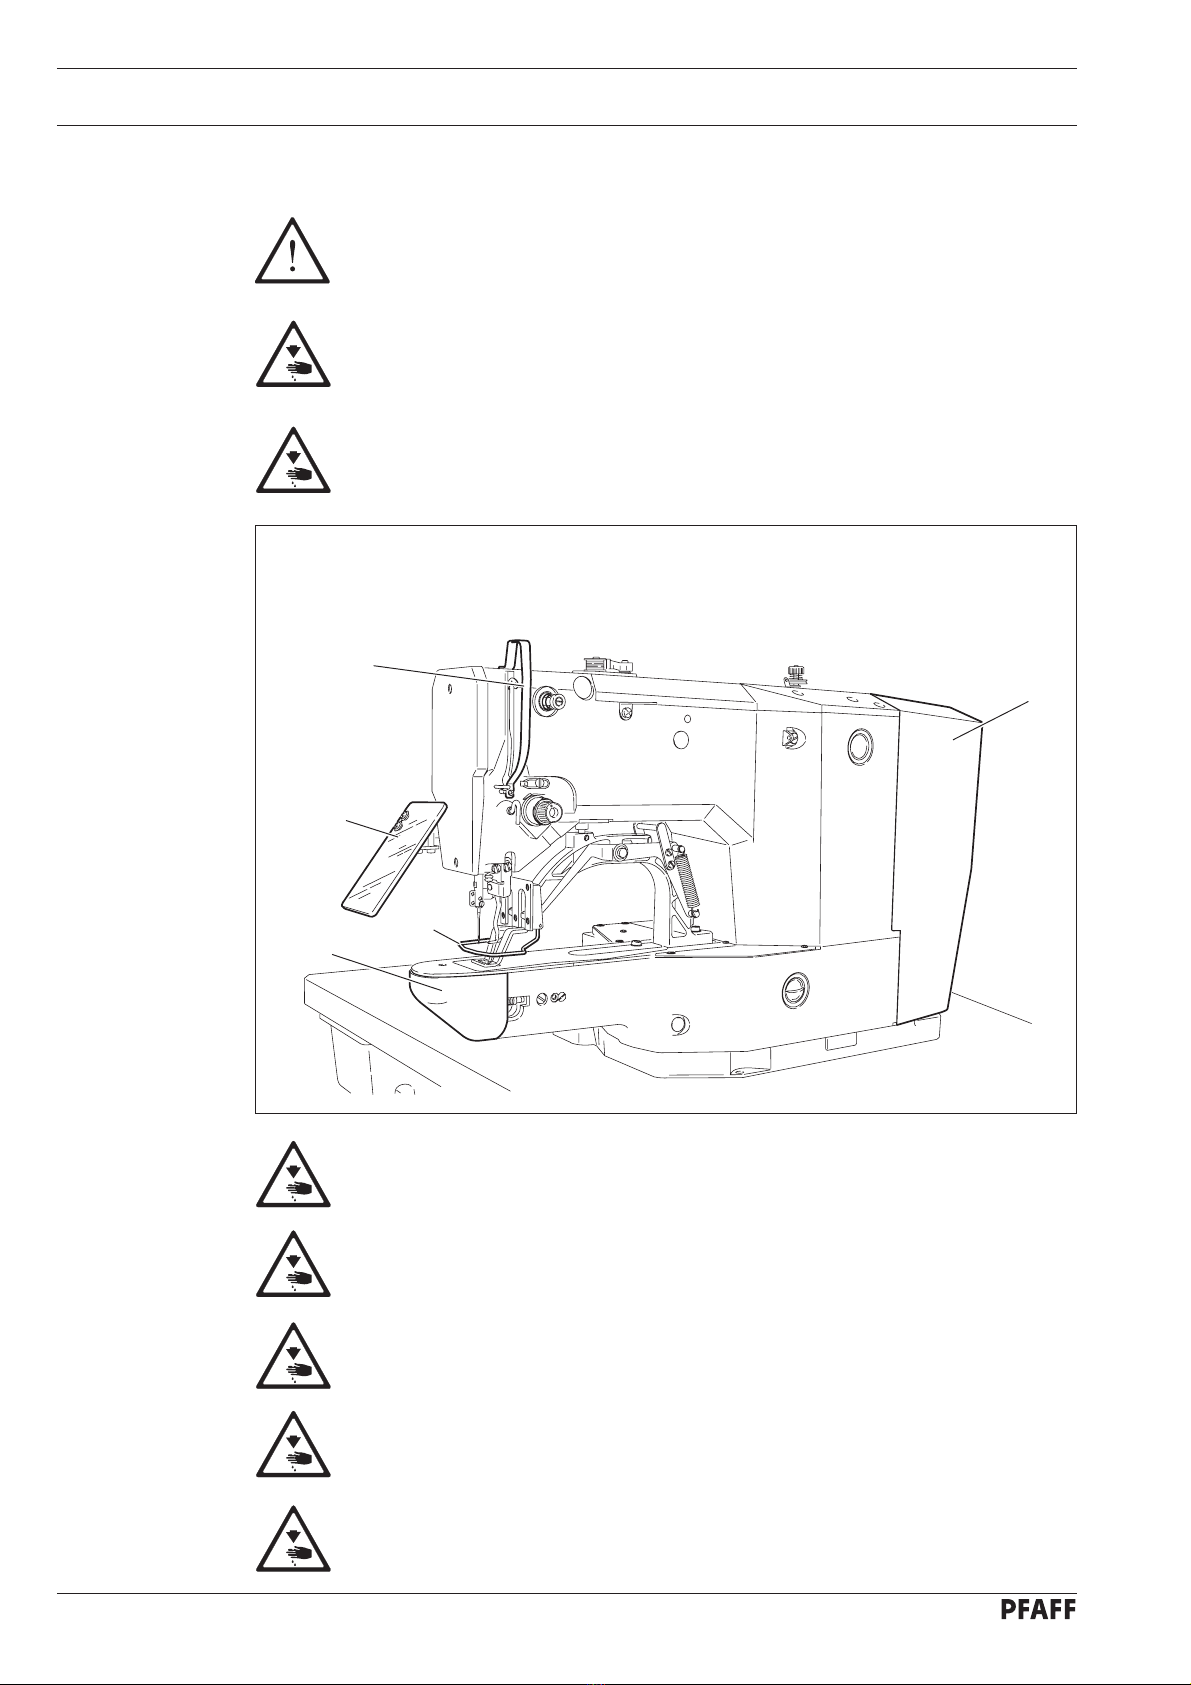
9Setting up .................................................................................................................... 9 -1
9.01 Inserting the needle ...................................................................................................... 9 - 1
9.02 Threading the needle thread / adjusting the needle thread tension ............................... 9 - 2
9.03 Winding the bobbin thread ............................................................................................ 9 - 3
9.04 Removing / replacing the bobbin case ........................................................................... 9 - 4
9.05 Threading the bobbin thread / adjusting the bobbin thread tension ............................... 9 - 4
9.06 Selecting a seam program ............................................................................................ 9 - 5
9.06.01 Selecting and changing the seam pattern. .................................................................... 9 - 5
9.06.02 Selecting a program station. ......................................................................................... 9 - 6
9.06.03 Selecting a sequence .................................................................................................... 9 -6
9.07 Adjusting the size of the sewing area ........................................................................... 9 - 7
9.08 Setting up the bobbin thread counter ............................................................................ 9 - 8
9.09 Resetting the piece counter .......................................................................................... 9 - 8
9.10 Shifting the seam pattern .............................................................................................. 9 - 9
10 Sewing ....................................................................................................................... 10 -1
10.01 Operating cycle ........................................................................................................... 10 -1
10.02 Error messages ........................................................................................................... 10 - 1
11 Input ...........................................................................................................................11- 1
11.01 Reserving program stations ........................................................................................ 11 - 1
11.02 Entering sequences .................................................................................................... 11 - 2
11.03 Parameter input .......................................................................................................... 11 - 3
11.04 Access codes .............................................................................................................. 11 - 4
11.04.01 Entering the access code ............................................................................................ 11 - 4
11.04.02 Changing the access code .......................................................................................... 11 - 4
11.04.03 Granting access rights ................................................................................................ 11 - 5
11.05 Summary of the seam patterns .................................................................................. 11 - 6
11.06 List of parameters ....................................................................................................... 11 - 9
11.07 Error messages on the display .................................................................................... 11 - 16
11.08 Sewing motor errors ................................................................................................... 11 - 17
11.09 OTE-errors .................................................................................................................. 11-17
12 Care and maintenance .............................................................................................. 12 - 1
12.01 Maintenance intervals ................................................................................................. 12 - 1
12.02 Cleaning the machine .................................................................................................. 12 - 1
12.03 Cleaning the hook compartment ................................................................................. 12 - 2
12.04 Oiling the needle head parts ....................................................................................... 12 - 2
12.05 Oiling the hook ............................................................................................................ 12- 3
12.06 Oiling the bearing points in the arm ............................................................................ 12 - 4
12.07 Oil disposal .................................................................................................................. 12 - 4
13 Wearing parts ............................................................................................................ 13 - 1

1 - 1
Safety
1 Safety
1.01 Directives
This machine is constructed in accordance with the European regulations contained in the
conformity and manufacturer’s declarations.
In addition to this Instruction Manual, also observe all generally accepted, statutory and other
regulations and legal requirements and all valid environmental protection regulations!
The regionally valid regulations of the social insurance society for occupational accidents or
other supervisory organizations are to be strictly adhered to!
1.02 General notes on safety
●This machine may only be operated by adequately trained operators and only after having
completely read and understood the Instruction Manual!
●All Notes on Safety and Instruction Manuals of the motor manufacturer are to be read
before operating the machine!
●The danger and safety instructions on the machine itself are to be followed!
●This machine may only be used for the purpose for which it is intended and may not be
operated without its safety devices. All safety regulations relevant to its operation are to
be adhered to.
●When exchanging sewing tools (e.g. needle, roller presser, needle plate and bobbin),
when threading the machine, when leaving the machine unattended and during
maintenance work, the machine is to be separated from the power supply by switching
off the On/Off switch or by removing the plug from the mains!
●Everyday maintenance work is only to be carried out by appropriately trained personnel!
●Repairs and special maintenance work may only be carried out by qualified service staff
or appropriately trained personnel!
●Work on electrical equipment may only be carried out by appropriately trained personnel!
●Work is not permitted on parts and equipment which are connected to the power supply!
The only exceptions to this rule are found in the regulations EN 50110.
●Modifications and alterations to the machine may only be carried out under observance of
all the relevant safety regulations!
●Only spare parts which have been approved by us are to be used for repairs! We
expressly point out that any replacement parts or accessories which are not supplied by
us have not been tested and approved by us. The installation and/or use of any such
products can lead to negative changes in the structural characteristics of the machine.
We are not liable for any damage which may be caused by non-original parts.

1 - 2
Safety
1.03 Safety symbols
Danger!
Points to be observed.
Danger of injury for operating and specialist personnel!
1.04 Important points for the user
●This Instruction Manual is an integral part of the machine and must be available to the
operating personnel at all times.
●The Instruction Manual must be read before operating the machine for the first time.
●The operating and specialist personnel is to be instructed as to the safety equipment of
the machine and regarding safe work methods.
●It is the duty of the user to only operate the machine in perfect running order.
●It is the obligation of the user to ensure that none of the safety mechanisms are removed
or deactivated.
●It is the obligation of the user to ensure that only authorized persons operate and work on
the machine.
Further information can be obtained from your PFAFF agent.
I
Caution
Do not operate without finger deflector and safety
devices.
Before threading, changing bobbin and needle, cleaning
etc. switch off main switch.

1 - 3
Safety
1.05 Operating and specialist personnel
1.05.01 Operating personnel
Operating personnel are persons responsible for the equipping, operating and cleaning of the
machine as well as for taking care of problems arising in the sewing area.
The operating personnel is required to observe the following points and must:
●always observe the Notes on Safety in the Instruction Manual!
●never use any working methods which could adversely affect the safety of the machine!
●not wear loose-fitting clothing or jewelery such as chains or rings!
●also ensure that only authorized persons have access to the potentially dangerous area
around the machine!
●always immediately report to the person responsible any changes in the machine which
may limit its safety!
1.05.02 Specialist personnel
Specialist personnel are persons with a specialist education in the fields of electrics,
electronics and mechanics. They are responsible for the lubrication, maintenance, repair and
adjustment of the machine.
The specialist personnel is obliged to observe the following points and must:
●always observe the Notes on Safety in the Instruction Manual!
●switch off the On/Off switch before carrying out adjustments or repairs, and ensure that
it cannot be switched on again unintentionally!
●wait until the luminous diode on the control box is no longer blinking or on before
beginning adjustment or repair work.
●never work on parts which are still connected to the power supply! Exceptions are
explained in the regulations EN 50110.
●replace the protective coverings and close the electrical control box afer all repairs or
maintenance work!

1 - 4
Safety
Do not operate the machine without its take-up-lever guard 1!
Danger of injury due to the motion of the take-up lever!
Do not operate the macine without finger deflector 2!
Danger of injury by the needle!
Do not operate the machine without eye shield 3!
Danger of injury from flying needle fragments!
Only operate the machine with cover 4closed!
Danger of injury from rotating hook!
Do not operate the machine without cover 5!
Danger of injury from moving parts!
1.06 Danger
A working area of 1 meter is to be kept free both in front of and behind the
machine while it is in operation so that it is always easily accessible.
Never reach into the sewing area while sewing! Danger of injury by the needle!
Never leave objects on the table while adjusting the machine settings!
Objects can become trapped or be slung away! Danger of injury!
Fig. 1 - 01
1
2
3
4
5

Proper use
2 - 1
2 Proper use
The Pfaff 3371-1/.. is an automatic sewing machine for sewing lockstitch bartacks and short
seams in the sewing industry.
Any and all uses of this machine which have not been approved of by the
manufacturer are considered to be inappropriate! The manufacturer cannot be
held liable for any damage caused by the inappropriate use of the machine! The
appropriate use of the machine includes the observance of all operational,
adjustment, maintenance and repair measures required by the manufacturer!

Specifications
3 - 1
3 Specifications ▲
Max. sewing speed: ............................................................................................. 2700 spm
Feed type: ......................................................................................................... intermittent
Stitch length: ................................................................................................ 0.1 – 10.0 mm
Stitch type: .................................................................................................. 301 (lockstitch)
Needle size in 1/100 mm:
for fine materials: ....................................................................................................70 - 100
for medium-weight materials: .............................................................................. 100 - 120
for medium-heavy materials: ................................................................................ 120 - 140
Needle system
Subclass -1/01, -1/21, -1/31 ......................................................................................... DPx5
Subclass -1/11 ........................................................................................................... DPx17
Needle bar stroke: ................................................................................................... 41 mm
Fabric clearance: ............................................................................................. max. 17 mm
Max. size of sewing area: ................................................................................ 40 x 20 mm
Power supply: ........................................................... 220 V ± 10%, 50/60 Hz, single phase
Power consumption: ............................................................................................. 0.55 kVA
Electrical power rating: ........................................................................................... 1,2 kVA
Fuse protection: ............................................................................................. 1x 16 A, inert
Noise data:
Noise emission level at workplace
with a sewing cycle of 4 sec. on and 2 sec. off: ........................................ Lpa = 74 dB(A) ■
(Noise measurement in accordance with DIN 45 635-48-B-1, ISO 11204, ISO 3744, ISO 4871)
Sewing head dimensions:
Length: ...................................................................................................... approx. 770 mm
Width: ....................................................................................................... approx. 220 mm
Height: ...................................................................................................... approx. 380 mm
Dimensions of standard base:
Length: .................................................................................................... approx. 1060 mm
Width: ....................................................................................................... approx. 600 mm
Height: ...................................................................................................... approx. 820 mm
Weights
Sewing head: .............................................................................................. approx. 42 kilos
Base incl. control box: ................................................................................. approx. 45 kilos
▲Subject to alterations
■KpA = 2,5 dB

Disposal of machine
4 - 1
4 Disposal of machine
●The proper disposal of the machine is the responsibility of the customer.
●The materials used in the machines are steel, aluminium, brass and various plastics.
The electrical equipment consists of plastics and copper.
●The machine is to be disposed of in accordance with the locally valid environmental
protection regulations. If necessary, a specialist is to be commissioned.
Special care is to be taken that parts soiled with lubricants are separately
disposed of in accordance with the locally valid pollution control regulations!

Transport, packaging and storage
5 - 1
5 Transport, packaging and storage
5.01 Transport to the customer’s premises
The machines are delivered completely packed.
5.02 Transport within the customer’s premises
The manufacturer bears no liability for transport within the customer’s premises or to the in-
dividual locations of use. Make sure that the machines are always transported upright.
5.03 Disposal of the packaging
The packaging of these machines consists of paper, cardboard and VCE fiber. The proper
disposal of the packaging is the responsibility of the customer.
5.04 Storage
The machine can be stored for up to 6 months if not in use. During this time it should be
protected from dust and moisture.
For longer storage the individual parts of the machine, especially the moving parts, must be
protected from corrosion, e.g. by a film of oil.

Explanation of the symbols
6 - 1
6 Explanation of the symbols
In the following section of this Instruction Manual, certain tasks or important pieces of
information are accentuated by symbols.
The symbols used have the following meanings:
Note, information
Cleaning, care
Lubrication, greasing
Servicing, repairing, adjustment, maintenance
(only to be carried out by specialist personnel)

Control elements
7 - 1
7 Control elements
7.01 Main switch
●Switch the machine on or off by turning
main switch 1.
After switching the machine on,
first press the „TE“ key to bring
the machine into its neutral
position.
0
56-067
Fig. 7 - 01
1
7.02 Pedal
The pedal is used to lower and raise
the work clamp, and to start the sewing
program.
-1 = sewing interruption
0 = neutral position
+1 = lower work clamp
+2 = sewing
Fig. 7 - 02
0
+1
+2
-1

Control elements
7 - 2
7.03 Balance wheel
●By pressing and holding down balance
wheel 1, it is possible to adjust the
needle bar manually.
1
Fig. 7 - 03

Control elements
7 - 3
7.04 Control panel
The control panel is used to select seam programs, change parameter values, control the dif-
ferent operating modes, as well as for reading error signals and service settings.
The control panel consists of screen 1
with the appropriate displays and a row of function
keys.
7.04.01 Screen displays
Depending on the operating mode, on the screen 1
information is shown about the machine
status, program selection, sequence program progress, input parameters, as well as error
signals.
●Activated functions are displayed with the triangular marking 2beneath and next to the
respective function key.
●Depending on the operating mode, relevant data is displayed in combination with the
appropriate symbol or text, and can be altered directly (e.g. speed 3
with the value 5).
●When the parameters are entered, the number of the parameter selected is shown with
the corresponding parameter value, see Chapter 11.03 Parameter input.
●After the input mode has been selected, the text 4
(„TE“) appears at the top edge of the
display, the input mode is activated, see Chapter 11 Input.
●If faults occur in the sewing operation, a corresponding error signal appears in the display,
see Chapter 11.07 Error messages on the display.
7.04.02 Display symbols
Program number
The current seam program number appears under this symbol.
Speed
The current speed appears under this symbol.
Size factor X
(crosswise)
The size factor in X-direction in % appears under this symbol.
Size factor Y
(lengthwise to arm)
The size factor in Y-direction in % appears under this symbol.
Bobbin thread counter/piece counter
The current value for counting the piece or bobbin thread appears under this symbol.
Enter
If the key under this symbol is pressed, the input is concluded.
X
Y
5
2
4
1
3
P1 P2 P3 P4 P5 P6 P7 P8
P
C1
C2
C3
TE
TE
XY
88 2700 100 100

Control elements
7 - 4
7.04.03 Function keys
With the function keys functions are switched on or off, parameters and operating modes
are selected and relevant values changed.
Each time a key is pressed, an acoustic signal is given (factory setting). If function keys are
pressed which are not permitted in accordance with the machine status, or if the top or
bottom limit of the input value is reached, a double signal tone can be heard.
A value is changed with the corresponding +/-key. In this way, e.g. by pressing and holding
+/- on key 6, the speed value 5can be changed.
Menu
This function is used to scroll within various different screen displays.
Wind
The bobbin thread winding function is called up, see Chapter 9.03 Winding the bobbin
thread.
Basic position
Work clamp and needle are positioned in the basic position and , if necessary, the thread
trimming function is activated.
Tacting backwards
Each time the key is pressed, the selected seam program is sewn stitch by stitch in reverse,
and the coordinates for each stitch are shown on the control panel.
Tacting forwards
Each time the key is pressed, the selected seam program is sewn forwards stitch by stitch,
and the coordinates for each stitch are shown on the control panel.
Program stations
The function keys P1 to P8 are used to enter and select seam programs, see Chapter
9.06.02 Selecting the program station.
Direct program selection
This function is used to select a seam pattern. After selection, speed and size can be altered,
see Chapter 9.06.01 Selecting and altering the seam pattern.
5
P1 P2 P3 P4 P5 P6 P7 P8
P
C1
C2
C3
TE
TE
XY
88 2700 100 100
6
P1
P8
to
P

Control elements
7 - 5
Sequences
The function keys C1 to C3 are used to enter and select sequences, see Chapter 9.06.03
Selecting a sequence.
TE
In the production mode, this key is used to change into the input mode. In the input mode
this key is used to acknowledge the input of program stations and sequences, to change into
the basic status of the input mode and to change into the sewing mode.
C1
C3
to
TE

Installation and commissioning
8 - 1
8 Installation and commissioning
The machine must only be installed and commissioned by qualified personnel!
All relevant safety regulations must be strictly adhered to!
If the machine is delivered without a table, be sure to use a stand and table top
that can hold the weight of the machine with its motor.
It is very important to ensure that the stand of the machine is firm and steady,
also during sewing.
8.01 Installation
The site where the machine is installed must be provided with suitable connections for
electric current.
It must be ensured that the standing surface of the machine site is firm and horizontal, and
that sufficient lighting is provided for.
For packing and transportation reasons the table top is in the lowered position.
The table height is adjusted as described below.
If the machine is delivered with stand, the transit lock must be removed before
commissioning, see Chapter 8.01.02 Removing the transit lock.
8.01.01 Adjusting the table height
●Loosen screws 1and 2and set the table height as required.
●Firmly tighten screw 1.
●Set the required pedal position and tighten screw 2.
Fig. 8 - 01
1
1
2

Installation and commissioning
8 - 2
8.01.02 Removing the transit lock
●Loosen nut 1.
●Remove screw 2.
Fig. 8 - 02
1
8.01.03 Fitting the reel stand
●Fit the reel stand as shown in Fig. 8 - 03.
●Afterwards insert the stand in the hole in
the table top and secure it with nuts pro-
vided.
Fig. 8 - 03
2
Other manuals for 3371-1 series
2
Table of contents
Other Pfaff Sewing Machine manuals

Pfaff
Pfaff coverlock 4772 User manual

Pfaff
Pfaff 1070s User manual

Pfaff
Pfaff 471 User manual

Pfaff
Pfaff Creative Vision User manual

Pfaff
Pfaff perfomance 2058 User manual

Pfaff
Pfaff 3588-05/020 User manual

Pfaff
Pfaff 141 User manual

Pfaff
Pfaff 1245 User manual

Pfaff
Pfaff 1025 User manual

Pfaff
Pfaff 3811-3/55 User manual

Pfaff
Pfaff powerquilter 16.0 User manual

Pfaff
Pfaff 1070s User manual

Pfaff
Pfaff 561 User manual

Pfaff
Pfaff tiptronic 6270 User manual

Pfaff
Pfaff 910 Series User manual

Pfaff
Pfaff 487 User manual

Pfaff
Pfaff Sewing Machine User manual

Pfaff
Pfaff Coverstyle User manual

Pfaff
Pfaff 8301 User manual

Pfaff
Pfaff 3568-12/22 User manual