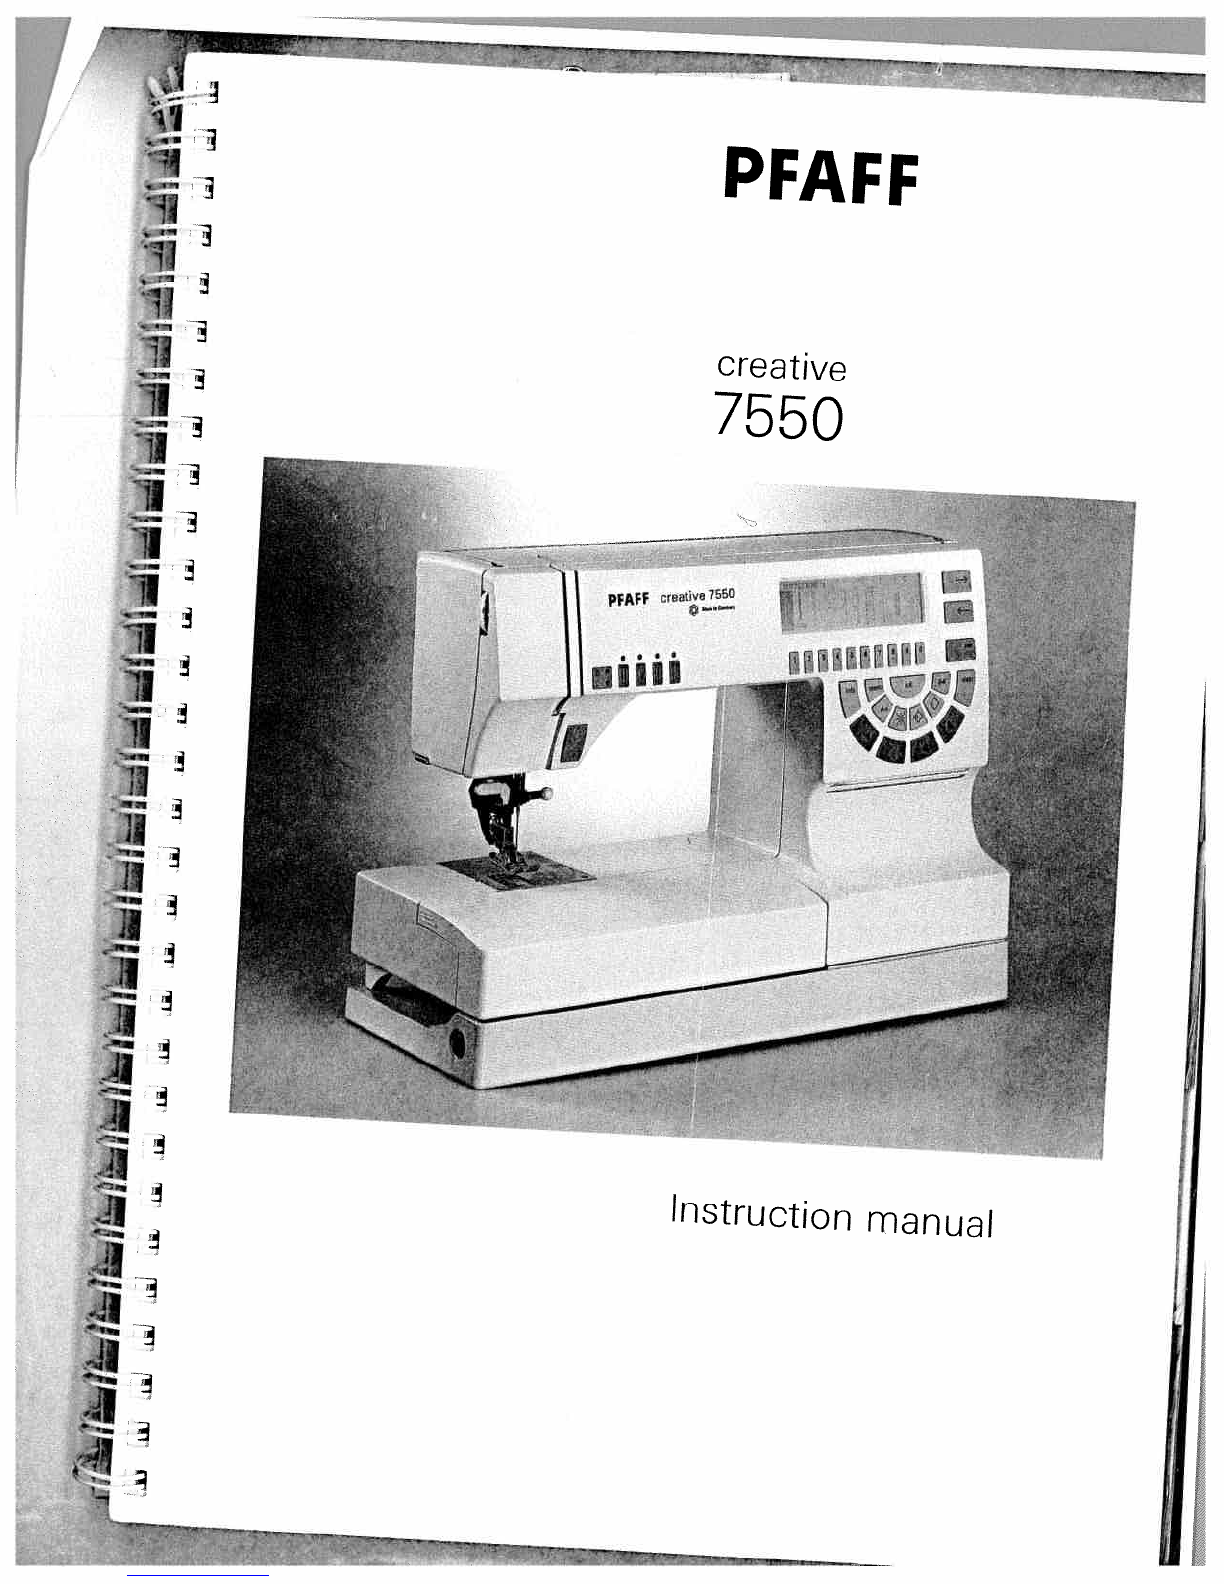
Pfaff Creative 7550 User manual
Other Pfaff Sewing Machine manuals


Pfaff
Pfaff 418 Series User manual

Pfaff
Pfaff 269 User manual

Pfaff
Pfaff creative sensation pro User manual

Pfaff
Pfaff 3827-2 User manual

Pfaff
Pfaff hobbylock 4752 User manual

Pfaff
Pfaff 76 User manual

Pfaff
Pfaff select 1540 User manual

Pfaff
Pfaff Automatic 262 User manual

Pfaff
Pfaff 1243 Guide

Pfaff
Pfaff CREATIVE 4.0 - User manual