4:7
BE
D
Sewing mode
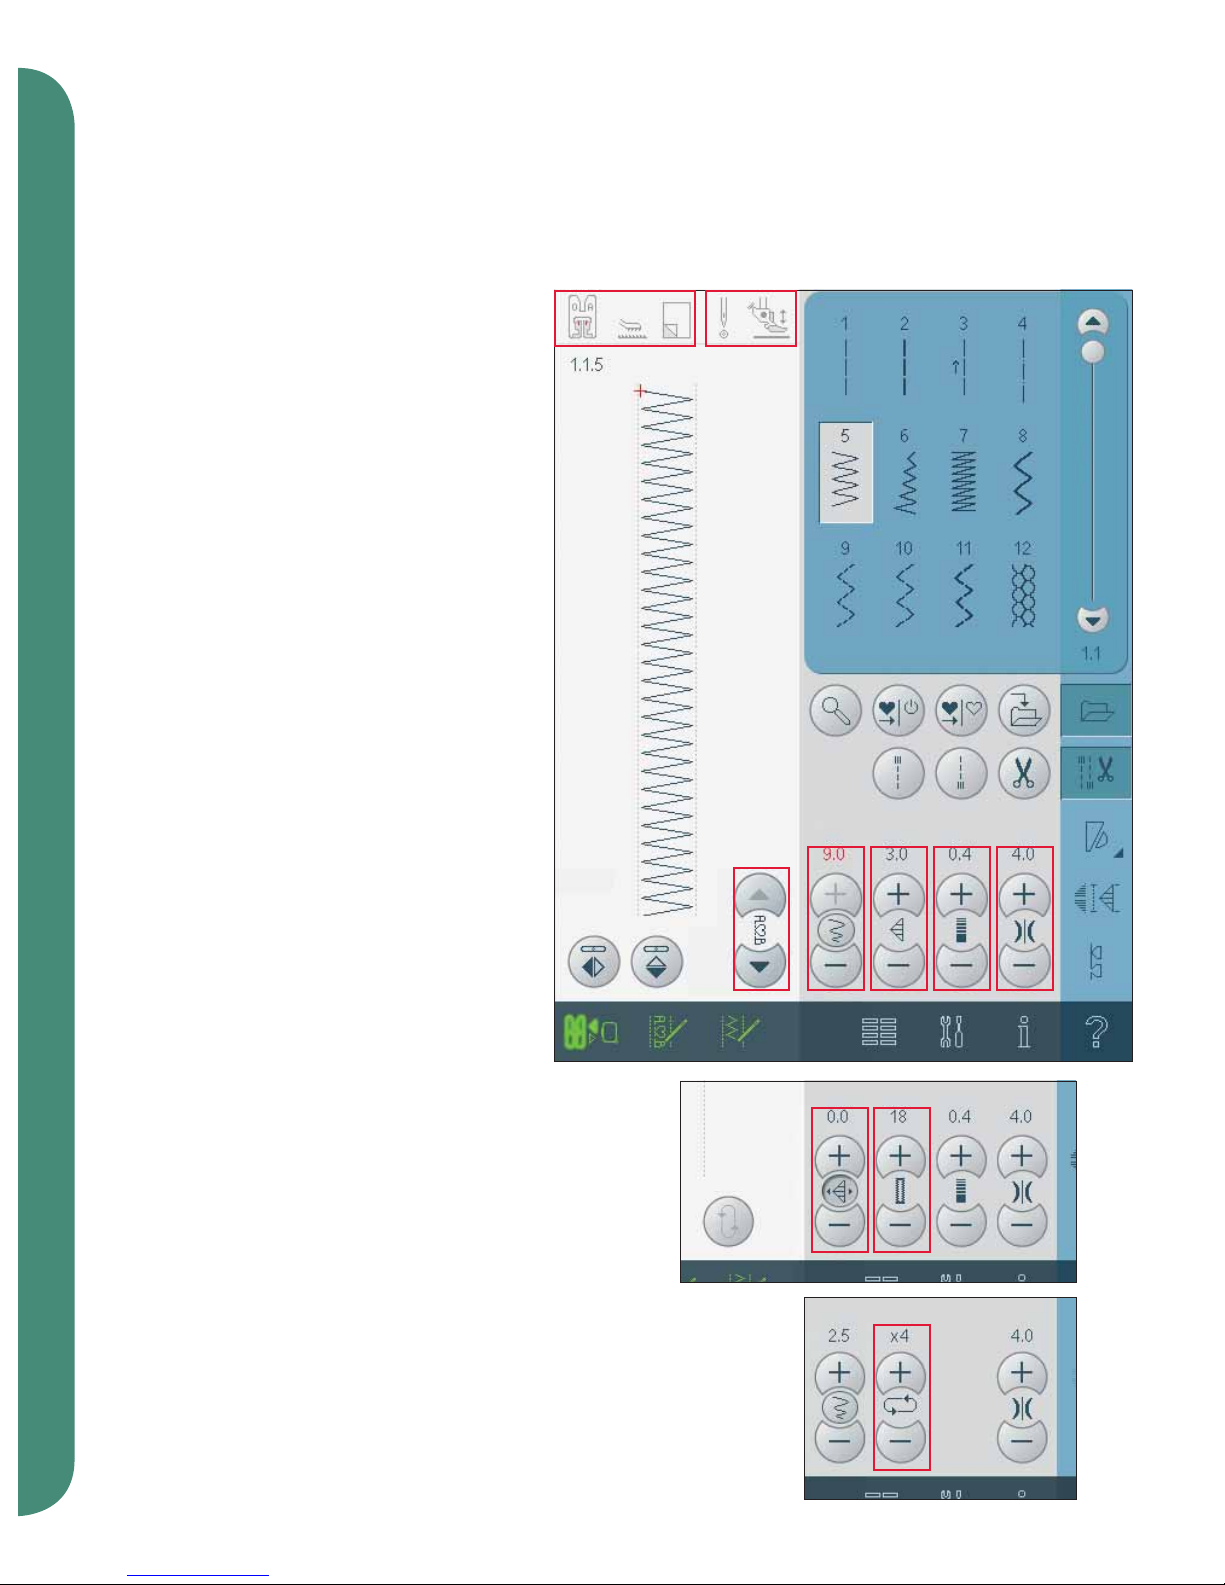
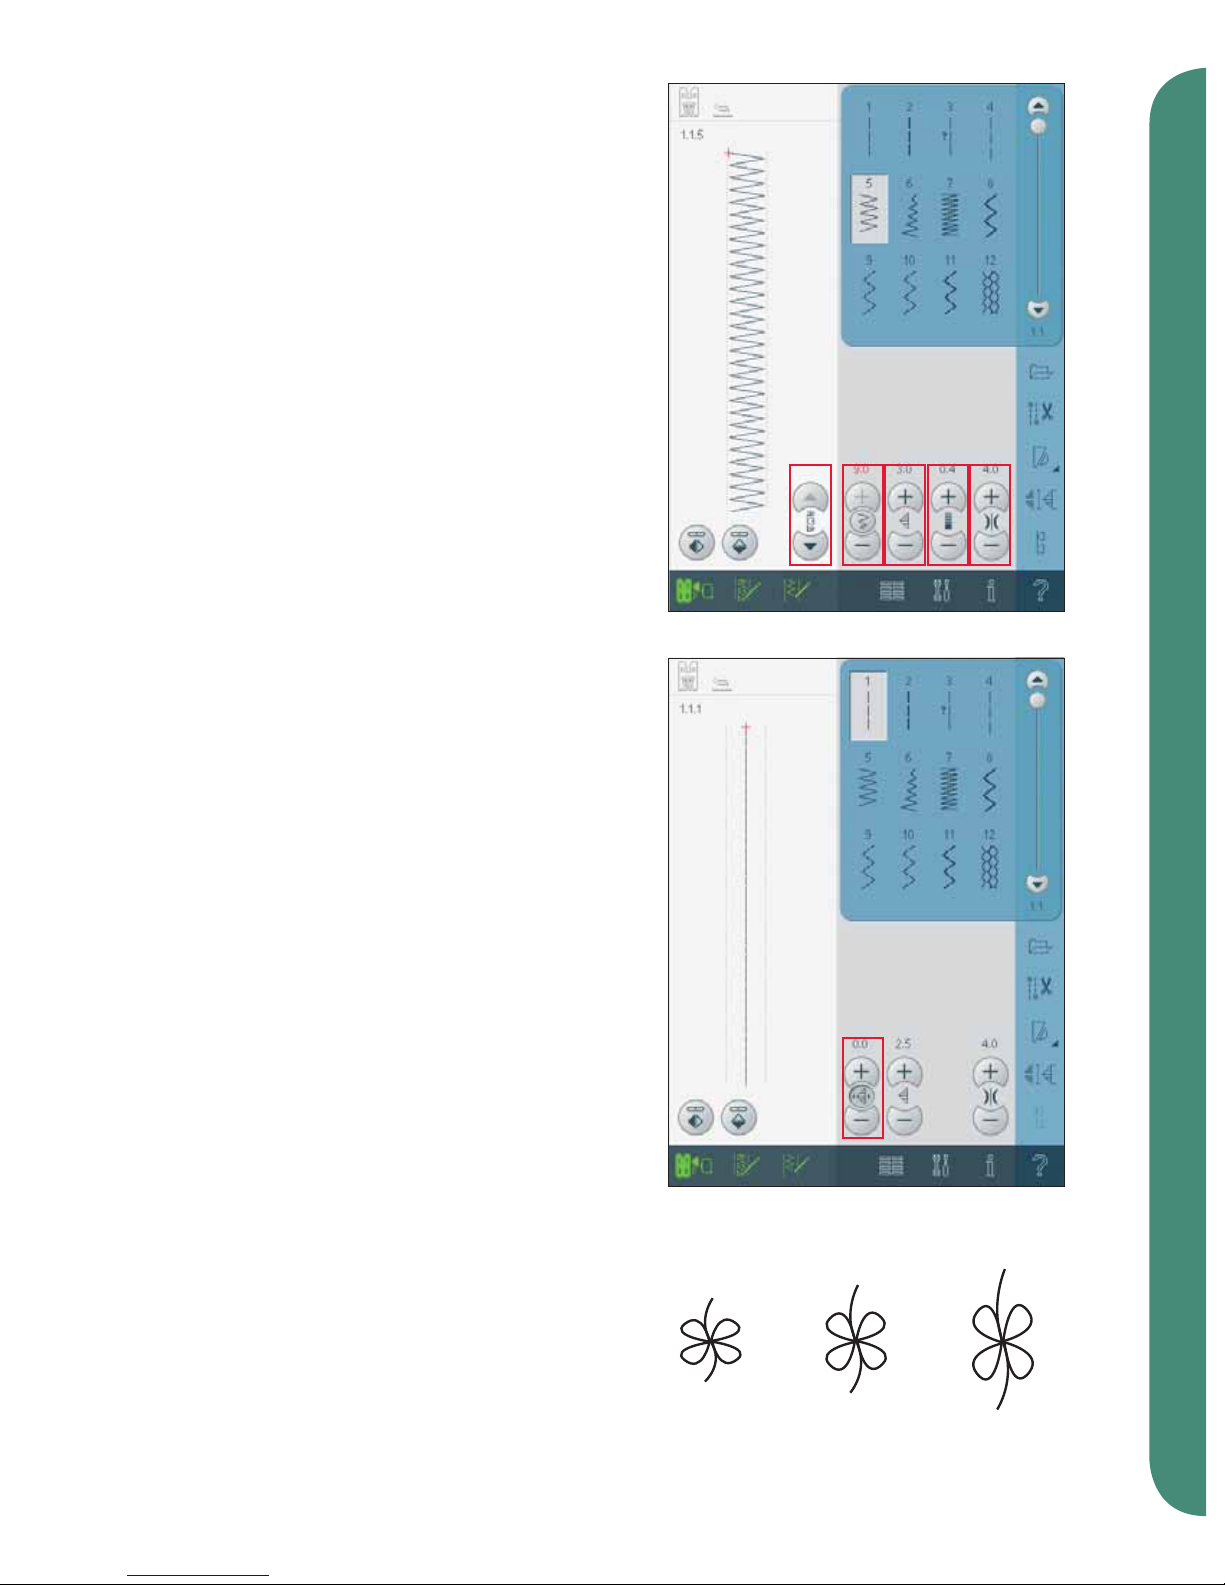
Single stitch program (B)
Activate the single stitch program by touching the
icon (B). When selecting the single stitch program,
you decide how many repetitions of the stitch you
want to sew.
Set the number of repetitions using the icons on
the right (E). The number of repetitions chosen are
shown between the + and - icons. The estimated
length of the repetitions is shown in the preview
field (D). The machine will stop automatically
when the repetitions are sewn.
Patchwork program (C)
The patchwork program makes it possible for you
to program an exact repeatable seam length. This is
very useful when quilting.
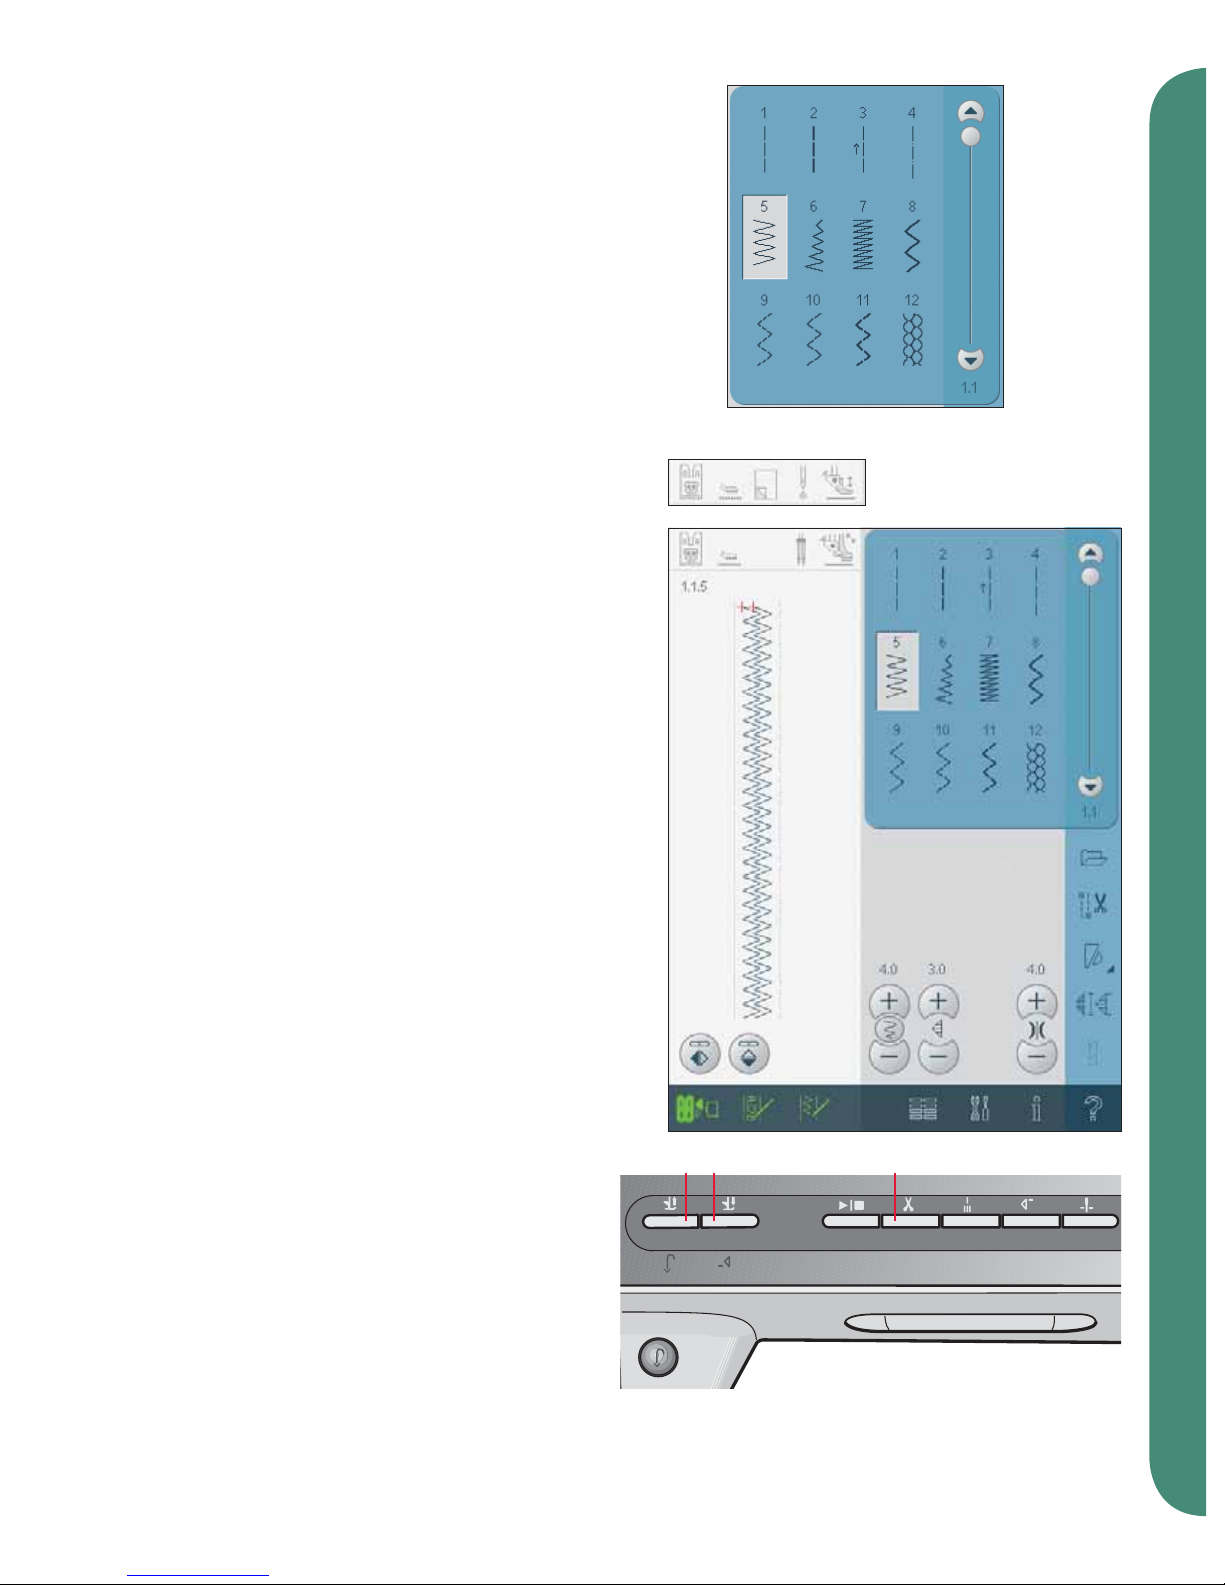
To program a seam length, activate the patchwork
program (C). Sew your desired seam length and
press the reverse button. The action indicator on
the machine will be lit until the last repetition of
the stitch is finished. This will set the length of the
seam. The length of the patchwork sequence is
shown in millimeters in the preview field (D).
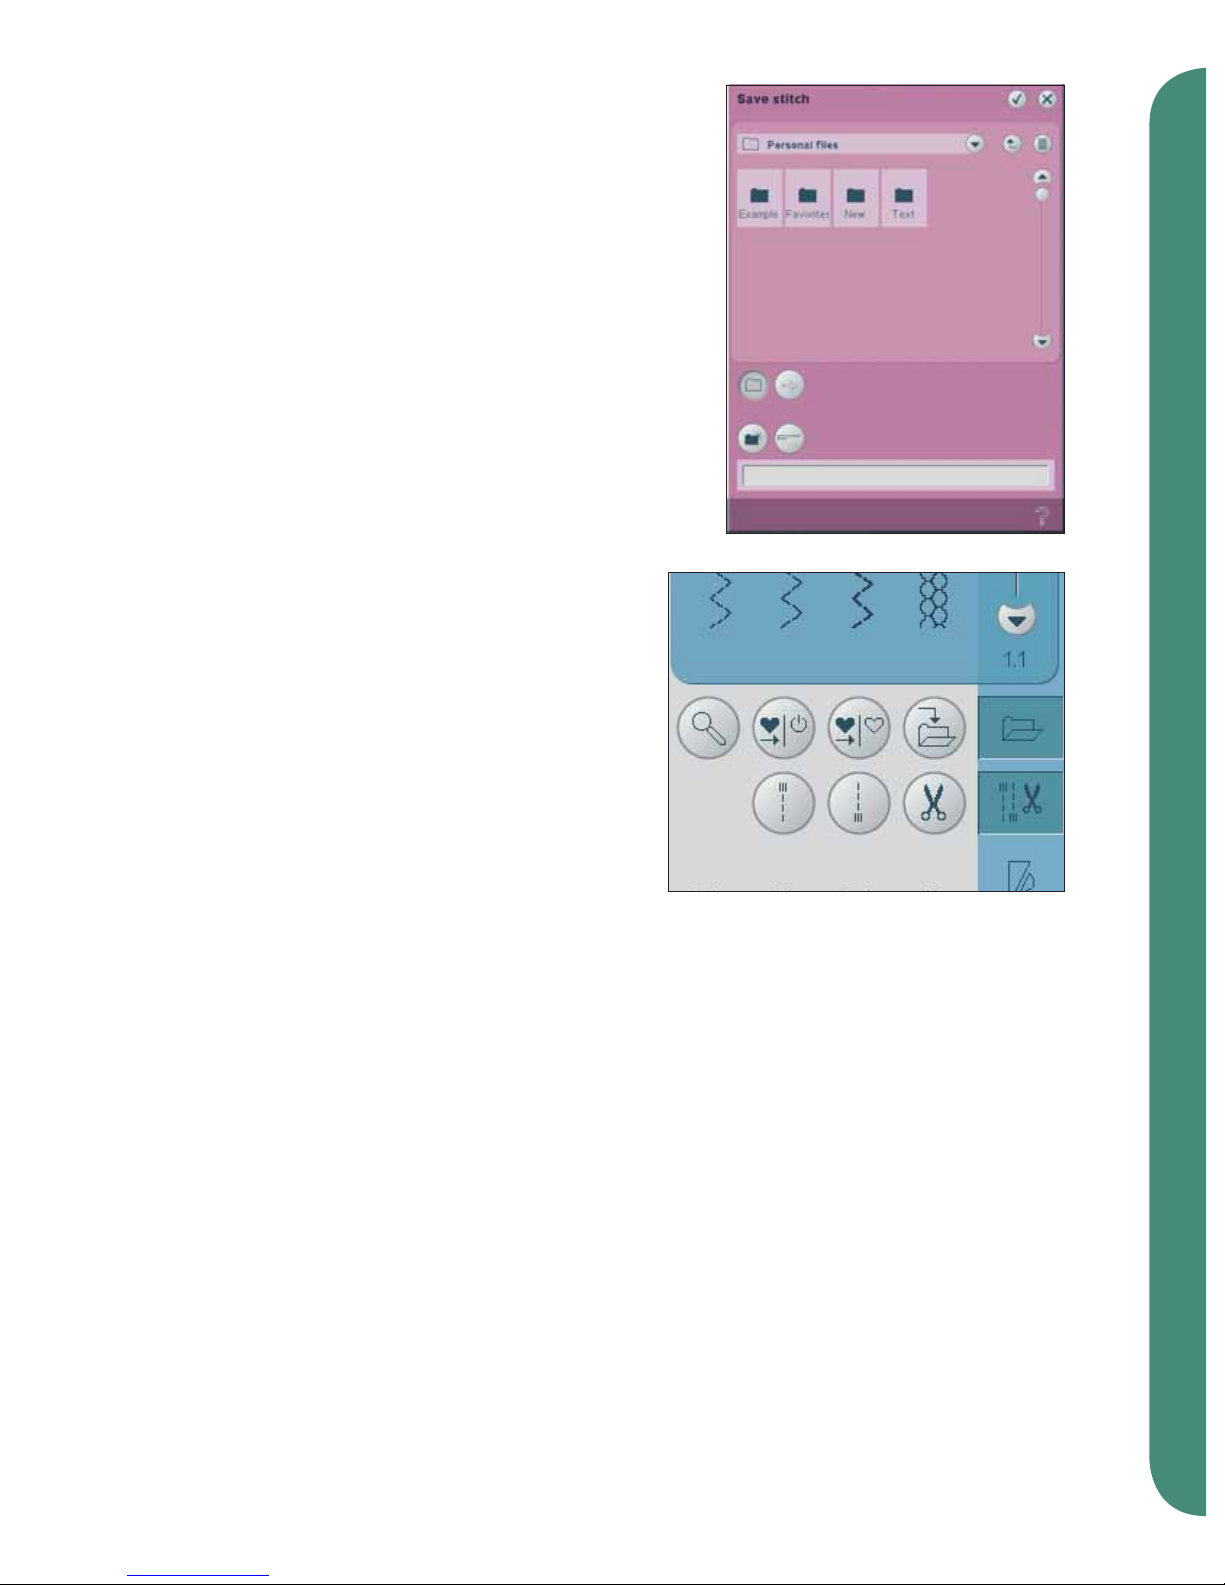
After you have programmed the patchwork
sequence, the patchwork program icon is inactive.
The single stitch program is now activated instead.
The programmed length of your patchwork can be
adjusted using the single stitch adjustment icons
(E).
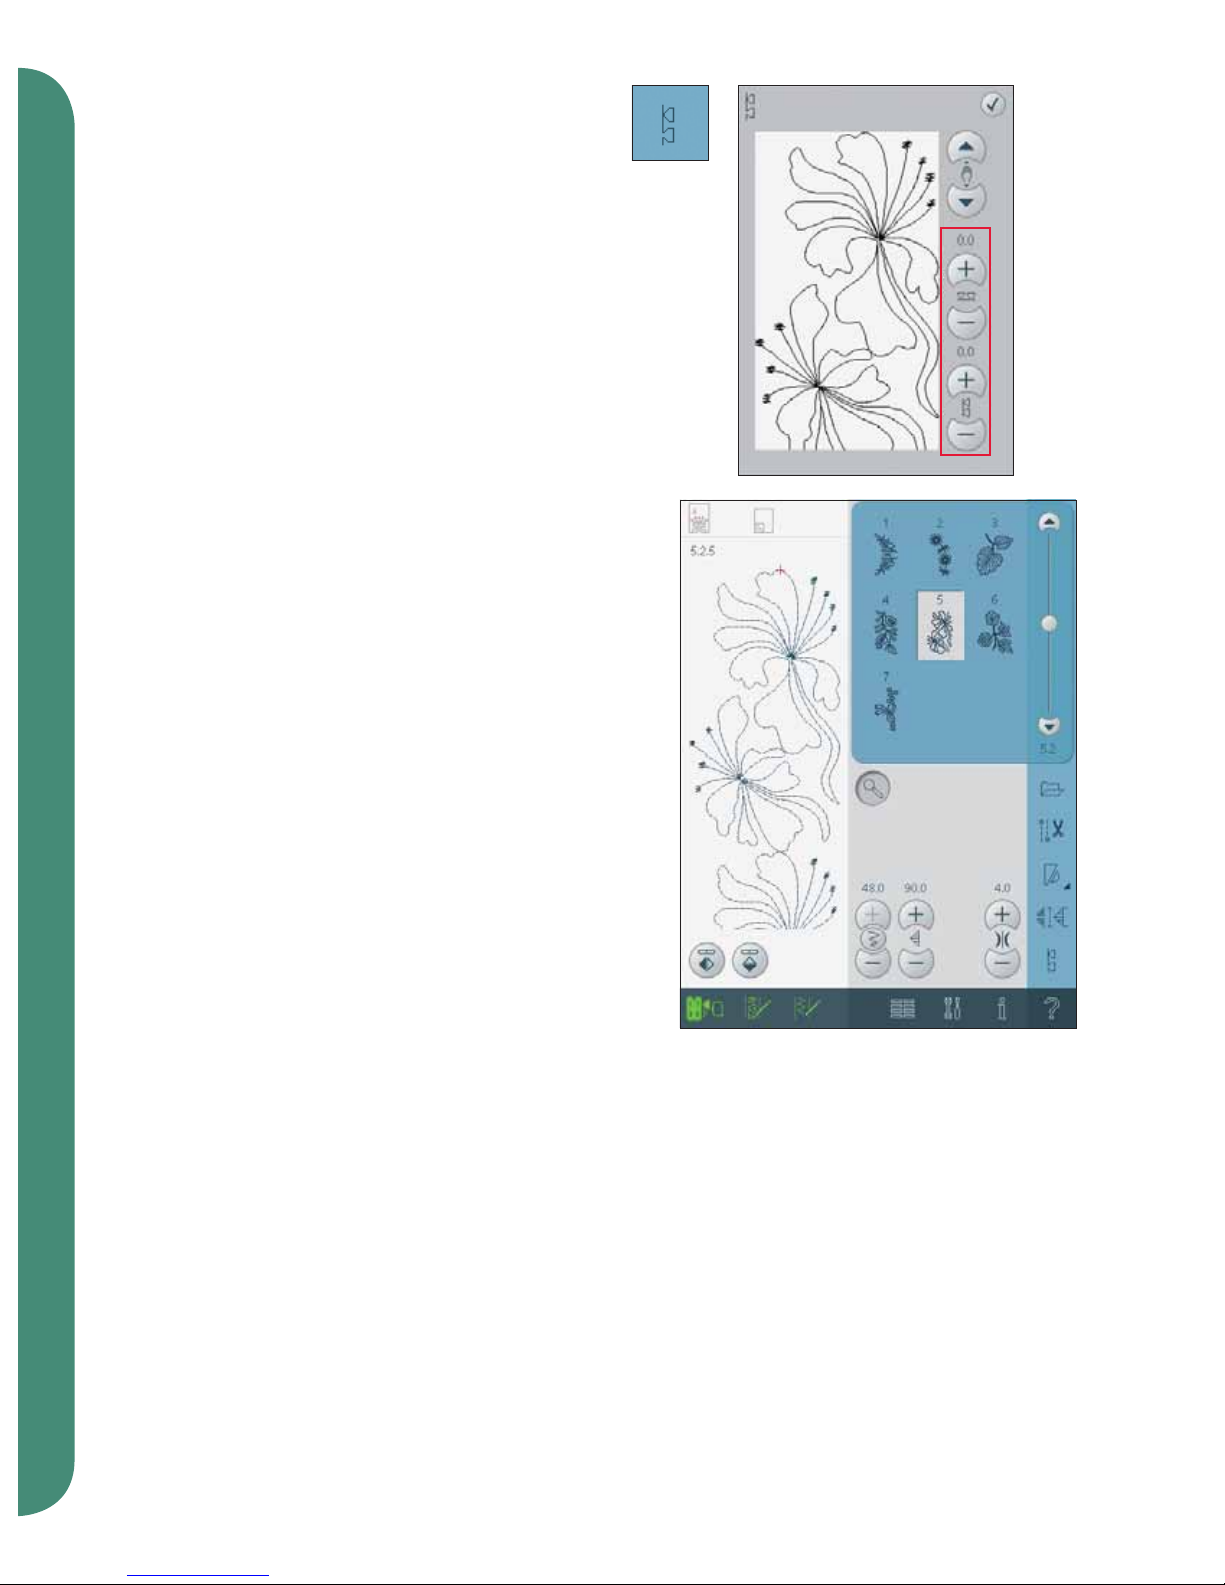
Combining Tapering and Patchwork or Single
stitch programs
Combining Tapering and Patchwork or Single
stitch programs makes it possible to repeat a
tapered seam with the same length.
Activate tapering by selecting any of the tapering
icons (A) then activate Patchwork by touching the
icon (C). Follow the instructions for tapering on the
previous page. When the reverse button is pressed
the action indicator will be lit until the taper and
last repetion of the stitch is finished.
The seam is now programmed and the single stitch
program is activated. When you start sewing again
the seam will automatically be repeated with the
same length.
The length of the seam is shown in millimeters in
the preview field (D). Between the + and - icons (E)
the number of repetitions in the program is shown.
Use the + and - icons to adjust the length of the
seam.
Note: The tapering is included in the repetitions shown
on the screen.
C
D
E
C
D
E
A