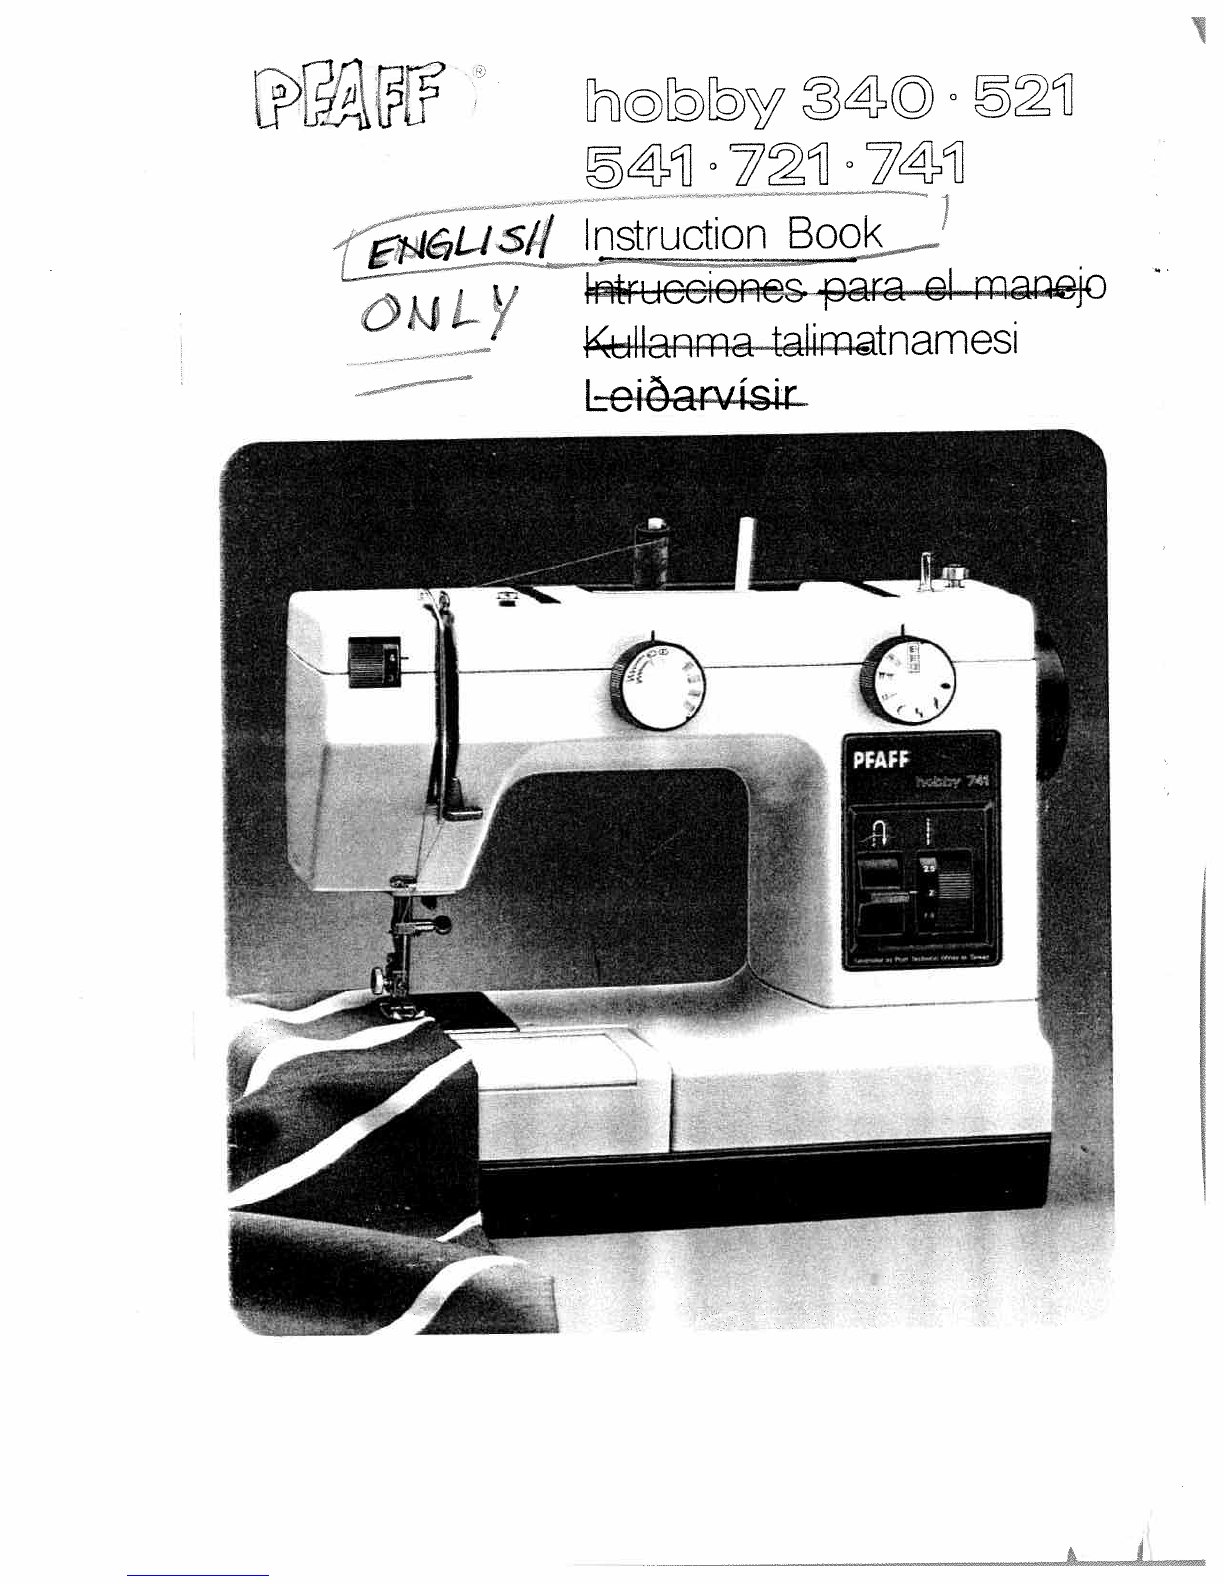
Pfaff hobby 340 User manual
Other Pfaff Sewing Machine manuals

Pfaff
Pfaff 212 User manual

Pfaff
Pfaff creative sensation pro II User manual

Pfaff
Pfaff 28 User manual

Pfaff
Pfaff 94 User manual

Pfaff
Pfaff 463 User manual

Pfaff
Pfaff select 1520 User manual

Pfaff
Pfaff electronic 6250 User manual

Pfaff
Pfaff CREATIVE 2124 User manual

Pfaff
Pfaff select 8.0 User manual

Pfaff
Pfaff 1211 User manual

Pfaff
Pfaff Espression line User manual

Pfaff
Pfaff 1295 Guide

Pfaff
Pfaff 238 User manual

Pfaff
Pfaff 3307-1 SERIES User manual

Pfaff
Pfaff hobbyblock 756 User manual

Pfaff
Pfaff 114 User manual

Pfaff
Pfaff GrandQuilter 18.8 User manual

Pfaff
Pfaff 418 Series User manual

Pfaff
Pfaff Automatic 362 User manual

Pfaff
Pfaff 337 User manual