manuals.online logo
Brands
  1. Home
  2. •
  3. Brands
  4. •
  5. Pfaff
  6. •
  7. Sewing Machine
  8. •
  9. Pfaff Automatic 260 User manual

Pfaff Automatic 260 User manual

Other manuals for Automatic 260

3

Other Pfaff Sewing Machine manuals

Pfaff 3371-10 series Guide

Pfaff

Pfaff 3371-10 series Guide

Pfaff Powerline 2545 Guide

Pfaff

Pfaff Powerline 2545 Guide

Pfaff 16 User manual

Pfaff

Pfaff 16 User manual

Pfaff 1244 User manual

Pfaff

Pfaff 1244 User manual

Pfaff 2081 User manual

Pfaff

Pfaff 2081 User manual

Pfaff passport 2.0 User manual

Pfaff

Pfaff passport 2.0 User manual

Pfaff Creative Performance User manual

Pfaff

Pfaff Creative Performance User manual

Pfaff 3307-1 SERIES User manual

Pfaff

Pfaff 3307-1 SERIES User manual

Pfaff 3568 How to use

Pfaff

Pfaff 3568 How to use

Pfaff hobbymatic 953 User manual

Pfaff

Pfaff hobbymatic 953 User manual

Pfaff 337 User manual

Pfaff

Pfaff 337 User manual

Pfaff 487 User manual

Pfaff

Pfaff 487 User manual

Pfaff 8310-041 User manual

Pfaff

Pfaff 8310-041 User manual

Pfaff 145 User manual

Pfaff

Pfaff 145 User manual

Pfaff ClassicStyle 1525 User manual

Pfaff

Pfaff ClassicStyle 1525 User manual

Pfaff Creative stylist MN 110 Instruction Manual

Pfaff

Pfaff Creative stylist MN 110 Instruction Manual

Pfaff 1243-712/02 Guide

Pfaff

Pfaff 1243-712/02 Guide

Pfaff creative sensation User manual

Pfaff

Pfaff creative sensation User manual

Pfaff 480 Series User manual

Pfaff

Pfaff 480 Series User manual

Pfaff 3334 User manual

Pfaff

Pfaff 3334 User manual

Pfaff 1163 User manual

Pfaff

Pfaff 1163 User manual
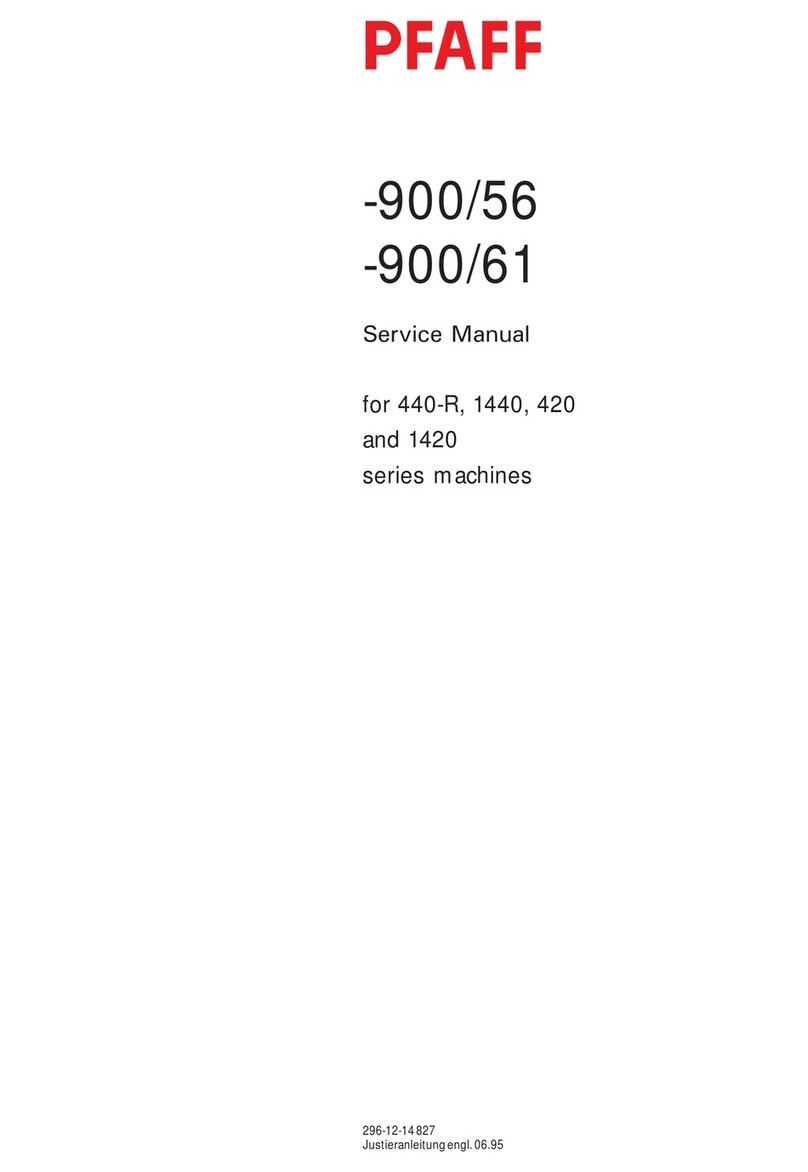
Pfaff CREATIVE 2.0 - User manual

Pfaff

Pfaff CREATIVE 2.0 - User manual

Pfaff 422 User manual

Pfaff

Pfaff 422 User manual

Pfaff 3582-2/01 User manual

Pfaff

Pfaff 3582-2/01 User manual

Popular Sewing Machine manuals by other brands

Brother PE-180D Service manual

Brother

Brother PE-180D Service manual

Singer 569U1100 Operator's guide

Singer

Singer 569U1100 Operator's guide

ELNA 2002 instruction manual

ELNA

ELNA 2002 instruction manual

Siruba DL7200D-NM1 Instruction book

Siruba

Siruba DL7200D-NM1 Instruction book

Silver Viscount 9500e instruction manual

Silver

Silver Viscount 9500e instruction manual

JUKI DDL-9000A instruction manual

JUKI

JUKI DDL-9000A instruction manual

Reliable MSK-335B Specification sheet

Reliable

Reliable MSK-335B Specification sheet

Kenmore 385. 19000 owner's manual

Kenmore

Kenmore 385. 19000 owner's manual

Brother FD4-B271 instruction manual

Brother

Brother FD4-B271 instruction manual

Brother Computerized Embroidery Machine Operation manual

Brother

Brother Computerized Embroidery Machine Operation manual

Husqvarna Viking Designer SE user guide

Husqvarna Viking

Husqvarna Viking Designer SE user guide

Singer 645 owner's manual

Singer

Singer 645 owner's manual

Riccar RL634DE user manual

Riccar

Riccar RL634DE user manual

ZOJE ZJ9800 Operation manual

ZOJE

ZOJE ZJ9800 Operation manual

Siruba C007JP Instruction book

Siruba

Siruba C007JP Instruction book

IKEA SY user guide

IKEA

IKEA SY user guide

Singer 15-91 Adjusters manual

Singer

Singer 15-91 Adjusters manual

Brother BB370 Quick setup guide

Brother

Brother BB370 Quick setup guide

manuals.online logo
manuals.online logoBrands
  • About & Mission
  • Contact us
  • Privacy Policy
  • Terms and Conditions

Copyright 2025 Manuals.Online. All Rights Reserved.

‘
CPFAFFD
260
Automatic
INSTRUCTIONS
FOREWORD
Your
dream
has
come
true!
You
ore
now the
proud
owner
of
a
PFAFF
260
Automatic--the
sewing
machine
with
untimited
possibitities.
This
instruction
book
wilt
help
you
understand
the
machine arid
give
you
valuable
tips
to
make
sewing
more
fun
for
you.
Even
if
you
are
an
experienced
seamstress,
you
witl
find
this
book
a
valuable guide
to
easy
sewing
--
PFAFF
Automatic
Sewing.
Follow
these
simple
instructions
and
familiarize
yourself
with
the
exclusive
automatic
features
of
your
machine.
You
will
find
sewing
exciting
on
your
easy-to-operate
PFAFF
Automatic.
If
you
have any
sewing
problems, please
contact
your
Pfaff
dealer.
He
will
be
glad
to
help
you
at
any
time.
Pfaff
International
Corporation
New
York,
N.Y.
1
F
1
74
16
14Z
R
8248
1
Thread
toke-up
lever
2
Top
control
(0)
cover
3
Embroidery
pattern
length
lever
(E)
4
Dial
(C)
5
Zigzag
linger-lip
conlrol
6
Bobbin
winder
7
Slop
motion
knob
8
Stitch
length
dial
9
Reverse
Iced
control
10
Light switch
11
Drop
Iced
control
12
Needle plate
13
Transverse rotary
hook
14
Bed
slide
IS
Needle
16
Automatic
needle
threader
17
Needle
thread
tension
18
Sewlighl
19
Stitch
width
dial
20
Needle
position
lever
2
341
56
I
13
12
10
2
8
8249
21
Bolance
wheel
22
Collopsble
spool
puss
23
Top
cover
24
Needle
threoder
control
25
Fore
cover
26
Presser
bar
lifter
27
Sewing
foot
thumb
screw
28
Sewusg
foot
26
-27
28
29
Needle
set
screw
30
Bed
plote
31
Spoce
for
built-in
motor
32
Doubfe
receptacle
for
speed
confrof
and
power
cords
23
24
25
3
R
8250
9un?aiueneats
o6
/llachiiw
Q1atig,n
b
4
Make
sure
stop
motion
knob
b
is
tightened before
you
begin
sewing
(clockwise
as indicated
by
white
arrow).
Whenever
you
have
to
turn
balance
wheel
a,
turn
it
to
ward
you
(counter-clockwise
as
shown
by
black
arrow).
Never
run a
threaded
machine
unless
you
hare
fabric
under
the
presser
foot.
The
machine
will
feed
the
material under
the
sewing
foot
automatically.
All
you
have
to
do
is
guide
the
work.
Never
try to
hasten
feeding
by
pushing
or
pulling the
fabric
while
stitching
because
the
needle
may
bend
or break.
.4
Always
turn
the
balance
wheel
toward
you
until
take-up
lever
d
is
ot
its
highest
position
before
you
begin
and
after
you
have
completed
aseam. Failure
to
observe
this
rule
may
cause
the
thread
to
s
1
ip
out
of
the
needle
eye.
Also,
it
is
easier
to
remove the
work
with
the
take-up
lever
up.
“I
t
/
R8251
4
R
8277
Knee
Control
Press
the
right
knee
lightly
against
the
knee control
lever. The
harder
you
press,
the
foster
the
machine
will
run.
Push
plug
I
into
scuptacle
2,
and
plug
3
at
other
end
ot
cord
into
the
wall
outlet.
The
loot
or
knee
control
is
permanently
connected
to
the
machine.
Foot
Control
Place
the
foot
control
under
the
cabinet
within easy
reach
of
your
foot.
Rest
the
right
foot on
the
speed
control
and
press.
The
harder
you
press,
the
faster
the
machine
will
run.
4
ckct7i€i’lt
LJIl6CZlsflatb5fl
5
R
7132
R
8252
$t24IfJht
$fli
4q
Set:
Lever
E
—0
Dial
A—
0
Dial
C
—
0
Lever
B
—
Dial
G
regulates
the
stitch
length
(the
higher
the
number
on
the
dial,
the
longer
the
stitch).
To
back
tack
the
end
of
a
seam,
simply
depress
the
finger-tip
control.
1
41fi
6
R
7998
R
7999
i9249
$?IvihJ
Set:
Dial
C
—0
.
Lever
E—0
If
you
wont
to
sew
a
few
wide
zigzag
stitches
while
the
machine
is
set
for
straight
stitching
(A
on
0).
merely press
down
the
finger-tip
control.
When
the
lever
is
released,
the
machine
resumes
straight
stitching
automatically.
To
sew
longer zigzag
seams,
torn
dial
A
to
desired
stitch
width
(indicated
by
numbers
1
to
6).
When
dial
A
is
set
between
/s
and
2,
you
can
double
the
stitch
width
by
depress
ing
the
finger-tip
control
(important
for
making
buttonholes).
When
you
push the
control
up,
the
machine
will
sew
straight.
regardless
of
the
stitch
width
set
(ideal
for
tying
off
zigzag
seams).
Lever
B
changes
the
position
of
the
needle
in
the
needle
plate
slot.
Thus
the
stitching
can
be moved
from
the
center
to
the
left
or right
of
the
slot,
as
desired.
The
position
et
tever
B
(telt,
center
right)
mdi
cotes the
position
of
the
needle
in
the
needle
plate
stat.
Dial
G
lengthens
zigzag
cD
___________
stitches
or
packs
them
more
closely
together
(satin
stitch).
I
7
R7995
R
8253
$euinU
/l’la.
4
ine
toz At&toffiati
m6ciez
Set:
LeverE.3
Swing
back
the
cover
on
control
D.
Your
embroidery
design
dial
shows
all
the
primary
designs
you
can
make
with
the
Automatic.
Pick
your
design
and
turn
the
dial
so
it
points
to
that
design.
The
numbers
in
the
slot
indicate
the
machine
dial
settings
which
will
give
you
the
design
you
have
chosen.
BH
D3
To
obtain
an
attractive
design,
set
dial
G
(page
6)
between
0.2
and
0.4
(depend
ing on
type
of
fabric and
thread
size) so
that
stitches
are
packed
closely
to
gether.
Here
is
an
example:
Turn control
A
to
0.
Flick
lever
B
left
(as
indicated
by
arrow).
Turn
dial
C
clockwise
until
5
is
at
top.
Turn
dial
D
clockwise
until
3
is
opposite
red
mark
(see
arrow).
i..
.)
•\J
8
R8045
A
You
can
produce
a
nice
border
effect
(see
above
illustration)
by
simply moving
lever
B
ft
om
the
left
to
the
center
and
right,
without
changing
settings
A,
C
and
D
This
is
an
advantage
of
the
PFAFF
Automatic
Most
designs
are
made
with
dial
A
set
on
‘0”
(see
box
A
on
dial
wheel)
so
that
this
setting
need
hardly
be
changed.
A
-
A
%
:1
3
5
7
B
C4
D3
Tfse
arrow appearing
in
box
8
indicates
whether
lever
B
slsould
be
moved
to
the
—,
right,
left
or central
position.
.4
R
7095
important
If
the
setting
indicated
in
box
A
is
1.5’
(for
eight
designs
only),
set
dial
C
first.
A
Big
Advantage
of
the
PFAFF
Automatic
Each
of
the
primary
designs
pictured
on
the
embroidery
design
dial
can
be
sewn
in
different
lengths.
Therefore
you
can
vary
the
appearance
of
the
pattern
without
changing
the
stitch
length.
The
pattern
length
is
cont
rolled
by
lever
E,
which
has
seven
graduations
--
four
numbered
(I,
3,
5
ond
7)
and
three
un
numbered.
Maximum
pattern
length
is
obtained
by
setting lever
E
on
7”,
and
minimum
length
by
setting
it
on
“1
“
When
it is
set
on
0’,
the
Automatic
mechanism
is
disengaged.
LeverEat:
1
9