PHI VersaProbe Instruction Manual

!
1!
PHI VersaProbe Scanning XPS System
I. Overview
The PHI VersaProbe operates with two essential software programs: PHI
Summitt and Vacuum Watcher. A third program, MultiPak, handles data
reduction.
PHI Summitt controls the movement of the sample stage, the analysis setup and
acquisition, and the control of the ion gun and neutralizer gun.
Vacuum Watcher is a separate program that interacts with PHI Summitt and is
used to load and transfer samples and differentially pump the ion gun for
sputtering.
Summitt and Watcher should always be open (running) on the instrument. Do
not close these programs without specific instructions from a lab supervisor.
•If Summitt crashes, it can be closed and reopened. If problem
persists after restart, contact a lab supervisor.
•Make sure Summitt is not already open and minimized before
opening. Two open versions will cause problems.
•Never close Watcher. It remains open even if Summitt is restarted.
•If instructed to restart the computer, open Watcher first, then
Summitt.
II. Features
The VersaProbe XPS is capable of x-ray beam spot sizes from 10um-200um and
a High Power setting with a beam spot of roughly 1400x300um.
Secondary electron images (SXI) can be acquired to locate specific features to
be analyzed.
Computer controlled X, Y, Z, Tilt and Rotate stage control.
Auto Z alignment for optimization of x-ray impact and electron extraction.
Angle-resolved measurements can be done to analyze ultra thin films (with 1”
holder only).
Sputtering can be done to analyze thicker films or remove surface contamination.
System has both Ar+ and C60 sputter guns.
Dual beam (electrons and ions) for charge neutralization of insulating samples.

!
2!
III. Mounting Samples
1” and 2” mounts are available. CuBe clips or double-sided tape can be used to
adhere samples to the mounts. Use the smallest piece of tape possible to avoid
excessive outgassing. Silver or Carbon paint (allowed to dry) is also an option
for mounting. Molybdenum masks can be secured to avoid using tape or paint.
For angle-resolved experiments, must use 1” holder.
IV. Sample Introduction (See Figures 1 and 2.)
1. Watcher -> Press Backfill Intro. Will close valve over turbo pump and
open N2 gas to fill chamber.
•Lift cap and place sample onto fork with tongs. For 1” holders,
hold tongs with top groove and slide bottom groove onto fork.
•Check o-ring on underside of cap, remove any dust or fibers
with a clean wipe, and replace cap.
2. Watcher -> Press Pump Intro. N2 valve closes, Roughing pump acts on
intro chamber, when vacuum is ready, turbo will be opened. A timer starts
counting in Watcher. 20 minutes are allowed for roughing, and then a new
timer starts for the turbo. Wait for timer to finish and “Task Pump Intro
complete” message in Watcher.The gauge for the Intro chamber will
read until ~10-2 Pa and then read “0”.
While waiting for intro chamber to reach desired vacuum level:
•Enable the PHI in Badger. (Will allow use of optical microscope
and CCD camera on sample.)
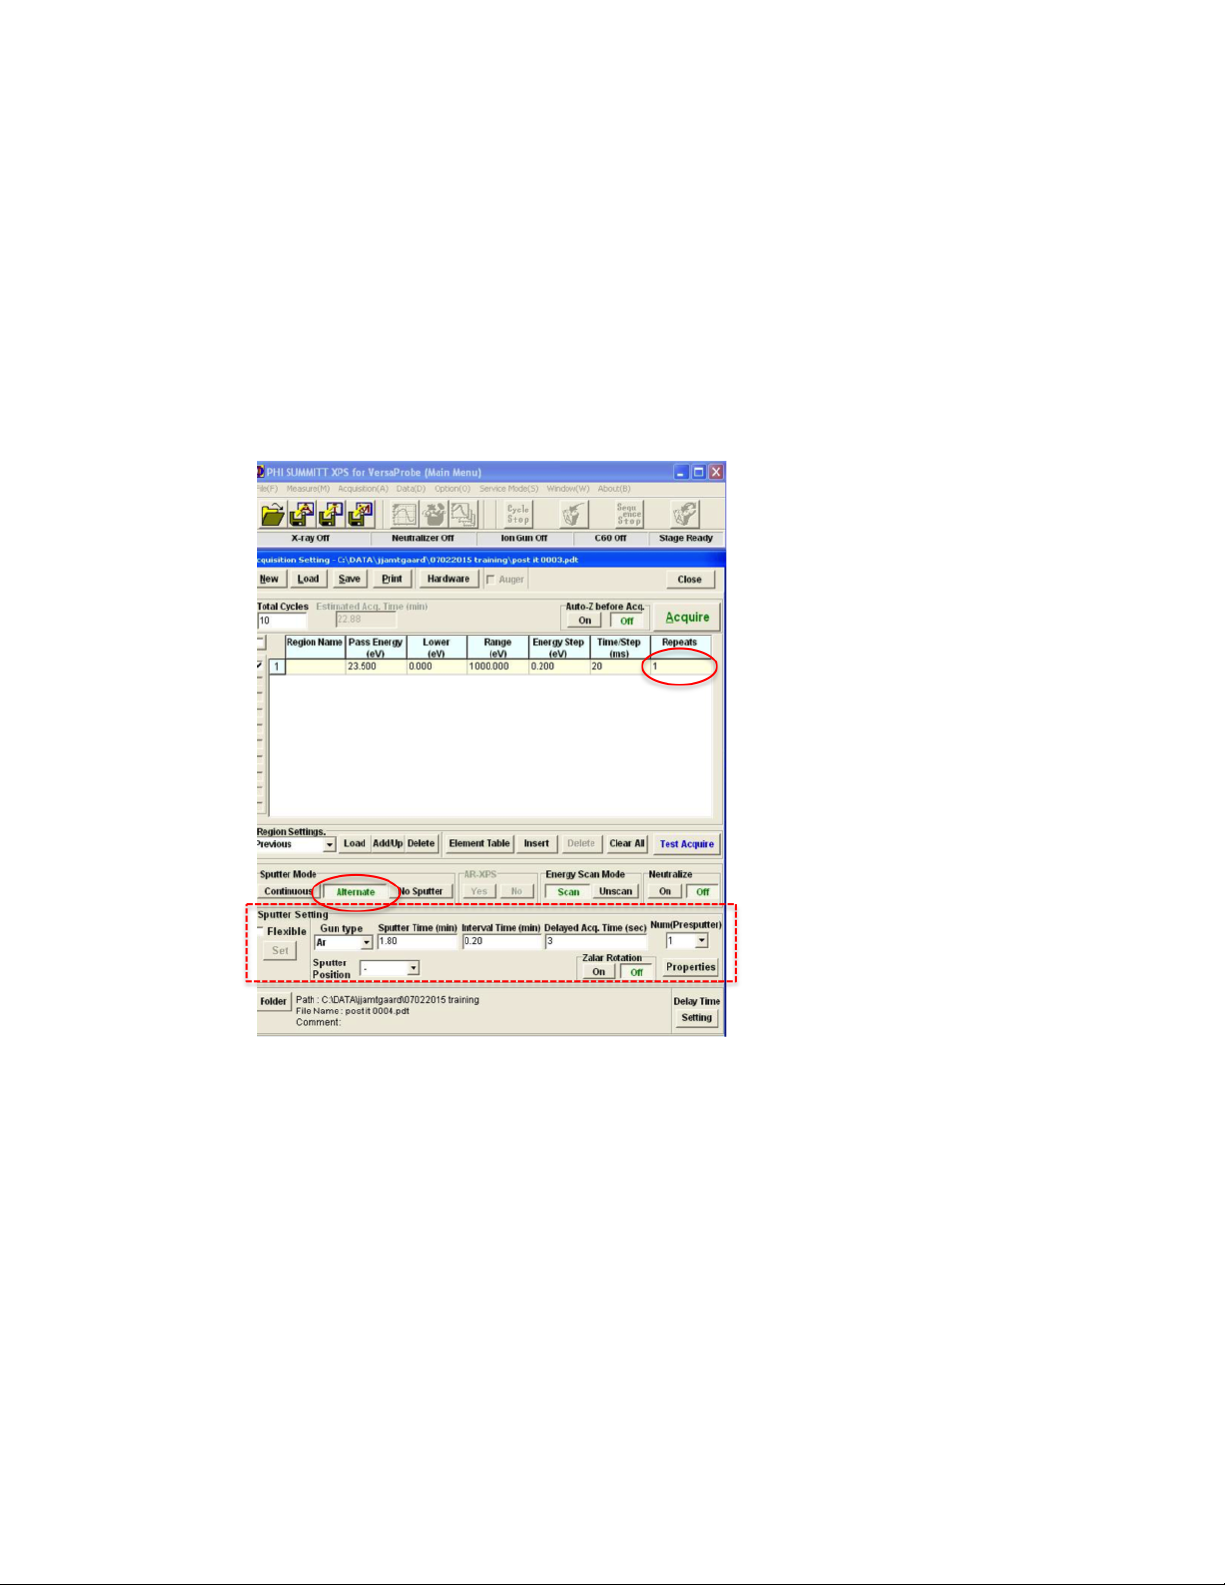
•Set up file for saved data. Summitt -> Push Folder button at
bottom left of “Acquisition Settings” window. Save in C:\Data.
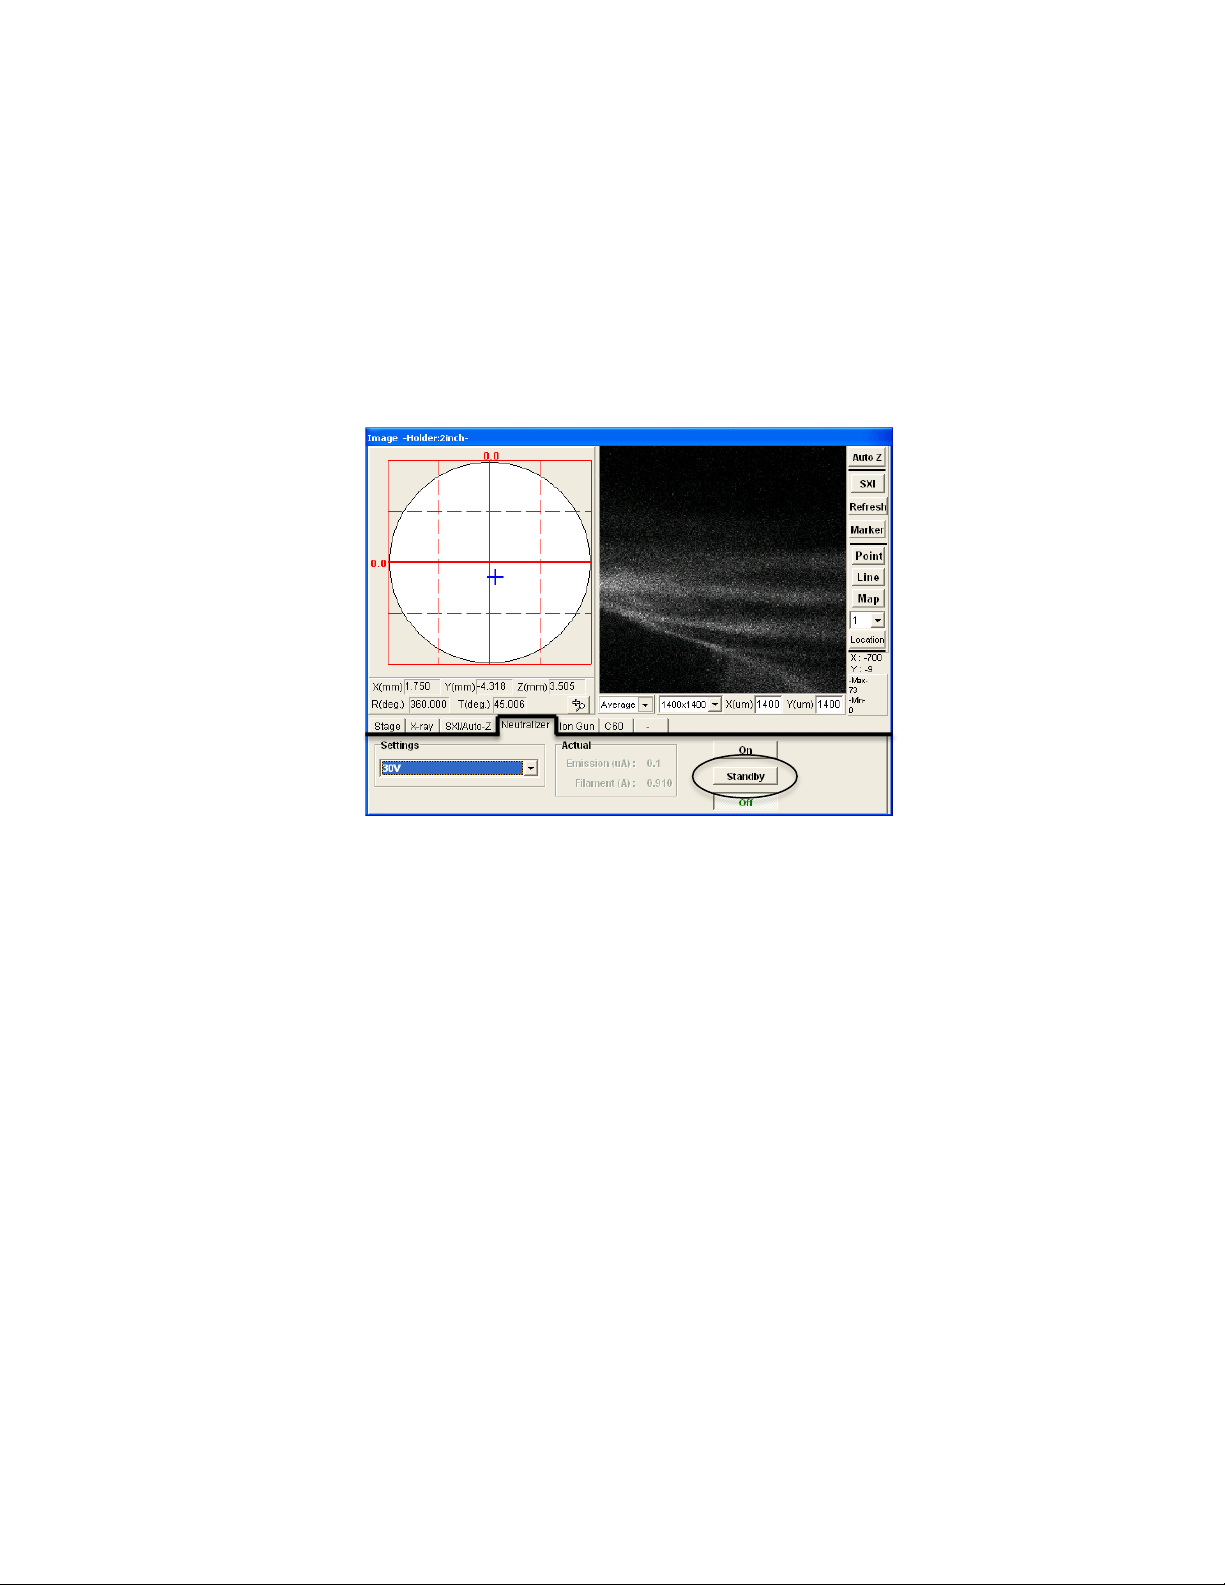
•Check Summitt to make sure previous user did not leave
undesirable settings. (I.e. “No sputter” is selected, Neutralize is
“off.” In Summitt -> “Image” window, under “SXI/AutoZ” tab,
make sure “Neutralizer” and “Ion Gun Neut.” are deselected if
not desired.)
•Summitt -> “Image” window: Select desired Xray beam settings
to be used later for AutoZ and for acquisition in the “SXI/AutoZ”
and “X-Ray” tabs.
3. Summitt -> At bottom of “Image” window, choose “Stage” tab. Press Intro
to move the stage to the home position for sample introduction.
•An “Intro” dialog box will open and indicate that the stage is moving.
•If the X, Y, Z coordinates of the stage are visible in the Summitt
“Image” window, the numbers will be red when the stage is moving.

!
3!
•When stage has stopped moving, follow instructions in “Intro” dialog
box (see next step below).
FIG 1: Vacuum Watcher—Intro Procedure
FIG 2: Summit “Image” Window, Stage Tab—Intro Procedure
(3)
(5)
(8)

!
4!
4. Watcher -> Push Transfer Sample
•A “Task Message” window will open. Press Yes to confirm sample
transfer.
•Gate valve (V1) will open. Wait until white line has moved to “open”
position on gate valve to confirm before moving sample.
•Another “Task Message” window will open prompting to insert
sample. Carefully push transfer rod into chamber by grasping
black handle and sliding it until the stop position. Push OK on Task
Message Window. Sample should be on fork, positioned just
above the stage in the main chamber.
5. Summitt -> Push Up [Z] in the “Intro” dialog box. The stage will move Z
upward to grab the sample holder. The “Intro” dialog box will indicate that
the stage is moving.
6. If the stage has successfully grabbed the sample and is no longer moving,
carefully pull the transfer rod out of the chamber to the stop position.
7. The gate valve (V1) will automatically close.
If stage is not aligned to the sample correctly, and a problem arises
during Up [Z], push Abort in the “Intro” dialog box and manually
drop Z. To drop Z: Summitt “Image” Window-> type a small
number in the Z(mm) box on the “Stage” tab and push Move.
Contact a lab manager for help.
8. Summitt -> In the “Intro” dialog box, push Set (Sample Inf.) to update
sample thickness and holder size, thereby enabling collision protection for
the extractor lens and good Z-height alignment. Push OK to close box.
FIG 3: Summit “Image” Window, Auto Z FIG 4: Stage Controller
Auto Z

!
5!
V. AutoZ Alignment (Figure 3).
1. Manually raise stage until samples are focused in CCD image. Height for
a bare holder is 17mm.
a. Raise stage to Z= 17- sample thickness (i.e. 16.5mm for typical
wafer).
b. Summitt -> In “Image” window, “Stage” tab, type new value into
Z(mm). Push Move button and stage will move.
2. Viewing through glass windows and CCD camera image, translate to
desired sample with digital joystick (Stage Controller, Figure 4.).
3. Summitt -> “SXI/AutoZ” tab in “Image” window. Pick the desired x-ray
settings for AutoZ. 200um file is typical-- larger spot gives better statistics.
(HP option is not available for AutoZ.)
a. Auto Z viewer should be “on” and “Point” should be selected.
b. If sample is likely to charge, may need “Neutralizer” and “Ion Gun
Neut.” See Section VII: Starting the Ion Gun.
4. Summitt -> “Image” Window, push AutoZ to start routine. If need to stop
AutoZ routine, press AutoZ button again. Watch progress—counts should
increase until maximum. The stage height will rise for routine increments
and then decrease and rise again in smaller steps until done. Push “Ok”
and close AutoZ window when finished.
a. If final height is not on desired sample, repeat when centered on
desired sample.
b. If AutoZ routine fails, manually lower Z to a lower starting position
(push Move after entering new value) and retry.
c. Best result when have more than 1000cps in AutoZ.
d. Do not do AutoZ on a tilted sample. AutoZ is already calibrated for
tilt.
VI. Data Acquisition
1. To perform a survey scan, type SUR into the “Region Name” box in the
Summitt “Acquisition Setting” window. Change the default parameters as
needed. Typical settings include:
•Pass Energy: 117.4eV (gives 1.5eV energy resolution)
•Range: 0-1000eV, or 0-1400eV if needed
•Energy Step: 1eV
•Time/Step: 20ms
•1 repeat; 3 total cycles (upper left).
2. To perform a high resolution scan, type desired element and transition into
“Region Name” (i.e. C1s, O1s, Ag3d5…)
a. Press Element Table to open periodic table to select
elements/transitions. Push Add for desired transition.
b. Change the default parameters as needed. Typical settings
include:

!
6!
•Pass Energy: 23.5eV
•Range: varies by element, can push Test Acquire to ensure
peak is within region.
•Energy Step: 0.1eV
•Time/Step: 50ms
•Repeats: Add repeats to regions that need better statistics.
c. For faster option, can choose Unscan at bottom of Summitt->
Acquisition Setting window.
3. Place a check in box at left side of each line to be acquired.
4. Do not collect SUR and high resolution regions at the same
time/under same file name.
5. Summitt-> “Image” Window, “XRAY” tab, choose the spot size/power to be
used for scan. HP or 200um spots give best statistics and most counts,
but may need smaller spot for localized area or acquisition within
sputtered region. See Figure 5.
6. Summitt-> “Acquisition Settings” Window (LHS). Push Acquire to start.
7. To use Ion Gun for sputtering or charge compensation, see Section 7.
8. To analyze data, see the MultiPak manual.
FIG 5: Summit “Image” Window, X-RAY
VII. Starting the Ion Gun—Neutralization or Sputtering (Figures 6-9)
For the purpose of sputtering or neutralizing, must follow steps 1-2e to start the
Ion Gun.
1. Watcher -> Push Diff vlv Open, opens V4 to start pumping Ion Gun (will
stop pumping on intro chamber).
2. Summitt-> “Image” window (RHS), “Ion Gun” tab (FIG 6):
a. For charge neutralization, choose “Neutralize” file under
“Neutralize” heading.
Choose X-ray spot size

!
7!
b. For sputtering, choose desired sputter file. Chart taped to PHI
console explains choices.
c. Push Standby (will turn on power to sputter gun).
d. A dialogue box will open reminding you to push Diff vlv Open. OK.
e. On Pfeiffer RVG050 (FIG 7) box near computer monitor, toggle
white switch to Set Point. In “Ion Gun” tab, check
Ext.Pressure(mPa) readout and watch until stabilizes ~10mPa.
The main chamber pressure will also get worse (1x10⁻⁶).
FIG 6: Summit “Image” Window, Ion Gun
FIG 7: Pfeiffer RVG050C Vacuum Control Box
Choose sputter settings
Choose Neutralize file

!
8!
3. Charge Neutralization
a. Summitt-> “Image” window (RHS), “Neutralizer” tab (FIG 8).
b. Push Standby (will turn on power to electron flood gun).
c. Summitt-> “Acquisition Settings” window (LHS). Under
“Neutralize,” Press ON. Neutralization will begin when spectrum is
acquired.
d. If need to do AutoZ, check the Neutralize and Ion Gun Neutralize
boxes in SXI/AutoZ tab (FIG 3).
FIG 8: Summit “Image” Window, Neutralizer
4. Sputter Modes
•Manual Sputter
oSummitt-> When pressure conditions are ready, pushing
Sputter in “Ion Gun” tab will immediately sputter.
oFor manual, timed sputter:
ochoose a low KV sputter file, check “timed” box, set time,
then push Sputter.
•Depth Profiling (See FIG 9):
oSummitt-> Ion gun is in Standby in the “Ion Gun” tab and
desired sputter file is chosen.
oSummitt-> Acquisition Setting window -> Check/Enter desired
acquisitions.
oSummitt-> Acquisition Setting window (LHS)-> Push Alternate
in “Sputter Mode” category. Will open Sputter Setting options
below.
oTypical Settings:
•Sputter Time (min)= total time to sputter.
!

!
9!
•Interval Time (min)= sputter increments, in
units of .5min.
•Delayed Acq. Time (sec) = Delay before
acquisition to allow count rate to stabilize. 3s is
typical.
•Num(Presputter) = How many scans to take
before 1st sputter. 1 is typical.
oNow, number of cycles is determined by sputter settings. Add
“repeats” to increase signal for some acquisitions.
oPush ACQUIRE to begin depth profile.
oThe charge neutralizer can be used during depth profiling.
5. To Shut Down Sputtering/Neutralizer
a. Summitt-> Acquisition Setting window (LHS)-> Choose No Sputter
in “Sputter Mode” category (FIG 9).
b. Summitt-> Acquisition Setting window (LHS)-> Choose Off in
“Neutralize” category (FIG 9).
c. Summitt-> “Image” Window (RHS) -> “Ion Gun” Tab: Push Off (FIG
6).
d. On Pfeiffer RVG050 box (FIG 7), toggle white switch to Limit.
Never turn off power to Pfeiffer RVG050!
e. Summitt-> “Image” Window -> Push Off in Neutralizer Tab (FIG 8).
FIG 9. Depth Profile Setup

!
10!
f. If used neutralizer during AutoZ, go to “SXI/AutoZ” tab and uncheck
“Neutralizer” and “Ion Gun Neut.”
g. Watcher -> Press Pump Intro so V4 closes and turbo again pumps
the intro chamber.
VIII. Sample Extraction (See Figures 10-11).
1. Summitt-> Image window-> Press Extract. Sample stage will lower, return
to original X, Y and R settings, and then rise to a high Z position.
2. Watcher -> Push Transfer Sample
•A “Task Message” window will open. Press Yes to confirm sample
transfer.
•Gate valve (V1) will open. Wait until white line has moved to “open”
position on gate valve to confirm before moving transfer rod.
•Another “Task Message” window will open prompting to insert
sample. Carefully push transfer rod into chamber and sliding it
until the stop position. Fork should slide onto sample holder.
•Push OK on Task Message Window.
3. Summitt -> Push Down [Z] in the “Intro” dialog box. The stage will move
Z down away from sample holder. The “Intro” dialog box will indicate that
the stage is moving.
•If the stage is safely below the sample, carefully pull the transfer
rod out of the chamber to the stop position.
•The gate valve (V1) will automatically close.
4. Watcher -> Press Backfill Intro. Will close valve over turbo pump and
open N2 gas to fill chamber.
•With gloves on, remove sample and replace cap.
5. Watcher -> Press Pump Intro.
•Ensure that Intro chamber is pumped before leaving tool.
•Disable in Badger.
FIG 10: Summit “Image” Window, Stage Tab—Extract Procedure
(1)

!
11!
FIG 11: Vacuum Watcher—Extract procedure
(2)
(4)
(5)
Popular Laboratory Equipment manuals by other brands

Metrohm
Metrohm OMNIS 2.1006.00X0 product manual

Telemark Cryogenics
Telemark Cryogenics CRYO-CHILLER instruction manual

Wassermann
Wassermann Polyquick 160-T95 user manual

SPECS
SPECS XR 50 user manual

Ingenieurburo CAT
Ingenieurburo CAT R 100C instruction manual

Haemonetics
Haemonetics Cell Saver Elite+ user manual

Thermo Scientific
Thermo Scientific Dionex UltiMate 3000 Series operating instructions

Sartorius
Sartorius Vivacon 500 operating instructions

CEM
CEM EDGE Operation manual

Bedcolab
Bedcolab SYMPHONY II Operation and maintenance manual

BEVS
BEVS 2501/2A user manual

Queensgate
Queensgate NANOSCAN OP400 Quick start instructions