The display shows for instance:
TRACK SIDE E
L:
_f
TOTAL TIME
t -J t .:-t
lL: tt- r-, I
f- t-
64 20
n
tt Cc<
\/
I
DIGITAL
L illlllllllllllllllllllll
-dB 60 50 40 30 25 20 15 12 S
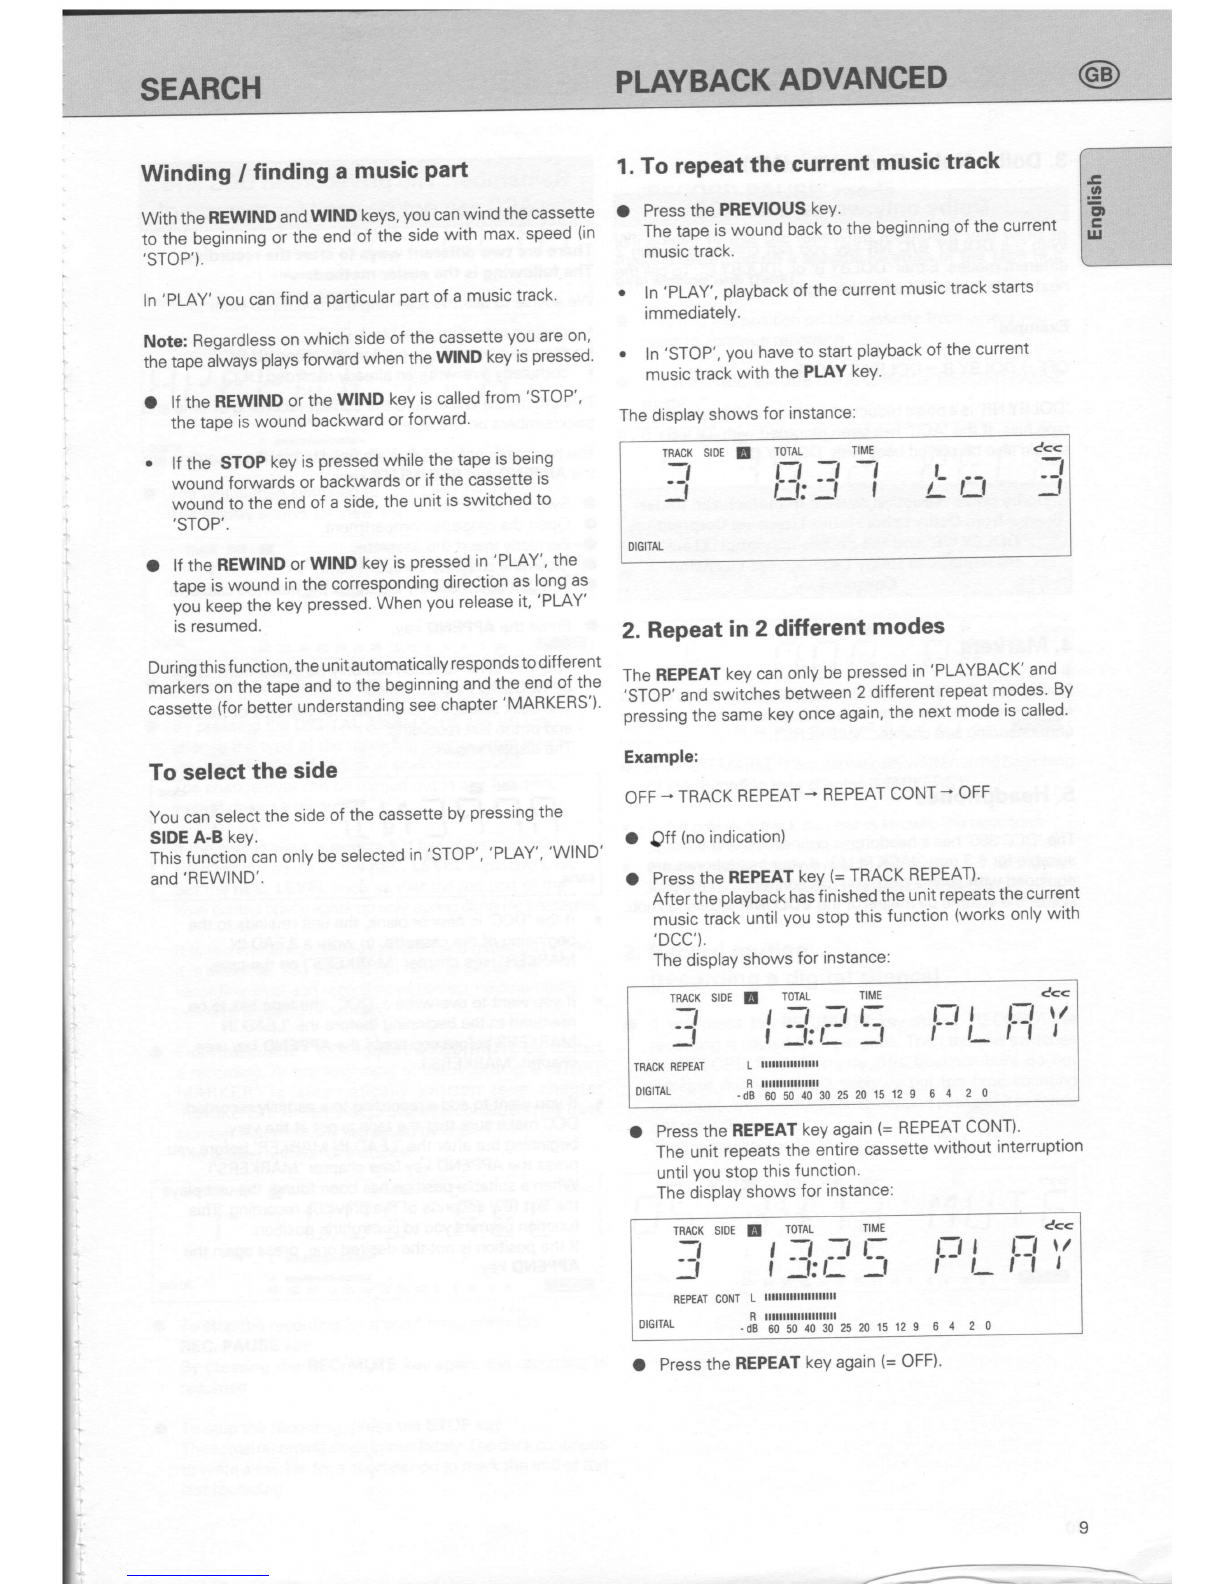
O The unit is then switched to 'RECORD PAUSE'
The display shows for instance:
1. To start a recording from the
'RECORD PAUSE'mode
We advise to use the following method if you want to
make a recording on a specific location of the tape (e'g'
overwriting one track).
O Find first the position on the cassette from where you
want to continue recording.
O Press the REC. PAUSE key to enter the 'RECORD PAUSE'
mode.
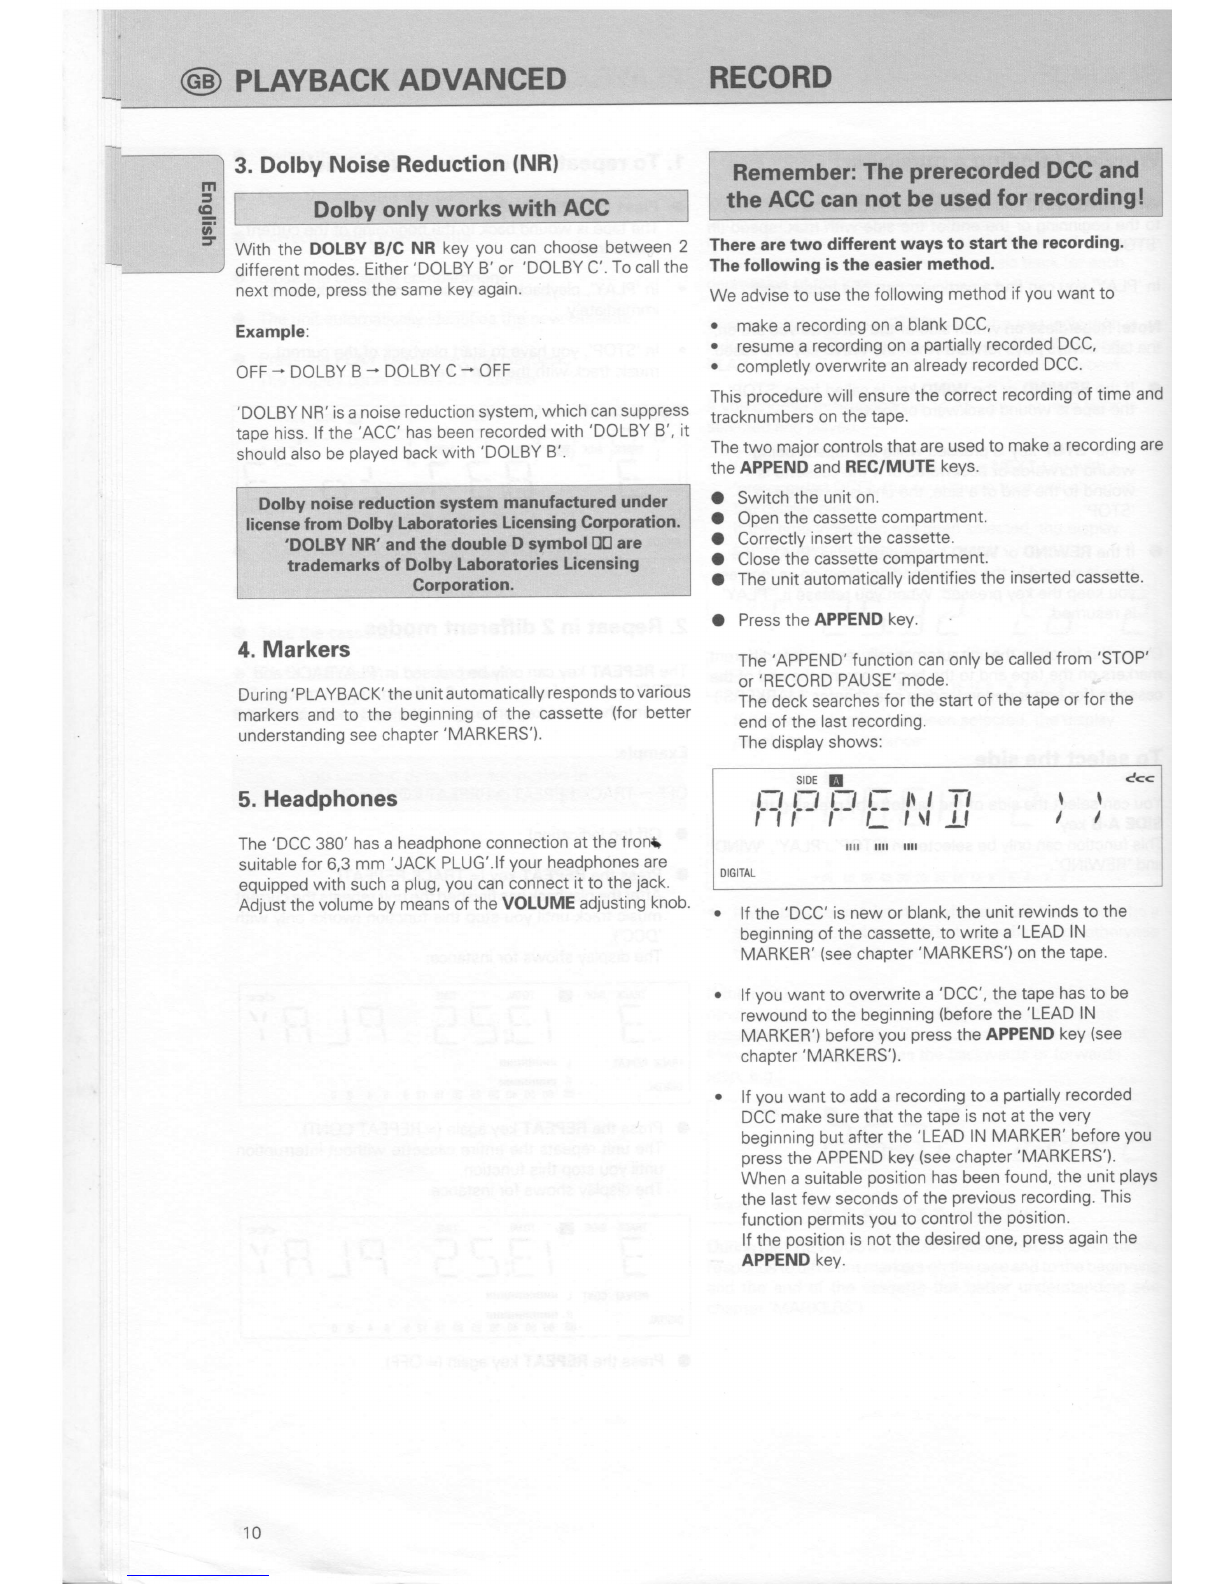
O Press the REC/MUTE keY.
The display shows for instance:
TRACK SIDE E TOTAL TIME C<<
nFrrt:lJ Il l='Lr-l "'
L lllllllllllllllllnlllll
R llllllllllllllllllllllll
DIGilAL _dB6050403m25201512I 64 20
O Select the recording source'
O By pressing the DIGITAL ANALOGUE key you can
choose the type of the recording source, from which
you want to record (digital or analogue signals)'
The change-over can be carried out in any function,
except during a recording.
lf the analog input is selected, it has to be manually
adiusted by means of the REC. LEVEL adjusting knob'
Set the REC. LEVEL knob so that the red part of the
level control briefly lights up only during dynamic passages'
It is recommended always to use the digital input when
it is available. You then do not have to adjust the
recording level and recording of correct tracknumbers
will take place automaticallY.
O From this position, you can use the REC/MUTE key to start
a recording. At the beginning of the recording, a 'START
MARKER' is automatically written (see chapter
'MARKERS'). Thetime is constantly recorded and the track
number automatically increased by one.
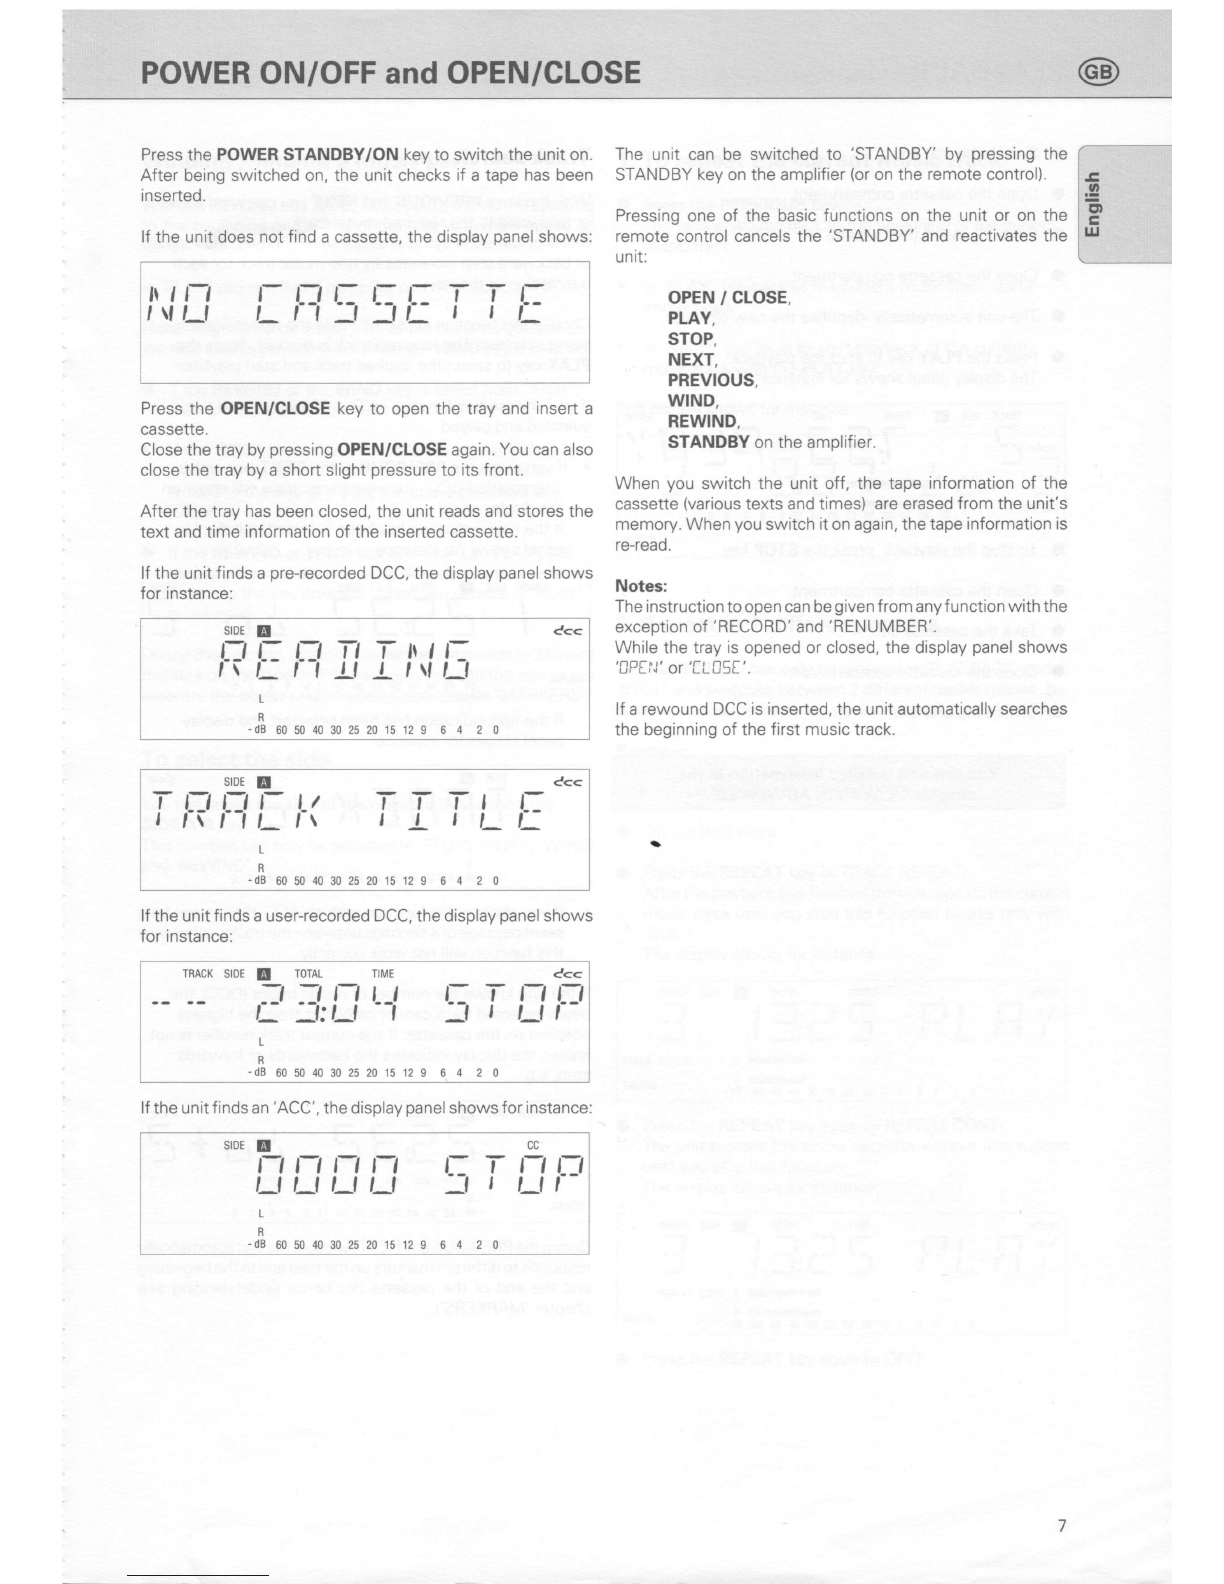
The display shows for instance:
TRACK S|DE E TIME
t t-l l-, L:
I '-l: ,-f -f
L llllllllllllllllllllllll
c<<
f?r: l:
DIGITAL -dB 605040302520'15129 6 4 2 0@u
O To stop the recording for a short time, press the
REC. PAUSE keY.
By pressing the REC/MUTE key again, the recording is
resumed.
O To stop the recording, press the STOP key'
The actual recording stops immediately' The deck continues
to write a marker for a short period to mark the end of the
last recording.
A'START MARKER' is automatically written atthe beginning
of the recording (see chapter 'MARKERS').
lf the previous track number is known, the new track
Ifumber is correctlY recorded.
lf the previous track number is not known, '--' is shown'
ln this case, please refer to chapter 'RENUMBER'
Record muting
(recording a digital silence)
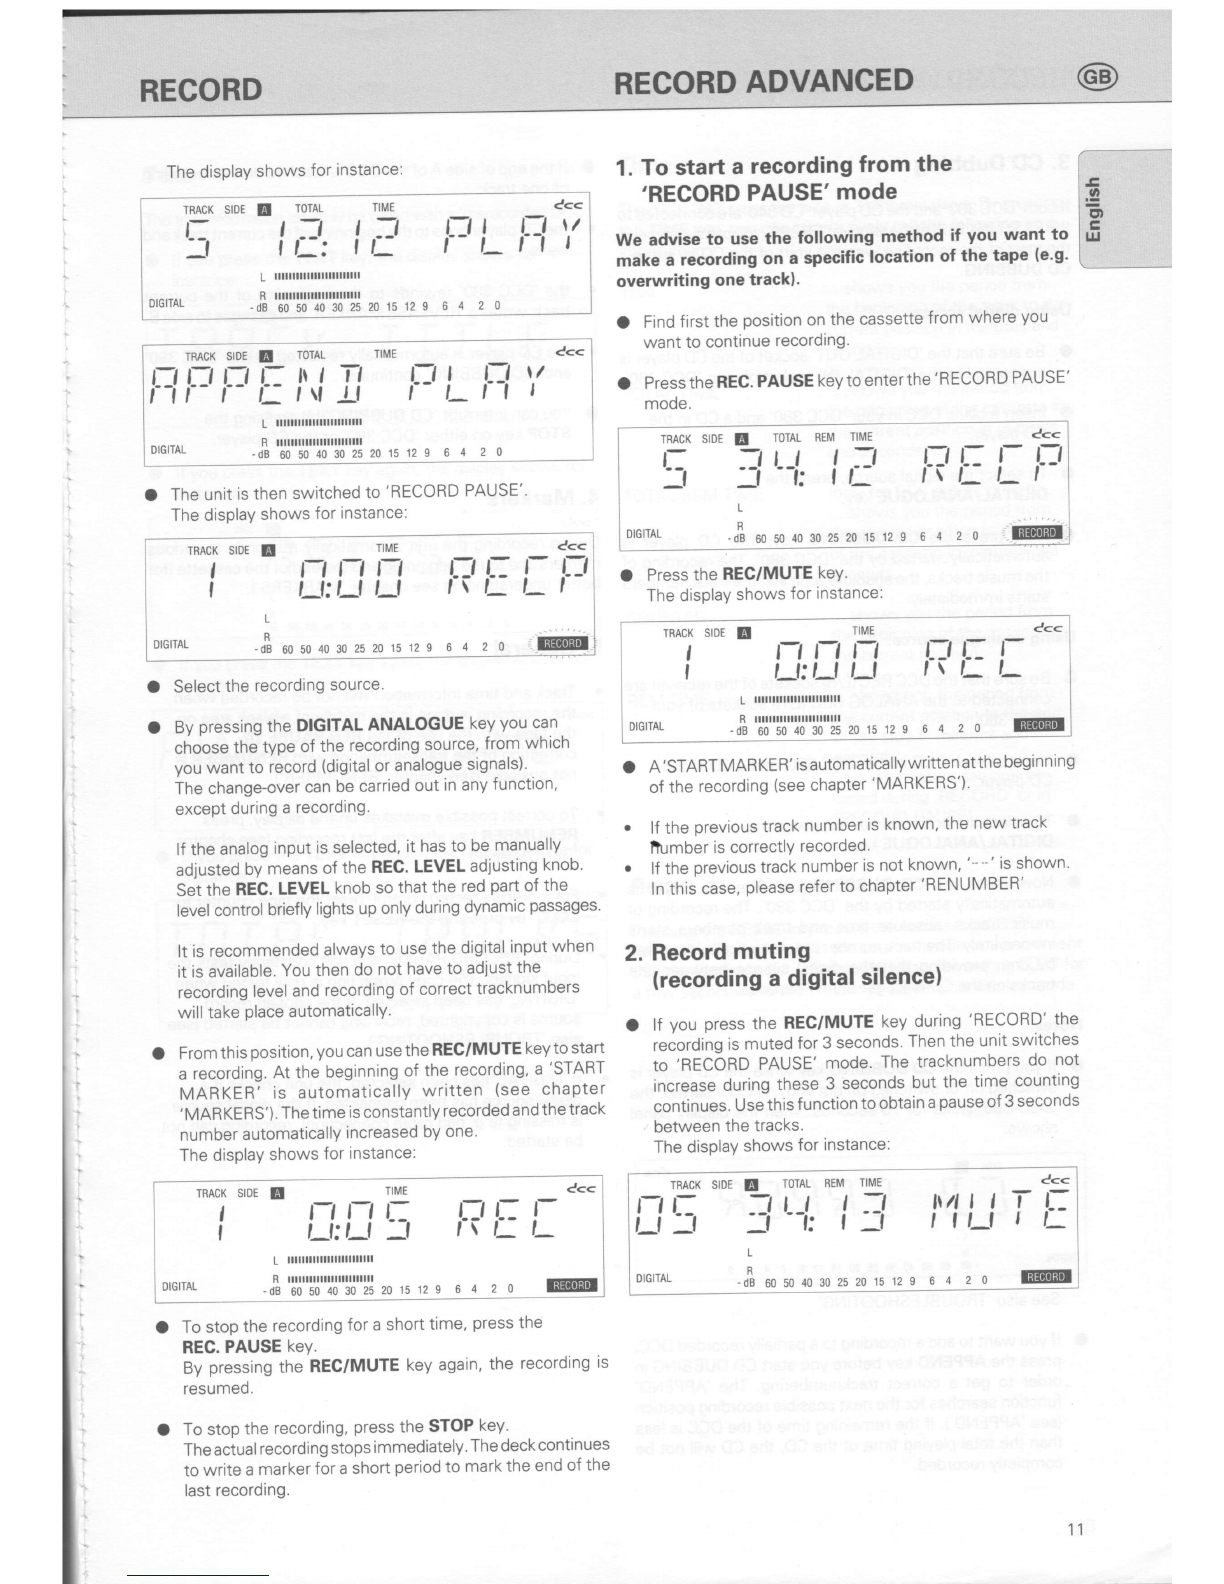
lf you press the REC/MUTE key during 'RECORD' the
recording is muted for 3 seconds. Then the unit switches
to 'RECORD PAUSE' mode. The tracknumbers do not
increase during these 3 seconds but the time counting
continues. Use this f unction to obtain a pause of 3 seconds
between the tracks.
The display shows for instance:
o
2.
a
11
TRACK SIDE E TOTAL REM TIME C<<
r 1 r-t t :-t fJ i: l- !-:,
r -:t'-i: tr: rr'-Lt
DrGrrAL -o! * u, 40 30 25 20 is 12 9 6 4 2 0 .,ii
TRACK SIDE E TIME c<<
t ,1 rtrt rJ ;rt:t
| ,_f:,J ,-f , \ L t- t
L
DrcrTAL -o[ uo ro 40 30 25 20.rs 12 9 6 4 2 oTRACK SIDE ErrniS
,_t: ,_l ,_f
Ccc
I
Ir? r: r
,_
DIGITAL
L llllllllllllllllllllllll
R illlllllrlllllllllllllll
-Ji'l';"!';"1';"1';"1'i ro,u 12 s 6 4 2 o r@I
srDE E TOTAL REM TIME c<<
=t-t !:J l\/!llf !-:
-Ii --i: f -1 ,tt-t I t-
TRACK
NE
,_f _f L
R
DIGITAL -Ji uouo40302s201s12e 6 4 2 o @I
RECORD REGORD ADVANCED
E
o
l-or
q
LrJ
t__
E@TT I