-During the flushing cycle, the system fills itself with water from the water reservoir and cold
water comes out of the coffee spout and milk spout. During the flushing cycle, the machine
produces more noise than during a regular brewing cycle (Fig. 10).
-When all the water in the water reservoir has been used up, the flushing cycle is finished and
the machine switches off. You may notice some steam coming from the machine, this is normal.
10 When all the water in the water reservoir has been used up, the flushing cycle is finished and the
machine switches off (Fig. 11).
11 Empty the bowl.
12 Fill the water reservoir with fresh tap water and place it back into the machine.
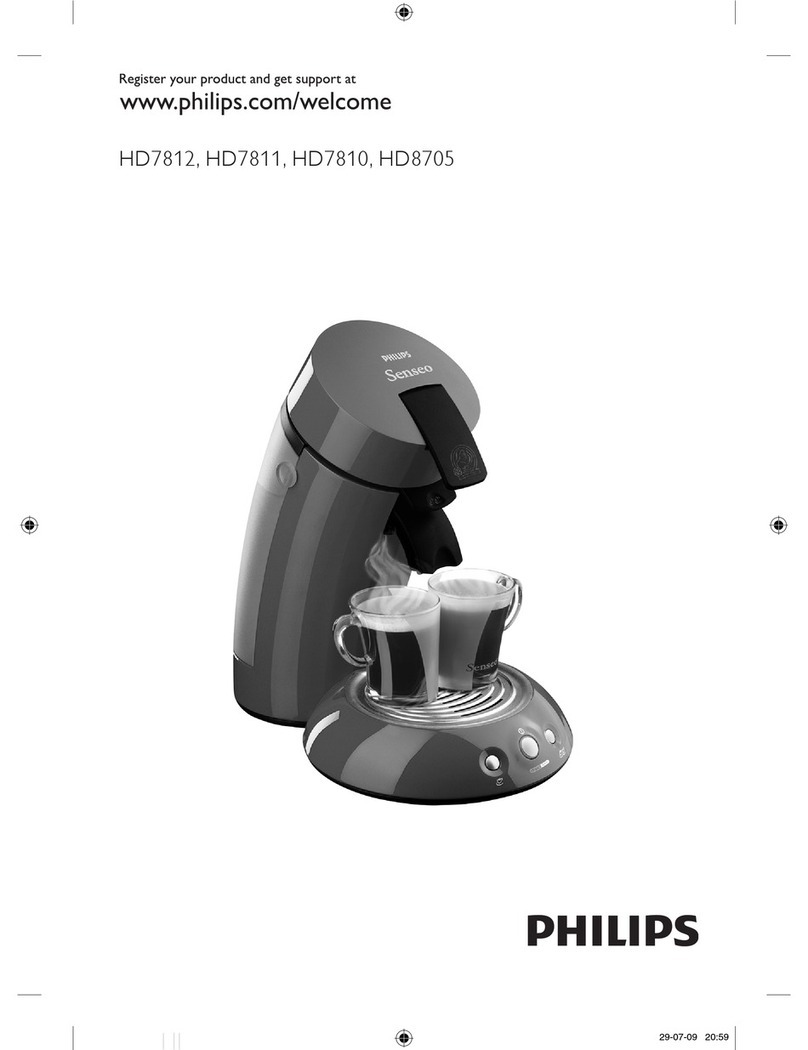
Brewing black SENSEO® coffee
1Make sure that the water reservoir is filled with fresh cold tap water.
Tip: Use fresh water every day.
2Put the plug in an earthed wall socket.
3Press the on/off button (Fig. 8). The on/off button flashes slowly while the water heats up.
Note: If the on/off button flashes rapidly, the water reservoir does not contain enough water for
brewing one cup of coffee.
4Pull the lid lever upwards to open the lid. The lid opens automatically (Fig. 12).
5If you want to make one cup of SENSEO® coffee, place the 1-cup pod holder in the machine (1). If
you want to make two cups, put the 2-cup pod holder in the machine (2) (Fig. 13). Make sure the
pod holder is clean.
6Place 1 coffee pod in the 1-cup pod holder (1) or place 2 coffee pods in the 2-cup pod holder (2).
Place the pod or pods properly in the center of the pod holder, with the convex side pointing
downwards. Press the pod or pods lightly into the pod holder (Fig. 14).
Note: Make sure that the coffee in the pod or pods is evenly distributed.
Caution: Never put normal ground coffee or use torn pods in the SENSEO® machine, as this
causes it to become blocked.
7Close the lid (1) and lock the lever (2) (Fig. 15).
Warning: Make sure the lid is closed properly and the lid lever is locked before you
start brewing.
8Place one cup or two cups under the spout openings (Fig. 16).
Note: You can adjust the height of the drip tray or remove the drip tray to be able to place higher
cups.
Note: The cups you use should have a capacity of at least 150ml when you brew regular coffee or
100ml when you brew strong coffee. Do not use cups that are too large, as they cause the coffee
to get cold more quickly.
9Select the coffee strength and the number of cups you want to brew.
-Press the button for regular coffee for one cup of regular coffee. Press the button for regular
coffee twice for two cups of regular coffee. The 1-cup or 2-cup indicator lights up (Fig. 17).
-Press the button for strong coffee once for one cup of strong coffee. Press the button for strong
coffee twice for two cups of strong coffee. The 1-cup or 2-cup indicator lights up (Fig. 18).
10 When the water has heated up and the on/off button lights up continuously, the machine starts
brewing coffee.
Note: Do not remove the water reservoir during a brewing cycle.
10 English


