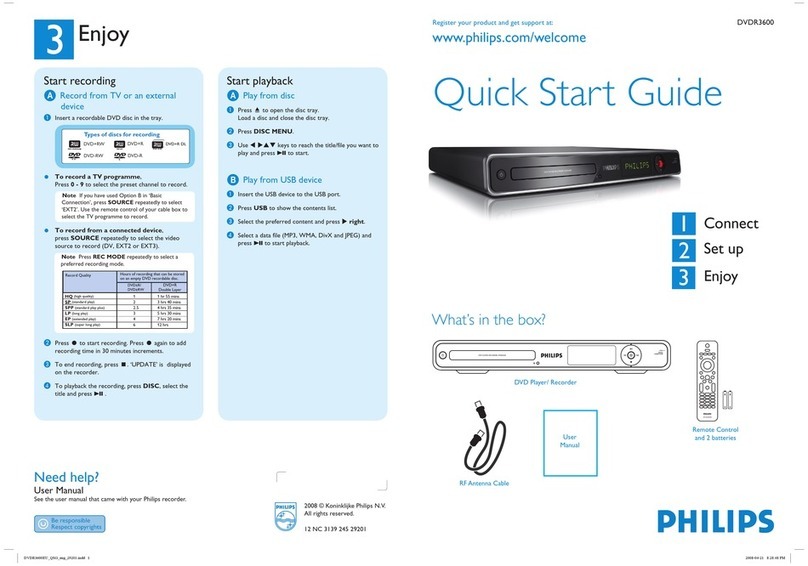
1Connect
Before Connecting
If your TV is currently connected to a VCR, you have to
unplug all the connections from your VCR and TV.
Your new Philips Recorder replaces the VCR for your
recording needs.
APlug in the antenna cable to the socket on this
recorder.
BUse the supplied RF coaxial cable to connect the
TV socket on this recorder to the Antenna In
socket on the TV.
CUse a composite video (yellow) cable to connect the
VIDEO (CVBS) socket on this recorder to the
VIDEO IN socket on your TV.
DUse an audio cable (red/white) to connect the
OUT2 -AUDIO LR sockets on this recorder to
the AUDIO IN sockets on your TV.
EPlug in the power cable from the recorder to an AC
power outlet.
Note See the accompanying user manual for other
possible connections (e.g. HDMI, Component Video,
S-VIDEO)
2Set up
A
Finding the viewing channel
APress STANDBY-ON on the recorder.
The recorder will display ‘IS TV ON?’.
BSwitch on the TV.
You should see the { EASY SETUP } menu.
CIf not, press the Channel Down button on the TV’s
remote control repeatedly (or AV, SELECT, °
button) until you see the menu. This is the correct
viewing channel for the recorder.
B
Start basic setup
Use the recorder’s remote control and follow the on-
screen instructions to complete the installation.
ASelect the desired menu language, your country and
the TV shape.
Note Select { Done } in the menu and press to go
to the next screen.
BActivate automatic channel search.
This will take a few minutes to complete.
CHANNEL SEARCH
Automatic Channel search will find and store all channels.
Make sure to connect the antenna.
Channel Search
Skip Search
Start
OK
Note For Australia only, activate automatic channel
search for analogue and digital tuner/radio.
CCheck the date and time and press .
DSelect { Do not install now } in the menu and press
to complete the basic setup.
Easy setup completed. Continue with the GUIDE Plus+
installation?
Continue
Donot install now
OK
OK
Disc tray will not open until setup is completed
Note Do not continue with the GUIDE Plus+
installation as this feature is not available at your area.
EWait until the recorder has finished initialising the
system, then press again.
Watch TV – Pause live TV
Your Philips Recorder allows you to control the TV
programme. You can PAUSE it as if you were in control
of the live broadcast.
ATurn on your recorder and press TUNER to switch
between analogue and digital tuner, then press
CH +/-to select a TV programme.
BPress PAUSE to suspend it.
CPress PLAY to continue.
Note When the recorder is turned on, the
programme you are watching will be stored in the
temporary hard disk storage. When you switch the
recorder to another input signal (e.g. CAM) or to
standby mode, the programme will be erased.
DPress TUNER to return to the live broadcast.
Help text information bar
The help text bar located at the bottom of the screen is
providing the information on:
lremote control keys that can be used at the current
state.
lbrief information of the selected item.
3Enjoy
Select a Basic Connection
Note: Option 2 connection is only applicable for Australia
only.
Option 1: Connecting
Option 2: Connecting (with digital
terrestrial antenna - Australia only)
VIDEOIN
(CVBS)
CD
FE2a
2b
1b
1a
Before Connecting
If you have an indoor DVB-T antenna, follow steps
Plug in the off-air antenna cable to the socket on
this recorder.
Connect the indoor DVB-T antenna cable to the
ANTENNA socket on this recorder.
If you only have a single off-air antenna, follow steps
Use the supplied Tuner interlink cable to connect
the two ‘A’-sockets on this recorder.
Plug in the off-air antenna cable to the ANTENNA
socket on this recorder.
CUse the supplied RF coaxial cable to connect the
TV socket on this recorder to the Antenna In
socket on the TV.
DUse a composite video (yellow) cable to connect the
VIDEO (CVBS) socket on this recorder to the
VIDEO IN socket on your TV.
EUse an audio cable (red/white) to connect the
OUT2 -AUDIO LR sockets on this recorder to
the AUDIO IN sockets on your TV.
FPlug in the power cable from the recorder to an AC
power outlet.
Television (rear) Television (rear)
From an
off-air antenna
or cable box
off-air
antenna
DVB-T
antenna
off-air
antenna

