Picard LP-200-3-20S User manual

1
LIVRE D’INSTRUCTIONS
ET DE PIÈCES
Numéro de série
OPERATION, MAINTENANCE
AND PARTS MANUAL
MODEL LP-200-3-20S
SERIAL NUMBER
( )
APRIL 28 2015
MU-PO-EA-00
P00087112014

2
THIS PAGE IS INTENTIONALLY LEFT BLANK

3
HERE ARE SOME STICKERS YOU WILL FIND ON YOUR
OVEN:
ATTENTION BRÛLANT
C A U T I O N H O T
DANGER-WARNING
Never put your hands inside the oven while the
conveyor is moving.
LP-200-3-20S
P00087112014
208-240V/3PH/60Hz
65A

4
THIS PAGE IS INTENTIONALLY LEFT BLANK

5
WARNINGS
FOR YOUR SAFETY:
Do not store or use gasoline or other flammable vapour or liquids in the around of this oven or
any other appliance.
WARNING
Improper installation, adjustment, alteration, service or maintenance may result in property
damage, injury or even death. Read the installation operating guidelines and maintenance
instructions thoroughly before installing or servicing this equipment.
WARNING:
Minimal distance required between the oven and flammable material: 2 inch clearance.
THIS MANUAL MUST BE KEPT FOR FUTURE REFERENCE
STORE IT IN A PLACE EASILY ACCESSIBLE.

6
THIS PAGE IS INTENTIONALLY LEFT BLANK

7
CONGRATULATIONS!
YOU ARE NOW THE OWNER OF A NEW PICARD TUNNEL OVEN
Regarding your business concern, we are convinced that you will enjoy your equipment
and, on behalf of the company, we do appreciate your choice.
Your new tunnel oven was built using the latest technology and was designed with
production proven reliability. A team of experienced technicians completed the
manufacturing of the approved equipment committed to excellence.
MANUFACTURING IMPROVEMENTS AND FEATURES
-Designed and built with care and precision for trouble-free running.
-Easy to operate and clean.
-Because most of the manufacturing can now be done in our factory, the result is a
better end final product.
-Application of different kinds of hi-tech on electronics and materials.

8
TABLE OF CONTENTS
MANUAL INSTALLATION 9
Cautions 9
Operating, installing and technical service 10
External dimensions 11
MANUAL INSTRUCTIONS 12
Control panel functioning 12
MAINTENANCE 13
Maintenance chart 13-14
PARTS BOOK 15
Interior view 16
Vault view 17
Interior view 18
Element and support conveyor view 19
Conveyor and driving motor view 20
Entrance view 21
CONTROL PANEL AND ELECTRICAL DIAGRAM 22
Control panel 22
Electrical box 23
Electrical diagram 24
WARRANTY 26
APPENDIX 28

9
WARNING!
DO NOT SPRAY LIQUIDS OR VAPORS ON OR NEAR ELECTRICAL
EQUIPMENT. DO NOT USE THIS APPLIANCE IF ANY OF ITS PARTS
HAVE BEEN UNDER WATER. CONTACT IMMEDIATELY A QUALIFIED
SERVICE TECHNICIAN TO INSPECT THE APPLIANCE AND TO
REPLACE ANY PARTS OF THE CONTROL SYSTEM AND GAS CONTROL
WHICH HAVE BEEN UNDER WATER.

10
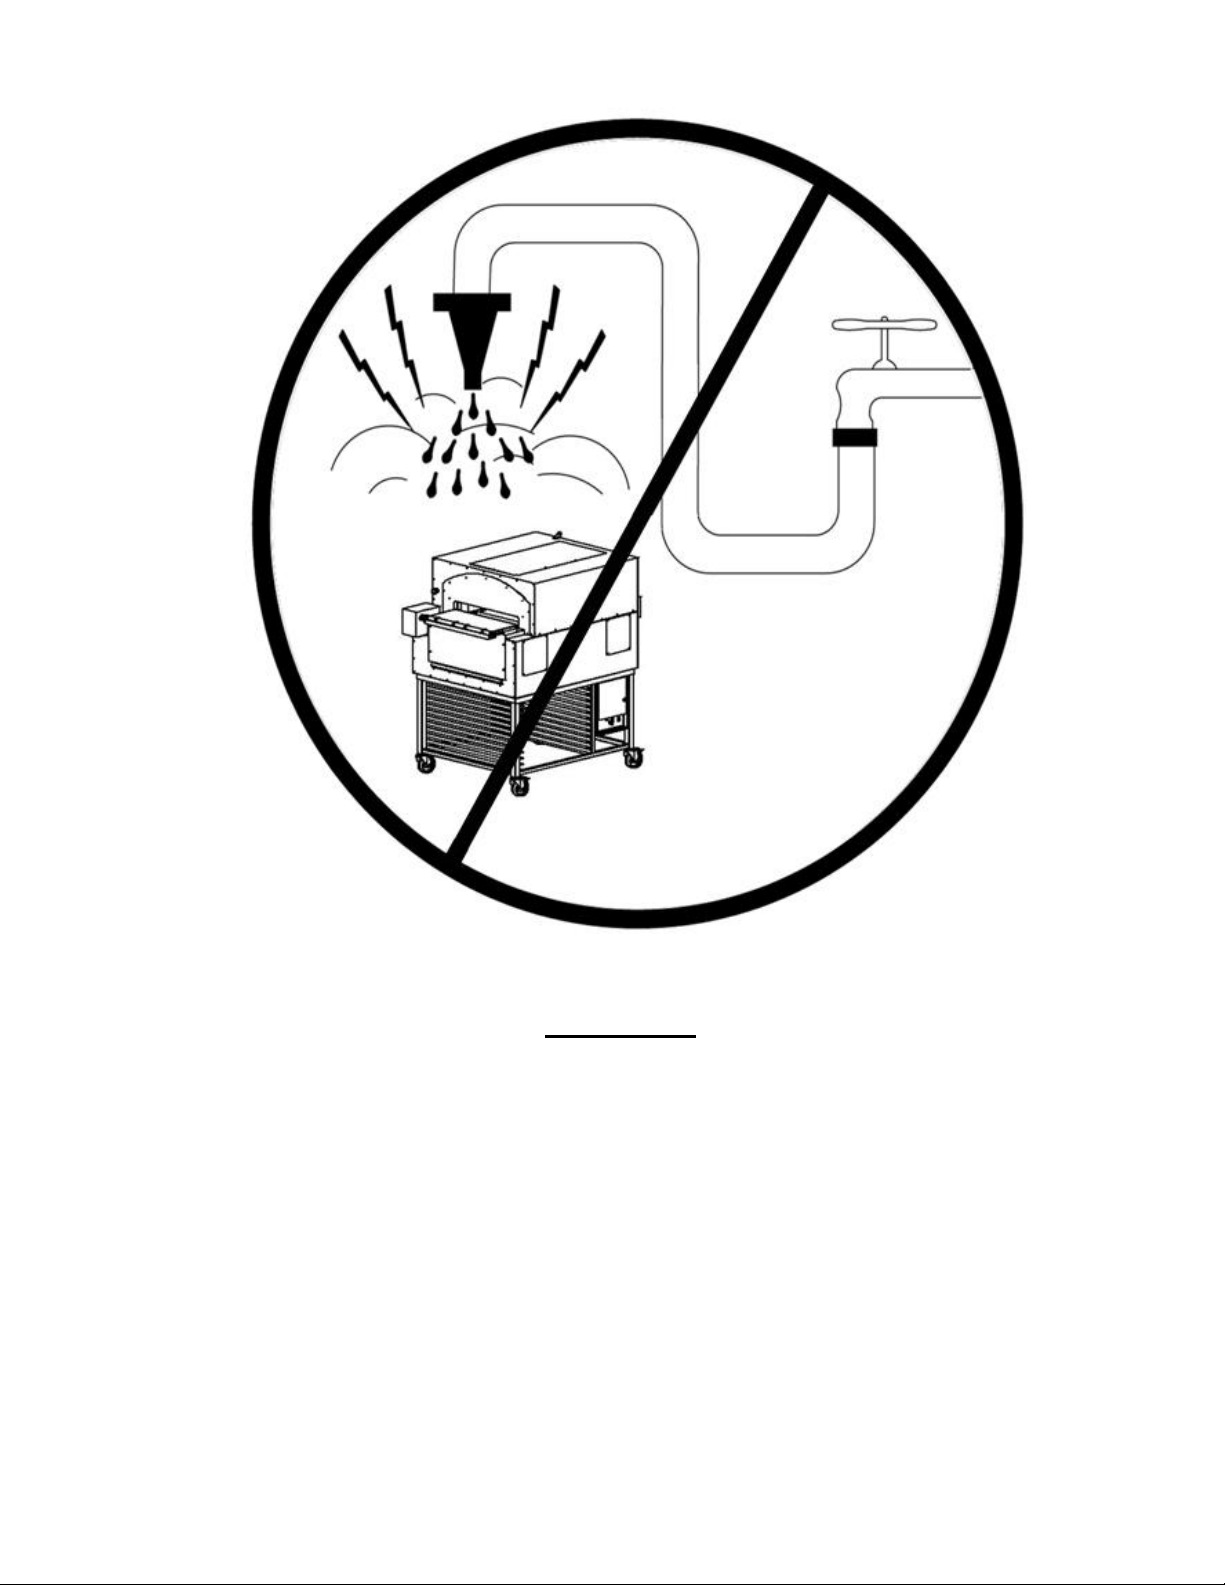
PICARD TUNNEL OVEN OPERATING, INSTALLING AND
TECHNICAL SERVICE :
Operational information on this equipment has been prepared to be used by a qualified and/or
authorized operating personnel. All installation and/or service on this equipment is to be
performed by qualified, certified, licensed and/or authorized installation or technical service
person. Service may be obtained by contacting the factory service department, factory
representative or local service agency.
DEFINITIONS :
- QUALIFIED INSTALLATION PERSONNEL:
Qualified installation personnel can be represented by; an individual, a firm, a corporation or a
company which, either in person or through a representative is involved and is responsible for:
1. The installation of electrical wiring from the electric meter, main control box or service
outlet to the electric appliance. The qualified installation technician must be experienced in
such work, be familiar with all required precautions, and have complied with all
requirements of state or local authorities having jurisdiction.
2. The appliance, when installed, must be electrically grounded in accordance with local
codes, or in the absence of local codes, with the National Electrical code ANSI/NFPA 70,
or the Canadian Electrical code, CSAC22.1 No 109 or conform to UL STD 197.

11
PICARD TUNNEL OVEN EXTERNAL DIMENSIONS
(RIGHT SIDE SHOWN, LEFT SIDE AS IS)

12
02
03
PICARD TUNNEL OVEN CONTROL PANEL
TEMPERATURE CONTROL FUNCTIONING
1. Displays measuring units.
2. Displays the actual baking temperature inside the oven.
3. Displays the preset temperature.
4. Key to select configuration levels.
5. Key to select operation parameters.
6. Press this key down to lower temperature.
7. Press this key up to increase temperature.
BAKING TIME
1Displays baking time.
2Press this key to increase the baking time.
3Press this key to decrease the baking time.
01
03
04
05
06
07
NOTE
If you simultaneously press on keys 04 and 05, you will access the setting area. The temperature
control will be unusable. Please contact the factory’s customer service or your sales representative
for more information.
01
02
Conveyor temperature
controller
Preheat Off On
3 positions
switch
Sides vault temperature
controller
Baking time
Middle vault
temperature controller
Pilot lighting, warning of the outbreak
of high temperature limit

13
PICARD TUNNEL OVEN MAINTENANCE CHART
IT IS VERY IMPORTANT TO
DISCONNECT THE POWER
SUPPLY BEFORE SERVICING
AND MAINTENANCE
EVERY DAY
EVERY TWO WEEKS
MONTHLY
ONCE A YEAR
REFERENCE
TO BE CARRIED
OUT BY
Check the oven's driving shaft
support bushings
*
p. 18, ref. No 1 & 03
Certified technician
Add high temperature grease to all
pillow block and flange bearings
*
p. 21, ref. No 04
Distributor /
Certified technician
Customer
Add high temperature grease to all
drive chain
*
p. 18, ref. No 06
p. 21, ref. No 12
Lubricating the chain with high
temperature graphite based oil
(See page : 12)
*
p. 20, ref. No 04
Distributor /
Certified technician
Customer
Clean up the conveyor.
*
p. 14, ref. No 01
Customer
Clean up the windows and the oven
in general.
*
Customer
Clean up the seed drawer.
*
p. 16, ref. No 04
Customer
Grease the conveyor steel plates
with vegetable grease.
p. 20, ref. No 01
Customer

14
PICARD TUNNEL OVEN MAINTENANCE
LUBRICATING THE CHAIN FOR CONVEYOR
1. Set the temperature to 180 ˚F or 83 ˚C.
2. Remove the exit guard to access the chains.
3. Turn ON the conveyor to its maximum speed.
4. Use the jog buttons to turn move forward the conveyor.
5. Use graphite based oil on its entire length at the 4 places indicated by the arrows on the
drawing above.
CLEANING UP THE CONVEYOR
1. Lower the oven internal temperature to 150 ˚F or 66 ˚C.
2. Remove the exit guard.
3. Turn ON the conveyor to its maximum speed.
4. Clean up the conveyor with one of the scrapers sent with the oven. Afterwards, clean it
up again with a rag and warm water.
HOW TO REMOVE THE ENTRY CONVEYOR FOR CLEANING
Exit guard

15
PICARD TUNNEL OVEN PARTS SECTION
(RIGHT SIDE SHOWN, LEFT SIDE AS IS)

18
PICARD TUNNEL OVEN INTERIOR VIEW
c
REF: PART # DESCRIPTION: QUANTITY:
01 TUN31027 Driving shaft support + bushing 2
02 ME41-0051 Wheel + brake 2
03 TUN31027-D Driving shaft support + bushing 2
04 ME57-0136 Sprocket 1
05 ME57-0137 Sprocket 1
06 ME61-0006 Chain 35”
07 ME31046 Driving motor (See page: 20) 1
08 ME41-0059 Wheel 2
02
06
01
07
03
08
05
04
(RIGHT SIDE SHOWN, LEFT SIDE AS IS)

19
PICARD TUNNEL OVEN ELEMENT AND CONVEYOR SUPPORT VIEW
04
03
02
03
04
01
REF: PART # DESCRIPTION: QUANTITY:
01 TUN31051 Electrical heating element 3
02 TUN31029 Shaft 1
03 TUN31405 Bushings 2
04 TUN31404 Chain support wheel 2
CONVEYOR SUPPORT

20
ENTER CONVOYER
PICARD TUNNEL OVEN CONVEYOR AND DRIVING MOTOR VIEW
REF: PART # DESCRIPTION: QUANTITY:
01 TUN31026 Conveyor steel plate 26
02 TUN31401C Sprocket 4
03 TUN31402 Shaft 2
04 ME61-0018 Chain 2
05 TUN31131 Safety guard 1
06 ME57-0138 Sprocket 1
07 TUN31030 Motor support 1
08 EL32-0088 Motor 1
09 EL02-0082 Pick-up 1
01
02
02
03
04
03
05
06
07
08
CONVEYOR
DRIVING MOTOR
09
This manual suits for next models
1
Table of contents
Other Picard Oven manuals
Popular Oven manuals by other brands

Bosch
Bosch HBG656L 1 Series instruction manual

VERDER
VERDER CARBOLITE GERO LGP 2/2160 Installation, operation and maintenance instructions

Electrolux
Electrolux EOD33003X user manual

NEFF
NEFF B58VT68G0 instruction manual

Brigade
Brigade 27" Wide Single Oven installation guide

Black & Decker
Black & Decker Perfect Broil CTO4300BUC owner's manual