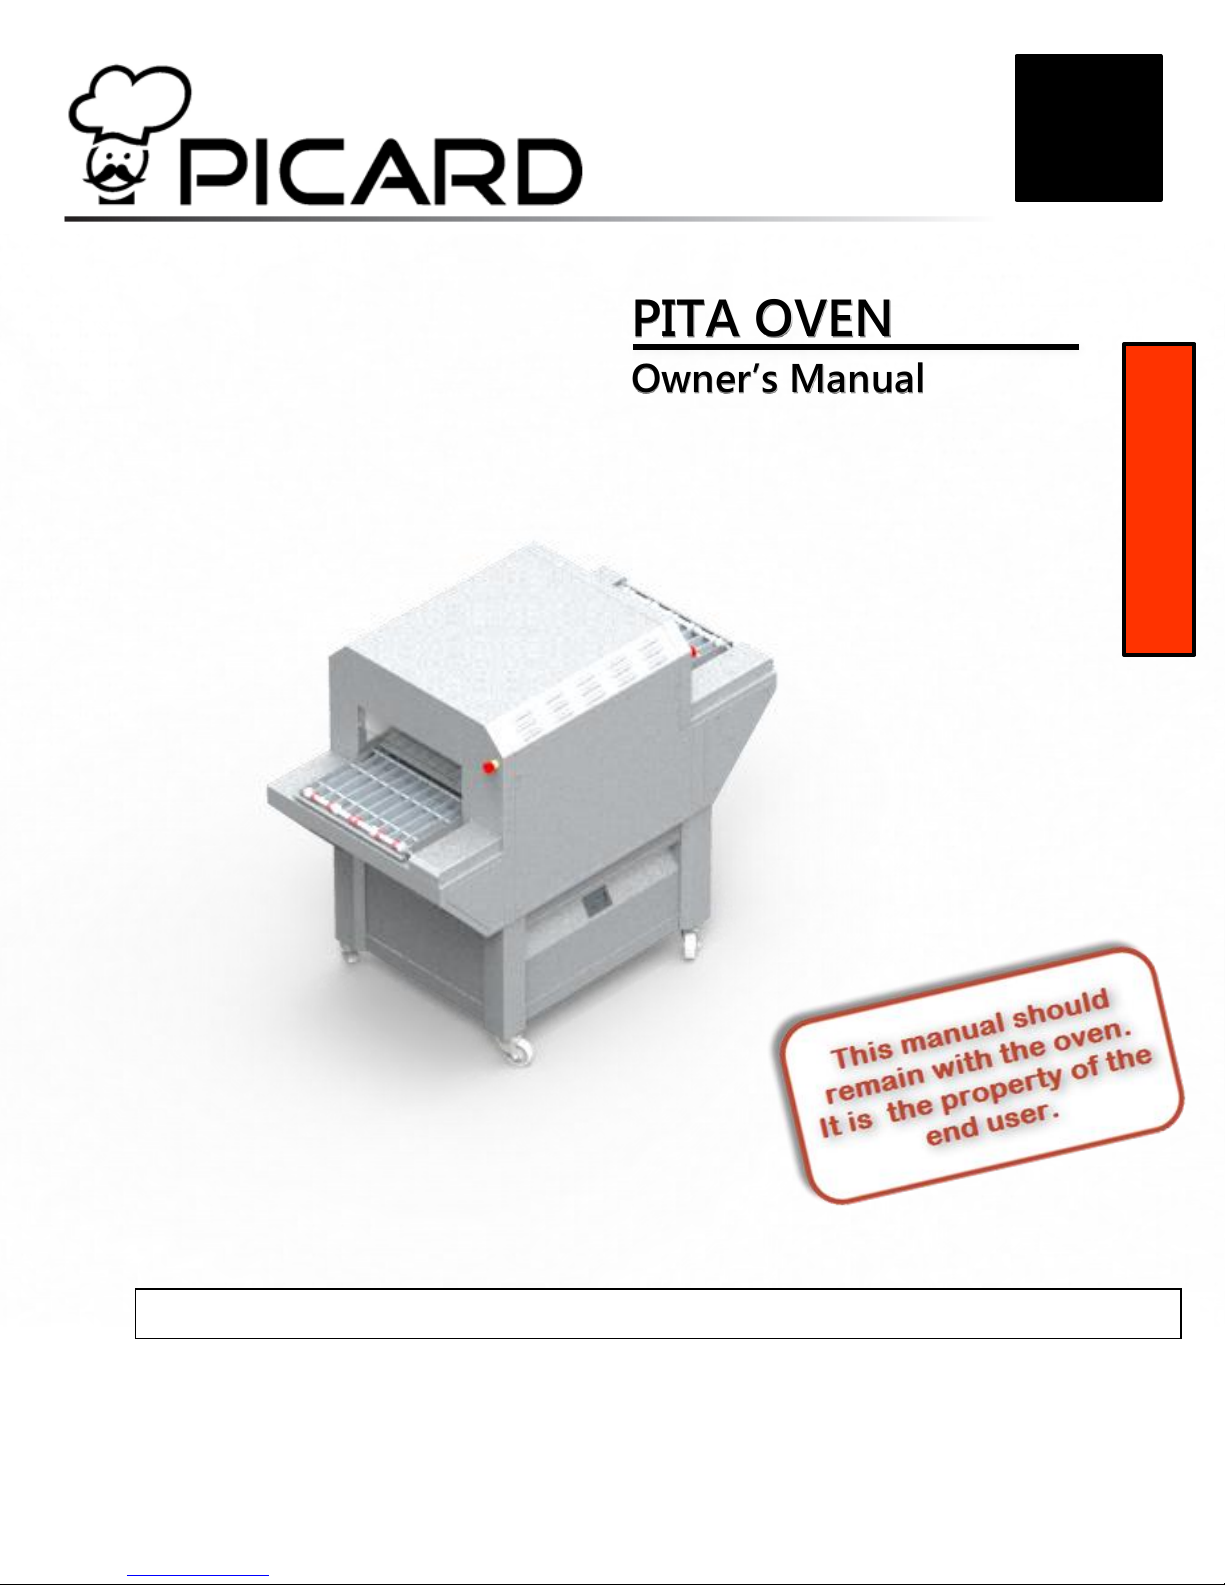
Picard PO-3-20S User manual

240 Industriel Blvd, Saint-Germain-de-Grantham, Qc, Canada, J0C 1K0
T : 819.395.5151 | F : 819.395.5343 | info@sipromac.com
PO-3-20S
PITA OVEN
Owner’s Manual
Serial number : _________________________ Notes :

Owner’s Manual
PO-3-20S 2 Revision 0
TABLE OF CONTENTS
1GENERALITIES....................................................................... 5
1.1 Revisions ......................................................................... 5
1.2 Warnings ......................................................................... 6
1.3 Authorized technician ........................................................ 9
1.4 Labels.............................................................................10
2SPECIFICATIONS AND INSTALLATION......................................11
2.1 Overall Dimensions...........................................................11
2.1.1 No conveyor exit.........................................................11
2.1.2 With conveyor ............................................................13
2.2 Installation requirements ..................................................15
2.3 Connections ....................................................................16
2.4 Exhaust and ventilations ...................................................16
3OPERATION ..........................................................................17
3.1 User interface ..................................................................17
3.2 First start-up ...................................................................34
3.2.1 First start-up troubleshooting .......................................35
3.3 Production.......................................................................36
3.3.1 Start-up.....................................................................36
3.3.2 Production..................................................................36
3.3.3 Shutdown ..................................................................36
3.3.4 Emergency .................................................................36
4MAINTENANCE ......................................................................37
4.1 Customer maintenance .....................................................37
4.1.1 Schedule....................................................................37
4.1.2 Customer maintenance procedure .................................38
4.2 Technician maintenance ....................................................41
4.2.1 Schedule....................................................................41
4.2.2 Maintenance kit ..........................................................42
4.2.3 Maintenance procedure ................................................43
4.3 Critical parts list...............................................................47

Owner’s Manual
PO-3-20S 3 Revision 0
5TROUBLESHOOTING ..............................................................49
5.1 Error messages................................................................49
5.2 Troubleshooting list ..........................................................50
5.3 Limited warranty and sales conditions.................................52
5.4 Electrical drawings ...........................................................54
5.5 Mechanical drawings.........................................................55
FIGURES
Figure 1 –Labels........................................................................10
Figure 2 Pita Oven connections ....................................................16
TABLES
Table 1. Revisions table .............................................................. 5

Owner’s Manual
PO-3-20S 4 Revision 0
CONGRATULATIONS!
YOU ARE NOW THE OWNER OF A PICARD PITA OVEN
As a restaurant professional, you have made an excellent choice to meet your
business needs.
Your new Pita oven was built using the latest technology and designed with
production proven reliability. A team of experienced technicians, committed to
excellence, completed the construction of this certified equipment.
MANUFACTURING OVENS USING STATE OF THE ART TECHNOLOGIE
Rugged, efficient and easy to use, the Picard Pita Oven is well known for its
reliability. This oven is excellent for a wide variety of flat breads product, but is
perfect for pita bread.
The dedicated design of each Picard Ovens products gives you many years of use
with a minimum maintenance.
FOR YOUR SAFETY, THIS PITA OVEN IS CERTIFIED
Certified to:
CSA STD. C22.2 N⁰109
Conform to:
UL STD. 197 ANSI/NSF STD. 4-2009

Owner’s Manual
PO-3-20S 5 Revision 0
1GENERALITIES
1.1 Revisions
Table 1. Revisions table
Revision
Date
Modifications
0
08-01-2016
New pita oven models and new
owner’s manual.

Owner’s Manual
PO-3-20S 6 Revision 0
1.2 Warnings
This symbol points out important safety instructions
which, if not followed, could endanger the personal
safety and/or property of yourself and others. Read and
follow all instructions in this manual before attempting
to operate your oven.
Failure to comply with these instructions may result in
personal injury.
Read, understand, and follow all instructions in the manual and
on the oven before starting. Keep this manual in a safe place for
further and regular reference and for ordering replacement
parts.
Only allow responsible individuals familiar with the instructions
to operate the oven. Be sure to know controls and how to stop
the oven quickly.
Never put your hands near moving parts.
Only allow qualified individuals for the maintenance of your
oven.
Remove all obstacles, which may interfere with the oven
functions.
Clear the work area such as electrical wires, buckets, knives, etc.
Be sure that everyone else is clear of your work area before
operating the oven.
Do not sit nor stand on the oven.
Always turn off the oven after your work is done. Never leave a
running oven unattended.
NOTE
THIS MANUAL SHOULD BE KEPT FOR FUTURE REFERENCE.
STORE IT SOMEWHERE EASILY ACCESSIBLE.
FOR YOUR SAFETY
DO NOT STORE OR USE GASOLINE, OTHER FLAMMABLE VAPORS OR LIQUIDS IN
THE VICINTY OF THIS, OR ANY OTHER APPLIANCE.

Owner’s Manual
PO-3-20S 7 Revision 0
Always disconnect and wait till the oven has cooled before
attempting any maintenance.
Do not wear loose fitting clothes or jewelry as they may get
caught in moving parts of the oven.
Always wear appropriate shoes, to prevent injury caused by
moving the oven or hot objects falling from the oven.
Work only in daylight or good artificial light.
Do not operate the oven while under the influence of alcohol or
drugs.
Service
Use proper containers when draining the oil. Do not use food or
beverage containers that may mislead someone into drinking
from them. Properly dispose of the containers, or store in a safe
place immediately following the draining of the oil.
Prior to disposal, determine the proper method to dispose of
waste from your local office of Environmental Protection Agency.
Recycling centers are established to properly dispose of
materials in an environmentally safe fashion
Warning: Your responsibility
This oven should only be operated by staff that can
read, understand and respect warnings and instructions
regarding this oven in the owner’s manual. Save these
instructions for future reference.

Owner’s Manual
PO-3-20S 8 Revision 0
DO NOT SPRAY LIQUIDS OR VAPORS ON, OR NEAR, ELECTRICAL
EQUIPMENT. DO NOT USE THIS APPLIANCE IF ANY OF ITS PARTS
HAVE BEEN UNDER WATER. IMMEDIATELY CONTACT A QUALIFIED
SERVICE TECHNICIAN TO INSPECT THE APPLIANCE AND TO REPLACE
ANY PARTS OF THE CONTROL SYSTEM WHICH WERE SUBMERGED
UNDER WATER.

Owner’s Manual
PO-3-20S 9 Revision 0
1.3 Authorized technician
WARNING
All installation and/or service on this PICARD PITA OVEN must be
performed by qualified, certified, licensed and/or authorized
installation or technical service personnel. All electrical, gas and
plumbing connections must be made by authorized technicians and in
compliance with all electrical, gas, plumbing and safety requirements.
It is possible to obtain these services by contacting PICARD OVENS
INC, customer service, a sales representative or a local service
agency.
DEFINITIONS:
QUALIFIED INSTALLATION TECHNICIAN:
A qualified installation technician can be represented by; an individual,
a firm, a corporation or a company which, either in person or through
a representative is involved and is responsible for:
The installation of electrical wiring from an electric meter, main control
box or from the service outlet of an electrical appliance. A qualified
installation technician must be experienced in such work, be familiar
with all necessary precautions, and have complied with all
requirements of state or local authorities having jurisdiction.
The appliance, when installed, must be electrically grounded in
accordance with local codes, or in the absence of local codes, with the
National Electrical code ANSI/NFPA 70, or the Canadian Electrical code,
CSAC22.1 No 109 or conform to UL STD 197. You will find the
electrical diagrams at the bottom of the base. This box is located
behind the front right stainless steel door. You can also refer to the
electrical diagram starting at the back of this manual.

Owner’s Manual
PO-3-20S 10 Revision 0
1.4 Labels
EACH PITA OVEN CONTAINS THE FOLLOWING LABELS (NOT TO
SCALE). THEY SHOULD NEVER BE REMOVED.
Figure 1 –Labels
DANGER-WARNING
Never put your hands inside the oven while
the conveyor is moving.

Owner’s Manual
PO-3-20S 11 Revision 0
2SPECIFICATIONS AND INSTALLATION
2.1 Overall Dimensions
The left to right or right to left options does not change the overall
dimensions. Left to right means that when you look at the Pita Oven
from the control screen side, the entrance is to your left. The opposite
follows the same logic.
2.1.1 No conveyor exit

Owner’s Manual
PO-3-20S 12 Revision 0

Owner’s Manual
PO-3-20S 13 Revision 0
2.1.2 With conveyor

Owner’s Manual
PO-3-20S 14 Revision 0

Owner’s Manual
PO-3-20S 15 Revision 0
2.2 Installation requirements
Improper installation, adjustments, alteration, service
or maintenance could result in property damage,
injury or even death.
Prior to the installation, you should make sure that:
You have a clear way in your building to the desired location that
respects the overall dimensions of your model as shown in
section 2.1.
The oven is not fully enclosed and there is a venting hood.
A qualified technician will be in charge of the installation and first
start up.
The connections required to start the oven are already in place
(see section 2.32.3)
The cable must be protected by a seal tight conduit, and must be
an ultra-flexible rated for 208-220V/60A/3PH/60Hz.
Minimal distances must be respected (see table below)
For additional details, refer to our Installation and Start-up guide.
Table 2. Minimal distances between combustible and non-combustible
material
MINIMAL DISTANCES
Oven sides
2 inches of clearance
Oven floor
0 inch of clearance
Oven exit (no conveyor model)
6 inches to let the pita out of the oven

Owner’s Manual
PO-3-20S 16 Revision 0
2.3 Connections
Figure 2 Pita Oven connections
The Pita Oven requires only an electrical inlet of 208-220V / 60A / 3PH
/ 60Hz. The cable must be ultra-flexible and protected by a seal tight
conduit. The connection should be done by a qualified technician or
qualified electrician.
Always turn off the power when plugging or
unplugging the pita.
The wires can enter by both sides, but the electrical panel is
always on the entrance side. The ground is located slightly
above the contactor.
2.4 Exhaust and ventilations
The Pita Oven is not required by the law to be placed under a
ventilation hood with a specific CFM. However, it is mandatory to have
a ventilation hood.
Do not fully enclose.

Owner’s Manual
PO-3-20S 17 Revision 0
3OPERATION
3.1 User interface
SECURITY PROTECTION ON HMI
Factory preset passwords:
Name: USER Password: USER
Name: SYSTEM Password: SYSTEM
List of parameters locked by password:
-Change the values in the setup menu page 1
-Access the SYS in the setup window #2
-Access the user setup in the setup menu page 3
-Access the clock Setup in the setup menu page 3
-Access the recipe parameters in the recipe menu page 1

Owner’s Manual
PO-3-20S 18 Revision 0
MAIN MENU
The Pita Oven will always start on this menu. Allow the
preceding loading bar windows to finish loading before
touching the screen.
Start: The START BUTTON turns on the conveyors rotation and all the
elements to heat. It leads to the START SCREEN. When the oven is in
START MODE, the back light display is green.
Stop: The STOP BUTTON shut off the heat and the conveyors. The
screen will turn orange. It can be started again by pressing Start on
the MAIN MENU. When the oven is in STOP MODE, the back light
display is orange.
Standby: The STANDBY BUTTON sends you to the STANDBY SCREEN.
It stops the top elements from heating, while maintaining the bottom
elements and the conveyor. It is not a cooking mode and should be
only used during downtimes, to keep the oven hot. When the oven is
in STANDBY MODE, the back light is flashing between green and
orange.
Setup: The SETUP BUTTON sends you to the SETUP MENU PAGE 1,
where you can change the cooking parameters, temperatures, cooking
time, language. The SYS is only an access for PIARD. You also have an
access to the USERSETUP, ABOUT and the CLOCKSETUP.

Owner’s Manual
PO-3-20S 19 Revision 0
Recipe: The RECIPE BUTTON sends you to the RECIPE MENU SCREEN.
The display shows you the active recipe but if no recipe is active, the
display will show you custom.
Autostart: The AUTOSTART BUTTON sends you to the AUTOSTART
STATES SCREEN. The display show you if the autostart function is
enable or disable. To enable or disable the autostart function you need
to be login with the USER user or with the SYSTEM user.
Note: The screen color change according to oven condition, orange
when the oven is stopped, in standby mode it will be flashing between
green and orange and when the oven is running or ready to run the
screen color will be green.

Owner’s Manual
PO-3-20S 20 Revision 0
START SCREEN
This window indicates that the oven is running and display the
actual settings. You cannot change settings in this menu.
Set: The SET column indicates the temperature that your elements
are going for. This is not the temperature inside the cooking room.
Also indicates the current cooking time setup.
Real: The REAL column indicates the temperatures at which your
elements are at the moment. They will slowly go towards your SET
column value. This is not the temperature inside the cooking room.
Left Arrow: The LEFT ARROW BUTTON on the top left corner sends
you back to the MAIN MENU. This arrow doesn’t stop the oven.
Table of contents
Other Picard Oven manuals
Popular Oven manuals by other brands

Barazza
Barazza 1FOFM7X-00 series Installation and use manual

Siemens
Siemens IQ500 HB578A0S6B User manual and installation instructions

Gram
Gram OIP 5436 B instruction manual

Lamona
Lamona LAM3803 Instructions and installation

Frigidaire
Frigidaire FEB374CH Factory parts catalog

LG
LG WDEP9423 Series owner's manual