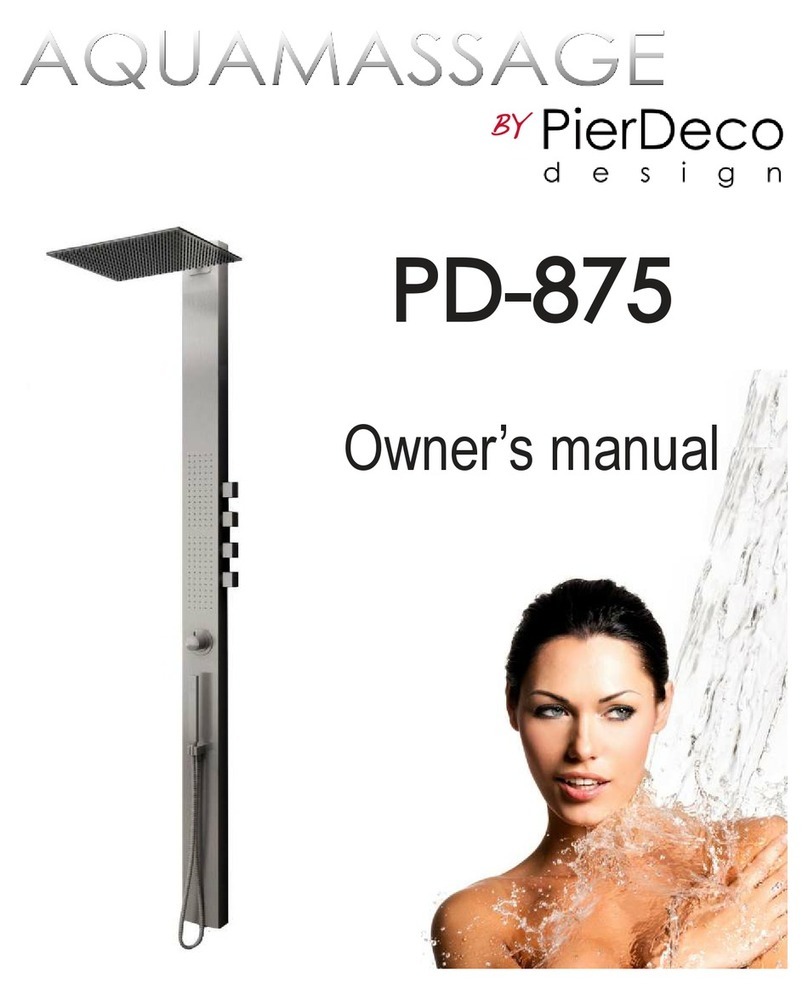
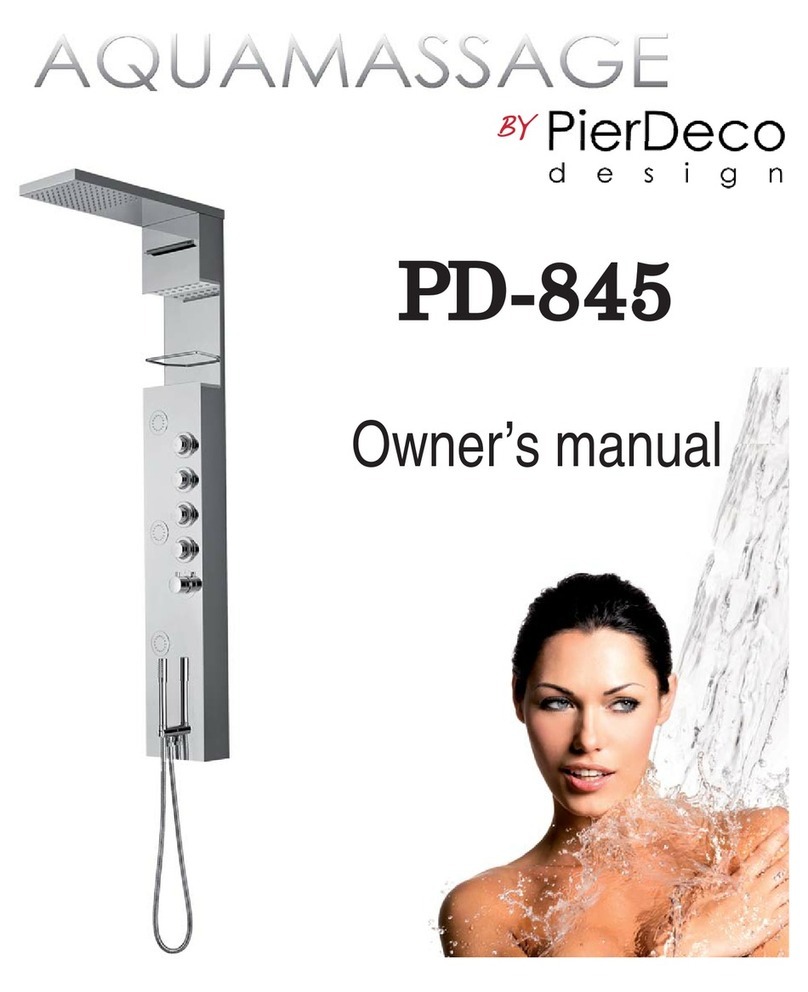
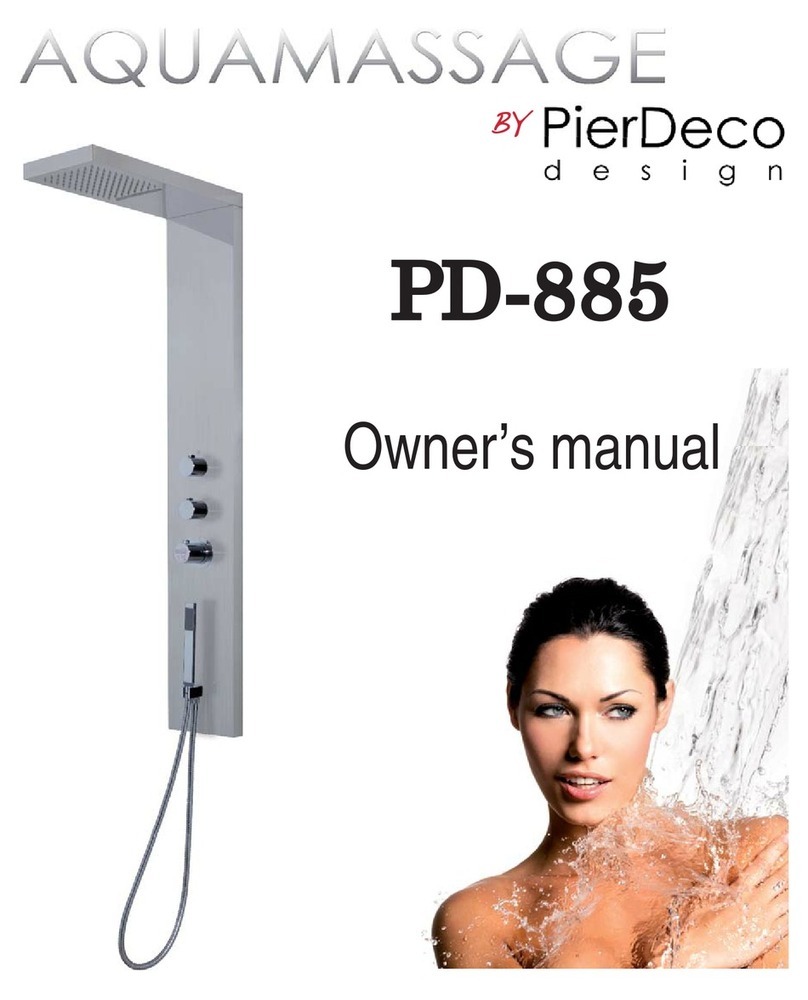
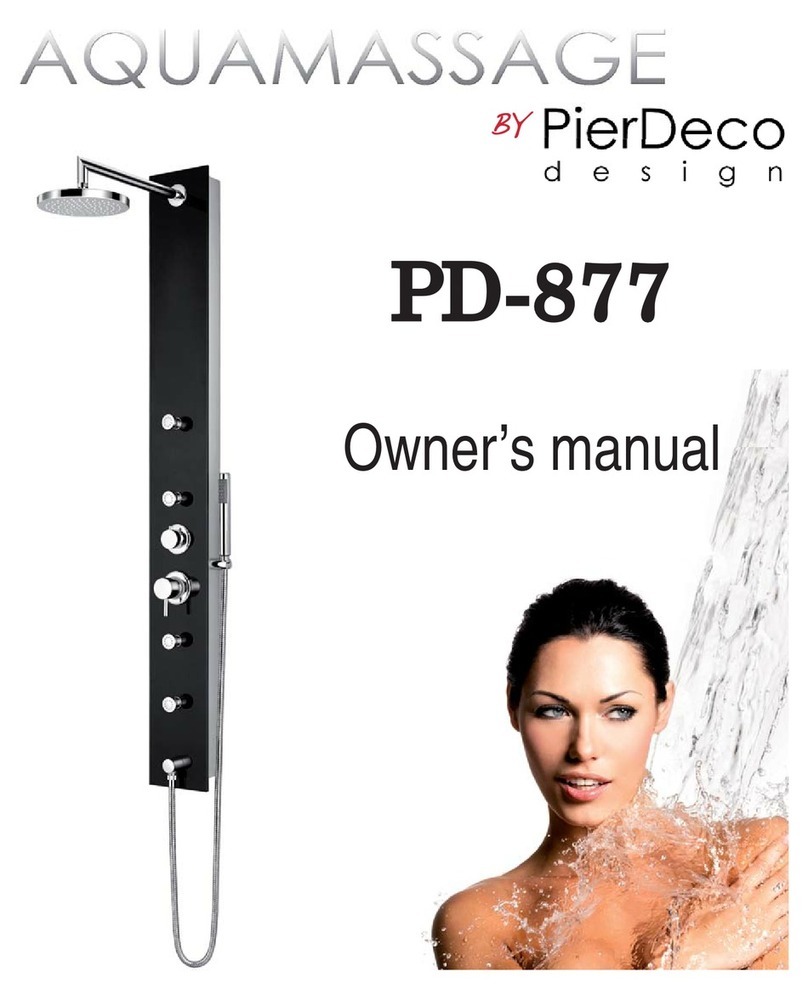
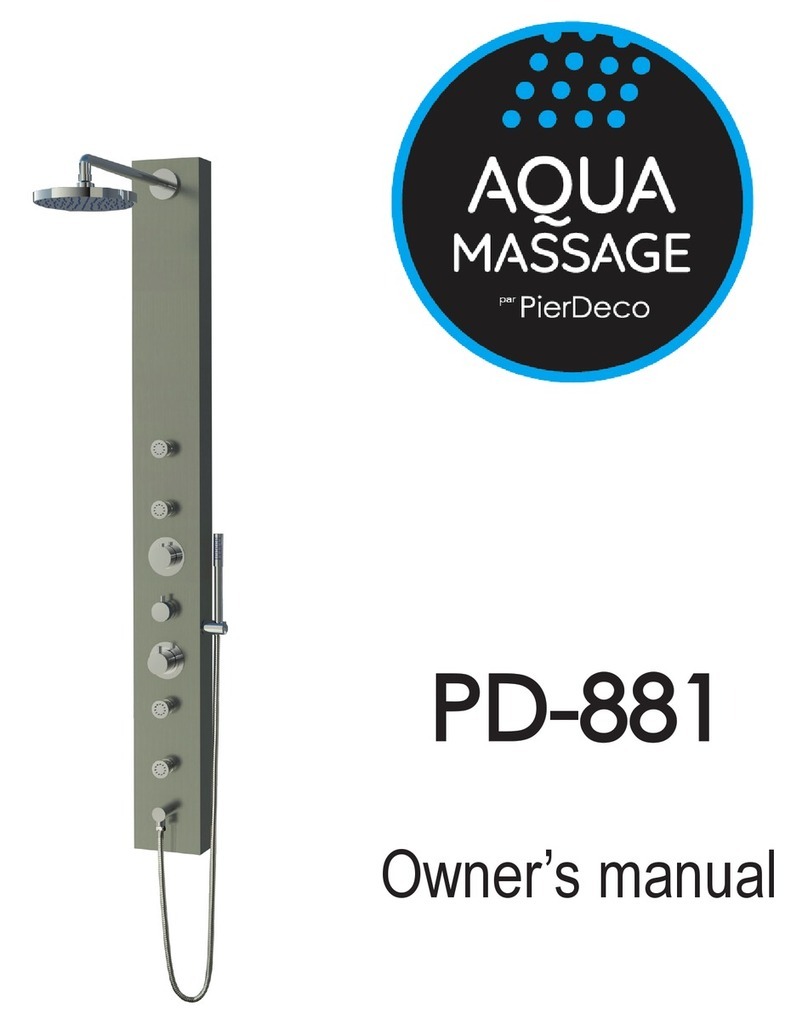
PierDeco AQUAMASSAGE PD-850 User manual

Owner’s manual
PD-850

65¼”
votre canalisation d’arrivée d’eau et de régler à une pression statique de 4 bars (58 PSI) an d’obtenir des résultats optimums.
jusqu’à 8 bars (116 PSI). À titre indicatif, pour vérier si votre
pression d’eau est trop élevée, il vous suft de mesurer le
HEIGHT 65¼”
WIDTH 8¼”
PD-850
TECHNICAL SPECIFICATIONS
This shower column is easy to install and can be connected to your standard plumbing.
Minimum Pressure : 2.8 bars (40 PSI).
Maximum Pressure : 5 bars (72.5 PSI).
Note: If the water pressure is over 5.5 bars (80 PSI) you will need to install a pressure reducer to the main valve. It should be set to
4 bars (58 PSI) for optimum results.
*Water consumption is less when there is a diverter
TEST DATA
Our columns have been subjected to pressure tests up to 8
bar (116 PSI). For your information. To ensure that the water
pressure in your home is adequate, you can test the pressure
by measuring the water low rate. In the kitchen turn on the cold
water faucet full blast. If you collect 5.5 L or more in 30 sec.,
your water pressure is probably too high and you should install
a water pressure reducer valve downstream of the main shut-
off.
Page 2
FUNCTIONS
L/Min Base L/Min Standard L/Min Max
30 PSI 43 PSI 60 PSI
Waterfall 6.5 7.5 8.5
Rain shower head 7.0 8.0 9.5
Body jets 7.5 8.6 9.5
Handshower 6.9 7.9 9.5
MultipLe functions* 15 20 30
Rain shower head with anti-scale jets
Neck massaging water fall
6 adjustable anti-scale body jets
Solid brass hand shower
4 volume controls
Thermostatic cartridge with safety lock

3. Vis de xations (4)
INTRODUCTION
This owner manual will help you to enjoy your new AQUAMASSAGE Shower column as well as show you how to install, clean and maintain it.
WE SUGGEST THAT YOU USE THE SERVICES OF A LICENSED PLUMBER
OR CONTRACTOR TO INSTALL YOUR NEW SHOWER COLUMN.
IMPORTANT NOTICE BEFORE INSTALLING THE PRODUCT
• Please take few minutes to review this manual before you start the installation.
• Inspect the product with great care before starting the installation.
• Check if the wall is straight and level and free of bumps.
THERMOSTATIC SHOWER COLUMN
This shower column includes a thermostatic valve. This system will maintain the water temperature in your shower even when there is other water
usageinyour home.The temperature of the showercolumnis pre-set at 38°C (100°F)however, you can adjustthewater temperature by turning the
lever handle. To allow the water in your shower to reach the maximum temperature, you must ensure that the water heater is set to 60°C
(140°F).
You will need the following illustrated
tools to install the shower.
It is recommended that the installation
be done by two people.
LIST OF PARTS AND COMPONENTS IN THE BOX
1. Shower column
2. Wall brackets (2)
3. Screws (4)
4. Plastic anchors (4)
5. Handheld shower with hose 150cm (60»)
6. Wall bracket for handhel shower
7. This shower uses _______ mm volume cartridges.
(2.) (3.) (4.)
Page 3

Soyez vigilant lors de la manipulation du produit, an d’éviter
d’endommager le ni ou le produit. Fermer l’entrée d’eau principale.
du centre de la valve thermostatique jusqu’au sol et vériez si la
l’endroit avec un crayon gras, faites un trou à la perceuse et xez les
supports. (Note : Il est possible de devoir utiliser d’autres xations
les supports du bas n’entrave pas à l’installation des exibles.
Raccordez la colonne aux entrées d’eau avec les exibles de la
colonne. Surtout, ne pas changer les exibles car ceci annule
Ouvrez l’eau et vériez que l’eau circule bien dans la colonne de
douche et vériez qu’il n’y a pas de fuite en ouvrant chacune des
fonctions l’une après l’autre, avant de la xer au mur.
xation de silicone transparent de chaque côté de la
colonne de douche pour la xer la en place.***
tordre excessivement les boyaux exibles
INSTALLATION
1. During the installation manipulate the tools and shower column
with great care to avoid damages and scratches. Shut off the
water at the main before starting the installation.
2. We recommend to install the column at 33” (83.8 cm) from the
lever handle (thermostatic valve) to the oor. Determine if the
height is suitable and appropriate for yourself and the other
users.
3. Install the water lines at 30” (76.2 cm) from the oor and leave
a gap of 4“ (10.2 cm) between the hot and cold water line. Use
1/2“ diameter pipe with 90° 1/2“ male adaptor (adaptors not
included).
4. On the back of the shower column, where the water supply line
comes out of the wall, it is important to seal the space between
the ceramic and the pipe with silicone to prevent water seepage
into the wall.
5. Install each wall bracket at the desired height. Use a pencil and
a leveller before drilling each hole, then install the two brackets.
(your wall structure may require additional anchors and screws.)
Please make sure the bottom brackets don’t interfere with the
supply lines.
6. Connect the hot and cold exible stainless steel hoses to the
water adaptors previously installed on your water supply line and
slide the shower column in place. Do not replace the exibles for
it will automatically void your warranty.
7. Turn on the main water supply line and check carefully for leaks
*****Apply a few thin spots of lear silicone on each side
of the shower column to secure it in place.*****
Note :
Be careful not to squeeze the two stainless
steel exible hoses during the repositioning so
as not to damage them or restrict the water ow.
Page 4

An de préserver l’apparence de ce produit, nettoyer le
brosse dure, nettoyez les orices par petits coups brefs.
orices.
semaines an d’empêcher l’accumulation du tartre qui
HOW TO SET & USE YOUR NEW SHOWER
COLUMN
You can activate more than one function at the time, ex.;
body jets and rain shower. However the water pressure will
be reduced and the vigour of the jets will be affected.
From top to bottom :Turn the control to the left and the water
pressure will increase gradually up to the maximum, the rst
handle controls the shower head, the second one controls
the body jets and the third one controls the handheld shower.
However, for all TS (tub & shower) models, the third handle
controls the water pressure and transfers the water to the
spout diverter, which allows you to ll the bathtub, to redirect
the water to your handheld shower or to test the water with
your foot.
TEMPERATURE PRESET
The temperature of the shower column is preset at 38°C
(100°F).
MAINTENANCE
To preserve the look and nish of your shower column, you
should dry the shower column after each use with a dry and
clean cloth. Do not leave any soap residue on the surface
of the shower column, it can contain acid and acid can burn
the rubber injector and the glass shelf. Never use abrasive
cream, powder cleaner or steel wool pad on the surface, it
can scratch the stainless steel and damage the nish .
HOW TO CLEAN THE JETS
Use a soft bathroom cleaner and a little toothbrush.
Spray cleaner directly on the jets and brush every little hole
then rinse thoroughly with clean water.
THERMOSTATIC CARTRIDGE MAINTENANCE
The thermostatic cartridge is guaranteed against
manufacturing defects, but not against the accumulation
of lime caused by water. It is recommended to turn the
thermostatic handle completely to the left and to right on a
weekly basis to prevent the accumulation lime which can
cause the malfunction of the thermostatic cartridge. See the
troubleshooting section on page 5 to estimate the problem.
Please see our video on Youtube to follow the
instructions in order to maintain your thermostatic
cartridge.
pierdeco.com/youtube
Page 5

Vérier si les boyaux d’alimentation sont coincés.
Vérier les tamis des joints d’étanchéité à l’entrée d’eau et de la cartouche ther
Vérier si les boyaux d’alimentation sont coincés ou tordus.
La température est difcile à ajuster en
tartre. Voir le vidéo identié dans la section entretien à la page 5 de votre manuel du
Toute garantie sera nulle et sans effet en cas de modication du mécanisme interne ou de toutes
Page 6
TROUBLESHOOTING
PROBLEM DIAGNOSTIC
Water temperature is not hot
enough.
1. Press on the push buton on the top of the thermostatic handle and
turn counterlockwise.
2. The water heater temperature is set at 60°C (140°F).
3. Make sure that there is no air in the water pipes.
Noise is coming from the water
line when the shower column is
in function.
1. Look for air pockets in your plumbing .
2. Look for upside-down “U” in all the pipes going to the shower, make
sure that they are not kinked or twisted
Water temperature gets
increasingly colder.
The problem is probably coming from your water heater, try this little test:
Turn on the hot water faucet of the sink and see if the water is hot, if the
water is cold the problem is coming from the water heater. the tank may
be empty, wait 30 min and try the test again.
Cold water comes out when the
faucet is set on hot water.
Check the two stainless steel hoses at the back of the shower column, the
hot and cold are probably reversed.
The temperature is hard to
adjust when the thermostatic is
turned.
The thermostatic cartridge probably needs to be soaked in a deliming
solution. Please refer to the maintenance section on Page 5 of your
owner’s manual.
The water pressure is going
down gradually.
1. Verify the ltres in the gaskets at the water entry as well as on the
thermostatic cartridge.
2. Look for upside-down “U” in all the pipes going to the shower, make
sure that they are not kinked or twisted.
ATTENTION
Any warranty will be void and ineffective in the case of a modication of the internal
mechanism or any other component of the product. If this troubleshooting guide does not help
you to nd or x the problem. Please call : 450-417-3740.

GARANTIE
Les produits
défauts de matériel et de fabrication. La garantie est applicable
seulement
autorisé.
l’installation
et est limitée aux produits vendus et installés en
d’AQUAMASSAGE ou s’il a été modié de manière
Advenant le cas d’une réclamation,
requise - conservez
PIERDECO n’est
frais de transport, dommage partiel ou complet lors de l’installation,
le déplacement, la re-installation,
de n’importe quel produit
quels
non conforme aux instructions
modié de quelque façon, contradictoire avec le produit expédié par
AQUAMASSAGE.
T
en céramique pour les valves et les pressions
cartouches thermostatiques, les déviateurs ont une garantie à vie
limitée au premier acheteur
tartre dans les
les
de tarte.
Les nis en acier inoxydable et chrome poli et brossé ont une
garantie à vie limitée au premier acheteur. An de préserver
adéquatement le ni chrome poli ou inox en bon état, il est important
entretien inadéquat ou l’usure normale d’un ni n’est pas couvert
PierDeco design Inc. se réserve le droit de modier les
WARRANTY
All AQUAMASSAGE products carry a lifetime warranty against
defects in materials and workmanship. The warranty will be applied
only if the product is purchased from an authorizedAQUAMASSAGE
retailer. The AQUAMASSAGE warranty is limited strictly to the
original consumer purchaser and the original installation of the
product. The warranty is not transferable and is limited to products
sold and installed in North-America.
ATTENTION
This limited warranty is void if the product has been
moved from its original place of installation, damage
due to installation error, product abuse, product
misuse, or use of cleaners containing abrasives,
alcohol or other organic solvents, whether performed
by a contractor, service company, or yourself, normal
wear of the nish, the damage is caused by hard
water, calcareous deposits or sediments, the damage
or loss is sustained in a natural calamity such as re,
earthquake, ood, thunder, electrical storm, etc. are
excluded from this warranty.
AQUAMASSAGE and/or PIERDECO is not responsible for any
labor or shipping charges, or damages whatsoever incurred in
whole or in part from installation, removal, re-installation, repair or
replacement of any AQUAMASSAGE product or part, as well as
any incidental or consequential damages, expenses, losses, direct
or indirect, arising from any cause or costs of any kind related to
the product or installation or it was not installed in accordance with
AQUAMASSAGE instructions or it has been modied in a manner
inconsistent with product shipped by AQUAMASSAGE.
AQUAMASSAGE option to repair or exchange the product under
this limited warranty does not cover any labour or other costs
of removal or installation. In no event will AQUAMASSAGE or
PierDeco design Inc. will not be responsible for any other incidental
or consequential damages attributable to a product defect or to the
repair or exchange of a defective product, all of which are expressly
excluded from this limited warranty.
Mechanical working parts including ceramic disc cartridges for
bothside valves and pressure balance, thermo cartridges, stops,
diverters etc. all carry our full limited lifetime warranty to the original
purchaser. Please note that lime accumulation and deposits caused
by water is not covered by this warranty. Please see the maintenance
section on page 5 to avoid and/or eliminate lime accumulation in the
thermostatic cartridge.
AQUAMASSAGE polished and brushed chrome and stainless
steel nishes are warranted for the life of the product to the original
purchaser. Normal wear of the nish is not covered by this warranty.
For adequately safeguard the polished chrome or stainless steel in
good condition, it is important to clean after each use using a soft
cloth. Improper maintenance or normal wear of nish is not covered
by the warranty.
All electrical components are warranted for ve (5) years.
PierDeco Design Inc. reserves the right to make product
specication changes without notice or obligation and to change or
discontinue certain models. Following a complaint, it will determine
after inspection of the product by an authorized agent to repair
or replace the product for a similar model. In case of a complaint
or to obtain a service under this limited warranty, it is necessary
that a demand of service be steered by the retailer from whom the
product was bought (we will need the model number of product, a
description of the defect, proof of purchase, your name, address and
telephone number). The retailer can then forward your complaint to
the authorized agent. The retailer can then forward your reuqest
to the authorized agent by completing the on-line form at http: //
pierdeco.com / service.
PIERDECO reserves the right to inspect the installation before any
replacement or repair of any componant. Photos will be required in
order to analyse all requests.
Please note that transport costs will be charged to send any part
or product.
PIERDECO DESIGN INC.
825 rue Bombardier, suite 7,Mascouche QC J7K 3G7
TEl. : 450-417-3740 FAX : 450-417-3738
http://pierdeco.com/service
Page 7

10-F-16
Inspecté par:
Inspected by:
Date:
Table of contents
Other PierDeco Bathroom Fixture manuals

PierDeco
PierDeco AquaMassage PD-885 User manual

PierDeco
PierDeco AquaMassage PD-845 User manual

PierDeco
PierDeco AQUAMASSAGE PD-877 User manual

PierDeco
PierDeco Aquamassage PD-890 User manual

PierDeco
PierDeco Aqua Massage PD-881 User manual

PierDeco
PierDeco AQUAMASSAGE PD-879 User manual

PierDeco
PierDeco AQUAMASSAGE PD-840 User manual

PierDeco
PierDeco AQUAMASSAGE PD-876 User manual

PierDeco
PierDeco AQUAMASSAGE PD-860 User manual

PierDeco
PierDeco AQUAMASSAGE PD-875 User manual