If you're using a safety pin, then unfasten the pin and pass the pin through one hook,
then through the fabric, and then through the second hook, before fastening the safety
pin again.
You can also use a small disc magnet of about 20mm in diameter to attach your badge.
Pop the magnet underneath the fabric and it'll be attracted to the battery on the badge
on top of the fabric and hold it in place.
Bear (!!) in mind that small magnets and safety pins are unsuitable for small
children.
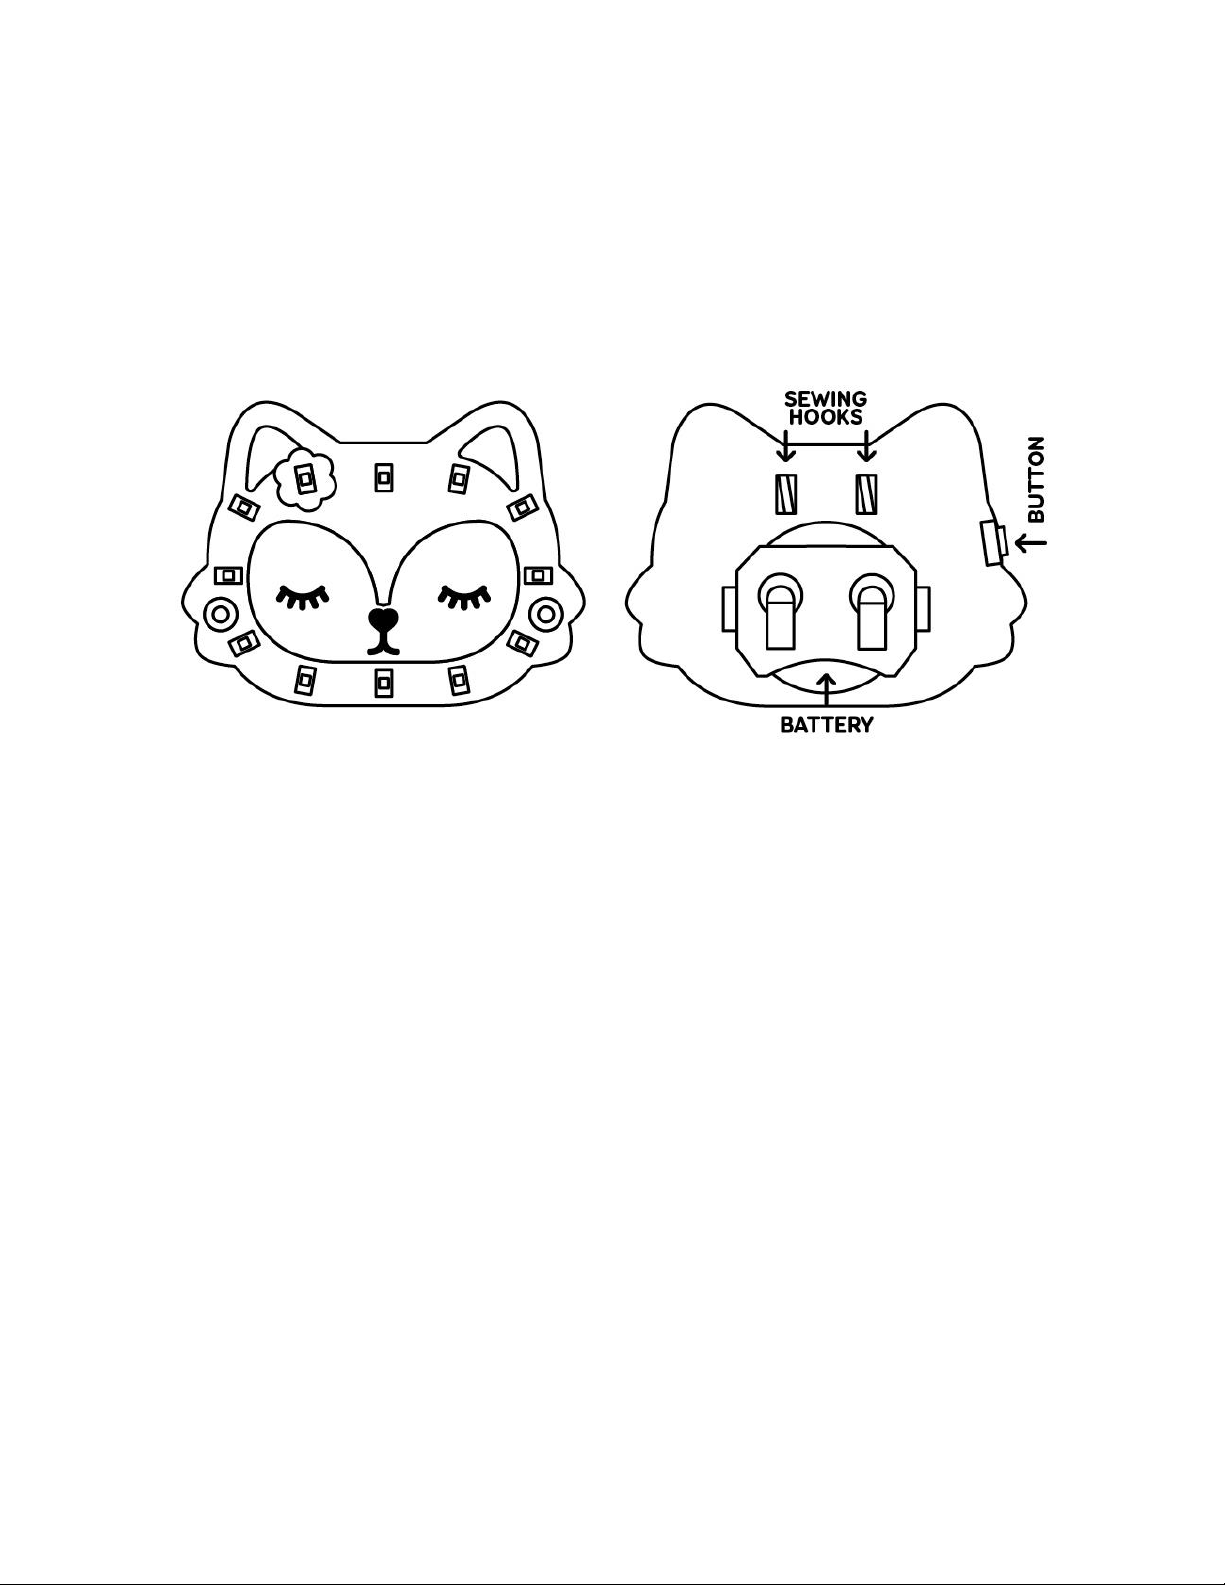
Sensors
Bearables sensors have two metal hooks just like the badges. To connect a sensor to
your badge, you just connect each of the hooks on your badge to the hooks on the
sensor, and it doesn't matter which hook you connect to which, either way will work.
You can test your sensors with a couple of crocodile clips clipped to the hooks.
To put your badge into trigger mode, press and hold the button on your badge for a
couple of seconds while your badge is connected up to a sensor. The bottom middle
LED on your badge should flash to indicate that it's in trigger mode, and when you cover
the light sensor, or move the motion sensor, then your badge's LEDs should light.
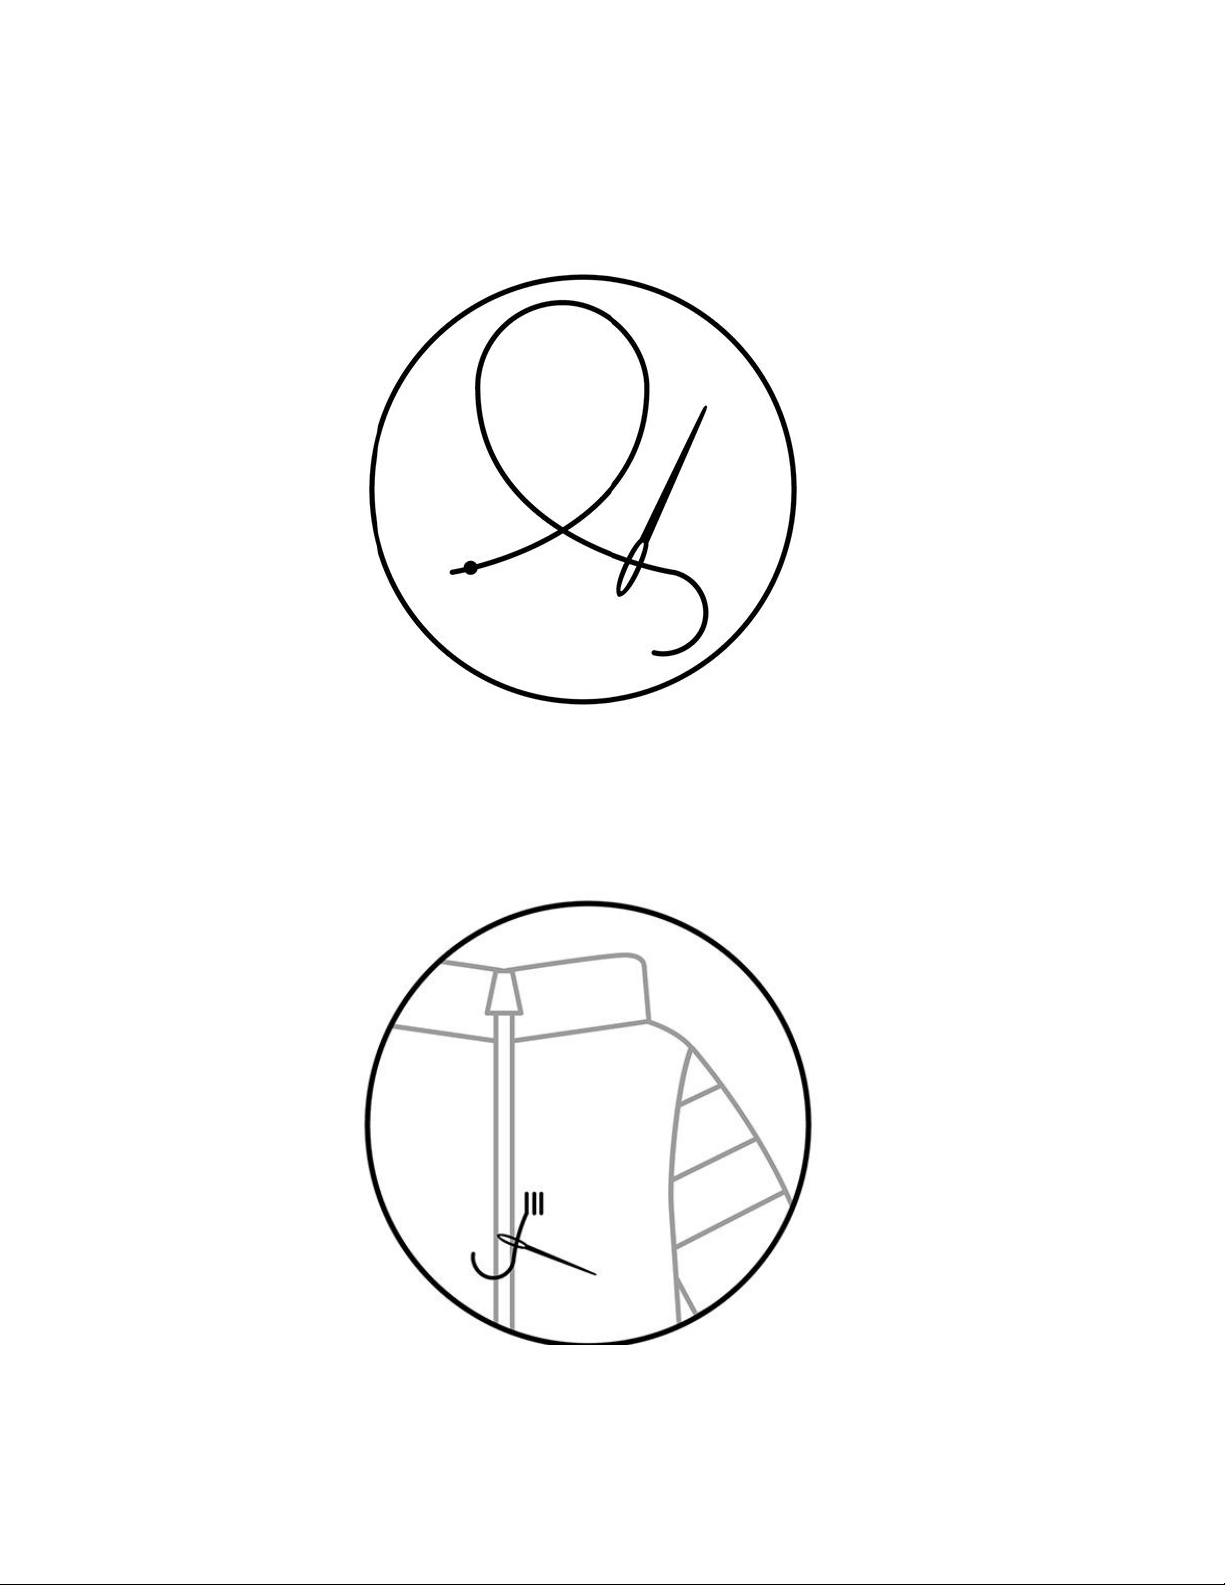
Sewing your badge
Conductive thread, like the thread included in the Bearables kits, is made of metal and
conducts electricity just like normal wires. You can sew with it as you would with regular
thread.
We'll go through how to sew your badge and sensor now.
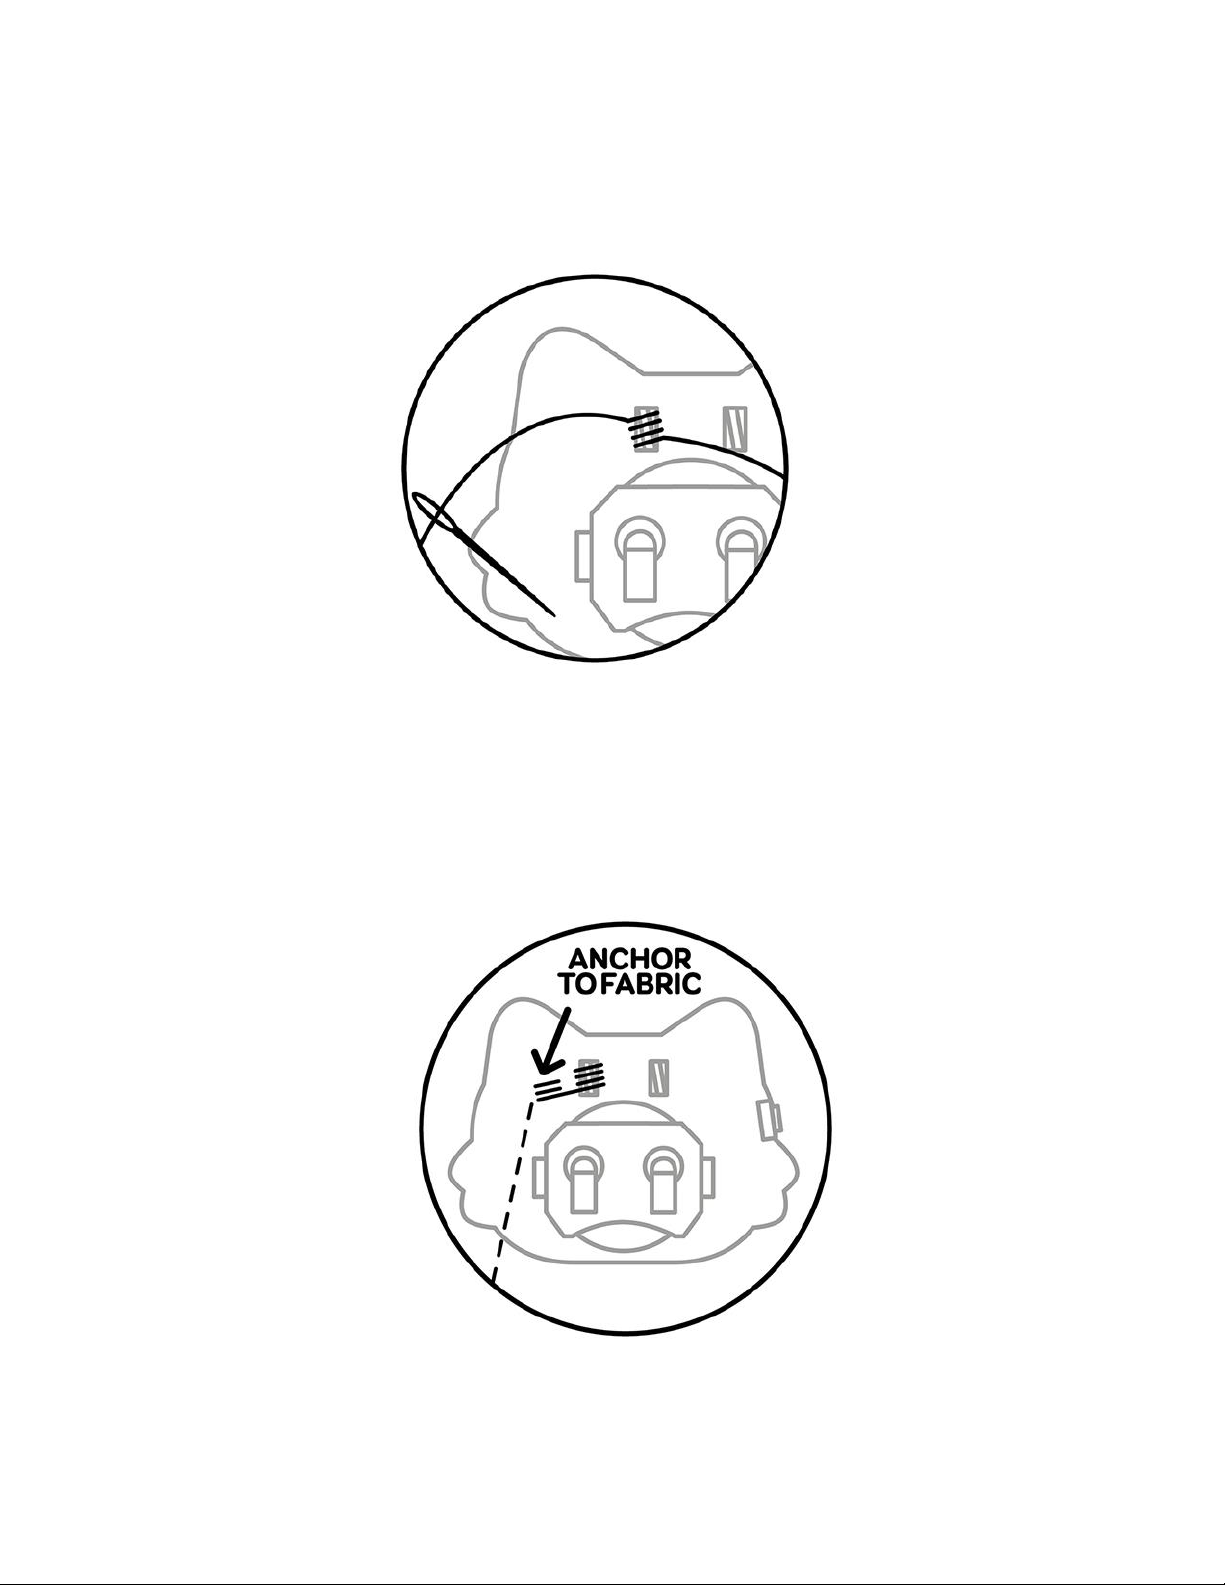
Cut a length of conductive thread long enough to stretch from where you want your
badge to be to where you want to place your sensor, plus some extra to account for
looping the thread around the hooks.