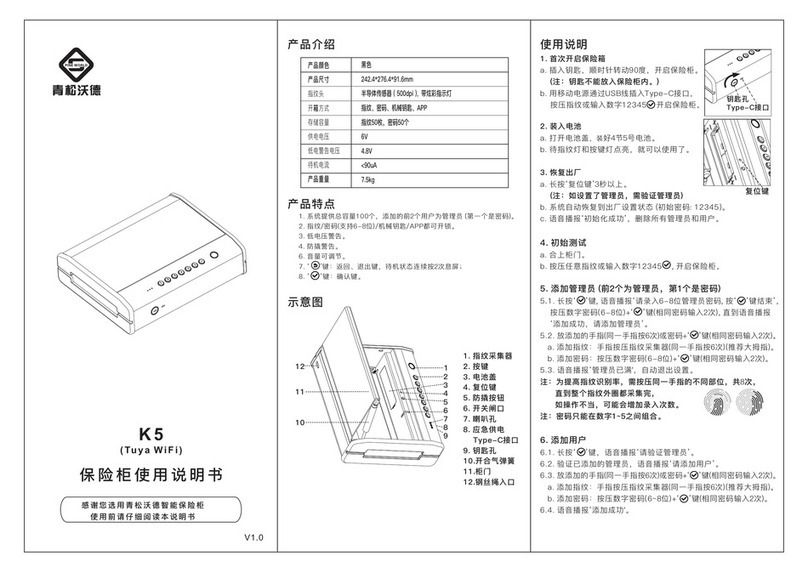
Pineworld K6 User manual

Jiangxi Fingerchip Intelligent Technology Co.,Ltd
No.133 Yishang Avenue, Economic Development Zone, Yichun City,
Jiangxi Province, China
https://www.pineworld.net
support@fingercrystal.com.
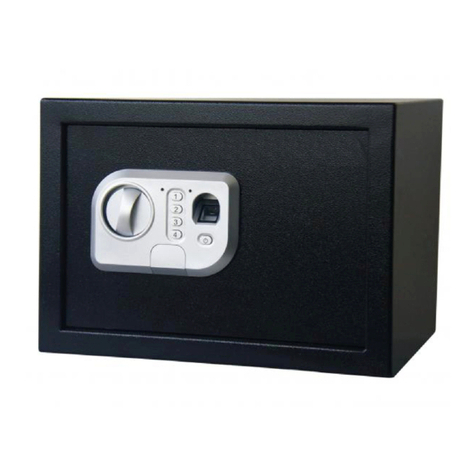
K6 Biometric Smart Safe
User Manual
Please read carefully when getting started.
Jiangxi Fingerchip Intelligent Technology Co.,Ltd. reserves the final right to interpret this manual.
PINEWORLD

1.Notices
-1- -2-
Contents
Initial Passcode: 123456
Add Administrator/User:Long press √ key
Mute Mode: Long Press 2
Modify Passcode: Long press 5
Quick Guide
What’s In The Box
User Manual
Backup Keys
K6 Biometric
Smart Safe Security Steel Cable
Do not place the batteries near fire to avoid explosion. Do not
connect the two poles of the battery with metal objects to
cause the battery to short circuit.
Do not clean the safe with corrosive substances, so as not to
damage the protective layer of the safe.
The acceptable operating temperature for the product ranges
from -25℃ to 55℃.
Keep your fingers clean when unlock via fingerprint.
About emergency charging
①Charging cable only supports to be used in emergencies. Do
not keep long-term charging, otherwise it will affect the service
life of the safe.
②The safe is not equipped with a charging cable.
(Do not support TYPE-C to TYPE-C cables. Please use a USB-
A to TYPE-C cable.)
③Please replace batteries in time when the battery is low.
The original passcode is so simple that not safe. Please set
your passcode.
The safe should be powered by 4 NEW & SAME AA
batteries(LR6) from same brand.
K6 Bi ometr ic Smar t Safe
Use r Manua l
Please read this instruction carefully before using the product.
Jiangxi Fingerchip Intelligent Technology Co.,Ltd. reserves the final right to interpret this manual.
PIN EWORL D
Any fingerprint can open the safe before setting the
administrator. Please set the administrator when first use.
Notices-------------------------------------------------------------2
ComponentsandSpecifications------------------------------3
GettingStarted---------------------------------------------------4
FAQ-----------------------------------------------------------------7

A. Install the battery
① Please unlock the safe with the key and then
remove the Battery Cover.
② Put in 4 NEW & SAME AA batteries (LR6).
③ Please put the Battery Cover back.
3.Getting Started
Note:
① Passcodes setting: Please set a 6-8
digit passcode. The passcode should
not be set too simple. (e.g. 123456)
② Fingerprints setting: you are required
to press the same finger 6 times from
different angles, so as to quick access
regardless of how you touch the
scanner.
B. Set the administrator
Long press the key √ and set the administrator according to the voice
prompt. (The first 2 passwords are for administrators, and the first one
must be in the form of passcode, and the second one can be fingerprint
or passcode. )
Core Functions:
◆ Quick Access: fingerprint unlock within 0.5s
◆ 3 Ways to Unlock: passcode, fingerprint, key
◆ Virtual passcode: can add random number before or after the real
passcode (less than 20 digits)
◆ Alarms and warning: self-lock alarm, prying-resistant alarm, low
battery warning
2.Components and Specifications
Specification
Color
Size
Weight
Unlocking ways
Fingerprint resolution
Capacity
Type-C Input Power
Black
342.4*276.4*91.6mm
13.4lbs
Fingerprint, Passcode, key
500PPI
Fingerprint: 50, Passcode: 50
5V-2A(Max)
-3- -4-
1
2
3
4
5
7
6
8
9
10
11
12
Components
1. Keypad
2. Battery Cover
3. Fingerprint Scanner
4. Reset Button
5. Pry-resistant Bar
6. Locking Structure
7. Speaker
8. Emergency Charging Port
9. Keyhole
10. Gas Spring
11. Lid
12. Steel Cable Entrance
Key Hole

C. Other operations
Shortcut keys:
① Prying-resistant alarm: when the safe is unlocked with the key or
damaged by external force, a 60-second alarm will be triggered. You
should press the anti-pry bar 3 times, or input a registered passcode or
fingerprint to clear the alarm. If you haven’t set a passcode/fingerprint,
remove the battery.
② Self-lock alarm: If you enter a wrong passcode 5 times in a row, the
safe will be locked and a 60-second alarm will be triggered. You should
input a registered fingerprint after beeping to clear the alarm.
③ Low battery warning: when the battery is low, the safe will remind you
by voice. Please replace the batteries in time.
① Check the version: long press key 1
② Mute mode: long press key 2 to change mute/unmute mode
③ Add users: long press key √ then follow the voice prompt
④ Modify the passcode: long press key 5
⑤ Delete users: long press key √ , and long press key √ again after
verifying the administrator. Then, press key 1 to delete all users'
fingerprints, or press key 2 to delete all users' passcodes, or press 3 to
delete all users. (Not include the administrator)
⑥ Virtual passcode: you can add random number before or after the real
passcode to protect your passcode. The whole passcode should less than
20 digits.
⑦ Reset the safe: long press Setting Button for 3 seconds ( need to verify
the administrator)
⑧ Verify the administrator: input the administrative passcode or
fingerprint.
⑨ Open the safe by passcode: input a registered passcode then press key
√ to confirm.
Multiple alarms and others:
-5- -6-
①Whatshouldbenoticedwhengettingstarted?
a.Anyfingerprintcanopenthesafebeforesettingtheadministrator.
b.Pleasesettheadministratorfirstwhenyougetthesafe.
②Canitalwaysbechargedwithtype-ccable?
No,chargingcableonlysupportstobeusedinemergencies.Long-term
chargingwillaffecttheservicelifeofthesafe.(That'sthereasonwhywe
don'tcomewithachargingcable)
③WhyIfailedtosetafingerprint/passcode?
Fingerprintsetting:a.pleasekeepthesamefingereverytimeyousetanew
fingerprint;b.it’srecommendedtopressthesamefingeratmultipleangles
andedges.
Passcodesetting:donotsetasimplepasscode.(Example:123456).
④Whatshouldbenotedwhenunlockviafingerprintandpasscode?
Unlockviafingerprint:a.pleasekeepyourfingerdryandclean;b.please
ensurethefingerprintisregistered.
Unlockviapasscode:pleaseensurethepasscodeiscorrect.
⑤Thebatteryisdead,howtoopenthesafe?
Methoda:chargethesafewithatype-ccable,andthenunlockviaregistered
passcodeorfingerprint.
Methodb:Unlockviakey.(Note:Theproductisnotequippedwiththetype-c
cable.)
⑥Anyprecautionsaboutthebattery?
a.pleasereplacethebatteriesintimewhenitvoiceprompts“ lowbattery”.
b.pleaseuse4NEW&SAMEbatteries(Note:theservicelifewillbeaffectedif
usedandnewbatteriesaremixedtouse).
⑦Thesafekeepsbeeping/systembeinglocked,howtoclearit?
Ipleaserefertopage5.
⑧Thelidofthesafecan’tbelocked?
Pleasecheckwhetherthelidisstuck.Ifitdoesn'twork,pleaseemailusfor
furtherhelp:support@fingercrystal.com.
⑨Anyotherundescribedproblems?
Pleasefeelfreetocontactusforhelp:support@fingercrystal.com.
4.FAQ

FCC Statement:
This device complies with Part 15 of the FCC Rules. Operation is subject to the
following two conditions:
(1) this device may not cause harmful interference, and
(2) this device must accept any interference received, including interference that may
cause undesired operation.
Changes or modifications to this unit not expressly approved by the party responsible
for compliance could void the user’s authority to operate the equipment.
NOTE: This equipment has been tested and found to comply with the limits for a Class
B digital device, pursuant to Part 15 of the FCC Rules. These limits are designed to
provide reasonable protection against harmful interference in a residential
installation. This equipment generates, uses and can radiate radio frequency energy
and, if not installed and used in accordance with the instructions, may cause harmful
interference to radio communications. However, there is no guarantee that
interference will not occur in a particular installation. If this equipment does cause
harmful interference to radio or television reception, which can be determined by
turning the equipment off and on, the user is encouraged to try to correct the
interference by one or more of the following measures:
-- Reorient or relocate the receiving antenna.
-- Increase the separation between the equipment and receiver.
-- Connect the equipment into an outlet on a circuit different from that to which
the receiver is connected.
-- Consult the dealer or an experienced radio/TV technician for help.
This device and its antenna(s) must not be co-located or operation in conjunction with
any other antenna or transmitter.
Radiation Exposure Statement
To maintain compliance with FCC’s RF Exposure guidelines, This equipment should be
installed and operated with minimum distance of 20cm from your body.
-7-
Other Pineworld Safe manuals
Popular Safe manuals by other brands

SentrySafe
SentrySafe Security Safe Series owner's manual

Homak
Homak FIRST WATCH HS30120080 Owner's manual & operating instructions

Homak
Homak First Watch HS10131310 Owner's manual & operating instructions

Phoenix
Phoenix FORTRESS II SS1182E Instructions & Guarantee Registration

intermountain
intermountain EST712 operating instructions

Beyond
Beyond diplomat Instruction