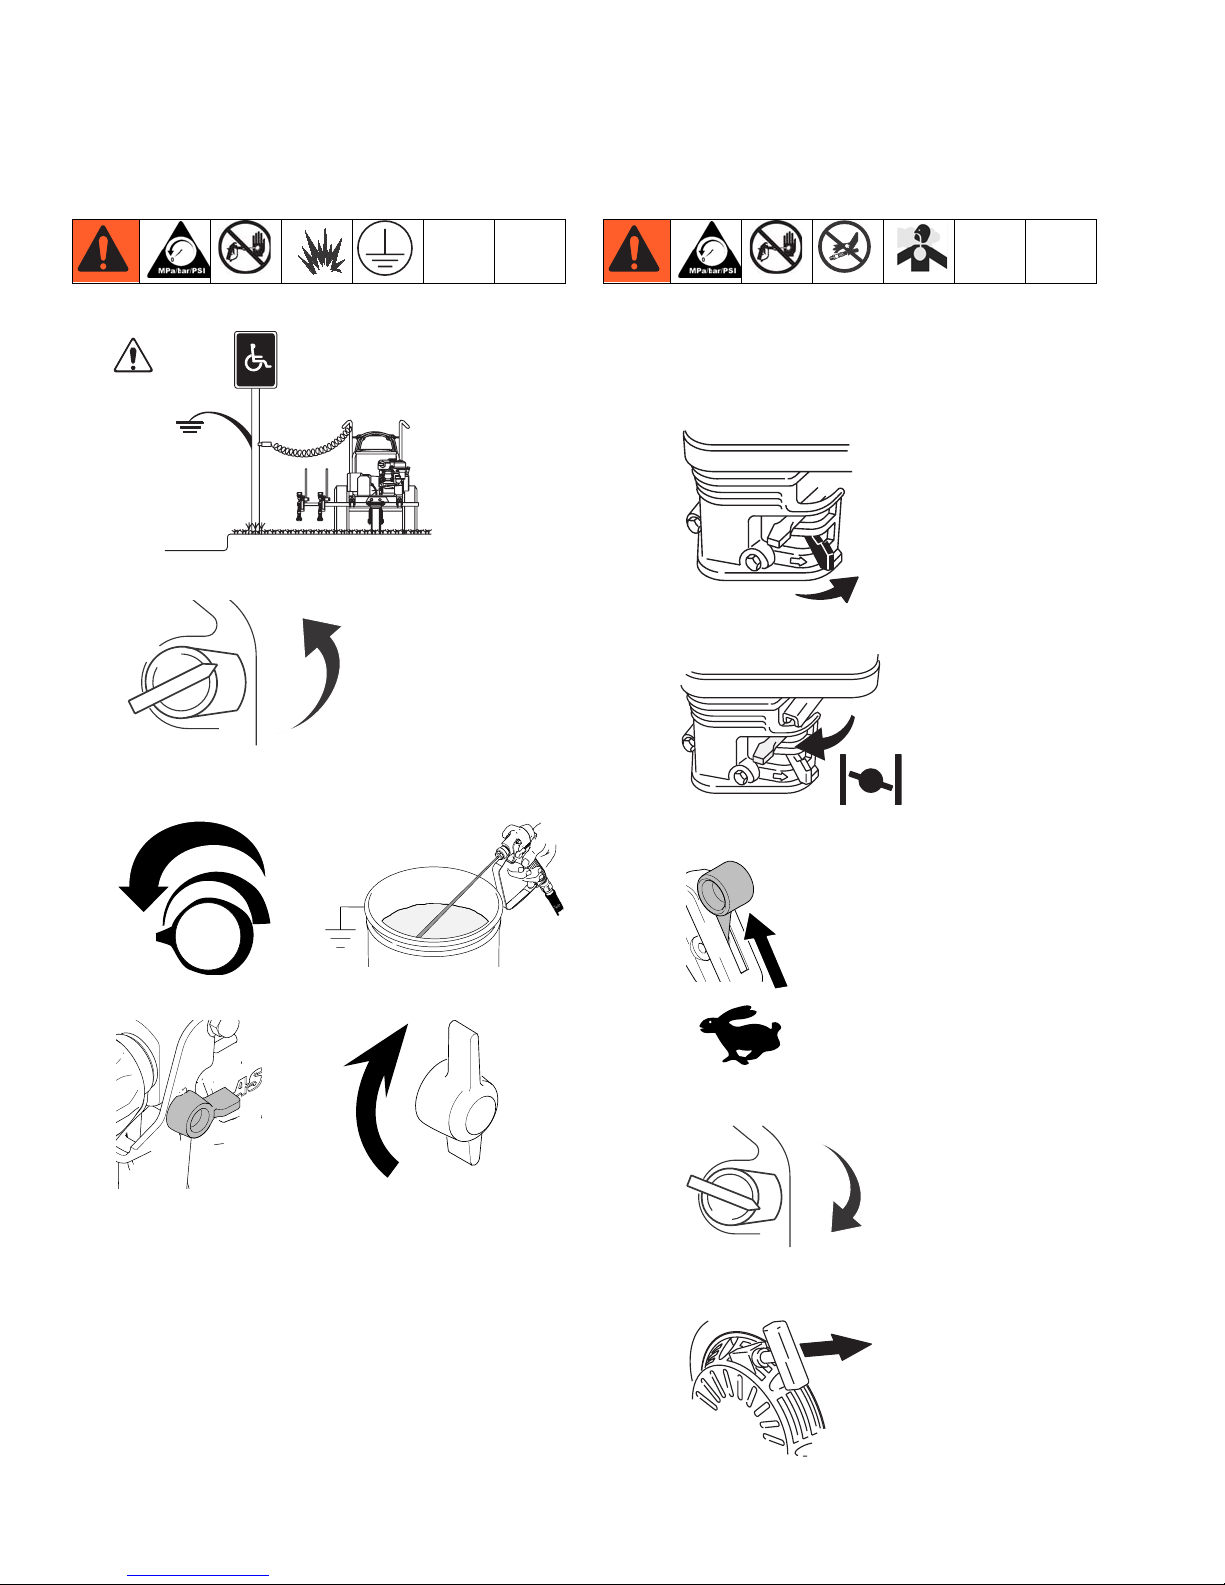
Pioneer Athletics Brite Stripper 3000SP User manual

Operation / Repair / Parts
Airless Line Striper
- For the application of athletic field line striping materials -
Model 867786
3000 psi (20.7 MPa, 207 bar) Maximum Working Pressure
IMPORTANT SAFETY INSTRUCTIONS
Read all warnings and instructions in
this manual. Save these instructions.
3A0441A
ENG
ti15263a

Contents
23A0441A
Contents
Warnings . . . . . . . . . . . . . . . . . . . . . . . . . . . . . . . . . 3
Uni-Tip Selection . . . . . . . . . . . . . . . . . . . . . . . . . . . 5
Component Identification . . . . . . . . . . . . . . . . . . . . 6
Operation . . . . . . . . . . . . . . . . . . . . . . . . . . . . . . . . . 7
Setup . . . . . . . . . . . . . . . . . . . . . . . . . . . . . . . . . . 7
Pressure Relief Procedure . . . . . . . . . . . . . . . . . 8
Startup . . . . . . . . . . . . . . . . . . . . . . . . . . . . . . . . 8
Gun Operation . . . . . . . . . . . . . . . . . . . . . . . . . . 10
Clean-up . . . . . . . . . . . . . . . . . . . . . . . . . . . . . . 12
Handle Bar Adjustment . . . . . . . . . . . . . . . . . . . 13
Maintenance . . . . . . . . . . . . . . . . . . . . . . . . . . . . . . 14
Striper . . . . . . . . . . . . . . . . . . . . . . . . . . . . . . . . 14
Gun . . . . . . . . . . . . . . . . . . . . . . . . . . . . . . . . . . 16
Troubleshooting . . . . . . . . . . . . . . . . . . . . . . . . . . . 17
General Troubleshooting . . . . . . . . . . . . . . . . . . 17
Airless Spray Troubleshooting . . . . . . . . . . . . . . 19
Field Troubleshooting . . . . . . . . . . . . . . . . . . . . 20
Repair . . . . . . . . . . . . . . . . . . . . . . . . . . . . . . . . . . . 21
Pail Bracket . . . . . . . . . . . . . . . . . . . . . . . . . . . . 21
Pressure Sensor . . . . . . . . . . . . . . . . . . . . . . . . 22
Pressure Control and Circuit Board . . . . . . . . . 23
Drain Valve . . . . . . . . . . . . . . . . . . . . . . . . . . . . 24
Fluid Pump . . . . . . . . . . . . . . . . . . . . . . . . . . . . 25
Clutch . . . . . . . . . . . . . . . . . . . . . . . . . . . . . . . . 28
Gear Box . . . . . . . . . . . . . . . . . . . . . . . . . . . . . . 29
Drive Chain . . . . . . . . . . . . . . . . . . . . . . . . . . . . 30
Drive Assembly . . . . . . . . . . . . . . . . . . . . . . . . . 31
Engine . . . . . . . . . . . . . . . . . . . . . . . . . . . . . . . . 32
Tires . . . . . . . . . . . . . . . . . . . . . . . . . . . . . . . . . 34
Wheel Axle . . . . . . . . . . . . . . . . . . . . . . . . . . . . 35
Parts . . . . . . . . . . . . . . . . . . . . . . . . . . . . . . . . . . . . 36
Parts List . . . . . . . . . . . . . . . . . . . . . . . . . . . . . . 37
Gun Parts . . . . . . . . . . . . . . . . . . . . . . . . . . . . . . . . 42
Gun Parts List . . . . . . . . . . . . . . . . . . . . . . . . . . 42
Pump Parts . . . . . . . . . . . . . . . . . . . . . . . . . . . . . . . 43
Pump Parts List . . . . . . . . . . . . . . . . . . . . . . . . . 43
Pressure Control Wiring Diagram . . . . . . . . . . . . 44
Technical Data . . . . . . . . . . . . . . . . . . . . . . . . . . . . 45
Brite Stripe 3000SP Striper: . . . . . . . . . . . . . . . 45
Dimensions: . . . . . . . . . . . . . . . . . . . . . . . . . . . 45
Gun: . . . . . . . . . . . . . . . . . . . . . . . . . . . . . . . . . 45
Pioneer Limited Warranty . . . . . . . . . . . . . . . . . . . 46

Warnings
3A0441A 3
Warnings
The following are general warnings related to the safe setup, use, grounding, maintenance and repair of this equip-
ment. In the text of this manual, the exclamation point symbol alerts you to a warning and the hazard symbol refers to
specific risks. Refer back to these General Warnings pages. Additional procedure-specific warnings will be included
where applicable.
Warnings
EQUIPMENT MISUSE HAZARD
Misuse can cause death or serious injury.
•Do not operate the unit when fatigued or under the influence of drugs or alcohol.
•Do not exceed the maximum working pressure or temperature rating of the lowest rated system compo-
nent. See Technical Data in all equipment manuals.
•Use fluids and solvents that are compatible with equipment wetted parts. See Technical Data in all equip-
ment manuals. Read fluid and solvent manufacturer’s warnings. For complete information about your
material, request MSDS from distributor or retailer.
•Do not leave the work area while equipment is energized or under pressure. Turn off all equipment and fol-
low the Pressure Relief Procedure when equipment is not in use.
•Check equipment daily. Repair or replace worn or damaged parts immediately with genuine manufac-
turer’s replacement parts only.
•Do not alter or modify equipment.
•Use equipment only for its intended purpose. Call your distributor for information.
•Route hoses and cables away from traffic areas, sharp edges, moving parts, and hot surfaces.
•Do not kink or over bend hoses or use hoses to pull equipment.
•Keep children and animals away from work area.
•Comply with all applicable safety regulations.
FIRE AND EXPLOSION HAZARD
Flammable fumes, such as solvent and paint fumes, in work area can ignite or explode. To help prevent fire
and explosion:
•Use equipment only in well ventilated area.
•Do not fill fuel tank while engine is running or hot; shut off engine and let it cool. Fuel is flammable and can
ignite or explode if spilled on hot surface.
•Eliminate all ignition sources; such as pilot lights, cigarettes, portable electric lamps, and plastic drop
cloths (potential static arc).
•Keep work area free of debris, including solvent, rags and gasoline.
•Do not plug or unplug power cords, or turn power or light switches on or off when flammable fumes are
present.
•Ground all equipment in the work area. See Grounding instructions.
•Use only grounded hoses.
•Hold gun firmly to side of grounded pail when triggering into pail.
•If there is static sparking or you feel a shock, stop operation immediately. Do not use equipment until you
identify and correct the problem.
•Keep a working fire extinguisher in the work area.
CARBON MONOXIDE HAZARD
Exhaust contains poisonous carbon monoxide, which is colorless and odorless. Breathing carbon monoxide
can cause death. Do not operate in an enclosed area.

Warnings
43A0441A
TOXIC FLUID OR FUMES HAZARD
Toxic fluids or fumes can cause serious injury or death if splashed in the eyes or on skin, inhaled, or
swallowed.
•Read MSDSs to know the specific hazards of the fluids you are using.
•Store hazardous fluid in approved containers, and dispose of it according to applicable guidelines.
SKIN INJECTION HAZARD
High-pressure fluid from gun, hose leaks, or ruptured components will pierce skin. This may look like just a cut,
but it is a serious injury that can result in amputation. Get immediate surgical treatment.
•Do not spray without Uni-Tip Guard and trigger guard installed.
•Engage trigger lock when not spraying.
•Do not point gun at anyone or at any part of the body.
•Do not put your hand over the Uni-Tip.
•Do not stop or deflect leaks with your hand, body, glove, or rag.
•Follow the Pressure Relief Procedure when you stop spraying and before cleaning, checking, or servic-
ing equipment.
•Tighten all fluid connections before operating the equipment.
•Check hoses and couplings daily. Replace worn or damaged parts immediately.
BURN HAZARD
Equipment surfaces and fluid that’s heated can become very hot during operation. To avoid severe burns:
•Do not touch hot fluid or equipment.
MOVING PARTS HAZARD
Moving parts can pinch, cut or amputate fingers and other body parts.
•Keep clear of moving parts.
•Do not operate equipment with protective guards or covers removed.
•Pressurized equipment can start without warning. Before checking, moving, or servicing equipment, follow
the Pressure Relief Procedure and disconnect all power sources.
PRESSURIZED ALUMINUM PARTS HAZARD
Use of fluids that are incompatible with aluminum in pressurized equipment can cause serious chemical
reaction and equipment rupture. Failure to follow this warning can result in death, serious injury, or property
damage.
•Do not use 1,1,1-trichloroethane, methylene chloride, other halogenated hydrocarbon solvents or fluids
containing such solvents.
•Many other fluids may contain chemicals that can react with aluminum. Contact your material supplier for
compatibility.
PRESSURIZED ALUMINUM PARTS HAZARD
Do not use 1,1,1-trichloroethane, methylene chloride, other halogenated hydrocarbon solvents or fluids con-
taining such solvents in pressurized aluminum equipment. Such use can cause serious chemical reaction and
equipment rupture, and result in death, serious injury, and property damage.
PERSONAL PROTECTIVE EQUIPMENT
You must wear appropriate protective equipment when operating, servicing, or when in the operating area of
the equipment to help protect you from serious injury, including eye injury, hearing loss, inhalation of toxic
fumes, and burns. This equipment includes but is not limited to:
•Protective eyewear, and hearing protection.
•Respirators, protective clothing, and gloves as recommended by the fluid and solvent manufacturer.
Warnings

Uni-Tip Selection
3A0441A 5
Uni-Tip Selection
69-213* 2 (5) ✔
69-215* 2 (5) ✔
69-217 4 (10) ✔
69-219 4 (10) ✔
69-315 4 (10) ✔
69-317 6 (15) ✔
69-319 6 (15) ✔
69-321 6 (15) ✔
69-327 6 (15) ✔
69-417 6-8 (15-20) ✔
69-517 10 (25) ✔
69-615* 12 (30) ✔
69-617 12 (30) ✔
* Use 100 mesh filter to reduce tip clogs
in.
(cm)
in.
(cm)
in.
(cm)
in.
(cm)

Component Identification
63A0441A
Component Identification
OFF
ON
M
J
K
H
G
F
E
D
C
B
A
ti15264a
N
PR
A Self-Propel Engagement Lever
B Spray Gun Control
C Engine Throttle
DBrake
E Pressure Gauge
FPrimeValve
G Drain/Spray Valve
H Gun Trigger Lock
J Engine Controls
K Engine ON/OFF Switch
M Serial Identification Tag
N Pressure Control
P Cable Adjustment
R Turn Control

Operation
3A0441A 7
Operation
Setup
1. Ground striper with grounding clamp during Setup
and Cleanup.
2. Each time your spray and store, add 3 to 5 drops of
Throat Seal Oil (TSO) to decrease packing wear.
3. Check engine oil level. Add SAE 10W-30 (summer)
or 5W-20 (winter). See engine manual.
4. Fill fuel tank.
5. If removed, install strainer.
6. Open prime valve. Turn pressure control counter-
clockwise to lowest pressure.
NOTE: Minimum hose size allowable for proper striper
operation is 1/4 in. x 50 ft.
7. Place siphon tube set in grounded metal pail par-
tially filled with flushing fluid. Attach ground wire to
pail and to true earth ground. Do 1. - 5. of Startup
to flush out storage oil shipped in striper. Use water
to flush water-base paint and mineral spirits to flush
oil-base paint and storage oil.
ti3306a
ti3307a
ti3308a
ti3309a
ti15271a
ti15266a ti15272a
PAINT
FLUSH
ti3310a

Operation
83A0441A
Pressure Relief Procedure
1. Ground striper with grounding clamp.
2. Turn engine OFF.
3. Turn pressure to lowest setting. Trigger gun to
relieve pressure.
4. Engage gun trigger safety. Open prime valve.
If you suspect that the Uni-Tip or hose is completely
clogged, or that pressure has not been fully relieved
after following the steps above, VERY SLOWLY loosen
Uni-Tip Guard retaining nut or hose end coupling to
relieve pressure gradually, then loosen completely. Then
clear tip or hose.
Startup
1. Perform Pressure Relief Procedure.
2. Start Engine.
a. Move fuel valve to open.
b. Move choke to closed.
c. Set throttle to fast.
d. Set engine switch ON.
e. Pull starter cord.
ti3306a
ti5405a
OFF
ON
ti15268a
ti15272a
ti10352a ti15266a
ti3312a
ti3313a
ti3313a
ti15279a
OFF
ON
ti3315a
ti3316a

Operation
3A0441A 9
f. After engine starts, move choke to open.
g. Set throttle to desired setting.
3. Increase pressure enough to start pump. Allow fluid
to circulate for 15 seconds.
4. Turn pressure down, close prime valve. Disengage
gun trigger safety.
5. Hold gun against grounded metal flushing pail. Trig-
ger gun and increase fluid pressure slowly until
pump runs smoothly.
Inspect fittings for leaks. Do not stop leaks with your
hand or a rag! If leaks occur, turn striper OFF immedi-
ately. Perform Pressure Relief (page 8). Tighten leaky
fittings. Repeat Startup, steps 1-2. If no leaks, continue
to trigger gun until system is thoroughly flushed.
Proceed to step 3.
6. Place siphon tube in paint pail.
7. Trigger gun again into flushing fluid pail until paint
appears. Assemble Uni-Tip and Uni-Tip Guard.
ti3317a
ti15280a
15 SEC.
ti15273a
ti15265a ti10353a
FLUSH ti15267a ti15273a
PAINT
ti3316a
FLUSH ti15267a

Operation
10 3A0441A
Gun Operation
Gun Trigger Lock
Setup
Connect Gun to Striper
1. Attach supply hose to striper fluid outlet.
2. Attach other end of supply hose to gun swivel. Use
two wrenches (one on the swivel and one on the
hose) to tighten all connections securely.
Uni-Tip and Uni-Tip Guard Assembly
1. Engage trigger safety. Use end of Uni-Tip (A) to
press Uni-Tip Seal (B) into Uni-Tip Guard (D), with
curve matching tip bore (C).
2. Insert Uni-Tip in tip bore and firmly thread assembly
onto gun.
Gun Placement
1. Install Gun: Insert gun into gun holder with head
guard pressed against the holder assembly bracket.
2. Tighten gun into clamp.
3. Position Gun: Up/down, forward/reverse, left/right.
NOTE: Verify that the gun can still be triggered and
that the trigger safety can still be engaged after
installation. Make adjustments if necessary.
To prevent injury when the gun is not in use, always
engage the gun trigger lock if unit is being shut down or
left unattended.
Make sure striper is turned off and unplugged from
power source.
ti10352a ti10353a
Locked Unlocked
A
BC
D
ti10352a
ti15269a
ti15270a
ti15275a
ti15393a
ti15292a
ti15293a

Operation
3A0441A 11
Clearing Tip Clogs
1. Release trigger, engage gun trigger safety. Rotate
Uni-Tip. Disengage gun trigger safety and trigger
gun to clear the clog. Never point gun toward your
hand or into a rag!
2. Engage gun trigger safety, return Uni-Tip to original
position, disengage gun trigger safety and continue
spraying.
Spraying Gun
1. Disengage trigger lock.
2. Be sure the arrow-shaped tip faces forward (spray).
3. Hold gun perpendicular and approximately 12 in.
(304 mm) from surface. Move gun first, then pull
trigger to spray a test pattern.
4. Slowly increase pump pressure until coverage is
uniform and even (see striper instruction manual for
additional information).
Aligning Spray
1. Perform Pressure Relief Procedure, page 8.
Engage trigger lock.
2. Loosen guard and retaining nut.
3. Align guard horizontally to spray a horizontal pat-
tern, vertically to spray a vertical pattern.
Cleanup
Flush gun after each work shift and store in a dry loca-
tion. Do not leave the gun or any parts in water or clean-
ing solvents.
ti15276a
ti15277a
Horizontal Vertical
ti10350a
ti10351a

Operation
12 3A0441A
Clean-up
Perform Pressure Relief Procedure, page 8.
1. Remove Uni-Tip Guard and Uni-Tip.
2. Clean gun filter, Uni-Tip Guard and Uni-Tip in
flushing fluid.
3. Remove siphon tube set from paint and place in
flushing fluid. Use water or pump conditioner for
water-base paint and mineral spirits for oil-base
paint.
4. Turn engine ON and start engine.
5. Close prime valve.
6. Hold gun against paint pail. Disengage gun trigger
safety. Gradually turn pressure control up until
motor begins to drive pump. Trigger gun until flush-
ing fluid appears.
7. Move gun to flushing pail, hold gun against pail, trig-
ger gun to thoroughly flush system. Release trigger
and engage trigger safety.
8. Open prime valve and allow flushing fluid to circu-
late for 1 to 2 minutes to clean drain tube.
9. Raise siphon tube above flushing fluid and run
striper for 15 to 30 seconds to drain fluid.
ti15274a
FLUSH
TI3375A
PAINT
FLUSH
ti3310a
OFF
ON
ti3315a
ti15265a
ti15268a
ti15267a
1 -2 MIN.
ti15266a
PAINT
FLUSH
TI3383A
15-30 SEC.

Operation
3A0441A 13
10. Turn engine OFF.
11. Wipe striper, hose and gun with a rag soaked in
water or mineral spirits.
12. Clean Uni-Tip, Uni-Tip Guard and gasket with a soft
bristle brush to prevent part failure due to dried
materials. Assemble parts and attach loosely onto
gun.
Handle Bar Adjustment
To adjust height and angle of handle bars, loosen two
nuts (147) and move handle bars to desired position.
Then tighten two nuts (147).
NOTE: Handle bars can be moved to down position for
storage.
NOTICE
If flushing with water, flush again with pump condi-
tioner to leave a protective coating to prevent freezing
or corrosion.
ti5405a
OFF
ON
TI3388A
FLUSH
TI3390A
ti15339a

Maintenance
14 3A0441A
Maintenance
Striper
NOTE: Minimum hose size allowable for proper striper
operation is 1/4 in. x 50 ft.
For detailed engine maintenance and specifications,
refer to separate engine manual supplied.
DAILY: Check engine oil level and fill as necessary.
DAILY: Check hose for wear and damage.
DAILY: Check gun safety for proper operation.
DAILY: Check pressure drain valve for proper operation.
DAILY: Check and fill gas tank.
AFTER THE FIRST 20 HOURS OF OPERATION: Drain
engine oil and refill with clean oil. See engine manual for
correct oil viscosity.
WEEKLY: Remove air filter cover and clean element.
Replace element if necessary. If operating in an unusu-
ally dusty environment, check air filter daily and replace
if necessary.
Replacement elements can be purchased from your
local engine dealer.
WEEKLY: Check level of TSO in fluid pump packing nut.
Add 3 to 5 drops if necessary. Keep TSO in nut to help
prevent fluid buildup on piston rod and premature wear
of packings.
AFTER EACH 100 HOURS OF OPERATION: Change
engine oil. See engine manual for correct oil viscosity.
SPARK PLUG: Use only BPR6ES (NGK) or W20EPR-U
(NIPPONDENSO) plug. Gap plug to 0.028 to 0.031 in.
(0.7 to 0.8 mm). Use spark plug wrench when installing
and removing plug.
Swivel Wheel
• Stripers are factory aligned, but if necessary, loosen
two bolts (128) on swivel wheel assembly just
enough to be able to move the wheel by hand. Align
wheel and re-tighten bolts.
• Place turnbuckle (43) over the two mounting numbs
on the frame.
• Pressurize the unit with water and Pioneer’s Pump
Conditioner and spray out several lines with the
swivel assembly in the locked position. Use the turn-
buckle to fine tune the alignment of the wheels until
the stripes are straight.
• Tighten the jam nuts on the turnbuckle to affix the
turnbuckle length for future reference.
• Tighten the ratchet handles.
Drive Wheel
Curves and Arcs
• Similar to the above, except that the swivel wheel
assembly is set at an angle. The swivel assembly
can be adjusted to 30 degrees either side of straight
ahead. If you have arcs that you paint regularly, pur-
chase additional turnbuckles (43) and keep them set
to those arc sizes.
NOTICE
The drive wheel is designed to slip. When adjusting
drive wheel, do NOT over-tighten castle nut (see page
34). Axle could become locked and damage the drive
assembly.
ti15294a

Maintenance
3A0441A 15
Pump
• Always stop the pump at the bottom of its stroke
when you take a break or at the end of the day. This
helps keep material from drying on the rod, damag-
ing the packings.
• Keep the displacement pump packing nut/wet cup
1/3 full of Throat Seal Oil (2501) at all times. The
TSO helps protect the packings and rod.
• Lubricate Connecting Rod Pin every three months.
• Inspect the packing nut daily. The paint pump has a
patented “Triple Life Packing System”. Packing life
will be extended a minimum of three times if the
proper packing tightening procedure is followed.
PACKING TIGHTENING PROCEDURE:
Inspect the packing nut daily. If seepage of paint into the
packing nut and/or movement of the piston upward is
found (while not spraying), the packing nut should be
tightened enough to stop leakage only, but not any
tighter.
Grease Points
• Fill grease points at swivel wheel and in center of
drive assembly axle until grease purges from end
collars. Wipe away any excess grease. Use only
quality-grade water resistant grease.
NOTICE
Do NOT over-tighten packings. Packings will become
damaged and reduce the packing life.
ti15321a

Maintenance
16 3A0441A
Gun
Cleaning/Replacing Filter
1. Perform Pressure Relief Procedure, see page 8.
Engage trigger lock.
2. Disconnect hose.
3. Disconnect trigger guard (404) from guard retainer
(422).
4. Unscrew handle (423) from gun.
5. Remove filter (406) through top of handle.
6. Clean filter using a soft brush.
7. Insert clean filter into handle.
8. Reattach handle to gun. Tighten securely.
9. Reconnect trigger guard to guard retainer.
Replacing Needle
1. Perform Pressure Relief Procedure, see page 8.
Engage trigger lock.
2. Remove tip (415) and guard (402). Disconnect
hose.
3. Disengage trigger lock.
4. Squeeze trigger while unscrewing diffuser/seat
(401). For newer gun kits, remove needle housing
(411) and gasket (417).
5. Remove locknut (433) and end cap (408).
6. Tap out needle (401b) using a plastic hammer.
7. Use a soft brush to clean internal passages of gun.
8. Grease o-rings of new needle using a non-silicon
grease.
9. Guide new needle into front of gun.
10. Install end cap and lockout, loosely.
11. For needle housing (411), apply medium strength
(blue) thread sealant to threads.
12. Squeeze trigger while installing needle housing.
Torque to 26-32 ft-lb (35-43 N•m).
Adjusting Needle
1. Perform Pressure Relief Procedure (page 8).
Engage trigger lock.
2. Remove tip (415) and guard (402). Disconnect
hose.
3. Disengage trigger lock.
4. Hold gun with nozzle pointing up. Turn locknut (433)
clockwise (CW) until you see and feel trigger (403)
raise slightly.
5. Turn locknut 3/4 turn counter-clockwise (CCW).
When properly adjusted, trigger will move freely.
6. Connect hose. Install tip and guard. Prime striper.
7. Trigger gun into pail until fluid flows from gun.
8. Release trigger. Fluid flow should stop immediately.
9. Engage trigger lock. Try to trigger gun. No fluid
should flow.
10. If the gun fails either test, repeat steps 1-9.
ti10471a
ti10473a
ti10472a
CW 3/4
CCW

Troubleshooting
3A0441A 17
Troubleshooting
General Troubleshooting
Problem Cause Solution
Engine Will Not Start Engine switch is OFF Turn engine ON
Engine is out of gas Refill gas tank (see engine manual).
Engine oil level is low Try to start engine. Replenish oil if neces-
sary (see engine manual).
Spark plug cable is disconnected or dam-
aged
Connect spark plug cable or replace
spark plug.
Cold engine Use choke.
Fuel shut-off lever is OFF Move lever to ON position.
Oil is seeping into combustion chamber Remove spark plug. Pull starter 3 to 4
times. Clean or replace spark plug. Start
engine. Keep striper upright to avoid oil
seepage.
Engine operates, but fluid
pump does not operate
Pressure setting is too low Turn pressure adjusting knob clockwise to
increase pressure
Uni-Tip or gun filter is clogged Clean Uni-Tip or gun filter (see gun man-
ual).
Fluid pump piston rod is stuck due to
dried paint
Repair pump (see pump manual).
Connecting rod is worn or damaged Replace connecting rod, page 29.
Drive housing is worn or damaged Replace drive housing, page 31.
Electrical power is not energizing clutch
field.
Check wiring connections, page 41.
See pressure control repair, page 23.
Test sensor by reading resistance
between the red and black wires. The
resistance runs between 1.5-3k Ohms.
Have pressure control checked by autho-
rized Pioneer dealer.
Clutch is worn, damaged, or incorrectly
positioned.
Replace clutch, page 28.

Troubleshooting
18 3A0441A
Pump output is low Piston ball is not seating Service piston ball. See pump manual.
Piston packings are worn or damaged Replace packings. See pump manual.
O-ring in pump is worn or damaged Replace o-ring. See pump manual.
Worn, missing, or improperly installed
parts in suction nut
Remove suction nut and check that all
parts are present and installed correctly.
Engine speed is too low Increase throttle setting. See Startup,
page 8.
Clutch is worn or damaged Replace clutch, page 28.
Pressure setting is too low Increase pressure. See Startup, page 8.
Uni-Tip filter or tip is clogged or dirty See gun manual.
Large pressure drop in hose with heavy
materials
Use larger diameter hose and/or reduce
overall length of hose. Use of more than
100 ft of 1/4 in. hose significantly reduces
performance of striper. Use 1/4 in. hose
for optimum performance (50 ft minimum).
Excessive paint leakage
into throat packing nut
Throat packing nut is loose See pump manual.
Throat packings are worn or damaged Replace packings. See pump manual.
Fluid rod is worn or damaged Replace rod. See pump manual.
Fluid is spitting from gun Air in pump or hose Check and tighten all fluid connections.
Reprime pump.
Uni-Tip is partially clogged Clear Uni-Tip. See gun manual.
Fluid supply is low or empty Refill fluid supply. Reprime pump. Check
fluid supply often to prevent running pump
dry.
Pump is difficult to prime Air in pump or hose Check and tighten all fluid connections.
Reduce engine speed and cycle pump as
slowly as possible during priming.
Suction nut is leaking Clean suction nut. Be sure ball seat is not
nicked or worn and that ball seats well.
Reassemble suction nut.
Pump packings are worn Replace pump packings. See pump man-
ual.
Paint is too thick Thin the paint according to supplier rec-
ommendations
Engine speed is too high Decrease throttle setting before priming
pump.
High Engine Speed at no
load
Incorrect throttle setting Adjust throttle cable as needed
Worn engine governor Replace or service engine governor
Problem Cause Solution

Troubleshooting
3A0441A 19
Airless Spray Troubleshooting
Problem Cause Solution
Coarse spray Low pressure Increase pressure
Excessive fogging
(overspray)
High pressure
Material too thin
Reduce pressure to satisfactory pattern
distribution. Use less thinner.
Pattern too wide Spray angle too large Use smaller spray angle Uni-Tip
Pattern too narrow Spray angle too small Use larger spray angle Uni-Tip (if cover-
age is acceptable, try tip in same nozzle
group)
Too much material Nozzle too large
Material too thin
Pressure too high
Use smaller nozzle
Reduce pressure
Too little material Nozzle too small Use next larger nozzle
Material too thick
Thin distribution in center
of pattern “horns”
Worn Uni-Tip
Wrong Uni-Tip
Change to new Uni-Tip
Use nozzle with narrow spray angle
Thick skin of work Material too viscous
Application too heavy
Thin cautiously
Reduce pressure and/or use Uni-Tip in
next smaller nozzle group
Coating fails to close and
smooth over
Material too viscous Thin cautiously
Spray pattern irregular,
deflected
Orifice clogged
Uni-Tip damaged
Clean carefully
Replace with new Uni-Tip
Craters or pock marks,
bubbles on work
Solvent balance Use 1 to 3% “short” solvents remainder
“long” solvents (this is most likely to hap-
pen with material of low viscosity, lac-
quers, etc).
Clogged gun screens Extraneous material in paint
Coarse pigments
Poorly milled pigments
(paint pigments glocculate)
Clean screen.
Use coarse screen if orifice size allows.
Use courser screen with larger orifice tips.
Obtain ball milled paint. If thinner has
been added, test to see if a cover screen.
Incompatible drop placed on top of paint
mixes or flattens out on the paint mixture
and thinners on the surface. If not, try dif-
ferent thinner in fresh batch of paint.

Troubleshooting
20 3A0441A
Field Troubleshooting
Problem Cause Solution
Striper will not prime Air leak due to:
• Loose suction nut
• Worn o-rings
• Hole in siphon hose
• Stuck or fouled balls
• Tighten suction nut
• Replace o-ring (867-361) on suction
seat
• Replace siphon hose (331-290)
• See pump manual
Striper primes but has
poor or no pressure
• Pressure set too low
• Filter is clogged
• Outlet valve fouled/worn
• Prime/pressure valve bypassing
• Packings and/or piston worn
• Turn up pressure
• Clean or replace gun filter
• Service outlet valve
• Clean or replace prime valve
• Tighten packing nut with tool
• Repack unit
Unit does not maintain
good spraying pressure
• Blown Uni-Tip
• Packings and/or pistons worn
• Upper seat worn
• Replace Uni-Tip
• Repack striper
• Replace upper seat and ball
Clutch does not engage Clutch failed.
Check resistance between leads (should
read between .6 - .7k Ohms).
Take to Pioneer Service Center
Engine voltage is below 19-24 VAC Take to Honda Engine Service Center
Pressure Sensor Check 1.5 - 3.5k Ohms Replace the sensor
Table of contents
Other Pioneer Athletics Paint Sprayer manuals