1
Before start
Please download the firmware from the Pioneer Support site and prepare a
USB memory stick to be used for updating. Be sure to use it for updating the
firmware of XDJ-R1.
・Internet connection is required to download the firmware. Be sure to log in
with the computer administrator's account to install the firmware of XDJ-R1.
・It is recommend to create a backup of the discʼs hot cue information stored
in the unit before updating the firmware. Select [BACK UP]>[SAVE] from the
[UTILITY] screen. Please see
Changing the settings
in [Operating Instructions]
of XDJ-R1 for detail.
・Downgrading to older versions of firmware is not available.
* If you have any questions, please contact the Pioneer Customer Support
Center.
Checking the firmware version
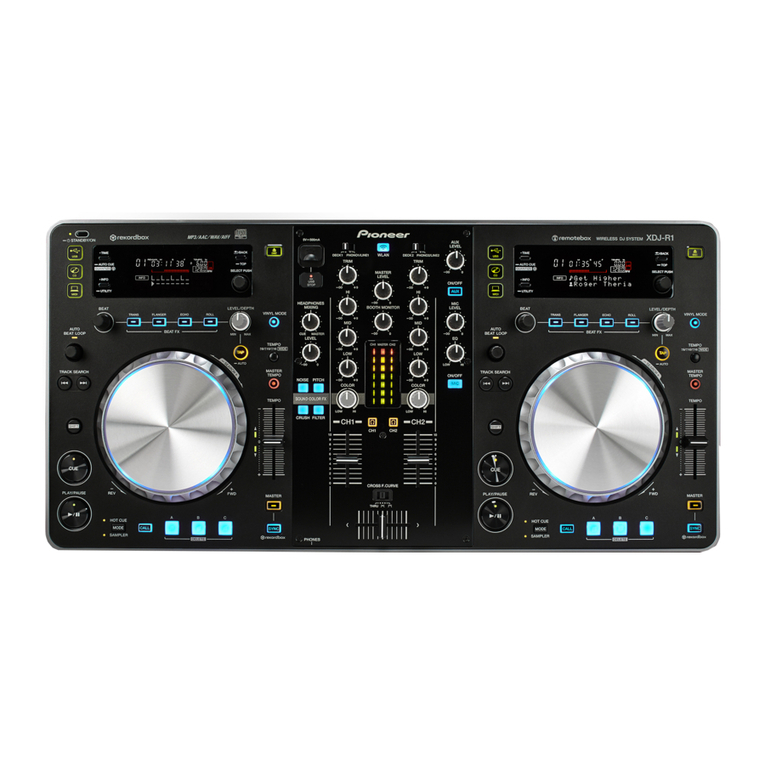
1. Press the [INFO (UTILITY)] button longer than 1 second.
―The [UTILITY] view is displayed on the screen of XDJ-R1.
2. Turn the rotary selector to scroll the screen and display
[VERSION No.].
―Press the rotary selector to check the firmware version.
・Press [INFO(UTILITY)] button to close the [UTILITY] view.
Preparing for the update
1. Access the following URL.
http://pioneerdj.com/support/
2. Select [Player/DJ system] > [XDJ-R1] > [Software down-
load] > [Firmware].
3. Follow the instruction to download the firmware to your
computer.
4. Unzip the downloaded file.
―The file named [XDJ-R1Vxxx.bin] is unzipped (xxx are numerical charac-
ters).
* Be sure to remain the file name as it is.
5. Insert a USB stick to copy the unzipped file to the root
directory of the USB device.
―Please use a USB (Mass Storage Class) memory stick formatted in FAT or
FAT32.
Note: Ensure that only one update file is saved in a USB memory device when
you update the firmware.
Updating the firmware
Note: Press the [STANDBY/ON] button to turn the power off and disconnect
all the devices and cables except the power cable from the unit.
1. Turn on the power of XDJ-R1 while pressing the [SHIFT]
and [USB] buttons on the left deck.
―The message [DOWNLOAD] is displayed on the screen of the unit.
2. Insert the USB stick.
―Insert the USB memory stick, where the update file is copied, into the USB
terminal.
3. Start the update
―Both the current version and the updating version are displayed on the
screen of XDJ-R1.
―The progress bar appears to show the updating process.
Note: Ensure the USB stick is securely inserted and leave the power of XDJ-R1
on during updating.
4. Complete the update
―The update process is completed in approximately 6 minutes and the
message [COMPLETE] is displayed on the screen.
5. Turn off the power of XDJ-R1 and remove the USB stick.
Now, the update is successfully completed.
6. Check the version after finishing the update.
―Turn on the power of XDJ-R1 and check that the firmware is correctly
updated by following the instruction in the above described [Checking the
firmware version].
If the update does not start or does not finish even after 10 minutes, the
downloaded file might be corrupt. Please start again from the above desc-
ribed [Preparing for the update]. Nevertheless, if the update process cannot
be completed, the USB device could be the cause of the error. Try to replace
the USB stick with another one.
When the error message (E-7024) is displayed on the screen of XDJ-R1 when
the power of the unit is turned on after updating the firmware, please start
again from the first step of [Updating the firmware].
Nevertheless, if you cannot update the firmware, please contact the Custom-
er Support Center.
About trademarks and registered
trademarks
・Pioneer is a registered trademark of PIONEER CORPORATION
The names of companies and products mentioned herein are the trademarks
of their respective owners.
©2013 PIONEER CORPORATION.
All rights reserved.
PIONEER CORPORATION
1-1, Shin-ogura, Saiwai-ku, Kawasaki-shi, Kanagawa 212-0031, Japan

