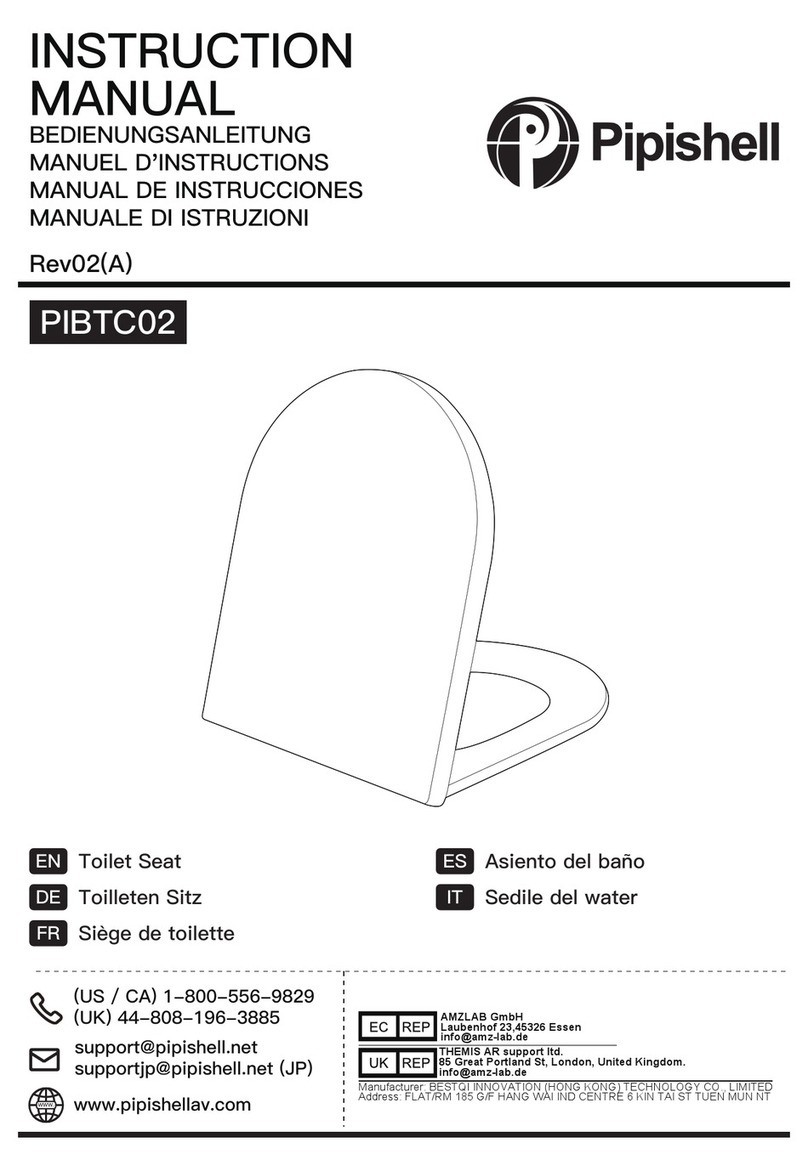
Pipishell PIBTC03 User manual

INSTRUCTION
MANUAL
BEDIENUNGSANLEITUNG
MANUEL D'INSTRUCTIONS
MANUAL DE INSTRUCCIONES
MANUALE DI ISTRUZIONI
Rev02(A)
PIBTC03
[email protected] (JP)
www.pipishellav.com
WWW.
Toilet Seat
EN
Toilleten Sitz
DE
Siège de toilette
FR
Asiento del baño
ES
Sedile del water
IT
(US / CA) 1-800-556-9829
(UK) 44-808-196-3885
Manufacturer: BESTQI INNOVATION (HONG KONG) TECHNOLOGY CO., LIMITED
Address: FLAT/RM 185 G/F HANG WAI IND CENTRE 6 KIN TAI ST TUEN MUN NT
AMZLAB GmbH
Laubenhof 23,45326 Essen
THEMIS AR support ltd.
85 Great Portland St, London, United Kingdom.

1. Please read the instructions carefully to get to know our seats and get prepared with
the required tool in advance. Follow the instructions to install the seat correctly. This will
help avoid harming you and your family and your property.
2. Please keep the instructions available after reading it carefully.
3. Please subject to the real products when the instructions are different from the real
products. If there is any new update to products and its accessories, we will give no
further notice.
4. Don't open the seat and the lid over 105° before fixing it into the ceramic bowl.
Please do not close the seat or
cover forcibly to extend the
soft-close function lifespan.
Do not exceed the maximum weight
capacity indicated.
150KG
Please do not expose the seat or
cover to direct sunlight for too
long. Avoid any direct strong light
or high temperature. (to prevent
from fading)
Wipe the toilet seat with soft wet cloth
Clean the toilet seat with neutral cleanser, and then dry it with
clean cloth.
Regular Maintenance
INSTALLATION INSTRUCTION OF TOILET SEAT

Place the decorative cover over the hinges
②
③
④
Expanding Grommet
Φ12mm fits blank holes between
Φ12-15mm
Φ14mm fits blank holes between
Φ13-17mm
Remove
Supplied Parts and Hardware
⑤
⑤
Decorative Cover
Bolt
Hinge Set
Expanding Grommet(φ12mm+φ14mm)
Toilet Seat
[Not Included]
①

MONTAGE ANLEITUNG FÜR DEN TOILETTENSITZ
1. Bitte lesen Sie die Anleitung durch und machen Sie sich mit unsrem Deckel vertraut, so dass Sie den Toilettendeckel richtig installieren
können.
2. Nach dem Lesen können Sie die Anleitung behalten. Wenn Sie irgendwelches Problem mit unserem Produkt haben, können Sie uns in
Verbindung mit dem gegebenen E-mails von Tech-Support setzen. Unser profrssionalles Kundenserviceteam stehen Ihnen immer gerne
zur Verfügung.
3. Bevor Sie den Deckel auf dem Keramikkloschüssel befestigen, öffenen Sie es bitte nicht mehr als 105°.
Pflege
Bitte schließen Sie leicht den
Klodeckel, um die Lebensdauer der
Absenkautomatik Funktion zu
verlängern.
Mit einem feuchtem Tuch den Toilettendeckel abwischen.
Mit neutralen Reinigungsmittel den Toilettensitz renigen.
Regelmäßige Pflege
Freudliche Hinweise
Maximale Tragfähigkeit bis zur 150KG.
150KG
Setzen Sie bitte den Toilettendeckel nicht
direkt in der Sonnenstrahlung. Keine
direkte und starke Strahlung oder hohe
Tempuratur.

Entfern Sie den Deckel.
Lösen Sie den Deckel mit der
Quick-Release-Taste wieder.
Nun den Deckel wieder einsetzen...
fertig.
Träger (C) auf die Löcher setzen
und die Schrauben (B) durch die
Öffnung schieben.
B
C
Die Schrauben (B) leicht anziehen
aber noch nicht zu fest, so dass
sich die Träger (C).
B
Nun die Schrauben (B) festzeiehen.
B
MONTAGEANLEITUNG
Mitgelieferte Teile
nicht im
Lieferumfang
enthalten
Dübel
A x2
Schrauben
B x2
Träger
C x2
Kappen
D x2
D
Die Kappen (D) auf die Träger (C)
setzen.
C
Setzen Sie den Deckel ein, lassen
ihn einrasten und richten ihn aus.
Dübel (A) in die Löcher einsetzen.
Dübel
A1x2 (Passt die Löcher zwischen
Φ12-15mm).
A2x2 (Passt die Löcher zwischen
Φ13-17mm).
A

INSTRUCTION D’INSTALLATION DU SIÈGE DE TOILETTES
1. Veuillez lire attentivement l’instruction pour comprendre notre siège et pouvoir préparer les outils nécessaires en
avance. Suivez les instructions pour installer correctement le siège. Cela va aider à éviter de vous nuire, voire
votre famille et votre propriété.
2. Veuillez garder les instructions disponibles après l’avoir attentivement lu.
3. Les produits réels font foi quand les instructions sont différentes des produits réels. S’il y a une nouvelle mise à
jour des produits et des accessoires, nous ne l’annoncerons pas ultérieurement.
4. Ne pas ouvrir le siège et le couvercle à plus de 105° avant de les fixer dans un bol en céramique.
Avant l’Installation
Entretien
Veuillez ne pas fermer le siège ou le
couvercle de force pour prolonger la
durée de vie de la fonction de
fermeture en douceur.
Essuyez le siège de toilettes avec un chiffon doux et humide.
Nettoyez le siège de toilettes avec un nettoyant neutre, puis le
séchez avec un chiffon propre.
Entretien Régulier
Attentions
Ne pas dépasser la capacité de charge
maximale.
150KG
Veuillez ne pas exposer longtemps le
siège ou le couvercle à la lumière du
soleil. Éviter des lumières fortes ditectes
ou la haute température. (pour éviter de
flétrir le siège & le couvercle)

②
③
④
INSTRUCTION D’INSTALLATION
Pièces et Matériel Inclus
⑤
⑤
Couvercle Décoratif
Boulon
Jeu de Charnières
Œillet d'élargissement(φ12mm+φ14mm)
Siège de Toilettes
[Non Inclus]
Insérez les charnières dans le siège
de toilettes.
Desserrez un peu les vis en les
tournant à 90°dans le sens antihoraire.
Cela vous permet d’aligner le siège.
Coincer le siège de toilettes
Alignez le siège de toilettes avec
bol en céramique.
Retirez le siège de toilettes en
appuyant sur le bouton une seule
fois.
Serrez les vis dans le sens horaire.
Placez le couvercle décoratif sur
les charnières.
Coincer le siège de toilettes et le
couvercle.
Fini
①
Rondelle d'expansion
Φ12mm s’adapte aux trous vides
entre Φ12-15mm
Φ14mm s’adapte aux trous vides
entre Φ13-17mm

INSTRUCCIONES DE INSTALACIÓN DE ASIENTO D INODORO
1. Por favor leer estas instrucciones minuciosamente, conocer nuestros asientos y habilitar las herramientas
necesitas de antemano. Seguir estas instrucciones a instalar el asiento de forma correcta evitando daños a
usted, su familia y su propiedad.
2. Por favor mantener las instrucciones disponibles después de leerlas minuciosamente.
3. Se sujeta a los productos reales cuando las instrucciones sean diferentes de los productos reales.
4. No abra el asiento y la tapa a más de 105 ° antes de fijarlo en el recipiente de cerámica.
Antes de la Instalación
Mantenimiento
Por favor no cierre el asiento o la
tapa con fuerza para extender la vida
útil de la función de cierre automáti-
co.
Limpiar el asiento de inodoro con un paño suave y húmedo.
Limpiar el asiento de inodoro con detergente neutro, y luego
secarlo con paño limpio.
Mantenimiento Regular
Cauciones
No exceder la capacidad de peso máxima.
150KG
No exponer el asiento o la tapa a la luz
solar directa durante mucho tiempo. Evitar
cualquier fuerte luz directa o temperatura
alta (para evitar que el asiento y la tapa
se pierdan el color).

②
③
④
INSTRUCCIONES DE INSTALACIÓN
Piezas y Hardware Suministrados
⑤
⑤
Cubierta Decorativa
Pernos
Juego de Bisagras
ojal expansivo(φ12mm+φ14mm)
Asiento de Inodoro
[No Incluido]
Insertar las bisagras en el inodoro. Aflojar un poco los tornillos g
irándolos 90° en sentido antihorario,
lo cual le permite a ajustar el asiento.
Enganchar el asiento de inodoro.
Enfilar el asiento de inodoro con
la taza cerámica.
Retirar el asiento de inodoro
presionando el botón solo una vez.
Apretar los tornillos en sentido
antihorario.
Colocar la cubierta decorativa
sobre las bisagras.
Enganchar el asiento de inodoro
y la tapa.
Listo
①
Ojal expansible
Φ12 mm encaja en agujeros en
blanco entre Φ12-15 mm
Φ14 mm encaja en agujeros en
blanco entre Φ13-17 mm

ISTRUZIONI PER L'INSTALLAZIONE DEL SEDILE WC
1. Si prega di leggere attentamente le istruzioni, conoscere i nostri posti e prepararsi in anticipo con lo strumento
richiesto. Seguire le istruzioni per installare correttamente il sedile. Ciò contribuirà a evitare il rischio della
sicurezza di te, la tua famiglia e danneggiare la tua proprietà.
2. Si prega di mantenere le istruzioni disponibili dopo averle lette attentamente.
3. Si prega di fare riferimento ai prodotti reali quando le istruzioni sono diverse dai prodotti a bobina. In caso di
nuovi aggiornamenti ai prodotti e ai suoi accessori, non daremo ulteriori avvisi.
4. Non aprire il sedile e il coperchio oltre 105 ° prima di fissarlo nella ciotola di ceramic.
Prima d'installazione
Manutenzione
Si prega di non chiudere forzatamente il
sedile o il coperchio per prolungare la
durata della funzione di chiusura
graduale.
pulire il sedile Jet con un panno umido morbido
Pulire il sedile del water con un detergente neutro, e poi asciugarlo
con un panno pulito.
Manutenzione regolare
Avvertenze
Non superare la capacità massima di peso.
150KG
Si prega di non esporre il sedile o il
rivestimento alla luce diretta del sole per
troppo tempo. Evitare la luce diretta forte
o le alte temperature. (Evitare di far
sbiadire sedile e fodera)

②
③
④
ISTRUZIONI PER L'INSTALLAZIONE
Le parti e Hardware forniti
⑤
⑤
Copertura decorativa
bullone
Set cerniera
occhiello espandibile(φ12mm+φ14mm)
Sedile WC
[Non inclusa]
Inserire le cerniere nella toilette. Stringere leggermente le viti
ruotandole di 90 ° in senso antiorario.
Ciò consentirà di allineare la clip
del sedile sul sedile del water
Allineare il sedile del water con
una tazza di ceramica.
Rimuovere il sedile del water
premendo il pulsante una sola volta.
Stringere le viti in senso orario.
Posizionare il coperchio decorativo
sopra le cerniere
Agganciare il sedile del water e il
coperchio.
Finito
①
Gommino Espandibile
Φ12mm si adatta a fori vuoti tra
Φ12-15mm
Φ14mm si adatta a fori vuoti tra
Φ13-17mm

860-00067-01 Rev02
(US/CA) 1-800-556-9829
(UK) 44-808-196-3885
www.pipishellav.com
WWW.
Table of contents
Languages:
Other Pipishell Bathroom Fixture manuals
Popular Bathroom Fixture manuals by other brands
Luxier
Luxier SP34-SS manual

PALAZZANI
PALAZZANI MIS 563010 Installation and maintenance instructions

Moorefield
Moorefield SH883BM Installation instruction

ProFlo
ProFlo PFTS35CP installation instructions

MAAX
MAAX 106380 installation instructions

Kohler
Kohler Mira Showers Decor 8.5 kW Installation and user guide