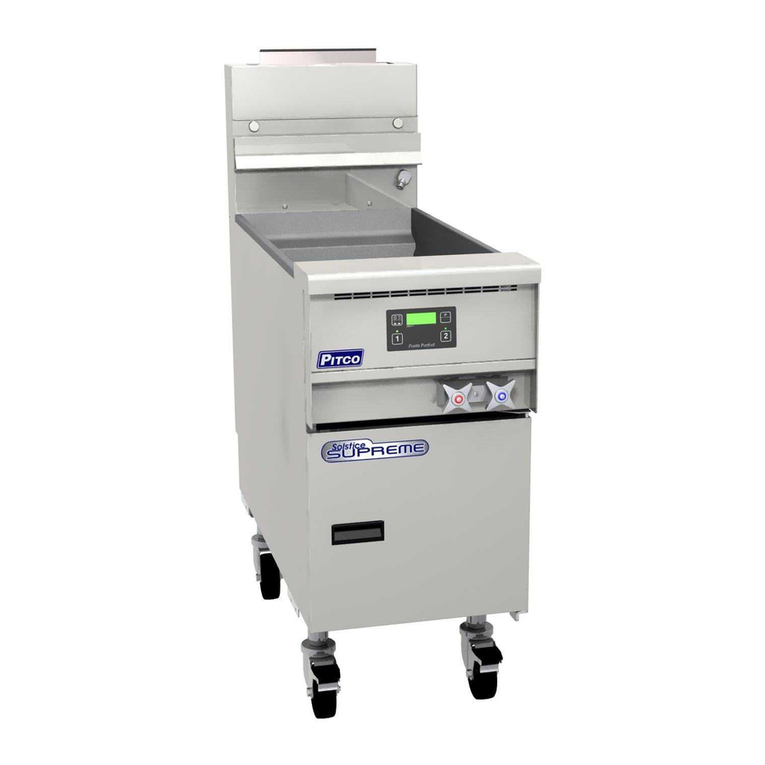
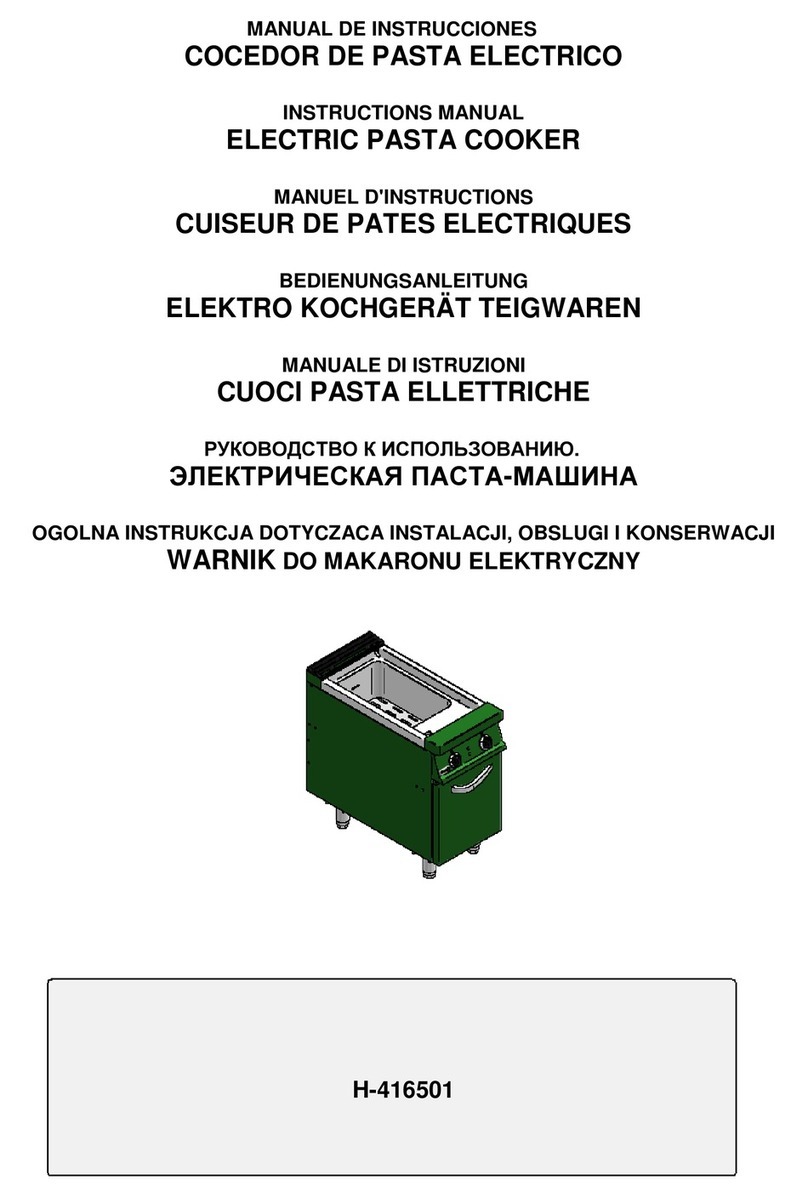
Pitco and RSE14 Guide

Pitco Frialator, Inc., P.O. Box 501, Jct I-89 & I-93 Concord, NH 03302-0501 • 509 Route 3A, Bow, NH 03304
(800) 258-3708 • (603) 225-6684 • FAX (603) 225-8497
Installation, Operation, and Maintenance Manual
For the
Electric Pasta Cookers Including Options
Covering Models
PPE14-L, PE14, and RSE14

MTS # PF35-02 Pitco Frialator #L20-093 Original Rev. Date 08/01/94

NOTICES
There are three different types of notices that you should be familiar with, a NOTICE, CAUTION,
andWARNING. ANOTICEisaspecialnoteusedtocallattentiontoaparticularlyimportantpoint.
CAUTION is used to point out a procedure or operation which may cause equipment damage. The
WARNINGnoticeisthemostimportantofthethree becauseitwarnsofanoperationthat maycause
personal injury. Please familiarize yourself with your new cooker before operating it and heed the
notices throughout this manual. The WARNINGS are listed below and on the following pages for
your review prior to operating the cooker.
FOR YOUR SAFETY
DO NOT store or use gasoline or other flammable
vapors or liquids in the vicinity of this or any other
appliance.
WARNING: Improperinstallation,adjustment,alter-
ation,service,ormaintenanceofyourcookercancause
property damage, injury, or death. Read the installa-
tion, operating, and maintenance instructions thor-
oughly before installing, operating, or servicing this
equipment.
THIS MANUAL MUST BE RETAINED FOR FUTURE REFERENCE

SAFETY SAFETY SAFETY SAFETY SAFETY
WARNING
The cooker must be electrically grounded in accordance with local
codes. If local codes do not apply, follow the requirements of
National Code ANSI/NFPA 70-1990.
WARNING
This cooker is equipped with a three prong safety plug. This safety plug
protectsoperatorsfromelectricalshockintheeventofanequipmentmalfunc-
tion. DO NOT remove the grounding (third) prong from this plug.
WARNING
Be sure the heating elements are COMPLETELY covered with water before
turning the cooker on.
WARNING
The cooker must be disconnected from the facility power supply before
servicing or cleaning the cooker.
WARNING
DANGER - HIGH VOLTAGE PRESENT
NEVER remove fuses from the cooker until the cooker is disconnected
from the facility power supply.

Safety Notice
Table of Contents ............................................................................................................................ i
List of Tables .................................................................................................................................iii
List of Figures................................................................................................................................iii
Chapter 1: General Information and Installation .................................................................1-1
1.1 INSPECTING YOUR NEW COOKER ............................................................................1-1
1.2 ASSEMBLY AND LEVELING........................................................................................1-2
1.2.1 Leg Installation and Adjustment...................................................................................1-2
1.2.2 Basket Lift Access ........................................................................................................1-2
1.3 INSTALLATION ..............................................................................................................1-3
1.3.1 Installation Clearances.................................................................................................. 1-3
1.3.2 Plumbing Connections..................................................................................................1-3
1.3.2.1 Water Inlet Connections .........................................................................................1-3
1.3.2.2 Drainage Connections.............................................................................................1-3
1.3.3 Electrical Connection ...................................................................................................1-4
1.3.4 Ventilation and Fire Safety Systems ............................................................................ 1-5
1.3.4.1 Fire Fighting System ..............................................................................................1-5
1.3.4.2 Ventilation ..............................................................................................................1-5
1.3.5 Inspection......................................................................................................................1-6
1.4 INITIAL ADJUSTMENTS ............................................................................................... 1-6
1.4.1 Visual Checks ...............................................................................................................1-7
1.4.2 Filling the Pasta Cooker ...............................................................................................1-7
1.4.3 Initial Cleaning .............................................................................................................1-7
1.5 HIGH LIMIT SWITCH .....................................................................................................1-8
Chapter 2: Operating Instructions .........................................................................................2-1
2.1 FILLING THE COOKER.................................................................................................. 2-1
2.2 COOKER START-UP.......................................................................................................2-1
2.3 COOKING .........................................................................................................................2-1
2.4 COOKER SHUTDOWN ...................................................................................................2-2
2.5 ELECTRIC POWER FAILURE ....................................................................................... 2-2
2.6 DAILY CLEANING..........................................................................................................2-2
2.7 WEEKLY CLEANING ..................................................................................................... 2-3
Chapter 3: Maintenance, Adjustments, and Service.............................................................3-1
Table of Contents
Section Title Page
i

Table of Contents
Section Title Page
3.1 THERMOSTAT CALIBRATION .................................................................................... 3-1
3.2 CHECKING AND REPLACING FUSES.........................................................................3-1
3.3 MAINTENANCE ..............................................................................................................3-2
3.3.1 Basket Lift Lubrication................................................................................................. 3-2
3.4 OPERATOR TROUBLESHOOTING ..............................................................................3-3
ii

iii
List of Tables
Table Title Page
1-1 Electrical Requirements For Pasta Perfect Cooker Models...............................................1-5
1-2 Ventilation and Fire Safety References ............................................................................. 1-6


1-1
Chapter 1: General Information and Installation
Congratulations on the purchase of your new Pitco Frialator Pasta cooker. This cooker will provide
manyyears of reliableservice iftheoperation and maintenanceprocedurespresented in thismanual
are followed. The Pitco Frialator Pasta cooker is a state of the art pasta cooking appliance. The
cooking tank holds approximately 7 gallons (26.5 liters) of water, which can be refilled through the
manuallyoperatedfillsystemoption. Thecookerhastwoheatingmodes:BOILandSIMMER. Each
heating mode is selected by a switch located on the front panel. In the SIMMER mode, the
temperature of the water is monitored and maintained at approximately 205°F by an internal
thermostat. The Pasta cooker is very easy to use allowing the operator to cook and not worry about
thecooker. However,itisimportant that the operator referto this manualfor installation, operation,
and maintenance of the cooker, and that the operator be familiar with the safety notices located
throughout this manual.
The Pasta Perfect cooker consists of a cooking/warming section and a rinsing/holding section. The
cooking/warmingsectionconsistsofastainlesssteelwell,anautomaticbasketlift,anelectronictime
control, a switch to select either the cook mode or the warm mode, and a drain and overflow. The
rinsing/holdingsectionconsistsofastainlesssteelwell,aswing-awayhotandcoldwaterfaucet,and
a drain and overflow.
1.1 INSPECTING YOUR NEW COOKER
Every effort has been made to ensure that the Pasta cooker is delivered in perfect condition. Inspect
the cooker for damage as it is unpacked. If something is damaged, DO NOT sign the bill of lading.
Contact the shipper immediately. The shipper is only responsible for damage or loss up to 15 days
after delivery. Check the packing list enclosed with the cooker to ensure that all parts to the cooker
have been received. If parts are missing, contact the dealer from whom the cooker was purchased.
As the cooker and its accessories are unpacked, be careful to keep the weight of the cooker evenly
distributed. Enclosed in the shipping crate is a brush to be used in cleaning the cooker.
CAUTION
To prevent equipment damage, don't tilt the cooker
onto any two of it's legs or casters and do not pull the
cooker by the flue vent.
LocatethePitcoFrialatorwarrantysheetandputitinasafeplaceforfuturereference. DONOTreturn
the card to Pitco Frialator. It is also very important to keep this manual for information should help
be needed. The cooker has been assembled at the factory and is ready to be installed. If the legs or
casters were not installed or if they were purchased separately, refer to section 1.2 for leg and caster
assembly procedures.
XX
Element Junction Box

1-2
1.2 ASSEMBLY AND LEVELING
1.2.1 Leg/Caster Installation and Adjustment
Installingthe legsandlevelingthecooker isdoneusinga1/2"wrenchandalargepairof waterpump
pliers. The legs must be installed before connecting the cooker to the electric supply. The legs
provide the necessary height to meet sanitation requirements. Attach the legs to the cooker by
performing the following procedures:
a. Place a blanket, piece of cardboard, or some other material on the
floor behind the cooker.
b. Place the cooker on its back. DO NOT pull on the element junction
box. You can damage the elements by pulling on it.
c. Attacheachleg/castertothecookerwithfour1/4-20x5/8"hexhead
cap screws and lock washer/nut assemblies. These parts are sup-
plied with the cooker.
d. Mountthescrewsfromtheinsideofthecookerwiththelockwasher
and nut on the outside of the cooker as shown in the adjoining
illustration.
e. When all four legs/casters are secured, place the cooker in the
upright position. Be careful not to put too much weight on
individual legs/casters when standing the cooker upright.
f. On fryers with casters, move the fryer to the desired location and
lockthewheelsusingthelockingdevicesonthesidesofthecasters.
g. Adjust the height and level the cooker by adjusting the leveling
devices on the legs with water pump pliers.
1.2.2 Basket Lift Access
The basket lift mechanisms are installed at the factory and do not need adjustment. If it is necessary
togainaccess to the basketliftmotorsorlinkage, the rearpanel ofthe cookermust beremoved. The
motors do not require lubrication.

1-3
1.3 INSTALLATION
Althoughthecookeriseasytoinstallandsetup,itisSTRONGLYrecommendedthatthisinstallation
bedone by qualified professionals. The professionalsthatinstallthenewcookerwillknowthelocal
building codes and ensure that the installation is safe.
NOTICE
Proper connection to electric, water, and drainage services is essential for safe,
efficient, and trouble free operation of the Pasta Perfect cooker.
1.3.1 Installation Clearances
The cooker needs clearance around it for proper operation. Adequate clearances allow for proper
burner operation and servicing. The clearances shown below are for cooker installation in both
combustible and noncombustible enclosures.
Combustible Non-Combustible
Construction Construction
Back 6" 0"
Sides 6" 0"
Floor 6" 6"
1.3.2 Plumbing Connections
The plumbing installation must be done by a licensed plumber and must comply with local and
national codes.
1.3.2.1 WaterInlet Connections(PastaPerfectunits)- Therinsing/holdingunitisequippedwith
afaucettypefillsystem. Makewaterconnectionstothefaucetsthroughthe rear access panel of rear
tank riser.
NOTICE
Ifcoldwateronlyisusedtofillthe cooker, it will require atleast twenty (60) minutes
to bring the water up to cooking temperature.
1.3.2.2 Drainage Connections - Both the cooking/warming section and the rinsing/holding
sectionareequippedwithdrainageconnections. Themaindrainageconnectionislocatedatthefront
bottom point of the cooker and is equipped with a 1-1/4" stainless steel valve. The overflow drain
islocatedunderneaththefrontdeck ofthecooker. Theoverflowhoseisconnectedatthefactoryand
is ready for installation.

1-4
1.3.3 Electrical Connection
WARNING
The cooker must be electrically grounded in accordance with local codes. If
local codes do not apply, follow the requirements of National Code ANSI/
NFPA 70-1990.
The electrical service used by the cooker must comply with local codes. If there are no local codes
thatapply,refertotheNationalElectricalCode(NEC)toinstalltheservice. InCanada,refertoCSA
Standard C22.1, Canadian Electrical Code, Parts 1 and 2, and/or local codes. The power require-
ments for the cooker are shown on the next page.
Thecookerisshippedwithinternalwiringconfiguredtosupportthevoltageandphaserequirements
ordered. The wiring configuration can be verified by comparing the schematic supplied with the
cooker to the wiring arrangement in the cooker. Table 1-1 provides a list of cooker models and
voltagesavailableandincludestheheatingelementpartnumberforthespecifiedvoltage. Checkthe
cooker data plate to ensure the cooker to be installed matches the power to be supplied to it.
CAUTION
Connecting the cooker to the wrong facility power supply may damage the
cooker and void the warranty.
Keep the POWER switch OFF until the cooker is ready for use.
It is essential that the cooker be provided with a 2 wire, neutral and ground.

1-5
1.3.4 Ventilation and Fire Fighting System
1.3.4.1 FireFightingSystem-Itisveryimportanttoinstallanadequatefirefightingsystem. The
sensing device that activates the fire fighting system should be located according to manufactures
recommendations to reduce false alarms.
1.3.4.2 Ventilation - The Pasta cooker must have proper ventilation to function safely and
properly. The ventilation system should be designed to allow for easy cleaning. Frequent cleaning
of the ventilation system and the cooker will reduce the chances of fire. Table 1-2 provides a list of
reference documents that provide guidance on ventilation and fire safety systems. This table may
not be complete and other nationally recognized standards may apply.
Table 1-1. Electrical Requirements For Pasta Perfect Cooker Models
Model Voltage and
Number Phase Arrangement Line Current
PE14 with 220 VAC 23.0 Amps
Basket Lift Single Phase (2 wires and a ground)
PE14 with 240 VAC 25.0 Amps
Basket Lift Single Phase (2 wires and a ground)
PE14 without 200 VAC 27.8 Amps
Basket Lift Single Phase (2 wires and a ground)
PE14 without 208 VAC 28.9 Amps
Basket Lift Single Phase (2 wires and a ground)
PE14 without 220 VAC 23.0 Amps
Basket Lift Single Phase (2 wires and a ground)
PE14 without 240 VAC 25.0 Amps
Basket Lift Single Phase (2 wires and a ground)

1-6
1.3.5 Inspection
When the installation of the cooker is completed, it must be inspected by the local authorities.
1.4 INITIAL ADJUSTMENTS
After the cooker has been installed, it needs to be adjusted to ensure that it will perform as designed.
These adjustments must be performed by a qualified person. The following tools will be needed to
perform these adjustments:
• Digital Thermometer (Temperature probe)
Table 1-2. Ventilation and Fire Safety References
Topic Underwriter Laboratory Document
Grease Extractor ANSI/UL 710-1981
Ventilation Hood ANSI/UL 705-1984
Filter Unit ANSI/UL 586-1985 and ANSI/UL 900-1987
Types of Fire Extinguishers and Detection Equipment
CO2ANSI/UL 154-1983
Dry Chemical ANSI/UL 299-1984
Water ANSI/UL 626-1984
Sprinklers ANSI/UL 199-1982
Smoke Detectors ANSI/UL 268-1981
Fire Detection
Thermostats ANSI/UL 521-1987

1-7
1.4.1 Visual Checks
Before filling and adjusting the cooker, perform the following visual checks:
a. After the cooker is in its permanent location, lock the casters (if used), and ensure the
cooker is level. Any additional leveling that is necessary can be performed as described
in section 1.2.
b. Check the hi-limit bulb, located in the cooker tank, to ensure that the mounting screws
are tight. Look down inside the cooker tank toward the rear to see the probe.
1.4.2 Filling the Pasta Cooker
The Pasta Perfect cooker is equipped with a faucet fill water system. To fill the cooker with water,
swingthe faucet overthetank to befilledand openthefaucet. Allow the tanktofill until thedesired
levelisreached. Duringnormaloperationthewaterwillboilaway. Replacewaterasneededtokeep
water at the full level. Individual cookers must be manually filled.
NOTICE
Ifcold water isusedto fillthe cooker,it will takeatleast twenty (60)minutes
for the cooker to reach operating temperature.
1.4.3 Initial Cleaning WARNING
The tank must be filled to the minimum fill line before the cooker is
turned on.
WARNING
The power supply must be disconnected before servicing or cleaning the
appliance.
Whenthecookerisshipped,manyofitspartsarecoveredwithathincoatofshorteningforprotection.
Beforethecookerisreadyforuse,itmustbecleanedtoremovetheoilcoatingandanyforeignmatter
that may have accumulated during storage and shipment. Perform the cleaning as described below.
NOTICE
Thisisthefirsttimethecookerwillbeturnedonsinceleavingthefactory. Be
watchful for any signs of trouble or unusual activity. When a new piece of
equipment is energized, unusual odors may be apparent as new components
heat up. This is normal. If odors persist or if excessive smoke is seen, turn
the power to the cooker OFF at the facility service panel. Have a qualified
technician inspect the cooker for the cause.

1-8
a. Ensure that the drain valve is closed.
b. Fill the tank with water and add fryer cleaner supplied (if fryer cleaner is not available,
mild detergent may be used).
c. Turn the cooker on and allow it to reach normal operating temperature. Allow the unit
to soak at normal operating temperature (SIMMER) for fifteen (15) minutes to remove
the coating. Use a soft brush to remove stubborn stains.
d. When the cleaning is complete, turn the cooker off.
e. Drain the water.
f. Whenthetankhascooled,rinseitthoroughlywithcoolwater. Continuetorinsethetank
until all detergent has been rinsed from the tank.
g. Now that the tank is clean, the cooker can be filled and operated.
1.5 HIGH TEMPERATURE LIMIT SWITCH
ElectricPastacookers are equippedwithHighTemperature Limit switches. TheHigh Temperature
Limitswitchwillshutthecookerdownifthetemperaturereaches425°F. Thisistoprotectthecooker
in the event the water is drained from the tank while the unit is on. After the cooker is cooled down,
press the red reset switch, located inside the cooker, to reset the High Temperature Limit switch.

2-1
Chapter 2: Operating Instructions
This chapter describes how to operate your Pasta cooker to obtain the best performance. Read the
safety notices located in the front of this manual before operating the cooker. It is also important to
readthis manual to familiarizeyourselfwiththecookerbeforeyoubegincooking. Ensure that it has
been cleaned properly before using it to prepare food.
2.1 FILLING THE COOKER
The water level of the cooker is maintained manually by either opening the water fill faucet on the
rinse/warmingriser. Itisimportanttokeepthecookerfullofwatertominimizethechanceofboiling
the unit dry and to keep the water at optimum cooking levels. To keep the water temperature at its
normaloperatingtemperature and prevent rapidtemperature changes,it isbest toadd waterin small
amounts.
2.2 COOKER START-UP
a. Ensure the drain valve is closed.
b. Fill the cooking tank with clean water.
c. Place the POWER switch in the ON position. The POWER switch ON light will light
and the FUNCTION SELECT switch will light up.
d. Place the FUNCTION SELECT switch in the
BOILposition. The BOILlight willlight. The
heatingelementwillstayoncontinuouslybring-
ingthewatertoa boil. When the waterstarts to
boil, the cooker is ready to cook the pasta. As
long as the FUNCTION SELECT switch is in
the BOIL position, the heating element will
remain on.
e. If you are not ready to cook, place the FUNCTION SWITCH in the SIMMER position.
Thiswillcausethe heating element to shut off and the internal thermostat tomaintainthe
water temperature at around 205°F.
2.3 COOKING NOTICE
When cooking, the water level in the cooker must be kept full. For best
performance add water between each product being cooked. It is best not to
add water while a product is being cooked because this will lower the water
temperature.

2-2
a. Placethepastabasketontothebasketlift(ifthemachineissoequipped). Whenoperating
a machine without a basket lift, place the pasta in the basket and then place in the water.
b. Place the bulk pasta product to be cooked in the basket.
c. Set the MINUTES knob and the SECONDS knob, located on the front panel, to the
desired cooking time for the pasta being prepared (basket lift units only).
d. PresstheTIMECYCLEbuttononthefrontpaneltoSTART. TheTIMECYCLEbutton
will light up, remain lit, and the basket will lower into the tank (basket lift units only).
e. Stir the product as necessary to prevent sticking.
f. At the end of the preset cooking time, the basket lift will raise the basket out of the tank
andtheTIMECYCLEbuttonlightwillgoout. Fornon-basketliftmachines,liftthepasta
out of the water.
g. Hang the basket on the rinse section rack and rinse the pasta thoroughly with cold water.
This will stop the cooking action, prevent sticking, and remove dissolved starch.
h. The product is now ready to be served according to established procedures.
i. Toreheatthepasta,placetheFUNCTIONSELECTswitchintheSIMMERposition. The
SIMMERlightwillcomeon. Putthepastainthebasketandfollowthecookingprocedure
starting with step c.
2.4 COOKER SHUTDOWN
Press the POWER switch OFF.
2.5 ELECTRIC POWER FAILURE
Ifelectric power isremovedfor any reason,thecooker will shutdown. Torestart the cooker,follow
the cooker start up procedures in 2.2.
2.6 DAILY CLEANING
WARNING
The power supply must be disconnected before servicing or cleaning the
cooker.
Proper cleaning of the heating element and the tank is necessary to ensure proper performance from
your Pasta cooker as well as the continued high quality of your pasta dishes. All surfaces should be

2-3
scrubbeddaily tomaintainpeakperformanceandappearance. Usewarmwaterwithamilddetergent
to clean surfaces. Wipe down the cooker using a clean soft cloth to clean up excess water.
It is especially important to keep the heating element free from starch deposits. A build up of starch
on the heating element will shorten the life span of the element.
2.7 WEEKLY CLEANING
The continuous filling and evaporation of water from the cooker will cause deposits to build up
aroundthetank. Atleastonceaweektheunitshouldbethoroughlycleanedtoremovethesedeposits
and generally clean the unit. Perform the cleaning as described below:
a. Ensure the POWER switch is OFF.
b. Ensure the drain valve is closed.
c. Fill the cooking tank with water and add 8 oz. of Pitco cleaner (if Pitco cleaner is not
available mild detergent may be used).
d. Turn the POWER switch ON.
e. TurntheFUNCTIONSELECTswitchtoSIMMERandallowthecookertoreachnormal
operating temperature.
f. Allow the cooker to soak for approximately twenty (20) minutes to remove deposits.
g. Use the cleaning brush to remove any hardened deposits from the tank surfaces. Mild
abrasives or scouring pads can be used to clean stains, if necessary. DO NOT use steel
wool pads.
h. When the cleaning is complete, turn the POWER switch OFF.
i. Drain the water from the tank.
j. Whenthetankhascooled,rinseitthoroughlywithcoolwater. Continuetorinsethetank
until all detergent has been rinsed away.
k. Clean the holding tank with warm water and a mild detergent.
l. Rinse the tank with cold water until all detergent has been rinsed away.
m. Cleanthe exterior surfacesofthe cooker withwarm wateranda mild detergentandwipe
dry.
n. The cooker is now ready to be used again.

2-4
This manual suits for next models
3
Table of contents
Other Pitco Pasta Maker manuals
Popular Pasta Maker manuals by other brands

Philips
Philips HR2332/11 user manual

IMPERIA & MONFERRINA S.p.A.
IMPERIA & MONFERRINA S.p.A. P6 User and maintenance manual

Marcato
Marcato Ampia Wellness Instructions for use and maintenance

Electrolux
Electrolux 200374 Specification sheet

ohmex
ohmex PAS 2200 instruction manual

TREVIDEA
TREVIDEA Girmi IM90 user manual

Beper
Beper MD.500 use instructions

Klarstein
Klarstein SIENA ARGENTEA manual

Electrolux
Electrolux WKGROAOOOO Specification sheet

Philips
Philips HR2345/19 user manual

Axis
Axis AX-GPC-1 Installation, operating and maintenance instructions

Keating Of Chicago
Keating Of Chicago Gas Custom Pasta System Service manual