3. Computer: Instruct your fax software to receive.
Note: If necessary, consult your fax software’s instructions.
4. Fax machine:
3400: Press /PROGRAM, R, 1, ENTER.
Your fax software will now “receive” the fax (including the TTI, if
you’ve set one) onto your computer. To cancel the scanning operation
while it’s in progress, just press STOP. (To cancel the command after
scanning the document, consult your software’s operating instruc-
tions.)
Printing from your computer to your fax
With the RS-232C interface installed, you can now print documents
from your computer to your fax.
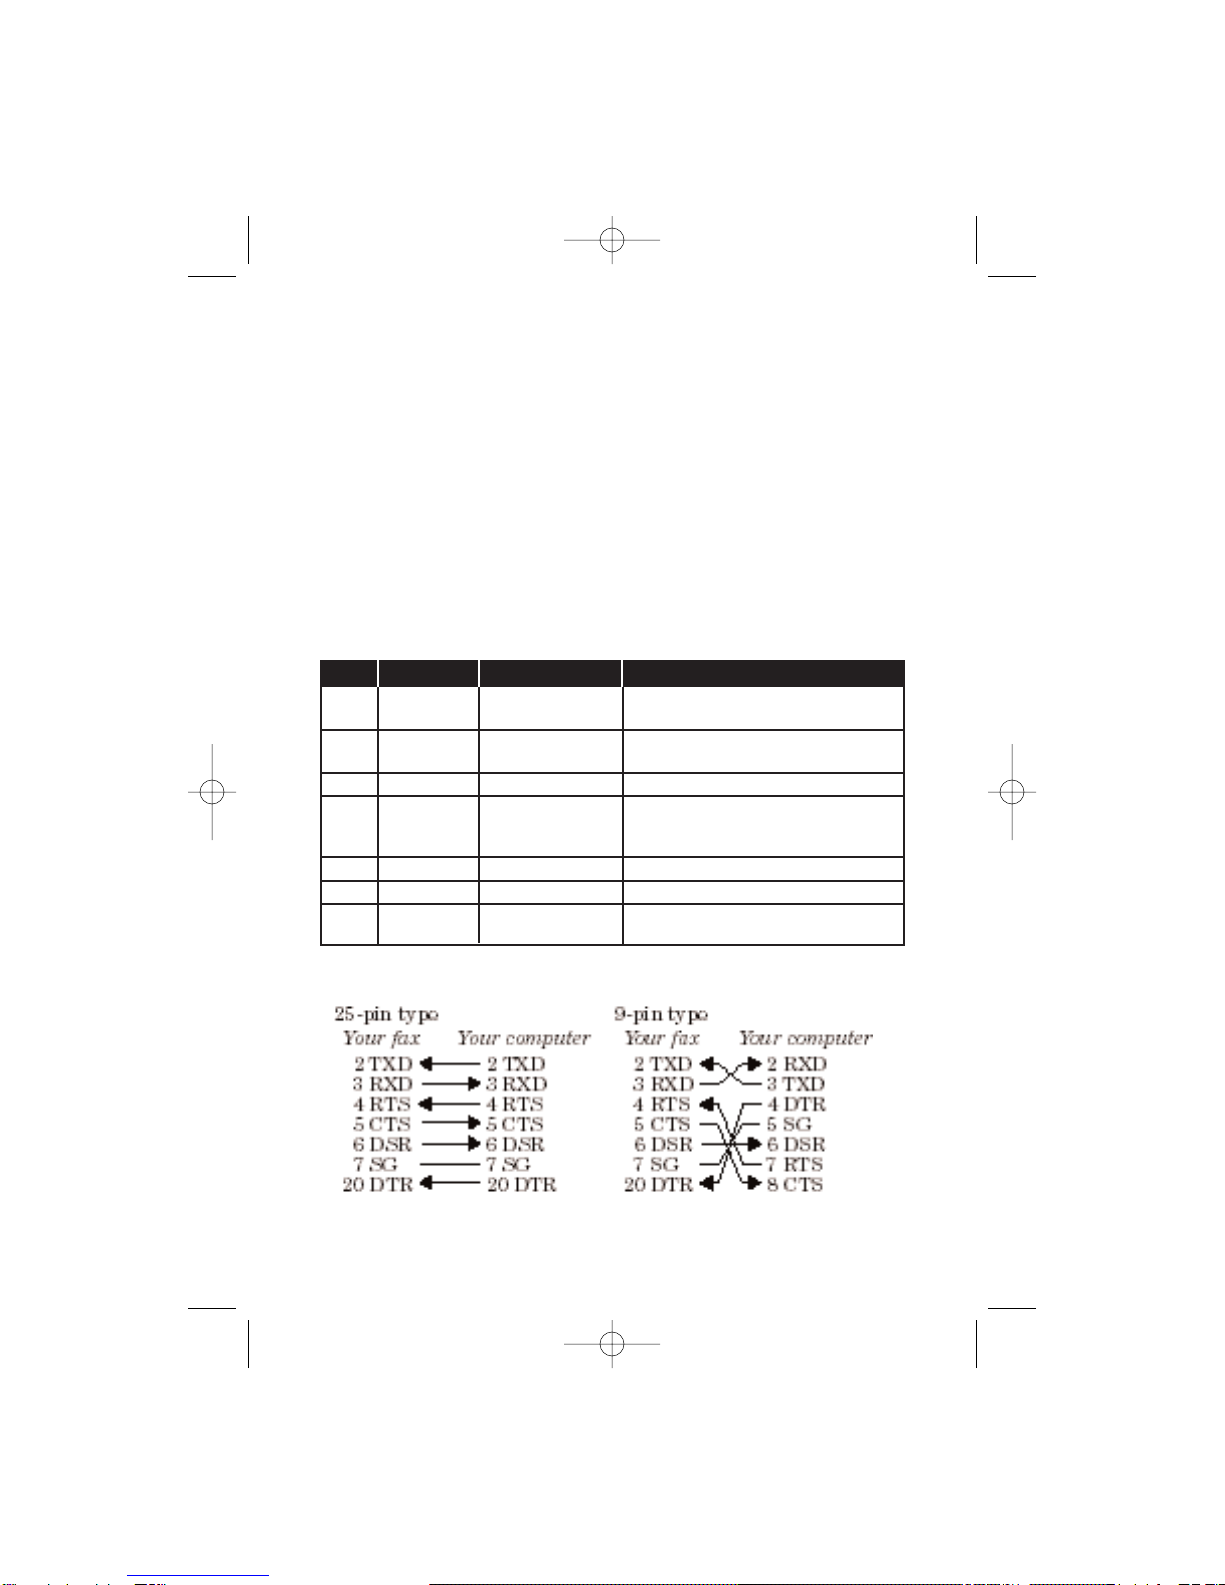
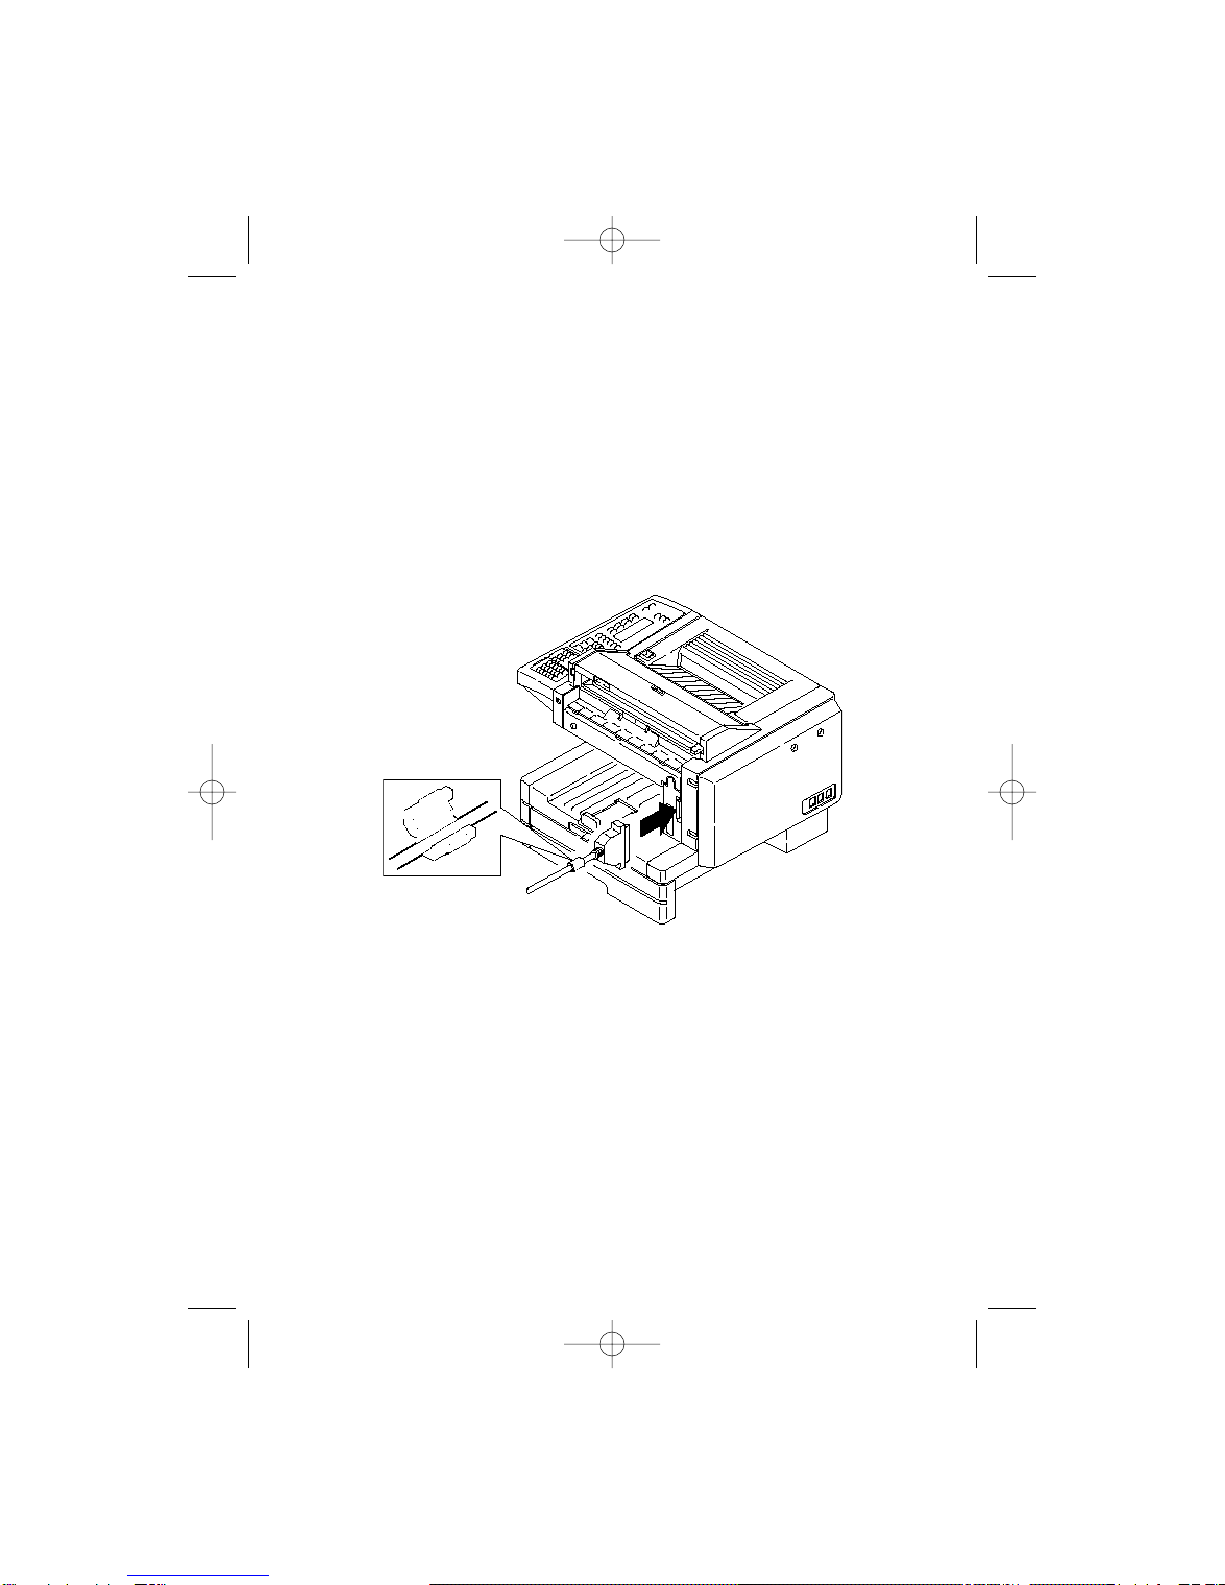
1. Make sure your fax is connected to your computer (see page 3).
2. Computer: Use your application — for example, a word-process-
ing program — to send the document to your fax software, just
as if you were actually going to fax the document.
3. Fax machine: Make sure that you have stored your subscriber
ID (your fax number) on your machine.
Note: Please consult your fax machine’s operating instructions
for more on how to enter the subscriber ID.
4. Computer: When the fax software asks for a fax number to
which to send the document, enter your subscriber ID.
5. Computer: Instruct your fax software to transmit. The fax
machine will begin to print.
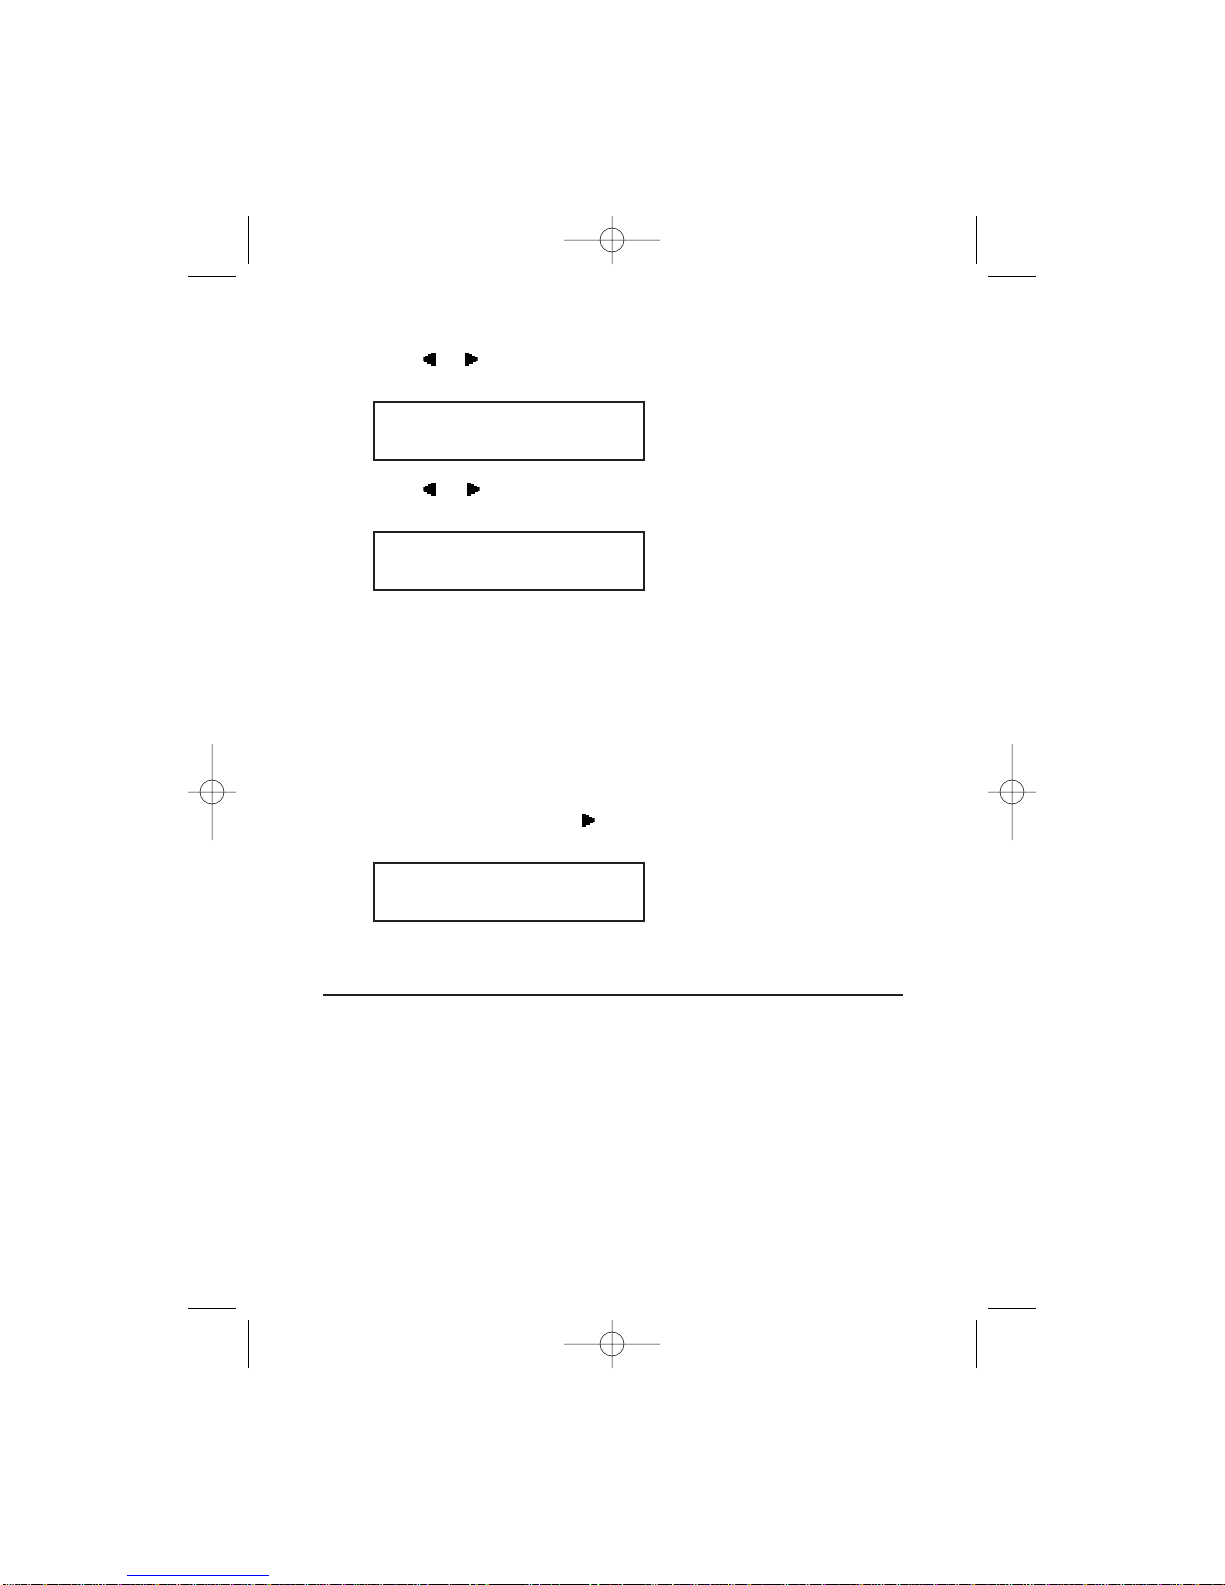
PC-FAX Scan
A4 Memory 99%
8