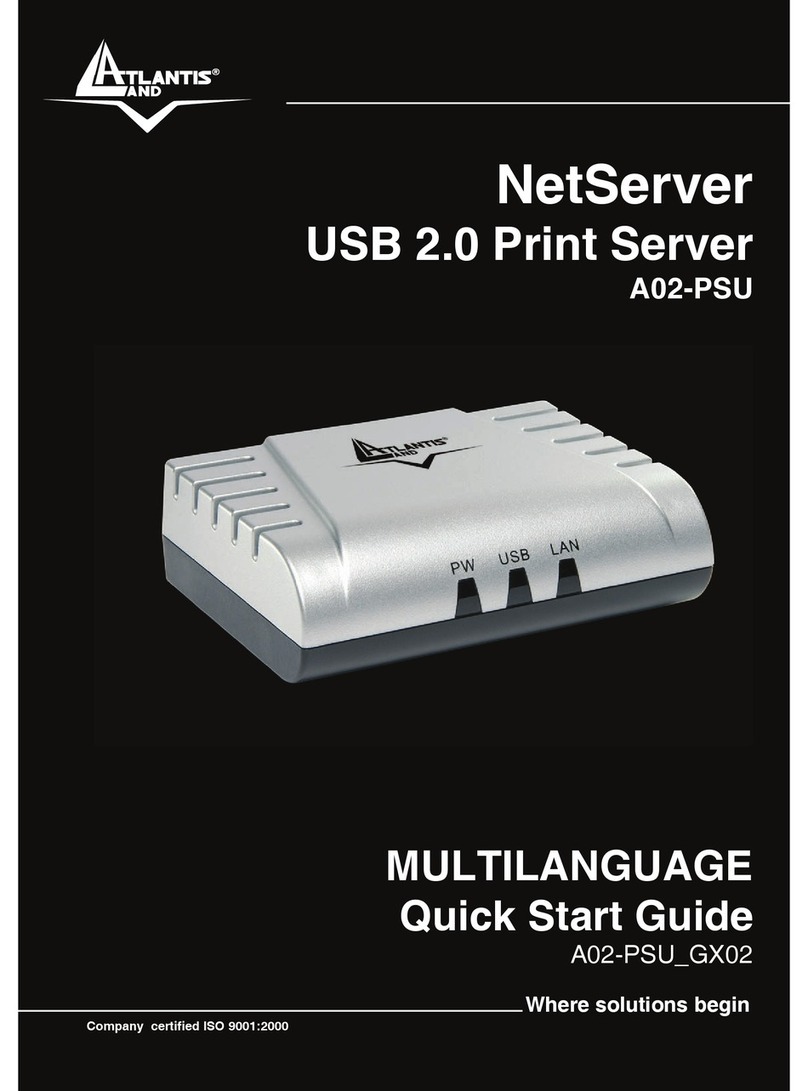
Planet FPS-1011 User manual

USB 2.0 GDI Print Server
FPS-1011
User’s Manual
Version: 2.0
(March, 2010)

Trademarks
Copyright ©PLANET Technology Corp. 2010.
Contents subject to which revision without prior notice.
PLANET is a registered trademark of PLANET Technology Corp. All other
trademarks belong to their respective owners.
Disclaimer
PLANET Technology does not warrant that the hardware will work properly
in all environments and applications, and makes no warranty and
representation, either implied or expressed, with respect to the quality,
performance, merchantability, or fitness for a particular purpose.
PLANET has made every effort to ensure that this User's Manual is
accurate; PLANET disclaims liability for any inaccuracies or omissions that
may have occurred.
Information in this User's Manual is subject to change without notice and
does not represent a commitment on the part of PLANET. PLANET assumes
no responsibility for any inaccuracies that may be contained in this User's
Manual. PLANET makes no commitment to update or keep current the
information in this User's Manual, and reserves the right to make
improvements to this User's Manual and/or to the products described in
this User's Manual, at any time without notice.
If you find information in this manual that is incorrect, misleading, or
incomplete, we would appreciate your comments and suggestions.
FCC Warning
This equipment has been tested and found to comply with the limits for a
Class B digital device, pursuant to Part 15 of the FCC Rules. These limits
are designed to provide reasonable protection against harmful
interference when the equipment is operated in a commercial environment.
This equipment generates, uses, and can radiate radio frequency energy
and, if not installed and used in accordance with the Instruction manual,
may cause harmful interference to radio communications. Operation of
this equipment in a residential area is likely to cause harmful interference
in which case the user will be required to correct the interference at
whose own expense.
CE Mark Warning
This is a Class A product. In a domestic environment, this product may
cause radio interference, in which case the user may be required to take
adequate measures.
WEEE Warning
To avoid the potential effects on the environment and
human health as a result of the presence of hazardous
substances in electrical and electronic equipment, end users
of electrical and electronic equipment should understand
the meaning of the crossed-out wheeled bin symbol. Do not dispose of
WEEE as unsorted municipal waste and have to collect such WEEE
separately.
Revision
User’s Manual for PLANET USB 2.0 GDI Print Server
Model: FPS-1011
Rev: 2.0 (March. 2010)
Part No. EM-FPS1011v2.0.doc

Contents
1. Introduction ............................................................................ 6
1.1 Product Introduction ............................................................ 6
1.2 Product Package.................................................................. 6
1.3 Printer Server Outlook & LED Indicators ................................. 7
2. GDI Print Server with Print Server .......................................... 8
3. Getting Started........................................................................ 9
3.1 Hardware Installation Procedure ............................................ 9
3.2 Software Installation Procedure ............................................. 9
3.2.1 General Printer ............................................................15
3.2.2 GDI/Host-based Printer .................................................18
3.3 Print Server Utilities............................................................25
4. Setup Wizard ......................................................................... 26
5. Network Port Setup ............................................................... 27
5.1 Add Printer........................................................................27
6. Server Configuration ............................................................. 32
6.1 Introduction ......................................................................32
6.2 Search for All Available GDI Print Server................................33
6.3 Status of GDI Print Server ...................................................34
6.4 Setup the GDI Print Server ..................................................35
6.5 General Configuration .........................................................36
6.6 TCP/IP Configuration...........................................................36
6.7 System Configuration..........................................................37
7. Web Management.................................................................. 38
7.1 Introduction ......................................................................38
7.2 Login ................................................................................38
7.3 Device Setup .....................................................................38
7.3.1 System .......................................................................38
7.3.2 Printer ........................................................................39

7.3.3 TCP/IP ........................................................................40
7.4 Setup Wizard .....................................................................40
7.4.1 System .......................................................................40
7.4.2 TCP/IP ........................................................................41
7.4.3 Save Settings ..............................................................41
7.5 System Tools .....................................................................42
7.5.1 Load Default................................................................42
7.5.2 Upgrade Firmware from Browser ....................................42
8. LPR Printing .......................................................................... 43
9. RAW Printing ......................................................................... 49
10. IPP Printing........................................................................ 55
10.1 Introduction ......................................................................55
10.2 System Setup ....................................................................55
10.2.1 GDI Print Server Side....................................................55
10.2.2 Client Side ..................................................................55
11. GDI Print Server Installation in UNIX/Linux ...................... 59
11.1 GUI Mode..........................................................................59
11.2 Console Mode ....................................................................63
11.2.1 Enable GDI Print Server’s TCP/IP Support ........................63
11.2.2 Setup GDI Print Server’s IP Address................................63
11.2.3 Verify GDI Print Server’s IP Address ................................64
11.2.4 Configure Remote LPD Printing on the Host......................64
12. GDI Print Server Installation in MAC OS ............................. 66
12.1 MAC 10.4.x .......................................................................66
12.2 MAC 10.3.x .......................................................................66
Appendix A Troubleshooting .................................................... 70
Appendix B Specification.......................................................... 73
Appendix C Print Server Compatibility List ................................ 74

1. Introduction
1.1 Product Introduction
Thank you for purchasing and use our FPS-1011. The FPS-1011 allows your
printer or GDI/Host-based printer become a sharable device on the network.
GDI printer is a printer that has built-in support for Windows Graphical Device
Interface (GDI), so it is no need to convert the output from Windows to another
format such as PostScript or PCL language. GDI printers are sometimes called
host-based printers because they rely on the host computer to rasterize pages.
Because of that, almost none of Print Servers in the market can support GDI
printer network sharing. The FPS-1011 implements a special technology which
allows it to communicate with the GDI printer as if it is connected directly to
your computer. With the feature, the GDI printer is easy to become a shared
device and you don’t need to worry about the compatibility with the GDI
printers anymore.
The FPS-1011 supports GDI printer in the most popular operating systems:
Windows 98SE/Me/2000 SP4 above/XP SP1 above. Not only be a GDI Print
Server, it can also act as a traditional Print Server. This Print Server supports
TCP/IP network protocol and LPR, RAW and IPP printing protocols. It is
compatible with a large number of normal printers in the various common
network operating systems including Windows 2000, XP, 2003, Vista and
Windows 7, UNIX, Linux and MAC OS 9.x above.
The FPS-1011 is the best solution for users to share GDI printer or printer
conveniently and easily. It offers the most flexible and manageable printing for
GDI printer or normal printer on your Local Area Network at an extremely low
cost and with an absolute minimal setup and maintenance required.
1.2 Product Package
This package contains the following components:
z
1 x FPS-1011
z
1 x Power Adapter
z
1 x Driver and User Manual CD
z
1 x Quick Installation Guide
6

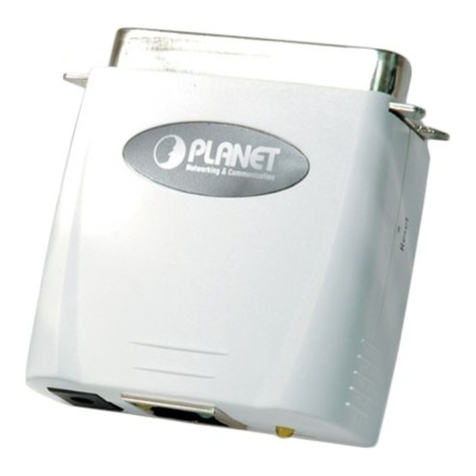
1.3 Printer Server Outlook & LED Indicators
LED Status Description
LAN On: Indicates LAN port is connected.
Off: Indicates LAN port is not connected.
ACT Blink: Indicates print server is transfer data to
printer.
READY Blink: Indicates the print server is during boot up.
Off: Indicates the print server boot up procedure is
complete.
7

2. GDI Print Server with Print Server
The FPS-1011 supports dual functionalities: GDI Print Server and Print Server at
the same time. Users can choose one of the modes to share general printer or
GDI printer through the GDI Print Server.
GDI Print Server Mode:
GDI printer is a printer that has built-in support for Windows Graphical Device
Interface (GDI), so it is no need to convert the output from Windows to another
format such as PostScript or PCL language. GDI printer relies on the
bi-directional communications between printer and computer frequently, so that
the majority of print servers cannot support it.
The FPS-1011 can communicate with the GDI printer as if it is connected
directly to your computer. The FPS-1011 supported OS in this mode is Windows
98SE/Me/2000 SP4 above/XP SP1 above. The GDI Print Server mode doesn’t
support Windows 98SE/ME/NT, Linux/UNIX or MAC OS.
Print Server Mode:
The FPS-1011 also supports LPR, IPP and RAW printing protocols, which enable
users to share print function from printer. The supported OS is Windows 2000,
XP, 2003, Vista and Windows 7, UNIX, Linux and MAC OS 9.x above.
8

3. Getting Started
Before you start, you should have:
One computer with Windows 98SE/Me/NT/2000/XP for normal printer
installation, if you are using GDI printer, please make sure your computer
with Windows 98SE/Me/2000 SP4 above/XP SP1 above
One GDI printer or general printer with USB port and an installation CD
One Category 5 Ethernet Cable
One USB Cable
3.1 Hardware Installation Procedure
1. Unpack the FPS-1011 package and verify that all the items listed in the
previous section are provided.
2. Plug the USB cable to the FPS-1011 with the GDI printer or general printer
that you want to share on the network.
3. Connect the FPS-1011 to your network by attached the network cable to the
network port of the FPS-1011.
4. Connect the power adapter to the FPS-1011. The FPS-1011 will perform the
Power-On-Self-Test (POST) after it is powered on. When the ACT LED is
unlighted, the FPS-1011 is ready.
"Note
1. You must use the power adapter shipped along with the
FPS-1011, do NOT use any other power adapter from other
sources.
2. To prevent the compatibility problem between FPS-1011
and a few GDI printer or printer, it is recommended that
you power on the FPS-1011 before the GDI printer or
general printer.
3.2 Software Installation Procedure
"Note You have to uninstall all the Print Server drivers and utilities if
you have installed the previous version.
1. Insert Drivers and User’s Manual CD into the CD-ROM drive to initiate the
autorun program. Once completed a menu screen will appear
2. . Click on “Administrator Installation” hyper link to initiate the installation. Or
you can click the “Start” button and choose “Run”. (Suppose “E” is your
CD-ROM drive). When the dialog box appears, enter “E:\Utility\Setup.exe”
and press enter key. You will see the dialog box as below. Please click “Next”
to continue.
3. The “Print Server Utilities - InstallShield Wizard” is displayed, click "Next".
9

4. Click “Next” to install the Print Server utilities in the default folder or click
“Change” to specify the destination folder where you would like to install the
Print Server utilities.
5. The system starts installing the Print Server Utilities.
10

6. The utilities are all installed. Please click “Finish” to go to next step.
7. The Setup Wizard will be executed, it will guide you to configure the print
server and install the printer with the print server to your computer. Please
click “Next”.
11

8. The program will search the Print Server within the network. Select the Print
Server you would like to setup and click “Next” to continue.
"Note
If this is the first time you configure the print server, the “Print
Server Name” will the same as the “Device Name” printed at
the bottom of the print server.
9. Please enter the “Password” of the Print Server you have selected to login
the Print Server for more settings. The default “User Name” is “admin”;
default “Password” is “admin”.
Following is the completed procedures for configuring the Print Server.
12

10. Set the “Alias Name” to the Print Server here. Click on “Next”.
11. Please set the network settings for the Print Server manually. By default, the
network settings are as follow.
IP Address: 192.168.0.1
Subnet Mask: 255.255.255.0
If you have selected “DHCP”, the Print Server will try to determine the
network settings automatically. If a DHCP Server is present within the
network, the Print Server will automatically obtain and configure the network
settings assigned by the DHCP Server. The assigned IP Address will be
shown in the IP Address fields. If no DHCP Server is present within the
network, please assign the network settings of the Print Server manually.
Please click “Next” once you have found appropriate network settings for the
Print Server.
"Note
The Print Server IP Address must be set to the same network
segment within your network environment or connected
computer. If the network IP address settings are incorrect,
then print server will not be able to communicate throughout
the network.
13

The message will be prompted to remind you after you click
“Next”. If you do not want to set it now, please click “Cancel”
to finish the installation. You can then use the “Server
Manager” utility to configure the Print Server IP address.
12. The configurations are finished. Please click “Save” to apply new settings and
restart the Print Server.
13. The “Install Printer Driver” page allows you to install the printer drivers and
bind your printer with the Print Server to your computer. Please click “Install
Printer” to start the installation.
14

3.2.1 General Printer
"Note
Please select your printer type. Please check with your dealer
about the printer type and base on the information to select
the correct one. If you are not sure the printer type, please
select “General Printer”. Click “Ok” to continue
Following is the installation procedures for “General Printer” installation.
1. Select the “General Printer” and click “OK”.
2. The “Install Printer” page is for you to search for the printer drivers. If you
want to manually designated the file path of the drivers, please put the
printer’s installation CD to your CD-ROM drive and click “Browse” to find the
drivers in the CD.
You can also install the drivers the same as your pre-installed printer (The
15

printers in the “Printers and Faxes” will be displayed in below table).
3. Please select the driver files and the printer model you wish to install and
then click “Install”.
4. After the drivers are installed completely. Your printer has been found with
the Print Server to your computer. Please click “Print Test Page” to confirm
that you can print through the network successfully.
16

5. If you have completed the print job successfully, please click “Yes”.
6. The installed printer will be added to the “Printers & Faxes” in the Windows.
If you want to print documents, please select this printer.
17

3.2.2 GDI/Host-based Printer
Following is the installation procedures for “GDI/Host-based Printer” installation.
1. Select the “GDI/Host-based Printer” and click “OK”.
2. The program will start installing the Print Server Drivers automatically. You
will see several pop-up screens and some prompt messages in the system
tray. When the system stops prompting, the drivers are all installed.
Please wait for a moment.
3. When the Print Server Drivers are all installed, the following screen is
displayed. Before you click “Connect”, please put your GDI printer’s
installation CD to your CD-ROM drive and read the manual of the GDI printer
carefully.
Some GDI printers require users to install the drivers/utilities before
connecting the GDI printer to your computer. Some GDI printers require
connecting the GDI printer to your computer during the installation. Please
refer to the below illustration which is the screen displayed during the
installation.
To connect the GDI printer to your computer through the Print Server just
like you have directly connected the GDI printer to your computer through
the USB cable, you can click “Connect”.
18

4. The system starts to connect the printer that connected on print server and
automatically search and install the GDI printer’s driver.
5. You will see some prompt messages in the system tray. If there is driver
needed you to manually install. In the “Found New Hardware Wizard”, please
select “No, not this time” and click “Next” to continue.
19

6. Select “Install the software automatically (Recommended)” and click “Next”.
7. Select the correct driver and click “Next”.
20
Table of contents
Other Planet Print Server manuals

Planet
Planet FPS-3300 User manual

Planet
Planet FPS-1012N User manual

Planet
Planet FPS-1100DG User manual

Planet
Planet FPS-1010M User manual

Planet
Planet FPS-3121G User manual

Planet
Planet FPS-1UA User manual

Planet
Planet PS-1010MG User manual

Planet
Planet Multi-Port Fast Ethernet Print Server... User manual

Planet
Planet FPS-1012N User manual

Planet
Planet FPS-3300 User manual
Popular Print Server manuals by other brands

TRENDnet
TRENDnet TEW-MP1U Quick installation guide

TP-Link
TP-Link TL-WPS510U Quick installation guide

Black Box
Black Box TX/CX 4000 manual

Brother
Brother Multi-protocol On-board Ethernet Multi-function Print... Network user's guide

Silex technology
Silex technology Mini Print Server PRICOM SX-300U user manual

HP
HP 2101nw user guide