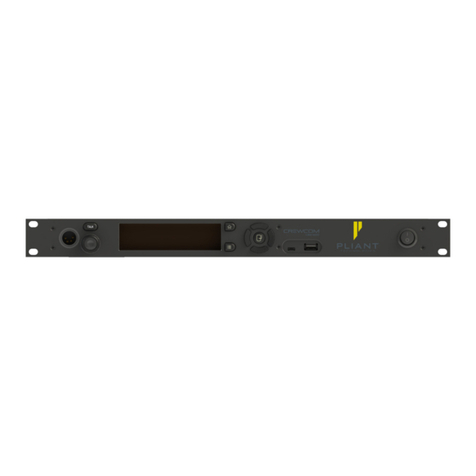
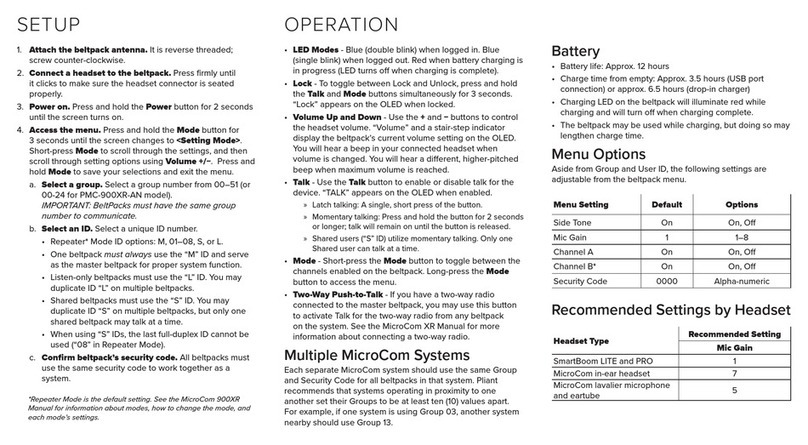
Pliant CrewCom CCU-44 User manual

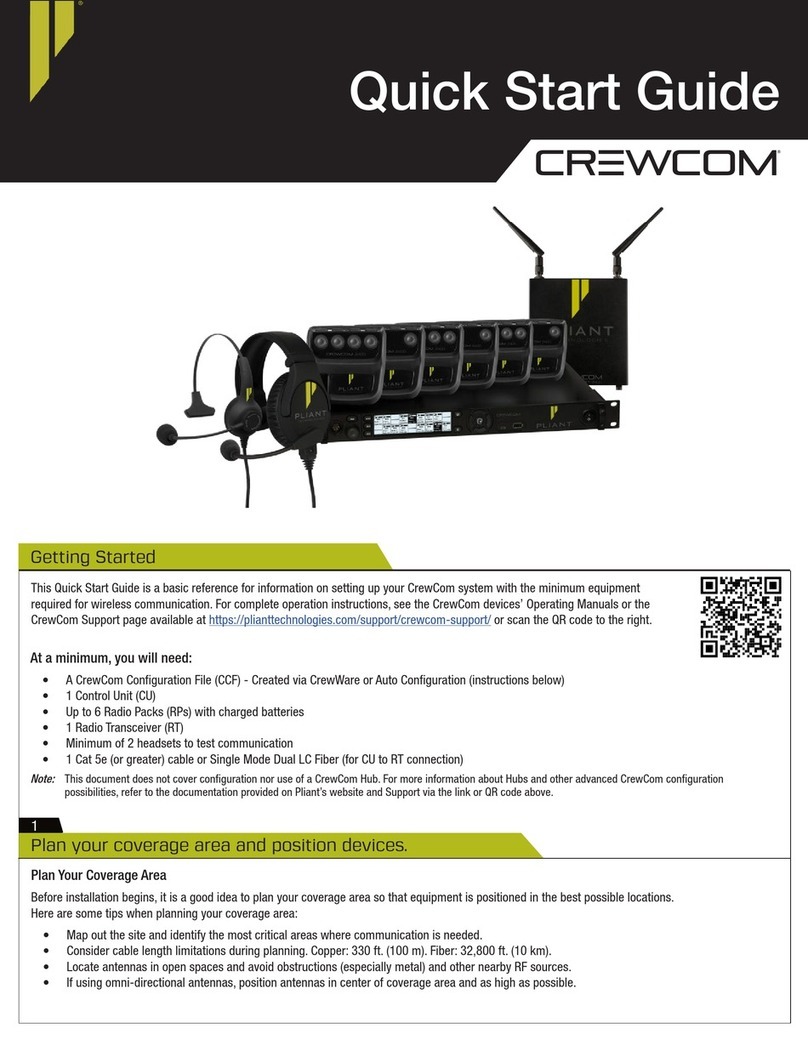
Quick Start Guide
This Quick Start Guide is a basic reference for information on setting up your CrewCom system with the minimum equipment required for wireless
communication. For complete operation instructions, see the CrewCom devices’ Operating Manuals or the CrewCom Online Help available at https://
plianttechnologies.com/document/Content/Home.htm.
At a minimum, you will need:
• A CrewCom Conguration File (CCF) - Created via
CrewWare
• 1 Control Unit (CU)
• Up to 6 Radio Packs (RPs) with charged batteries
• 1 Radio Transceiver (RT)
• Minimum of 2 headsets to test communication
• 1 Cat 5e (or greater) cable (for CU to RT connection)
Plan Your Coverage Area
Before installation begins, it is a good idea to plan your coverage area so that
equipment is positioned in the best possible locations. Here are some tips when
planning your coverage area:
• Map out the site and identify the most critical areas where communication is
needed.
• Consider cable length limitations during planning. Copper: 330 ft. (100 m).
Fiber: 32,800 ft. (10 km).
• Locate antennas in open spaces and avoid obstructions (especially metal).
• If using omni-directional antennas, position antennas in center of coverage
area and as high as possible.
Getting Started
1
Determine if you have a CCF.
Your CU may have been pre-congured with a CrewCom Conguration File (CCF) at the factory or other source—consult the documentation provided
with your system for your specic conguration details, then proceed to Step 2. (If you have no conguration documentation or printed system diagram,
contact the person who provided your CrewCom system for assistance or contact Pliant Customer Support.)
If your CU has not been pre-congured with a CCF (and if you do not have a saved CCF on a USB drive to load to your CU), you will need to install
CrewCom’s software application, CrewWare, to create one. Then, you’ll load the CCF in Step 4 of this guide. Refer to the documentation provided on
Pliant’s website and Online Help for assistance in creating and saving a CCF.

Quick Start Guide
2
CrewCom
CrewCom Quick Start Guide
A. Place the CU on a at, dry surface, or in a desired rack-mounted location (rack screws not included). Wherever it is placed, ensure that the air input
and output sections on the sides of the CU are not restricted.
B. Connect the CU to a compatible power source using provided AC power cord, but do not turn on
power yet.
C. Attach provided omni-directional antennas (2) to the RT and mount the RT in the center of desired
coverage area as high as possible and away from any obstructions (especially metal).
Note:
If using directional antennas (where legal), mount them on the edge of the coverage area and point antennas
across coverage area. Find more antenna positioning recommendations and detailed RT mounting procedures
on Pliant’s website and Online Help.
Note:
This document does not cover conguration nor use of a CrewCom Hub. For more information about Hubs and
other advanced CrewCom conguration possibilities, refer to the documentation provided on Pliant’s website
and Online Help.
Control Unit (CCU-44)
Radio Transceiver (CRT-2400)
2
Position Control Unit (CU) and Radio Transceiver (RT).
IMPORTANT:
Device port connections must match your CCF’s system diagram in order to operate.
A. Connect at least one RT to the CU via an available CrewNet™port.
B. If you have additional RTs, connect via an available CrewNet port on a CU (or Hub if applicable), or by daisy-chaining to an existing RT.
CrewNet Port Types
RJ-45 Ports - Use the supplied 15 ft. (4.6 m) Cat 5e cable, or your own Cat 5e (or greater) cable (up to 330 ft. (100 m) in length). Any CrewCom device connected to
CrewNet via a Cat 5e (or greater) cable will receive Power Over CrewNet (PoC) via the CrewNet port. In some situations, there may be too many connected devices or the
cable lengths may be too long for the PoC to adequately power all devices, and this will be indicated by the NET PWR LED lighting red. In this case, one or more additional
Pliant 48VDC power supplies must be used (PPS-48V-02 included with Hubs; sold separately with all other devices).
Fiber (Optical) Ports - For a ber CrewNet port, a Single Mode Fiber cable (duplex LC connector) will be required (up to 32,800 ft. (10,000 m) in length). Any CrewCom
device connected to CrewNet via ber port must receive power via a Pliant 48VDC power supply (PPS-48V-02 included with Hubs; sold separately with all other devices).
CrewNet
Connection
2nd CrewNet Connection
Connection Ports on
back of Control Unit
(CCU-44)
Additional RT via CrewNet daisy-chainConnection Ports on bottom of RT
3
Connect the RTs.

Quick Start Guide
3
CrewCom
CrewCom Quick Start Guide
A. Turn on the power switch on the front of the CU.
B. Wait for the conguration le (CCF) to load on the system. The CU will display a progress bar during the load process. A “CCF Loaded” message and
a conguration le summary will display when the load is complete. Once the message completes, the home screen will display on the front of the
CU.
i. In a multi-CU system, only the Master CU requires a CCF. If your Master CU does not have a CCF, you need to load one. You can load a CCF via
USB drive. Refer to Pliant’s additional support documentation for assistance in loading a CCF and removing CCFs from non-Master CUs.
C. Verify that your RTs and Hubs (if applicable) are receiving power by checking that their Power LEDs are green.
Note:
Once the system is powered on, you can tell that a conguration error has occurred with an RT if its TX LED is not lit. The conguration error may be present in
the RT or other device upstream. You may need to connect to CrewWare to identify the specic conguration errors needing resolution. In addition, if a device does
not have compatible rmware, you will need to update its rmware using CrewWare. Instructions for connecting to CrewWare, updating and loading the system
conguration le, and updating device rmware are provided on Pliant’s website and Online Help.
4
Power on the system.
5
Install Radio Packs’ (RPs’) batteries.
A. Hold the RP at about a 45-degree angle, pointing the bottom end down. Then, depress and
hold the RP’s belt clip down.
B. Lift open the battery door and remove it.
C. While still holding the RP at a 45-degree angle and depressing the belt clip, install a fully-
charged Pliant Lithium-Polymer rechargeable battery or three AA batteries.
D. Place battery door back on the RP, making sure to align and insert its tab at the top rst, and
then secure the door by pressing until it clicks. (Secure a magnetic door by pressing rmly
until the magnet engages.)
Note:
RPs are powered with one Lithium-Polymer rechargeable battery for over 9 hours of operation, or they
may be powered with three AA alkaline batteries for up to 5 hours of operation.
Power Button
Battery Door
Rechargeable Battery
Radio Pack
6
Pair the RPs.
A. Connect a USB-to-Micro-USB cable from the CU to the device (micro end goes into the RP’s USB port beneath its rubber port cover). The RP will
power on by itself.
B. The system will check that the RP rmware version is compatible. (If it is not, disconnect
the RP and update its rmware using CrewWare and connection to your PC. If it is, the pairing
process will automatically continue.)
C. When prompted, use the RP volume knobs and function button to select a Prole from the list
of options that display on the RP LCD. (Only Proles that are compatible with the connected RP model
will be displayed.)
D. Wait for the Prole to load. The RP will display a “Pairing Complete” message when nished.
E. Disconnect the RP; it will power off automatically after a few seconds.
F. Turn the RP back on and wait for it to log in to the system. When an RP is logged in, a signal indicator is visible on its Home
screen and on the CU’s RP indicator (CU Home screen). The RP is ready for use.
G. Repeat steps 6A–6F until every RP is paired.
Note:
RP Proles are created in CrewWare and are stored in the system’s CCF. Your system may have been pre-congured at the factory or other source. Consult the
documentation provided with your system for your specic conguration details.
Radio Pack
(CRP-44-2400)
USB-to-Micro-USB
205 Technology Parkway
Auburn, Alabama 36830 USA
Pliant Technologies, LLC
CrewCom®
www.plianttechnologies.com
Phone +1.334.321.1160
Toll-Free 1.844.475.4268 or 1.844.4PLIANT
Fax +1.334.321.1162
Notice About Specications: While Pliant makes every attempt to maintain the accuracy of the information contained in this document, this information is subject
to change without notice. Please check our website for the latest system specications and certications. Copyright ©2017 Pliant Technologies, LLC. All rights
reserved. The Pliant®, CrewCom®, and CrewNet™ word marks and the Pliant “P” logo are trademarks of Pliant Technologies, LLC. The SmartBoom®word mark is a
trademark of CoachComm LLC. All other trademarks are property of their respective owners. Document Reference: D0000220_C
A. Plug a headset into each RP.
B. Adjust the headset listening volume by turning each conference’s volume control knob.
C. Press the Talk button to talk to others on the selected conference; you can listen and talk on multiple conferences at a time.
D. Conrm the desired conference and talk status by observing the RP’s LCD.
Radio Pack (CRP-44)
Top View Radio Pack (CRP-22)
Top View
Connect and configure hardwire ports (optional).
7
Start communicating.
8
Always conrm that the non-Pliant intercom system and the CrewCom wireless system are functioning properly separately before connecting them
together.
A. Press the WIRED button on the front of the CU. The Intercom Settings menu will display. Congure the 2-Wire and 4-Wire settings here, including
Intercom Type, Mic Kill (2-Wire only), Call (2-Wire Only), Echo Cancellation (ECAN), and audio levels.
B. If you need to adjust the conferences assigned to 2-Wire and 4-Wire ports, you may do so from the CU’s
System Conguration
>
Conferences
>
Assign to Hardwire
menu option.
C. Connect the 2-Wire intercom system to the 2-WIRE ports on the rear of the CU via 3-pin XLR cables/connectors. Initiate auto-null for the appropriate
2-Wire ports via the
Wired Settings
>
Auto Null
CU menu option.
D. Connect the 4-Wire intercom system to the 4-WIRE ports on the rear of the CU via ethernet RJ-45 cables/connectors.
Note:
In addition to 2-Wire and 4-Wire, connections such as GPO Relays, Stage Announce, Auxiliary In, and Auxiliary Out can be made to the CU. For more information on
these features, please refer to the documentation provided on Pliant’s website and Online Help.
Note:
You may also congure these hardwire connections and settings via CrewWare. Instructions for connecting to CrewWare are provided on Pliant’s website and
Online Help.
2-Wire Ports 4-Wire Ports
Control Unit Back (CCU-44)
This manual suits for next models
5
Table of contents
Other Pliant Intercom System manuals

Pliant
Pliant MICROCOM 900M User manual

Pliant
Pliant Tempest2400 MasterBelt User manual

Pliant
Pliant MICROCOM 900M User manual

Pliant
Pliant MICROCOM 900XR User manual

Pliant
Pliant CREWCOM CB2-900 User manual

Pliant
Pliant MICROCOM 900XR User manual

Pliant
Pliant MICROCOM 2400XR User manual

Pliant
Pliant MICROCOM 2400XR User manual

Pliant
Pliant MICROCOM 900M User manual

Pliant
Pliant CREWCOM User manual