ALL PLASTIC ASSEMBLY KIT
INSTRUCTIONS FOR ASSEMBLING
Wood paneling
uses a dry
brush of gray
over a black
base coat.
Fireplace and
electric chair
have been
“weathered”
using a dark
brown wash.
Fluorescent
yellow and
fluorescent
orange paint
have been
used to add a
fiery effect to
the flames.
A dry brush
of white has
been used to
highlight the
cobwebs.
See image of
assembled kit
on bottom of
box for paint
color ideas —
or come up
with your own!
Assembled
Eddie
Munster
Assembled
Lily Munster
“Home Sweet Home”
painting
TV
picture
Assembled
Herman
Munster
6
FINAL ASSEMBLY
A
B
C
PAINTING TIPS
PAINT AND BUILD IN STAGES
Paint individual sub-assemblies, and in some
cases, individual parts, before gluing in place.
For example, you may wish to glue bat or rat
halves together, and then paint this sub-assembly
before gluing them in place. You will want to paint
the figures before gluing them in place. This
method of painting and assembling in stages will
allow easier application of paint and produce more
desirable results.
PAINT WASH
Consider painting a textured surface, (such as the
back wall, floorboards or rug) using a wash. A wash
is a thinned-down paint mixture (usually a color
slightly darker than the base color) which is applied
liberally with a brush. Allow your base color to dry
thoroughly before applying a wash. Acrylic paint
thins nicely with water. The thinned down paint
flows into cracks and crevices, creating a weath-
ered and shadowed effect. If you apply too much,
the excess wash may be dabbed off using a paper
towel or small, soft cloth. You may need to experi-
ment a bit to get the right effect.
DRY BRUSH
Dry brushing is another method that works well on
textured surfaces. Dry brushing can be used to
create highlights on raised areas. For example,
consider using a dry brush effect on the cobwebs.
As an example, the cobwebs may be painted a
base color of gray. After the gray has dried, apply a
dry brush of white. To dry brush, lightly dip your
brush into the paint, and then run it across a paper
towel or other absorbent surface. This will leave
only a small amount of paint on the brush. Very
lightly brush across the surface of the cobwebs.
The raised areas will pick up the paint, creating a
highlight effect that emphasizes the texture. Again,
this will take some practice to achieve the right
effect. Most importantly, remember to just have
fun building and painting your kit!
A
B
C
Model Kit POL835
TheMunsters is a copyright of Kayro-Vue Productions and a trademark of Universal Studios. Licensed by NBC UniversalTelevision Consumer Products Group 2010
AllRights Reser ved.George Barris, Barris Kustom Ind., Dragula are registered trademarks of Barris Kustom Ind. and is used under license to Round 2 LLC.Psycho is
atrademark and copyright of Shamley Productions. Licensed by Universal Studios Licensing, LLLP.All rights reserved.
®& © 2010 CBS Studios Inc. STAR TREK and related marks are trademarks of CBS StudiosInc. © 2010 Paramount Pictures Corp. All rights reserved.
FORBIDDENPLANET and all related characters and elements are trademarks of and © Turner Entertainment Co.
(s10)
POLARLIGHTS is a registered trademark of Learning Curve Brands, Inc. used under license to Round 2, LLC. ©2010 Learning Curve Brands, Inc. All rights reserved.
ROUND2 and design are trademarks of Round 2, LLC. ©2010 Round 2, LLC, South Bend, IN 46628 USA. Product and packaging designed in the USA. Made in
China. All rights reserved.
Contents include: All plastic pieces to complete model and
pictorial instructions describing assembly. Paint and glue
not included. Model shown was assembled and nished by
a professional modeler.
•Before assembling model, study diagram carefully.
•Take time to familiarize yourself with all the parts and their
corresponding part numbers.
•Carefully cut the parts from the plastic tree supports and
remove any burrs.
•Apply cement to inside surfaces only. Avoid getting cement
on outer surfaces of model sections.
•Use cement very sparingly and avoid getting cement on
hands, so as not to mar or smear plastic surfaces.
•Do not hurry. Work carefully and patiently.
• Before proceeding to cement parts together, it is advisable
to fit parts together dry (without cement) so that you may
familiarize yourself with the parts and how they go together,
also noting the points where cement is to be applied.
• For best results, assemble model exactly in the order indicated.
• This kit is molded of styrene plastic – use only
styrene-compatible glues or cements.
• For best results, use only high quality paints designed
specifically for plastic model kits.
• The recommended paint for airbrush application is Badger's
Freak Flex; another good choice is Testor's Model Master.
• Liquid mask or tape will be helpful in painting detailed areas.
• Use small brushes for fine details.
GENERAL ASSEMBLY INSTRUCTIONS
Strangely appearing on TV sets, in living rooms across the country one eerie evening
in September of 1964, The Munsters were a scream!
Introduced at a time when classic horror characters were in vogue with American
audiences, The Munsters celebrated the macabre humor of frightening creatures with
wisecracking dialogue, outrageous visual gags and fast motion cinematography. The
series revolves around a friendly family of misfit monsters and their misadventures,
who never quite seem to realize why people react to them so strangely. The Munsters
reside in a spooky, turn of the century, Gothic mansion, located at 1313 Mockingbird
Lane in the town of Mockingbird Heights. The home is riddled with smoke and filthy
with dust and cobwebs. The use of shadowy photography echoed the expressionistic
style of earlier Frankenstein films, helping to emphasize the family's ghoulishness.
The location of Mockingbird Heights is not specified in the series, however in later
incarnations it is described as a small town outside of Los Angeles, California. In
reality, the house was built in 1946 on the Universal Studios backlot where all of the
exterior shots were filmed. The interiors were contained entirely on an enclosed
sound stage.
The head of the family, kindhearted Herman Munster (Fred Gwynne), is a loving
husband, father and funeral parlor employee. Herman bears a close resemblance to the
1930s and 1940s Universal Studios Frankenstein monster, originally portrayed by
Boris Karloff. His wife Lily (Yvonne DeCarlo) could be Vampira’s sister, TV's
creepy-but-sexy hostess of horror. Lily's father, Grandpa (Al Lewis), is actually
Count Dracula from Transylvania, a 378-year-old mad scientist and vampire.
Herman and Lily's son, Eddie (Butch Patrick), looks like a junior wolfman but with a
hipster attitude much like Wolfman Jack. The final member of their household is
Herman and Lily's niece, Marilyn (played first by Beverly Owen and then by Pat
Priest), who is considered the physically less fortunate member of the family, although
she is really a normal, beautiful, blonde, all-American teenage girl. We almost forgot...
Spot the family pet, a fire-breathing dragon who lives under the stairs.
The show aired at night once a week in black-and-white for more than 2-years, (70
episodes). It was sadly cancelled in May, 1966 after ratings dropped to an all-time low
due to the premiere of Batman, which was in full color. The Munsters series has
continued in syndication ever since and is enjoyed by all ages.
Place “Home Sweet Home” painting sticker in
picture frame above fireplace.
Place TV picture sticker on front of TV screen.
Cement assembled Eddie to pillow on floor.
Cement assembled Lily to floor section. (Pegs
on bottom edge of casket fit into holes in floor).
Cement assembled Herman to floor section.
(Pegs on chair base and lower main electrical
supply line fit into holes in floor.)
THE MUNSTERS LIVING ROOM
D
E
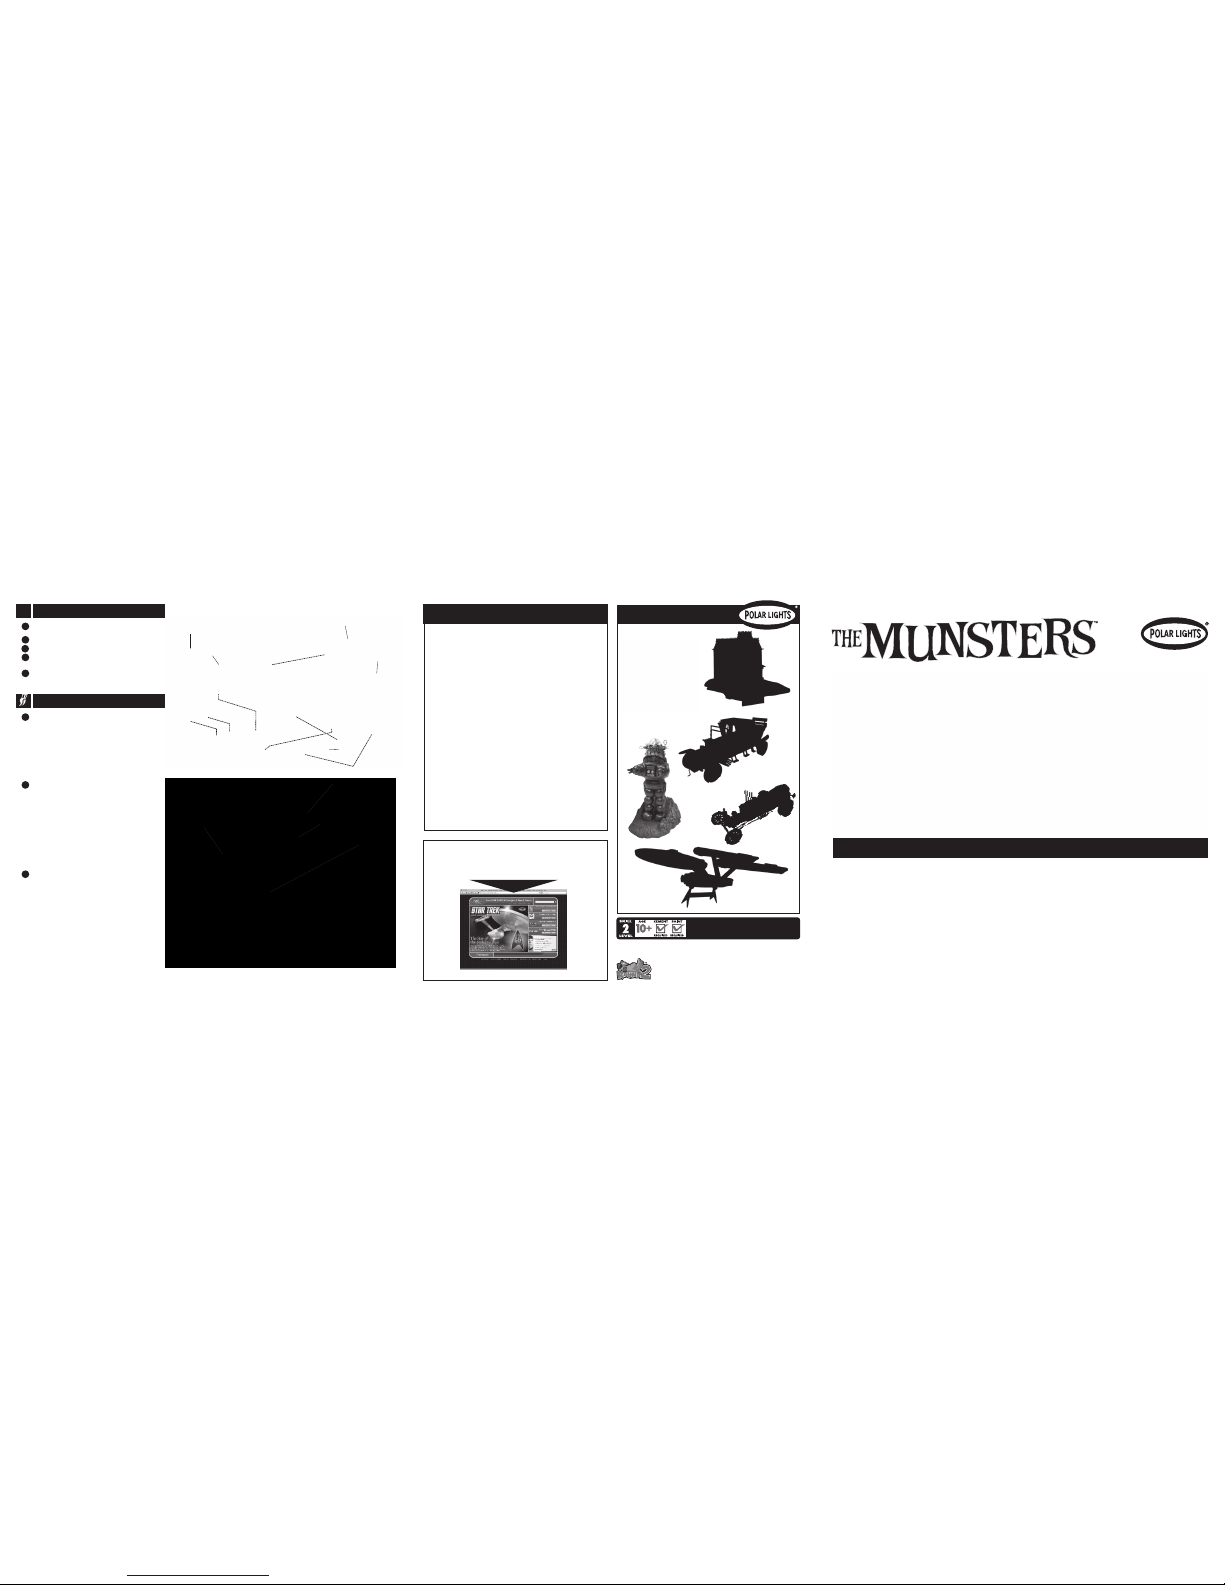
Look for these and other great kits from
PsychoTM
Bates Mansion
POL834
Glows in the Dark
Witch
POL811
Star Trek
TOS Enterprise
NCC-1701
AMT610
Munster’s Coach &
Grandpa’s Dragula
Collector’s Edition Tin
AMT619
Forbidden PlanetTM
Robby the RobotTM
POL810
For details on our full model kit lineup, articles,
announcements and more, check us out on the web at
round2models.com
5