8
- GB -
Correct electrical installation
−Electrical installations must meet the national regulations and may only be carried out by a qualified electrician.
−A person is regarded as a qualified electrician, if, due to his/her vocational education, knowledge and experience, he
or she is capable of and authorised to judge and carry out the work commissioned to him/her. Working as a qualified
person also includes the recognition of possible hazards and the adherence to the pertinent regional and national
standards, rules and regulations.
−For your own safety, please consult a qualified electrician.
−The unit may only be connected when the electrical data of the unit and the power supply coincide. The unit data is
to be found on the unit type plate or on the packaging, or in this manual.
−Ensure that the unit is fused for a rated fault current of max. 30 mA by means of a fault current protection device.
−Extension cables and power distributors (e.g. outlet strips) must be suitable for outdoor use.
−Minimum safety distance between the unit and the water: 2 m.
−Ensure that the power connection cable cross section is not smaller than that of the rubber sheath with the
identification H05RN-F. Extension cables must meet DIN VDE 0620.
−Protect the plug connections from moisture.
−Only plug the unit into a correctly fitted socket.
Safe operation
−Never operate the unit if either the electrical cables or the housing are defective!
−Do not carry or pull the unit by its electrical cable.
−Route all cables such that damage is excluded and nobody can trip over them.
−Never open the unit housing or its attendant components, unless this is explicitly required in the operating
instructions.
−Only use original spare parts and accessories for the unit.
−Never carry out technical modifications to the unit.
−Only have repairs carried out by customer service points authorised by PfG.
−Only operate the unit if no persons are in the water!
−Keep the socket and power plug dry.
Installation
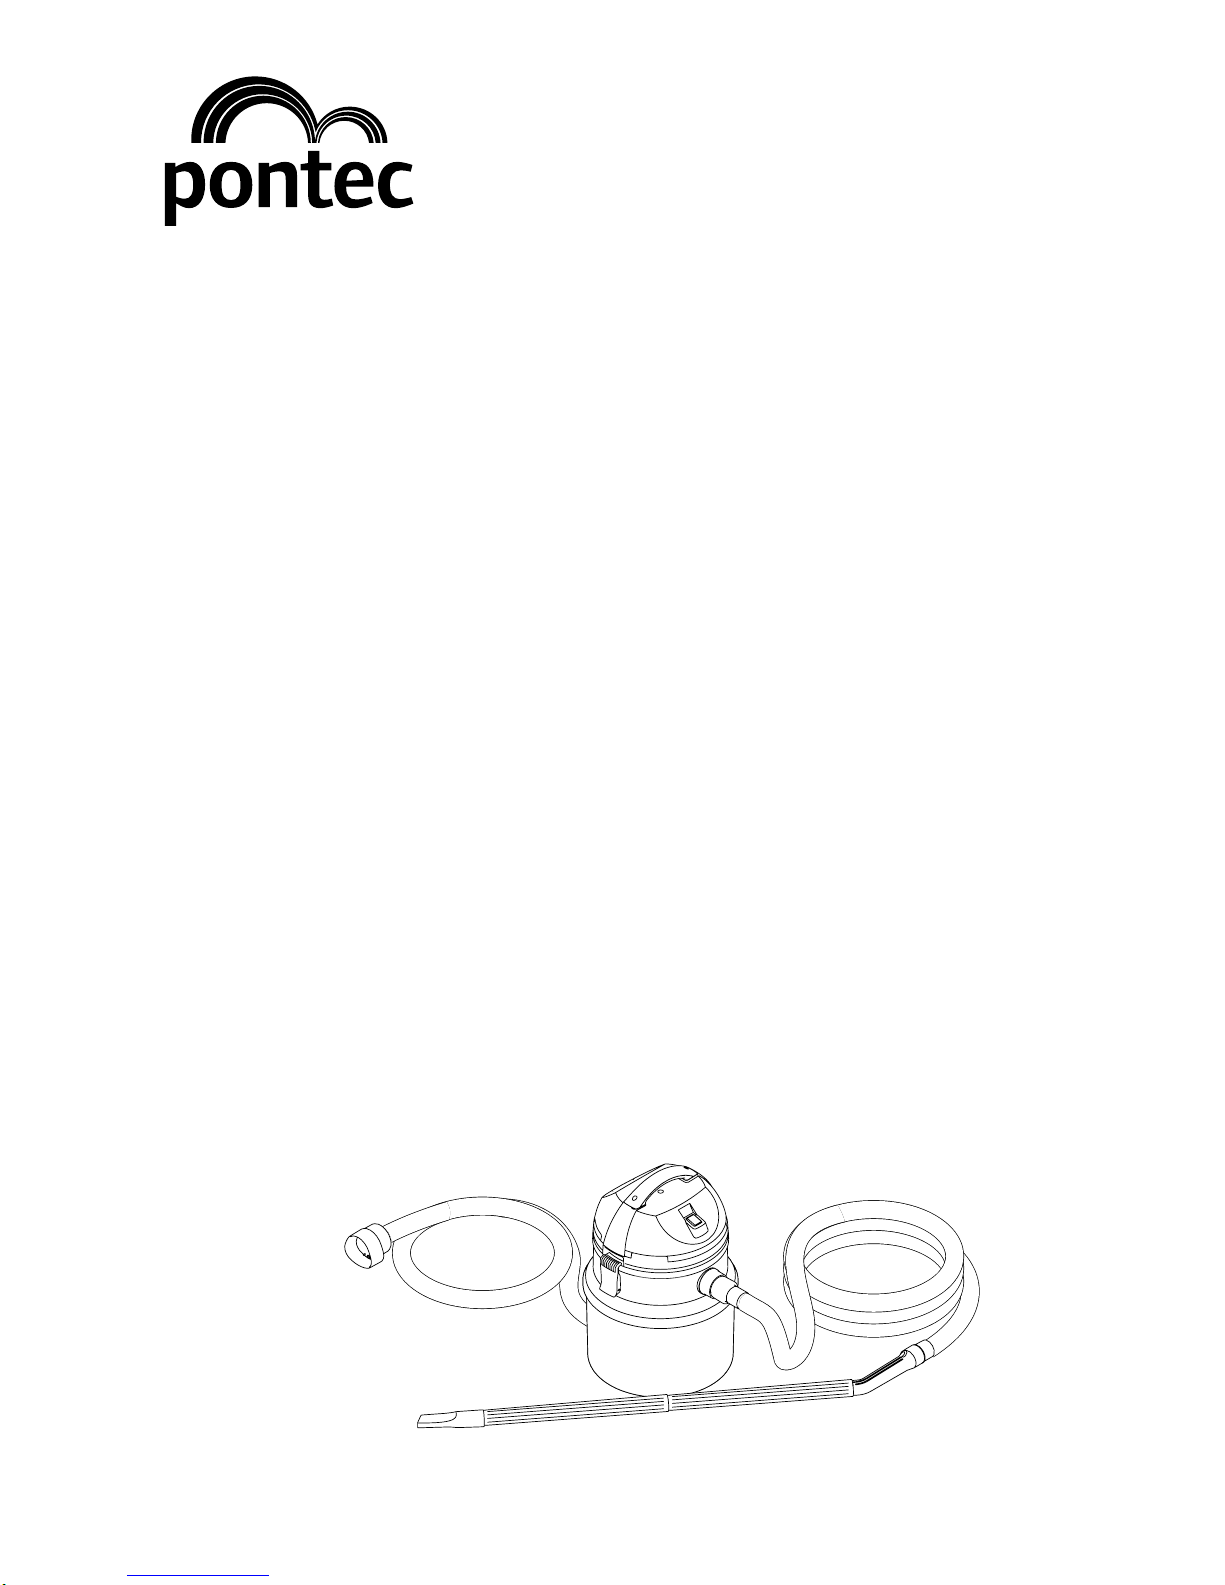
Figure (A)
Place the unit at a height meeting the water level at a minimum distance of 7 ft. from the pond. Ensure that the unit
stands safely. Unlock the container locking system (1), remove motor housing (2). Remove all loose parts from the
collection container (3). Refit and lock motor housing (2). Push the hose end into the opening (4) of the collection
container. Fit the extension tubes. Fit one of the supplied nozzles or set the adjustable bottom nozzle to the situation
your pond presents:
−Nozzle fully open (3/8 in.): Pond foil, no gravel on the bottom, thick layer of sludge
−Nozzle closed (1/16 in.): Pond film, gravel on the bottom, thick layer of sludge
Push the open end of the drain hose into the rear drain opening (5) of the collection container. If possible, lay the drain
hose on the bottom such to allow gravity draining of the sludge water during automatic emptying.
Start-up
Figure (A)
Attention! Never operate the unit without foam filter!
Connect the unit to the power supply and turn it on with the switch (6). Lead the bottom nozzle to the pond bottom.
Remove the sludge by moving the nozzle slowly and uniformly. Turn the bottom nozzle through 180° to enhance
suction cleaning of pond trays and the extraction of thin layers of sludge.
Suction operation is automatically switched off after 25 s. The stop valve at the drain opening now opens to drain the
sludge water out of the container. The suction mode is automatically restarted after approx. 25 s. Switch the unit off
with switch (6) when no longer in use.