InstallationandConversionInstructions Cayenne(9YA)
15/20 ENU 9163 9
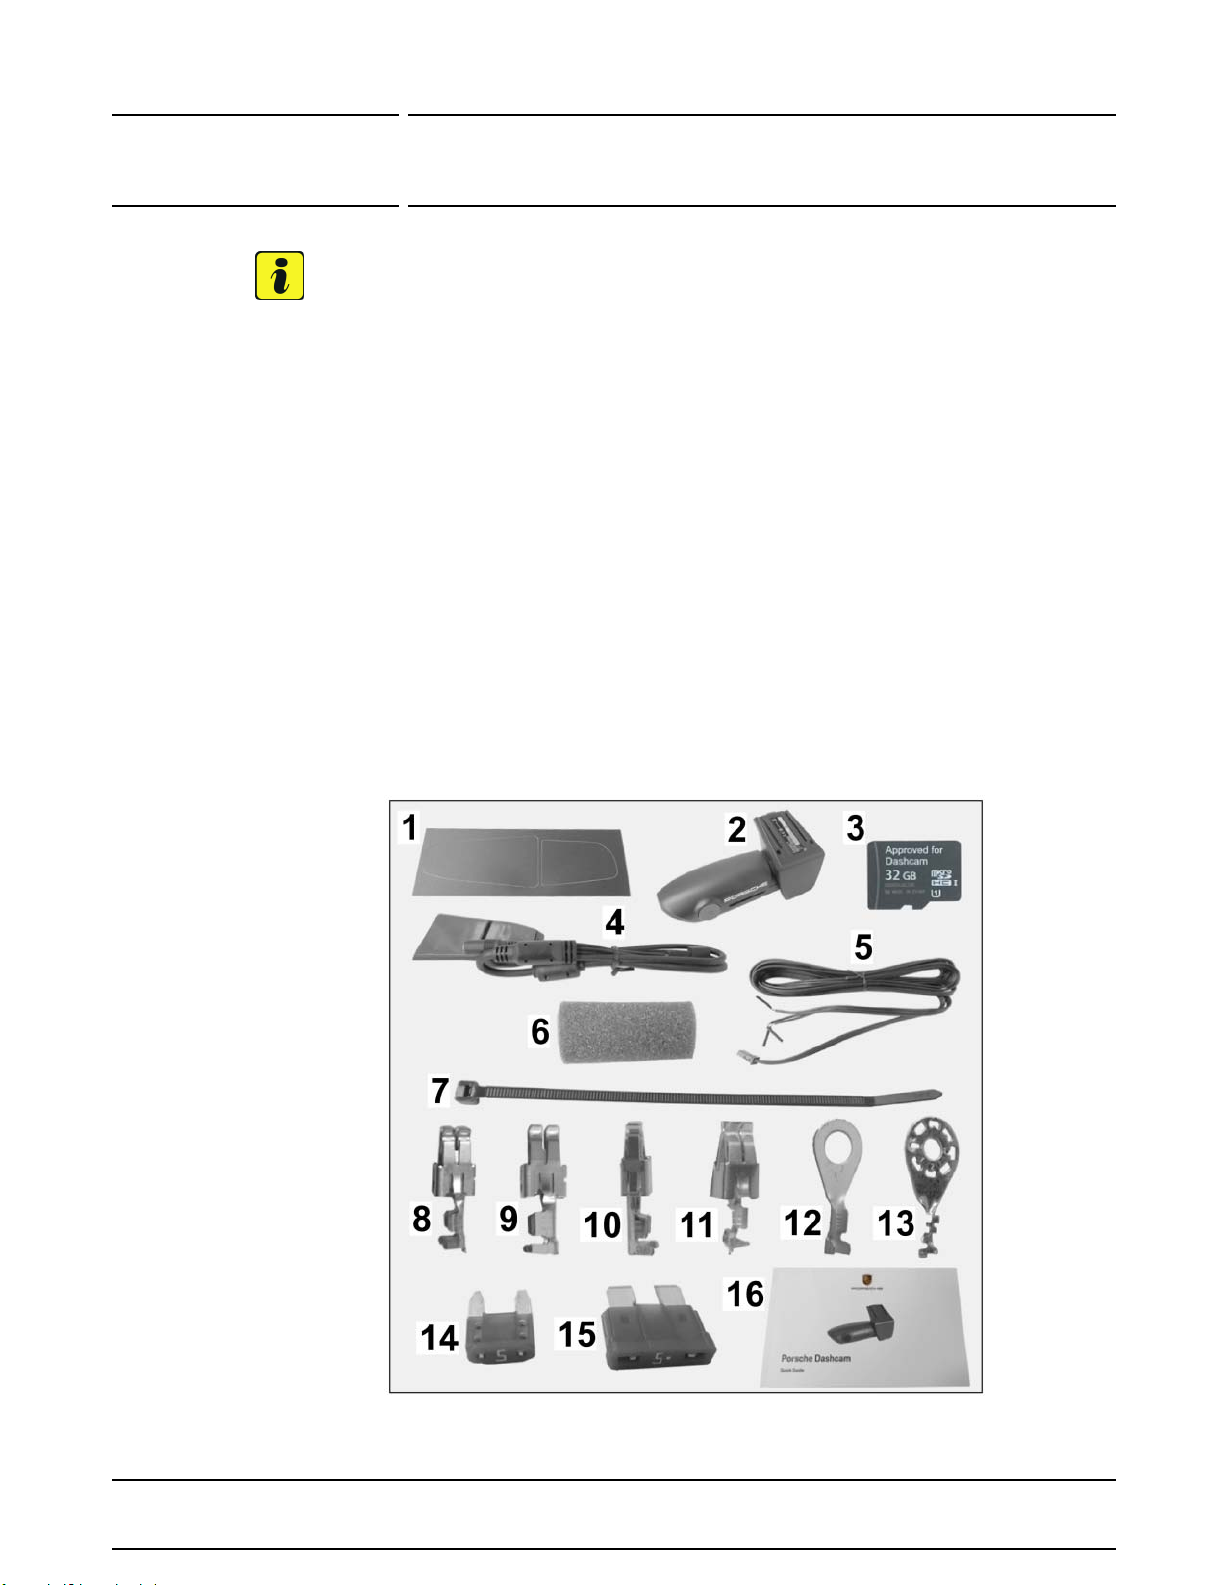
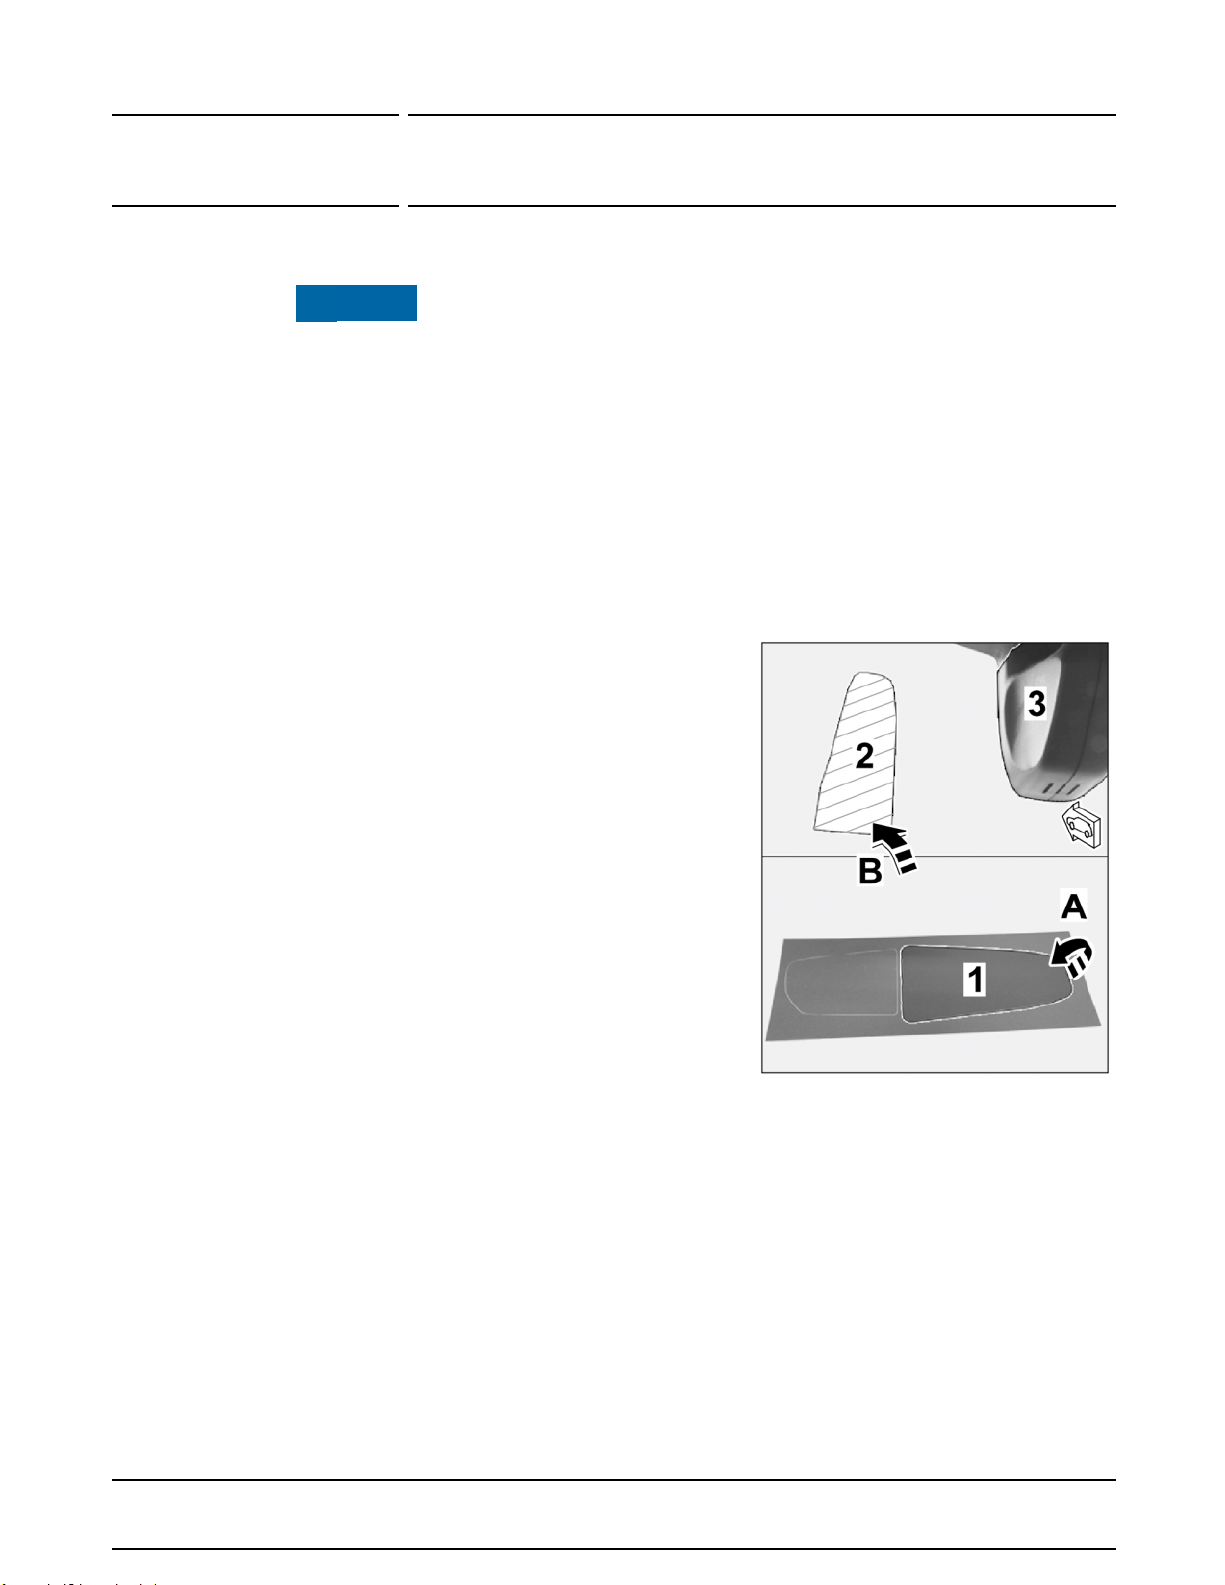
——— 1x 3Mprivacyfilm (front&rearcamera)
Figure 2 -1-
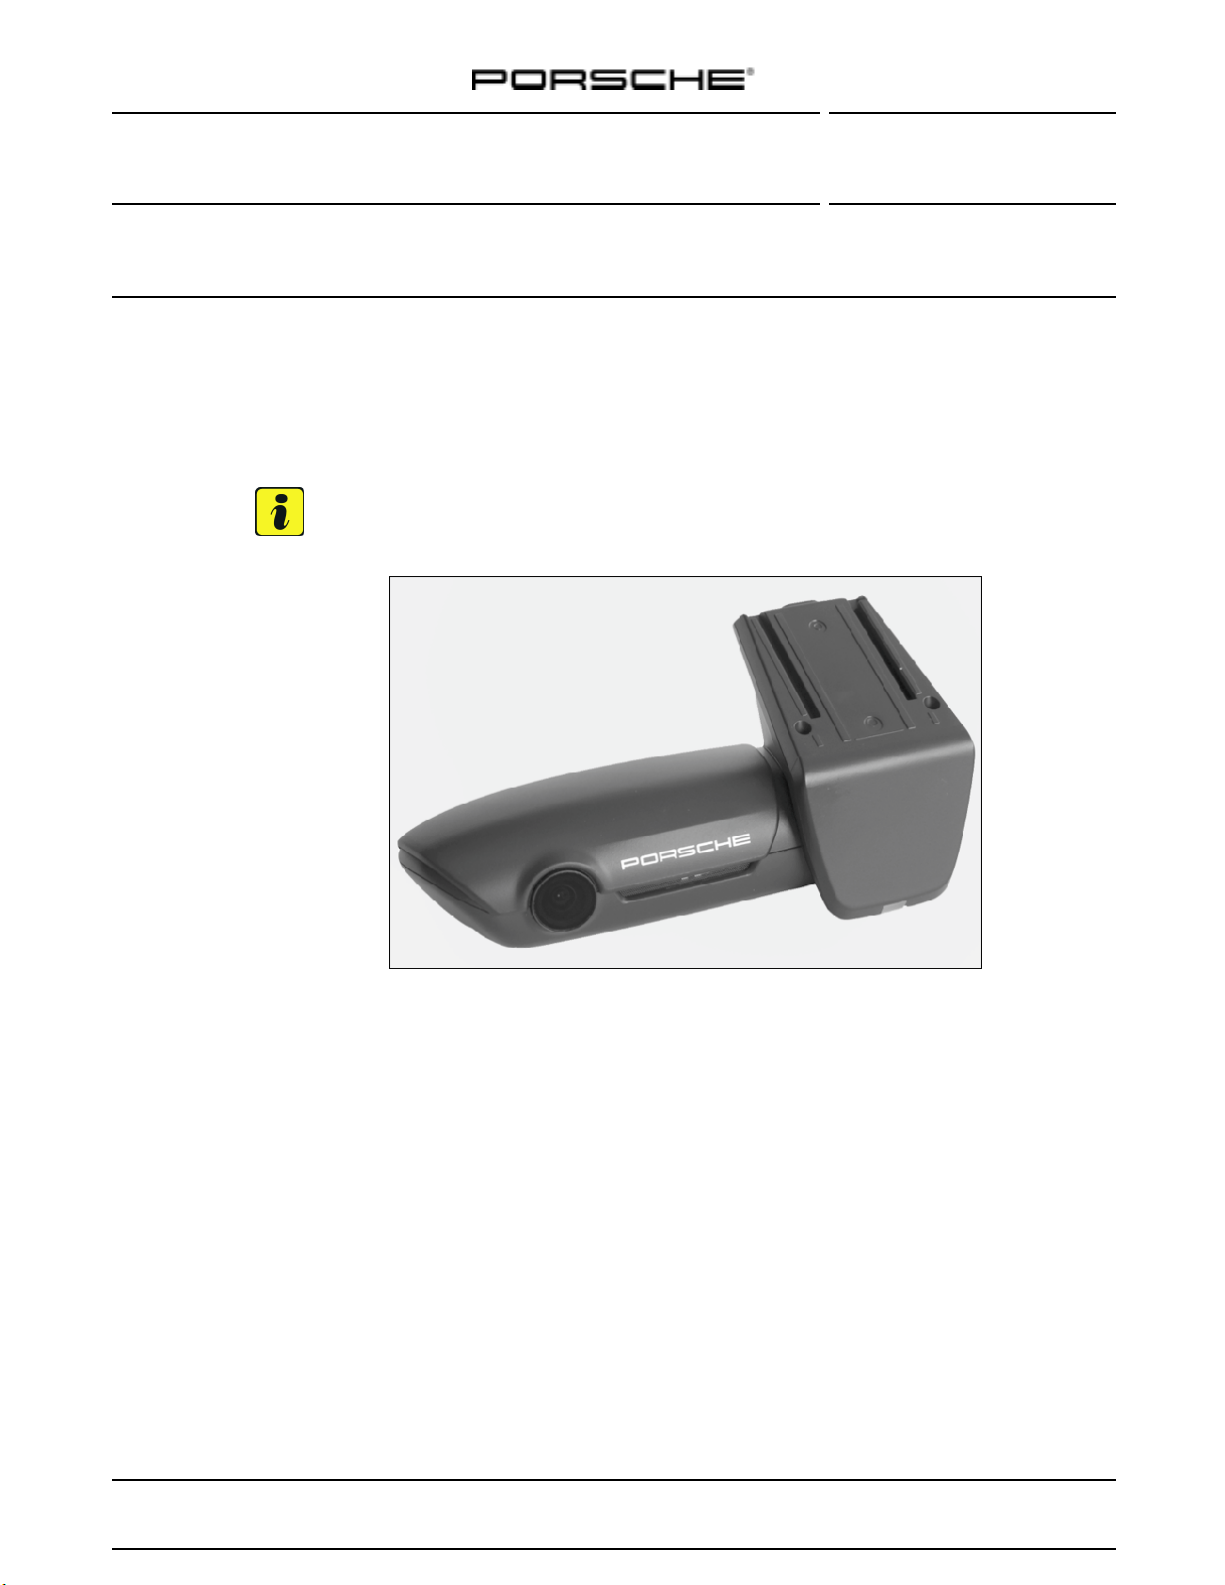
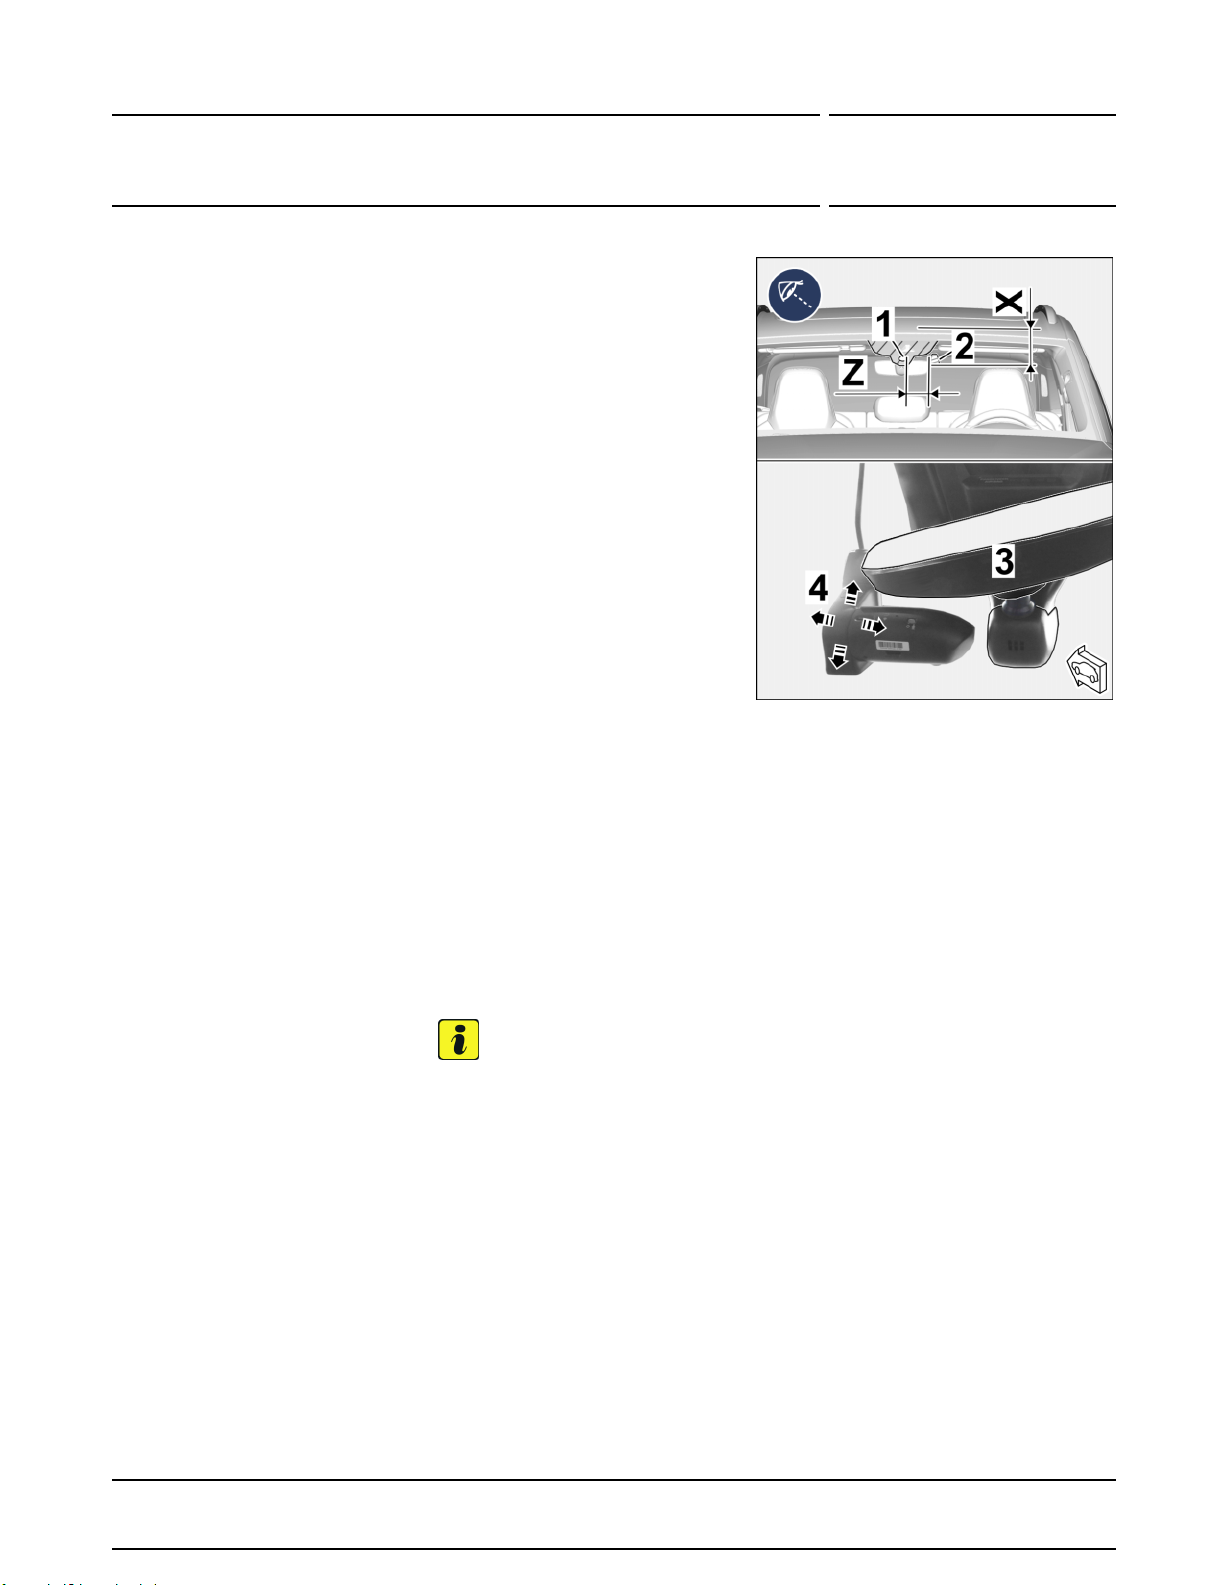
——— 1x Front camera
Figure 2-2-
——— 1x Micro SDmemorycard(32GB, plugged intofrontcamera)
Figure 2 -3-
—— — 1x Frontcameraretainerplateassembly withwireharness
Figure
2-4-
——— 1x Wireharnessassembly with connector(3-pin,wireapprox. 4m
long)
Figure 2-5-
——— 3x Protectivefoam (∅approx. 29x 74)
Figure 2 -6-
——— 7x Tie-wrap,145x3.6x1.1
Figure 2-7-
N.907.326.01 4x Socket contact,4.8 x∅1.0mm²
Figure 2 -8-
N.907.327.01 2x Socket contact,4.8 x ∅2.5 mm²(standardpowertimer)
Figure 2 -9-
N.906.844.01 3x Socket contact,2.8 x ∅1.0 mm²(juniorpower timer)
Figure 2
-10-
999.650.136.22 4x Socketcontact, 5.0x ∅1.0 mm²
Figure 2 -11-
N.017.506.5 2x Cablering eyelet, A6
Figure 2-12-
992.971.859.B 2x Cablering eyelet, M8
Figure 2-13-
N.102.615.01 2x Blade-typefuse, 5 amp(mini)
Figure 2-14-
N.017.131.16 2x Blade-typefuse, 5 amp
Figure 2-15-
——— 1x PORSCHEdashcamoperatinginstructions
Figure 2-16-
Repair kits: ONLY orderwhenreplacingthewindscreen/rearwindow:
9Y0.044.931 1x "Adhesive pad" repairkit,includes:
——— 1x Adhesivepad for front camera retainerplate(grey)onbacking
sheet
——— 1x Adhesivepad for rearcamera (grey)
——— 1x 3Mprivacyfilm (front&rearcamera)
Figure 2 -1-
ONLY orderiffrontcamera"wiringharness" is damaged:
9Y0.044.931 1x "Adhesivepad"repair kit
9Y0.044.932 1x Wiring harness repairkit, includes:
—— — 1x Frontcameraretainerplateassembly withwireharness
(WITHOUTadhesivepads,similarto
Figure 2-4-)
——— 1x Wireharnessassembly with connector(3-pin,wireapprox. 4m
long)
Figure 2-5-
——— 3x Protectivefoam (∅approx. 29x 74)
Figure 2 -6-
——— 7x Tie-wrap,145x3.6x1.1
Figure 2-7-
——— 1x Bagwith socket contacts,cable ringeyelets and fuses
Figure
2-8-15-
Tequipment Sep 28, 2021
Page3of 21