POSIFLEX CD-3203U User manual

2
Scanner Maintenance
The scanner is designed for long-term trouble-free operation and rarely
requires any maintenance. Only an occasional cleaning of the scanner window
is necessary in order to remove dirt and fingerprints.
Wipe the scan window with a soft lint-free cloth and a non-abrasive cleaner to
avoid the scan window from being scratched and damaged. The scan window
can be cleaned while the scanner is running.
The standard interface cable is attached to the scanner with a 10-pin modular
connector. When the connector is properly seated, it is secured in the scanner
by a flexible retention tab. The cable is designed to be field replaceable.
Replacement cables can be obtained from your authorized distributor. To
replace the cable, take the following steps.
1. Make sure the power of both the host terminal and the scanner is powered
off.
2. Disconnect the old scanner cable from the host terminal.
3. Press down the retention tab, and gently pull out the cable.
4. Insert the new interface cable into the bottom of the scanner until it clicks.
Then, plug the new cable into the host.
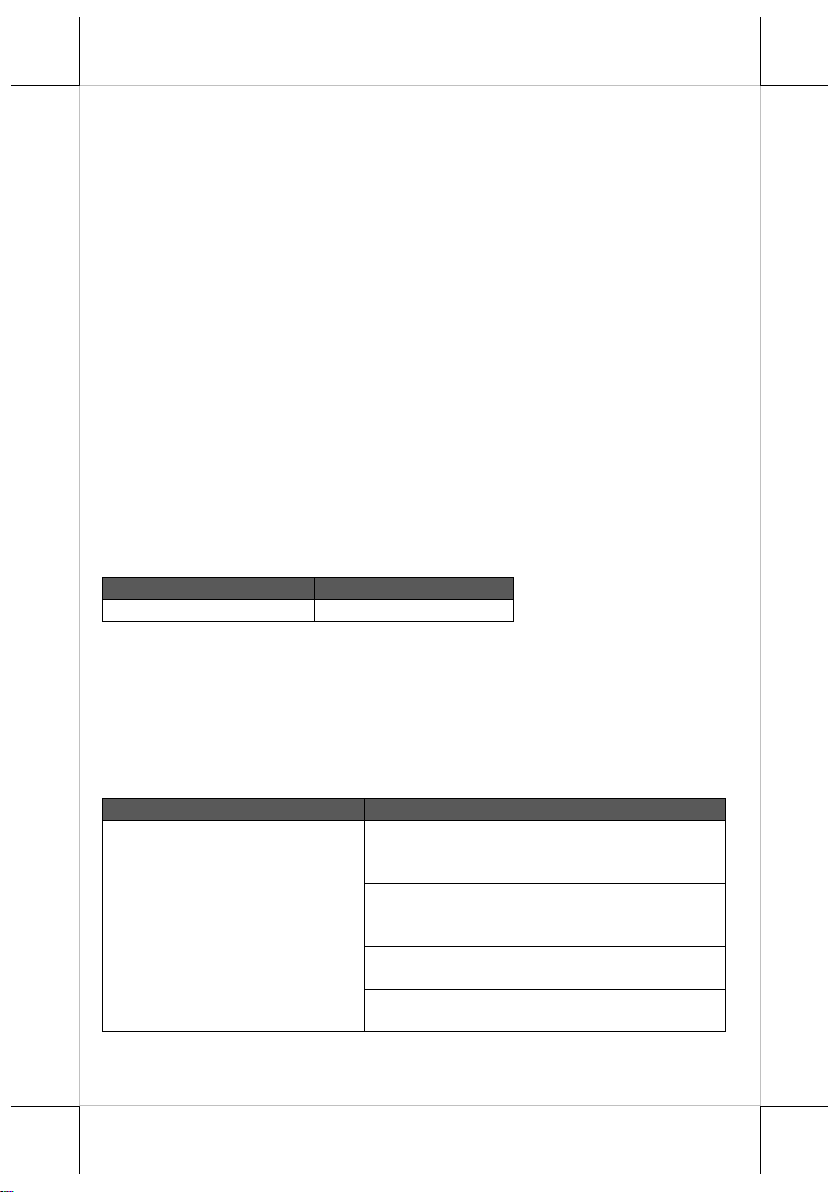
LED Indication
Status
Explanation
Blue LED flashes one time
Good read
Troubleshooting
This section contains information about how to solve problems that you may
encounter when operating the scanner. If a trouble occurs, please refer to the
following diagnostic tips as a mean to solve the trouble. However, before
referring to the tips, make sure that the scanner is installed well. If the problem
remains, contact your dealer.
Problem
Diagnostic Tips
The scanner is on but cannot read
any barcode.
The scanner window is dirty. Clean the scanner
window as described in the Scanner
Maintenance section.
The presented barcode type is not enabled. Use
this guide to tell the scanner to accept that type
of barcode.
The host terminal has disabled the scanner.
Check the setup of host terminal.
The barcode type presented is not supported by
the scanner.

3
Problem
Diagnostic Tips
The scanner does not accept more
than two or three barcode labels.
Determine whether the required barcode types
are enabled or not.
A stray barcode is sitting somewhere in the
scanner field of view. Remove all barcode labels
from the scanner’s scan volume and try again.
The scanner cannot send the data to the POS
system. Make sure that the scanner is installed
well and your host POS system is ready to
receive data.
A barcode is read by the scanner
but not accepted by the POS
system.
The communication settings of the system port
and the scanner do not match. Adjust the settings
to make them match to each other.
The scanner is not installed well. Contact your
dealer for the proper installation. The software
running on the POS system does not support the
data format of the barcode label.
When a barcode stays close to the
scanner, the barcode cannot be read
automatically by the scanner.
Check whether or not you have enabled the
Manual Trigger mode. If you have enabled this
mode accidentally, please disable the Manual
Trigger mode by scanning the “Disable trigger”
barcode in the advanced user manual.
Programming Codes
Below are some suggestion you need to bear in mind while scanning labels:
1. The barcode labels shown with “ * ” are default factory settings.
2. Please cover the unwanted codes for scanning the specific barcode
required for the programming to prevent confusion in code scanning.
3. Use the user manual downloaded from our global website for advanced
programming.
4. While scanning the setup barcode labels provided in the quick guide, you
need to pull the trigger to initiate the decoding process.
Report Version
Scan the bar code below to report the version of software currently installed in
the decoder.
Report Software Version

4
Report Scan Engine Manufacturing Information
Scan the bar code below to report the part number, serial number, and
manufacture date of the scan engine.
Report Scan Engine Manufacturing Information
Default Settings
Default Barcode Settings clears all custom default values and sets the factory
default values.
Default Barcode Settings
USB Device Type
Scan one of the following barcodes to select the USB device type.
NOTE: When changing USB Device Types, the engine resets and issues the
standard startup beep sequences.
NOTE: Before selecting USB CDC Host (Virtual COM), install the USB
CDC driver located at Posiflex Global Website.
USB Keyboard HID

5
USB CDC Host
(Virtual COM)
SSI over USB CDC
Trigger Mode
Standard (Level): A trigger press activates decode processing. Decode
processing continues until the bar code decodes, or you release the
trigger.
Presentation (Blink): The engine activates decode processing when it
detects a bar code in its field of view. After a period of non-use, the
LEDs turn off until the engine senses motion.
Host: A host command issues the decode signal. The decoder interprets
an actual trigger pull as a Level triggering option.
Auto Aim: The decoder projects the aiming pattern when the decoder
senses motion. A trigger press activates decode processing. After a
period of inactivity the aiming pattern shuts off.
Auto Aim with Illumination: The decoder projects the aiming pattern
and internal illumination LEDs when the decoder senses motion. A
trigger pull activates decode processing. After 2 seconds of inactivity the
aiming pattern and internal illumination LEDs automatically shut off.
*Standard (Level)

6
Presentation (Blink)
Host
Auto Aim
Auto Aim with Illumination
Illumination
Selecting Enable Decoding Illumination causes the engine to turn on
illumination every image capture to aid decoding. Select Disable Decoding
Illumination to prevent the engine from using decoding illumination.
Enabling illumination usually results in superior images. The effectiveness of
illumination decreases as the distance to the target increases.
*Enable Decoding Illumination

7
Disable Decoding Illumination
Aiming
Scan one of the following barcodes to select when to project the aiming pattern
in hand-held mode:
Enable Decode Aiming Pattern: This projects the aiming pattern during
barcode capture.
Disable Decode Aiming Pattern: This turns the aiming pattern off.
Enable Decode Aiming Pattern on PDF: This projects the aiming pattern
when the decoder detects a PDF barcode.
*Enable Decode Aiming Pattern
Disable Decode Aiming Pattern
Enable Decode Aiming Pattern on PDF

8
Beep After Good Decode
Scan one of the following bar codes to select whether or not the engine beeps
after a good decode. If you select Disable Beep After Good Decode, the
beeper still operates during parameter menu scanning a indicate error
conditions.
*Enable Beep After Good Decode
Disable Beep After Good Decode
Enabling/Disabling of readable codes
Scan the Disable All Code Types bar code to disable all symbologies.
Scan Enable All Code Types to enable all symbologies.
Disable All Code Types

9
Enable All Code Types
*Enable UPC-A
Disable UPC-A
*Enable UPC-E
Disable UPC-E
Enable UPC-E1

10
*Disable UPC-E1
*Enable EAN-8/JAN-8
Disable EAN-8/JAN-8
*Enable EAN-13/JAN-13
Disable EAN-13/JAN-13
Enable Bookland EAN

11
*Disable Bookland EAN
Enable ISSN EAN
*Disable ISSN EAN
*Enable Code 128
Disable Code 128
*Enable GS1-128

12
Disable GS1-128
*Enable ISBT 128
Disable ISBT 128
*Enable Code 39
Disable Code 39
*Enable Code 93
Disable Code 93

13
Enable Code 11
*Disable Code 11
Enable Interleaved 2 of 5
*Disable Interleaved 2 of 5
Enable Discrete 2 of 5
*Disable Discrete 2 of 5
*Enable Codabar

14
Disable Codabar
Enable MSI
*Disable MSI
Enable Chinese 2 of 5
*Disable Chinese 2 of 5
Enable Matrix 2 of 5
*Disable Matrix 2 of 5

15
Enable Korean 3 of 5
*Disable Korean 3 of 5
*Enable GS1 DataBar
Omnidirectional
Disable GS1 DataBar Omnidirecti
onal
Enable CC-C
*Disable CC-C

16
Enable CC-A/B
*Disable CC-A/B
Enable TLC39
*Disable TLC39
*Enable PDF417
Disable PDF417
Enable MicroPDF417

17
*Disable MicroPDF417
*Enable Data Matrix
Disable Data Matrix
Enable GS1 Data Matrix
*Disable GS1 Data Matrix
Enable Maxicode
*Disable Maxicode

18
*Enable QR Code
Disable QR Code
*Enable GS1 QR
Disable GS1 QR
*Enable MicroQR
Disable MicroQR
*Enable Aztec

19
Disable Aztec
Enable Han Xin
*Disable Han Xin
Enable US Postnet
*Disable US Postnet
Enable US Planet
*Disable US Planet

20
Enable UK Postal
*Disable UK Postal
Enable Japan Postal
*Disable Japan Postal
Enable Australia Post
*Disable Australia Post
Enable Netherlands KIX Code
Table of contents
Other POSIFLEX Scanner manuals
Popular Scanner manuals by other brands

Honeywell
Honeywell Voyager 1452g Series quick start guide

LMI Technologies
LMI Technologies HDI 109 quick start guide

Epson
Epson 2480 - Perfection Photo Product support bulletin

Renkforce
Renkforce VisualTable RF-4730964 user guide

Visolux
Visolux OCD6000-F62-R4-V15 instruction manual

Panasonic
Panasonic KV-SSM100 user guide

Canon
Canon imageFORMULA DR-S150 Setup guide

Genius
Genius GENIUS SCANNER user guide

Xerox
Xerox Document Capture Machine 620 Product safety data sheet

Avision
Avision FL-1801 user manual

Pepperl+Fuchs
Pepperl+Fuchs OMD10M-R2000-B23 manual

Deister electronic
Deister electronic Logident UDL 250 Wiring and Installation Instructions