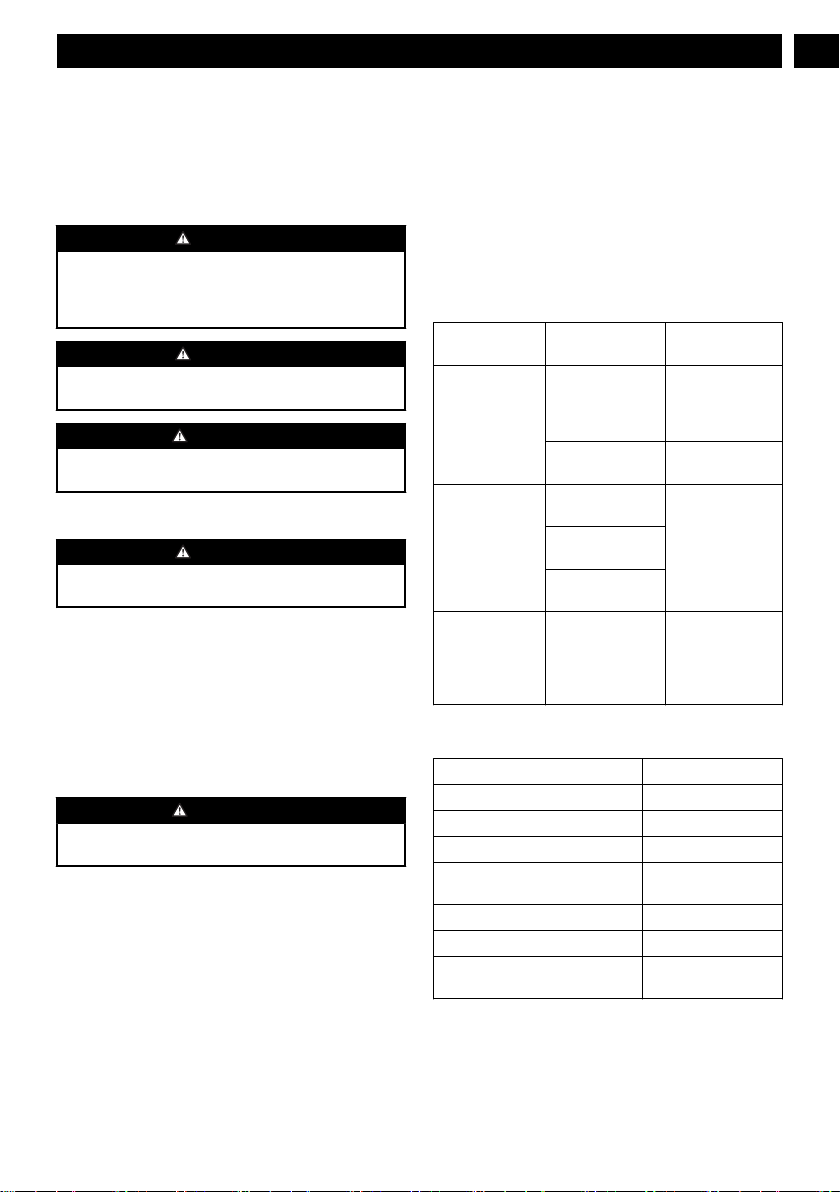
Power works P24AB User manual

BLM301
P24AB
OPERATOR MANUAL / BEDIENUNGSHANDBUCH / MANUAL DEL OPERARIO /
MANUALE DELL’OPERATORE / MANUEL OPÉRATEUR / GEBRUIKSAANWIJZING /
KÄYTTÖOPAS / ANVÄNDARHANDBOK / BRUKERVEILEDNING / BRUGSVEJLEDNING /
NÁVOD K OBSLUZE / NÁVOD NA OBSLUHU / UPORABNIŠKI PRIROČNIK / PRIRUČNIK
ZA RUKOVANJE / HASZNÁLATI ÚTMUTATÓ / РЪКОВОДСТВО НА ОПЕРАТОРА /
KULLANIM KILAVUZU / KASUTUSJUHEND
OriginalInstructions / Übersetzung der Originalanweisungen / Traducción de las instrucciones originales / Traduzione delle istruzioni originali / Traduction des
instructions d'origine / Vertaling van de originele gebruiksaanwijzing / Alkuperäisten ohjeiden käännös / Översättning av original instruktionerna / Produsentens
instruksjoner / Oversættelse af de originale vejledninger / Překlad originálního návodu / Preklad originálneho návodu / Prevod originalnih navodil / Prijevod
izvornih uputa / Az eredeti utasítás fordítása / Превод на оригиналните инструкции / Orijinal Talimatların Tercümesi / Originaalkasutusjuhendi tõlge


1 Description.................................... 4
1.1 Purpose......................................................4
1.2 Overview.................................................... 4
2 Safety............................................ 4
3 Installation..................................... 4
3.1 Unpack the machine...................................4
3.2 Install the tube............................................4
3.3 Install the battery pack............................... 4
3.4 Remove the battery pack........................... 4
4 Operation.......................................4
4.1 Start the machine....................................... 4
4.2 Stop the machine....................................... 4
4.3 Operation tips.............................................4
5Maintenance..................................5
5.1 Clean the machine..................................... 5
6 Transportation and storage........... 5
6.1 Move the machine......................................5
6.2 Store the machine...................................... 5
7 Troubleshooting.............................5
8 Technical data............................... 5
9 Warranty........................................5
10 EC Declaration of conformity.........6
3
English EN

1 DESCRIPTION
1.1 PURPOSE
The machine is used to propel air out of a tube to move
unwanted materials such as leaves in the yard. Some
machines also suck in leaves and small twigs through a
vacuum, and shred them into a bag.
1.2 OVERVIEW
Figure 1 - 4.
1On/off button /
Speed button
2Tube release button
3Tube
4Nozzle
5Lock button
6Slot
7Battery release
button
2 SAFETY
WARNING
Make sure that you do/obey all safety instructions.
Refer to Safety Manual.
3 INSTALLATION
3.1 UNPACK THE MACHINE
WARNING
Make sure that you correctly assemble the machine
before use.
WARNING
• If the parts have damage, do not use the machine.
•If you do not have all the parts, do not operate the
machine.
• If the parts are damaged or missing, speak to the
service center.
1. Open the package.
2. Read the documentation in the box.
3. Remove all the unassembled parts from the box.
4. Remove the machine from the box.
5. Discard the box and package in compliance with
local regulations.
3.2 INSTALL THE TUBE
Figure 2.
1. Move the tube until the lock button engages into the
slot.
2. Connect the nozzle to the tube until the latch on the
tube engages into the opening on the nozzle.
TIP
You can use the nozzle to increase airflow in tight
areas.
3.3 INSTALL THE BATTERY PACK
Figure 3.
WARNING
• If the battery pack or charger is damaged, replace
the battery pack or the charger.
•Stop the machine and wait until the engine stops
before you install or remove the battery pack.
• Read, know, and do the instructions in the battery
and charger manual.
1. Align the lift ribs on the battery pack with the
grooves in the battery compartment.
2. Push the battery pack into the battery compartment
until the battery pack locks into place.
3. When you hear a click, the battery pack is installed.
3.4 REMOVE THE BATTERY PACK
Figure 3.
1. Push and hold the battery release button.
2. Remove the battery pack from the machine.
4 OPERATION
WARNING
Make sure the blower tube is in position before
operation.
4.1 START THE MACHINE
Figure 4.
The machine has a speed button to adjust the air
velocity.
1. Push the on/off button in the 1 or 2 position.
4.2 STOP THE MACHINE
Figure 4.
1. Push the on/off button in the off position.
4.3 OPERATION TIPS
• Blow around the outer edge of the unwanted
materials to prevent the unwanted materials from
scattering.
•Use rakes and brooms to clear the unwanted
material before you blow.
• Make the surfaces wet before you clear the
unwanted material in dusty conditions.
4
English
EN

• Look out for children, pets, open windows, and
cleaned cars during operation.
•Clean the machine.
• Discard the unwanted material when you complete
work.
5 MAINTENANCE
CAUTION
Do not let brake fluids, gasoline, petroleum-based
materials touch the plastic parts. Chemicals can cause
damage to the plastic, and make the plastic
unserviceable.
CAUTION
Do not use strong solvents or detergents on the plastic
housing or components.
WARNING
Remove the battery pack from the machine before
maintenance.
5.1 CLEAN THE MACHINE
CAUTION
The machine must be dry. Humidity can cause risks of
electrical shocks.
• Clear the unwanted material out of the air vent with
a vacuum cleaner.
•Do not spray the air vent or put the air vent in
solvents.
• Clean the housing and the plastic components with
a moist and soft cloth.
6 TRANSPORTATION AND
STORAGE
WARNING
Remove the battery pack from the machine before
tranportation and storage.
6.1 MOVE THE MACHINE
• Only hold the machine with the handgrip.
•Remove the blower tube when you move the
machine on a vehicle.
6.2 STORE THE MACHINE
• Clean the machine before storage.
•Make sure that the motor is not hot when you store
the machine.
• Make sure that the machine does not have loose or
damaged parts. If it is necessary, do these steps/
instructions:
•Replace the damaged parts.
• Tighten the bolts.
• Speak to a person of an approved service
center.
• Store the machine in a dry area.
• Make sure that children cannot come near the
machine.
7 TROUBLESHOOTING
PROBLEM POSSIBLE
CAUSE
SOLUTION
The motor does
not start when
you pull the trig-
ger.
The battery pack
is not installed
tightly.
Make sure that
you tighlty install
the battery pack
in the machine.
The battery pack
is out of power.
Charge the bat-
tery pack.
The machine
does not start.
The power switch
is defective. Replace the de-
fective parts by
an approved
service center.
The motor is de-
fective.
The PCB board is
defective.
The air does not
flow through the
tube when you
start the ma-
chine.
The air inlet or
tube outlet has a
blockage.
Remove the
blockage.
8 TECHNICAL DATA
Voltage 24 V DC
Air volume 9.08 m³/min
Air speed 145 km/h
Weight (without battery pack) 2.0 kg
Measured sound pressure level LPA= 84 dB(A), KPA=
3 dB(A)
Measured sound power level LWA= 92 dB(A)
Guaranteed sound power level LWA.d= 95 dB(A)
Vibration < 2.5 m/s2 , K = 1.5
m/s2
9 WARRANTY
(The full warranty terms and conditions can be found on
Powerworks webpage)
5
English EN
Table of contents
Languages:
Other Power works Vacuum Cleaner manuals