manuals.online logo
Brands
  1. Home
  2. •
  3. Brands
  4. •
  5. Powercore
  6. •
  7. Indoor Furnishing
  8. •
  9. Powercore Laptop Desk User manual

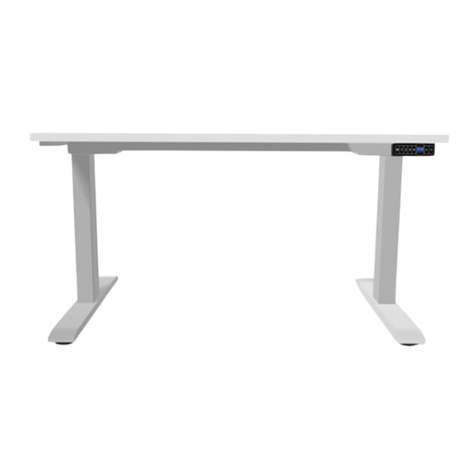
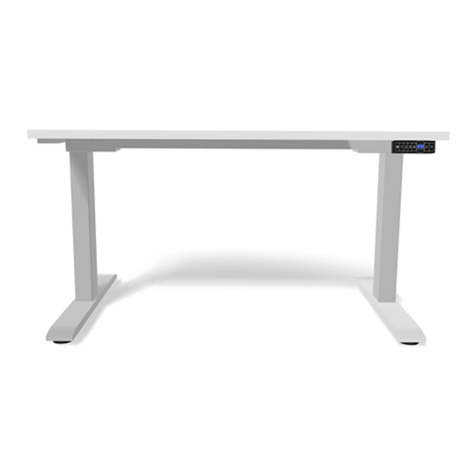
Powercore Laptop Desk User manual

Powercore
Laptop Desk
Resetting your desk
Powercore desks need to be reset after assembly and
prior to use. Follow these steps:
1. Press and hold down both the up arrows and down
arrows simultaneously for 7 full seconds until the
desk starts moving down.
2. Keep the buttons pressed all the way to the bottom.
(The screen will show E00 just before it reaches the
bottom).
3. When it reaches the bottom it will “beep” and reset.
When it “beeps” you can release the buttons and it
should show the height of the desk. The desk is ready
to go.
If the screen shows E00 and doesn’t beep, the reset
hasn’t been completed properly so you need to repeat
the process.
When the desk goes to it’s lowest level it is because the
sensors are telling the controller that the desk is possibly
uneven and needs to be leveled at it’s bottom height.
Manually adjusting the height
Simply press the “up” or “down” arrows to go to your
required height.
Setting automatic height adjustment
If you want to use the memory function to automatically
move to preset heights, follow these steps:
1. Move the desk to the height you want to assign
a preset memory number to.
2. Press “S” and hold it down until the screen starts
lashing. Release the “S’ button and select the
number you want to allocate that height to
(1, 2 or 3).
3. When the P- (number allocated) shows on the
screen - you have successfully allocated that
preset (1, 2 or 3) to the height.
4. Move the desk to another height level and
repeat the procedure until you have allocated all
the presets to a height level.
To move the desk to a preset height level just press
the number (1, 2, 3 or 4) and release. The desk will
move to that preset height.
You can overwrite these settings any time by
repeating the process and re-allocating the preset
number to a dierent height.
Error messages
If the handset on the desk shows an error message
(E - “number”) it is a good chance the desk just
needs a reset. Follow the instructions at the top of
this page.
If the error message persists (despite the reset):
email stuart@powercore.nz with the error
message and I’ll get in contact to help you. Most
solutions are pretty simple.
Here’s the low down on your desk and how to set it up.
Watch the assembly video: vimeo.com/648471641
Enjoy your desk
and your mobility
powercore.nz
Powercore_assembly instructions_Laptop desk_A4.indd 1Powercore_assembly instructions_Laptop desk_A4.indd 1 12/05/22 12:39 PM12/05/22 12:39 PM
By the way, we pack one extra screw
(of each type) in case you lose one
when unpacking. Don’t panic when
you see you have an extra one.
1 2
3 4
5 6
7 8
Support beam 1
2
8
Foot
M6*14 screw
2Bracket
Lifting system 1 set
Driveshaft 1 set
1
4mm hex spanner 1
5mm hex spanner
M6*12 screw 4
4M8*50 screw
ST3.5*19 screw 2
Rubber cushion
Plastic pad 8
8
ST4.8*25 screw 8
1Adaptor holder
4mm hex spanner
4mm hex spanner
5mm hex spanner
Loosen the M6*10 screw on the
beam with the 4mm hexagon
wrench then adjust the length
of the beam according to the
width of the tops you are fitting.
Fix the beam length in place
with the M6*10 screw. It will
now be fixed at that length.
Attach legs to the beam using 4 of M8*50 screws.
M8*50 screw 4PCS
Attach brackets to beam using 4 of M6*12 screws, fit the rubber
cushions and plastic pad to the brackets and beam.
Attach 2 feet to leg using 8 of M6*14 screws.
4mm hex spanner
Loosen nut on each end of the transmission rod using spanner,
connect the hex rod of main leg to one end of the transmission rod
and the hex rod of transmission rod insert to the other leg.
Fit the control box holder to the beam, then slide
the control box into the holder.
Fix tablet top to the frame with 8 of ST4.8*25 screws, then fix the
handset to the front edge of the table top with 2 of ST3.5*19 screws.
Connect the control box and the motor to the handset. Connect the
power cable, plug it in and you’re ready to roll.
M6*14 screw 8PCS
M6*12 screw 4PCS Plastic pad 8PCS
Rubber cushion 8PCS
ST4.8*25 screw
2PCS
ST4.8*25 screw
2PCS
ST4.8*25 screw 4PCS
ST3.5*19 screw 2PCS
Parts and tools list
Assembly instructions
8
9
7
6
5
4
1
10
11
12
13
Qty QtyName Name
3
2
14
15
2
3
4
16
5
789
11 12 13 11 12
10
Powercore_assembly instructions_Laptop desk_A4.indd 2Powercore_assembly instructions_Laptop desk_A4.indd 2 12/05/22 12:39 PM12/05/22 12:39 PM

Other Powercore Indoor Furnishing manuals

Powercore PLUS Desk User manual

Powercore

Powercore PLUS Desk User manual

Powercore Desk User manual

Powercore

Powercore Desk User manual

Popular Indoor Furnishing manuals by other brands

Tot Mate TM2313R Assembly instructions

Tot Mate

Tot Mate TM2313R Assembly instructions

OLG EkoSystem SSD Assembly instructions

OLG

OLG EkoSystem SSD Assembly instructions

Camaflexi CAMAFLEXI TALL BUNK BED TWIN installation manual

Camaflexi

Camaflexi CAMAFLEXI TALL BUNK BED TWIN installation manual

Costway HV10071 manual

Costway

Costway HV10071 manual

Habitat Yves 825028 manual

Habitat

Habitat Yves 825028 manual

World Market 527211 Assembly instructions

World Market

World Market 527211 Assembly instructions

Habitat Tiek 915309 manual

Habitat

Habitat Tiek 915309 manual

Furinno 10024 Assembly instruction

Furinno

Furinno 10024 Assembly instruction

Coaster 192691 Assembly instructions

Coaster

Coaster 192691 Assembly instructions

Dream On Me 598 Assembly instructions

Dream On Me

Dream On Me 598 Assembly instructions

Coaster 800215 Assembly instruction

Coaster

Coaster 800215 Assembly instruction

Welltime 8142 7026 Assembly instructions

Welltime

Welltime 8142 7026 Assembly instructions

iCube NIGHTSTAND Assembly instructions

iCube

iCube NIGHTSTAND Assembly instructions

Monarch I 2568 Assembly instructions

Monarch

Monarch I 2568 Assembly instructions

Universal EXPLORE HOME Malibu 956260 instruction sheet

Universal

Universal EXPLORE HOME Malibu 956260 instruction sheet

KODU UK0607 Assembly instructions

KODU

KODU UK0607 Assembly instructions

John Lewis Beech user manual

John Lewis

John Lewis Beech user manual

Baumax BALTICA 2601 Assembling Instruction

Baumax

Baumax BALTICA 2601 Assembling Instruction

manuals.online logo
manuals.online logoBrands
  • About & Mission
  • Contact us
  • Privacy Policy
  • Terms and Conditions

Copyright 2025 Manuals.Online. All Rights Reserved.