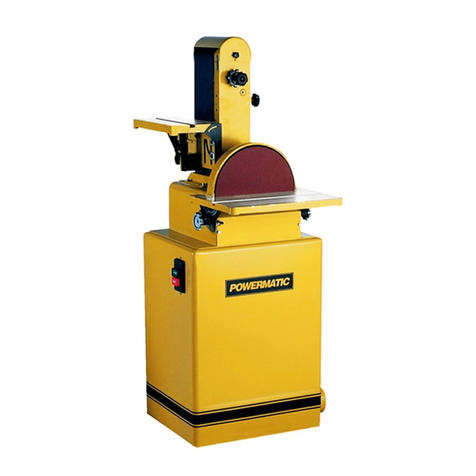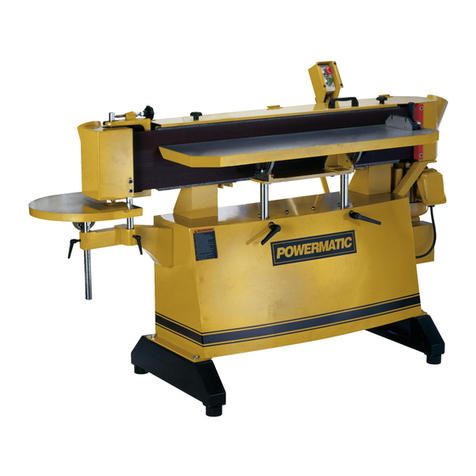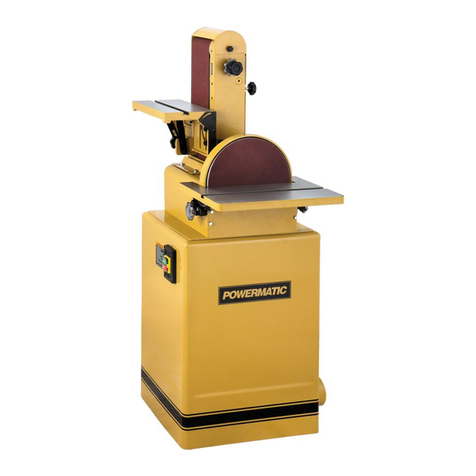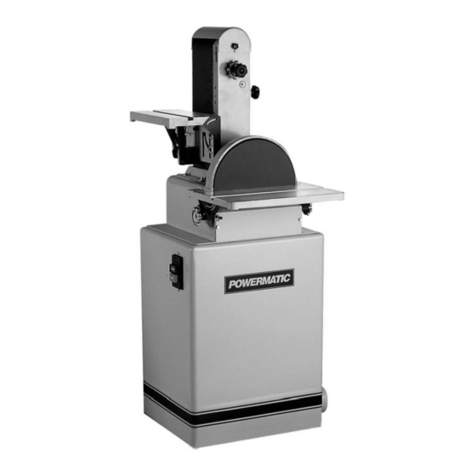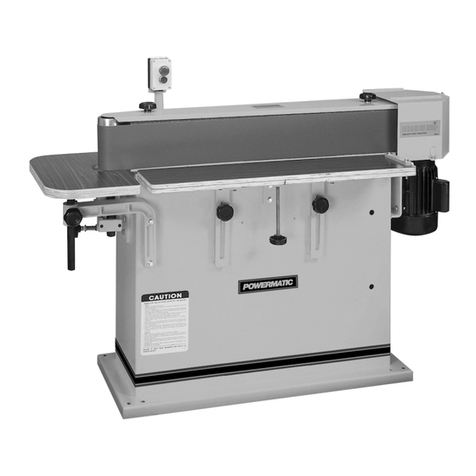
Valley Woodworkers of West Virginia – Powermatic 31A Combination Belt-Disk Sander
PPH November 16, 2012
Careless Acts. Give the work you are doing your undivided attention. Looking around, carrying
on a conversation and “horseplay” are careless acts that can result in serious injury and loss of
work shop privileges.
Disconnect machine before performing any service or maintenance. A machine under repair or
when changing sanding belts or disks must be Locked Out following the Club Lockout
Procedure until the maintenance is complete.
Maintain Tools In Top Condition. Do not operate the sander with a worn-out sanding belt, or a
belt that is torn.A worn-out belt generates excessive heat and can cause the belt to come apart.
A torn belt is likely to break. In either case, the belt may get caught up in the sander and damage
the drive roll or other machine components.
Hand Safety. Follow the 3” rule. Keep hands clear of the abrasive. Do not allow your hands to
come within 3” of the abrasive belt or disk. Avoid awkward operations and hand positions
where a sudden slip could cause your hand to contact the abrasive.
Material Condition. Reclaimed or pressure treated wood is not to be sanded on this machine.
Sand only flat, straight stock. Do not attempt to sand twisted, warped, bowed or “in wind” stock.
Do not attempt to sand long or wide boards unless adequate supports are used.
Stock Length. Small pieces should be held with a clamp or jig as necessary to keep your hands
away from the abrasive belt or disk.
CAUTION: Support Tables: The support tables must be used to support the workpiece. Do
not try to hold the workpiece solely by using your hands. The only exception is when sanding
concave surfaces using the end of the sanding belt.
Machine Adjustments.
•Adjustments to the support tables must be done when the machine is not running.
•Adjust the support tables so that they are about 1/16” from the abrasive.
•Adjustments to the position of the sanding belt from vertical to horizontal must be made
when the machine is not running.
•Belt tracking should be checked manually before starting the sander. Final adjustment
may have to be made with the sander running.
Sanding Belts.Use only sanding belts and disks approved by the Shop Leader. Do not use
sanding belts or disks that are worn-out or torn. Use a sanding belt or disk grit that is appropriate
for the amount of material that needs to be removed.
Machine Capacity. Do not try to force the sander to remove material faster than the power
available from the drive motor. The use of light pressure on either disc or belt sanding and
moving the part back and forth will maximize belt or disc life, help to minimize the chances of
an accident and keep the force within the capacity of the drive motor.
Job Completion. If the operator leaves the machine area for any reason, the sander should be
turned “off” and the belt should come to a complete stop before his departure. In addition, if the
operation is complete, the operator should clean the sander and the work area. Never clean the
sander with the power “on” and never use the hands to clear sawdust and debris; use a brush.
If you are not thoroughly familiar with the operation of the sander, obtain advice from the Shop
Leader.
