manuals.online logo
Brands
  1. Home
  2. •
  3. Brands
  4. •
  5. Presto
  6. •
  7. Kitchen Appliance
  8. •
  9. Presto 2905 User manual

Presto 2905 User manual

1
InstructIons
2007 by National Presto Industries, Inc.
Visit us on the web at www.GoPresto.com
Peel a Meal
Electric Peeler
• The fast and easy way to peel potatoes! Up
to two pounds in one to four minutes.
• Peels apples and carrots too.
• Includes salad spinner attachment.
Quickly dries leafy vegetables.
• Removable bowl and peeling disc are
fully immersible and dishwasher safe.
This is a Listed appliance. The following important safeguards are recommended by most portable appliance
manufacturers.
IMPORTANT SAFEGUARDS
To reduce the risk of personal injury or property damage, when using electrical appliances, basic safety precautions should
always be followed, including the following:
1. Read all instructions before using the electric peeler.
2. To protect against the risk of electrical shock, never put the motorized base, cord, or plug in water or other liquids.
3. Close supervision is necessary when any appliance is used by or near children.
4. Always use unit on a hard, flat surface. Do not operate unit on a soft surface, such as a towel or hot pad, that could block or
restrict the air vents located on the bottom of the motorized base.
5. Do not operate unit unless cover is locked on.
6. Avoid contact with moving parts.
7. Always turn motor off when peeling of food is completed.
8. Unplug from outlet when not in use, before putting on or taking off parts, and before cleaning.
9. Do not operate any appliance with a damaged cord or plug or in the event the appliance malfunctions or has been damaged
in any manner. Return the appliance to the Presto Factory Service Department or to the nearest Presto Authorized Service
Station for examination, repair, or electrical or mechanical adjustment.
10. The use of attachments not recommended or sold by the appliance manufacturer may cause fire, electrical shock, or injury.
11. Do not let cord hang over edge of table or counter or touch hot surfaces.
12. Do not use outdoors.
13. Do not use appliance for other than intended use.
SAVE THESE INSTRUCTIONS
THIS PRODUCT IS FOR HOUSEHOLD USE ONLY.
2
Cord Storage
Turn the motorized base
so the bottom is facing
towards you. Insert your
thumb or finger in the
slot below the words
“Pull to Open” (Fig. B)
and pull open the cord
storage cover. Remove
the desired length of
cord and position the
cord in the groove on
the base. Snap the cord
storage cover closed.
Important Plug Information
As a safety feature, this appliance has a polarized plug (one blade is wider than the other). This plug will fit in a polarized outlet
only one way. If the plug does not fit fully in the outlet, reverse the plug. If it still does not fit, contact a qualified electrician. Do
not attempt to defeat this safety feature.
Getting Acquainted
Before initial use, and after each subsequent use, wash all parts except the motorized base in hot, soapy water. The bowl, peeling disc,
and salad spinner may be washed in the dishwasher on the rack farthest away from the heating element; however, do not wash the
see-through cover in a dishwasher.
Wipe the motorized base with a damp cloth to clean. Never immerse the motorized base in water or any other liquid.
Preparing Food for the Electric Peeler
• The electric peeler is designed for peeling small and medium size potatoes, carrots,
and apples. Long, oblong type potatoes and large carrots can be peeled also, however,
they must rst be cut to t inside the bowl. The potatoes and carrots should be
cut so they are approximately ½ inch shorter than the hub to wall distance as
illustrated in Fig. D (maximum length is 2¾˝). Cut the ends off medium size
potatoes that are longer than 2¾ inches and discard the ends. Cut large potatoes in
half crosswise.
• Always use rm, fresh food.
• Use potatoes without deep “eyes” as they will peel more thoroughly.
• The apples that work best are those that are round in shape, such as Cortland, Rome
and Granny Smith varieties. Avoid using apples with bruises.
• Arrange a single layer of food uniformly around the peeling disc. Do not stack food
on the peeling disc. Position cut potatoes on the peeling disc with the cut ends to-
ward the hub and wall as shown in Fig. D.
FILL
On/Off
switch
Peeling disc
See-through
cover
Removable
bowl
Post
Hub
Motorized
base
Cover handle
Fig. A
Salad
spinner
ring
Salad
spinner
Cord storage
cover Groove
Slot
Fig. B
Fill line
Fig. C
Fig. D
Hub
Wall
3
MAXIMUM QUANTITIES RECOMMENDED PER LOAD:
12 small round new potatoes
6 to 8 medium size potatoes
3 large potatoes (cut in half crosswise)
4 to 6 medium apples
single layer of carrots (sized as indicated above)
How To Use
1. Place the electric peeler in the center of a dry, flat surface away from countertop edge.
Important: Do not leave unit unattended while unit is turned ON as unit may move around the counter during use.
2. Place the removable bowl on the motorized base and then position the peeling disc on the post inside the bowl (see Fig. A).
3. Add water (1¾ cups) up to the fill line located inside the removable bowl, Fig C. DO NOT UNDERFILL OR OVERFILL.
Food will not peel thoroughly if too little water is used. Too much water will cause excessive frothing.
4. Set the salad spinner without the ring in the sink, as it will be used later as a colander.
5. Loosely position a single layer of potatoes, apples, or carrots on the peeling disc around the hub as shown in Fig. D. Always
be sure the food to be peeled is at least ½ inch shorter than the hub to wall distance (maximum length 2¾˝).
6. Place the cover on the bowl and lock it into place by pressing the cover handles toward the bowl. Caution: Do not operate
the unit without the cover locked on.
7. Plug the cord into the outlet and turn the unit on (position l). Peeling will take between 1 and 4 minutes depending on the
type and quantity of food being peeled. It is recommended that you turn the unit off (position O) after the first minute and
every 30 seconds thereafter to check the peeling progress.
Note: It is possible as a result of the variability in the shape of the food, that a piece may become lodged in a position that
causes the processing to stop. Should this happen, tap the side of the bowl to dislodge the food or if tapping does not work,
turn the unit off, remove the cover, and reposition the food.
8. Once food is peeled, turn the unit off and remove the cover by pulling the handles out away from the bowl. Remove the
bowl from the motorized base. Carry the removable bowl to the sink and while holding the peeling disc hub in place, care-
fully pour the contents from the removable bowl into the salad spinner. Rinse the food with cold water.
After peeling potatoes in the electric peeler, you may notice that potatoes with deep “eyes” may require some touch up peel-
ing by hand using a paring knife.
Carrots peeled in the electric peeler have a different appearance than those peeled by hand, since only the top layer is
removed. When carrots are hand peeled, not only the top but several layers beneath the top are removed. Unfortunately,
those layers contain many of the key nutrients. The electric peeler, by removing only the top layer, insures that those
nutrients are retained in the carrot rather than thrown away with the peel.
How To Use the Salad Spinner Attachment
1. Place the removable bowl on the motorized base and insert the salad spinner attachment. Do not use the peeling disc when
using the salad spinner.
2. Separate the salad greens from the core and rinse them thoroughly. Then, distribute the greens loosely in the salad spinner
making sure the stem ends are evenly dispersed around the hub. Keep the greens below the rim of the salad spinner and snap
the salad spinner ring into place. Attach the cover to the removable bowl and turn the unit on for 15 to 25 seconds.
Note: Failure to distribute the stem ends evenly with certain types of leaf lettuce may cause the unit to become unbalanced
during processing causing the unit to move around the counter. In addition, it is possible the bowl may spin off the unit.
3. Turn the unit off, remove the cover from the bowl, and remove the salad spinner.
Care and Cleaning
Wash all parts except the motorized base in hot, soapy water. The bowl, peeling disc, and salad spinner may be washed in the
dishwasher on the rack farthest away from the heating element; however, do not wash the see-through cover in a dishwasher.
If necessary, use a vegetable brush to clean any particles that may have become stuck in the peeling disc holes.
Wipe the motorized base with a damp cloth to clean. Never immerse the motorized base in water or any other liquid.
Stubborn carrot stains inside the bowl and on the peeling disc can be removed by pouring a small amount of vegetable oil on
a paper towel and wiping the stained area. For best results, do this as soon as stains are noticed. If you should experience any
other food staining, use a mixture of household bleach and water to clean the stains. Use 1 tablespoon of bleach per 1¼ cups of
water.

4
Consumer Service Information
If you have any questions regarding the operation of your Prestoappliance or need parts for your appliance, contact us by any
of these methods:
• Call1-800-877-0441weekdays 8:00 AM to 4:30 PM (Central Time)
• Emailusatourwebsitewww.GoPresto.com
• Write: NATIONAL PRESTO INDUSTRIES, INC.
Consumer Service Department
 3925NorthHastingsWay,EauClaire,WI54703-3703
When contacting the consumer service department, please indicate the model number and the 4 digit date code for the electric
peeler. These numbers can be found on the bottom of the motorized base.
Inquiries will be answered promptly by telephone, email, or letter. When emailing or writing, please include a phone number and
a time when you can be reached during weekdays if possible.
Any maintenance required for this product, other than normal household care and cleaning, should be performed by our Factory
Service Department. Be sure to indicate date of purchase and a description of defect when sending an appliance for repair. Send
appliances for repair to:
CANTON SALES AND STORAGE COMPANY
Presto Factory Service Department
555MatthewsDr.,Canton,MS39046-0529
The Presto Factory Service Department is equipped to service all PRESTOappliances and supply genuine PRESTOparts.
Genuine PRESTOreplacement parts are manufactured to the same exacting quality standards as PRESTOappliances and are
engineered specifically to function properly with its appliances. Presto can only guarantee the quality and performance of genuine
PRESTOparts. “Look-alikes” might not be of the same quality or function in the same manner. To ensure that you are buying
genuine PRESTOreplacement parts, look for the PRESTOtrademark.
PRESTO LimitedWarranty
This quality PRESTOappliance is designed and built to provide many years of
satisfactory performance under normal household use. Presto pledges to the original
owner that should there be any defects in material or workmanship during the first year
after purchase, we will repair or replace it at our option. Our pledge does not apply to
damage caused by shipping. To obtain service under the warranty, return this PRESTO
appliance, shipping prepaid, to the Presto Factory Service Department. When returning
a product, please include a description of the defect and indicate the date the appliance
was purchased.
We want you to obtain maximum enjoyment from using this PRESTOappliance and
ask that you read and follow the instructions enclosed. Failure to follow instructions,
damage caused by improper replacement parts, abuse or misuse will void this pledge.
This warranty gives you specific legal rights, and you may also have other rights which
vary from state to state. This is Presto’s personal pledge to you and is being made in
place of all other express warranties.
NATIONAL PRESTO INDUSTRIES, INC.
EauClaire,WI54703-3703
Form 72-736A

This manual suits for next models

1

Other Presto Kitchen Appliance manuals

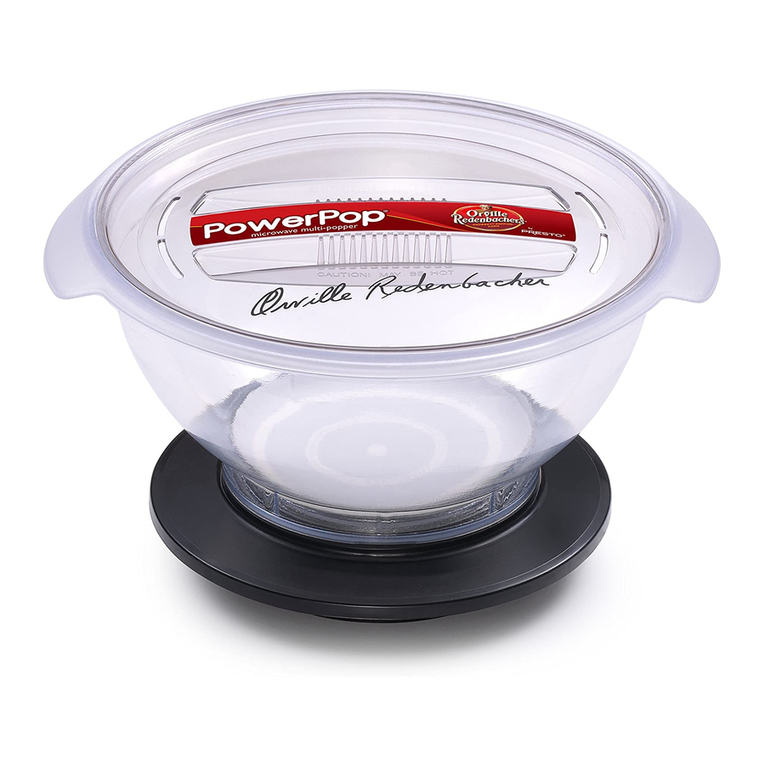
Presto PowerPop 4830 User manual

Presto

Presto PowerPop 4830 User manual

Presto Stainless Steel Electric Pressure Cooker Quick guide

Presto

Presto Stainless Steel Electric Pressure Cooker Quick guide

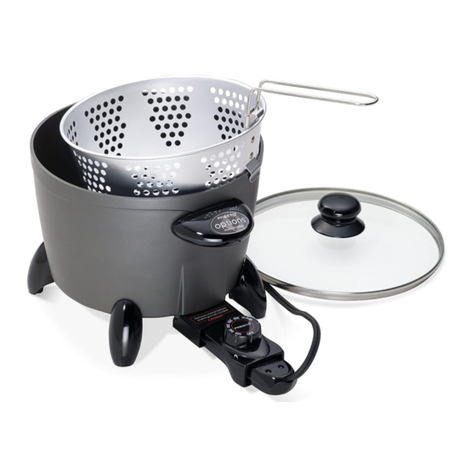
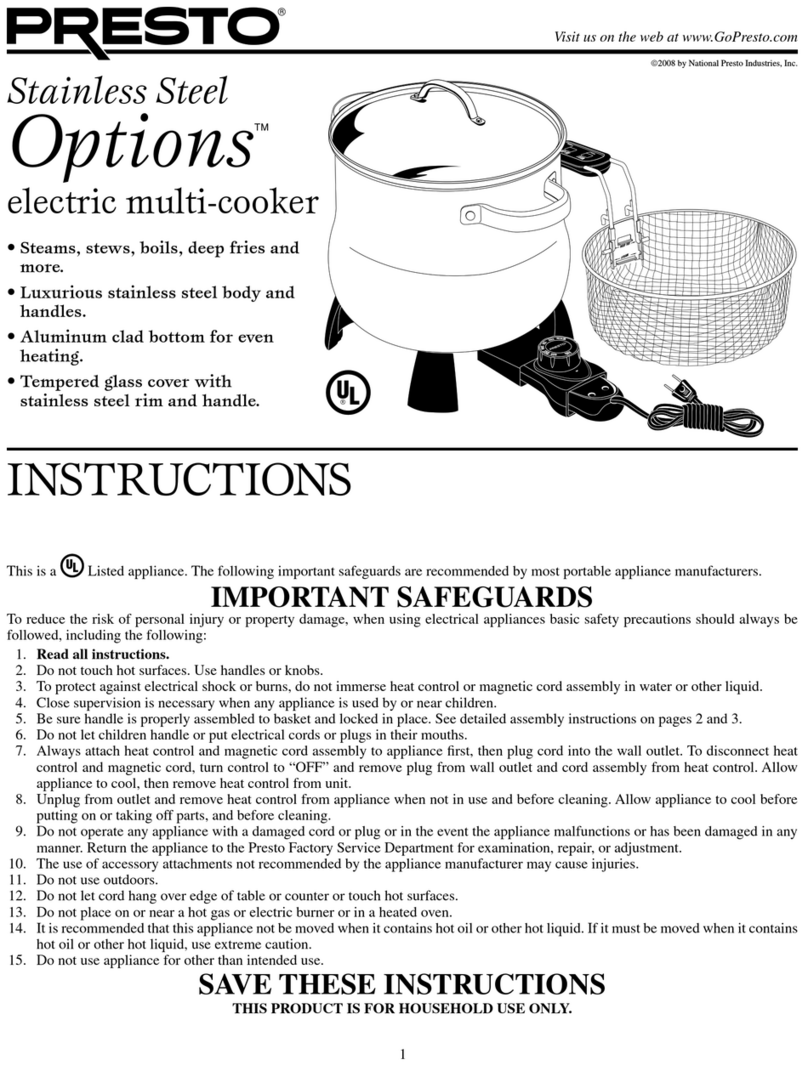
Presto Options multi-cooker/steamer User manual

Presto

Presto Options multi-cooker/steamer User manual

Presto HomeAde 2621 User manual

Presto

Presto HomeAde 2621 User manual

Presto SaladShooter User manual

Presto

Presto SaladShooter User manual

Presto PowerCrisp User manual

Presto

Presto PowerCrisp User manual

Presto FreshDaddy User manual

Presto

Presto FreshDaddy User manual

Presto Pressure Canner and Cooker Quick guide

Presto

Presto Pressure Canner and Cooker Quick guide

Presto stirring popper 05204 User manual

Presto

Presto stirring popper 05204 User manual

Presto 04846 User manual

Presto

Presto 04846 User manual

Presto Dehydro Digital Electric Food Dehydrator User manual

Presto

Presto Dehydro Digital Electric Food Dehydrator User manual

Presto ProfessionalSaladShooter 2970 User manual

Presto

Presto ProfessionalSaladShooter 2970 User manual

Presto Professional SaladShooter User manual

Presto

Presto Professional SaladShooter User manual

Presto Jerky Gun User manual

Presto

Presto Jerky Gun User manual

Presto SaladShooter electric slicer/shredder User manual

Presto

Presto SaladShooter electric slicer/shredder User manual

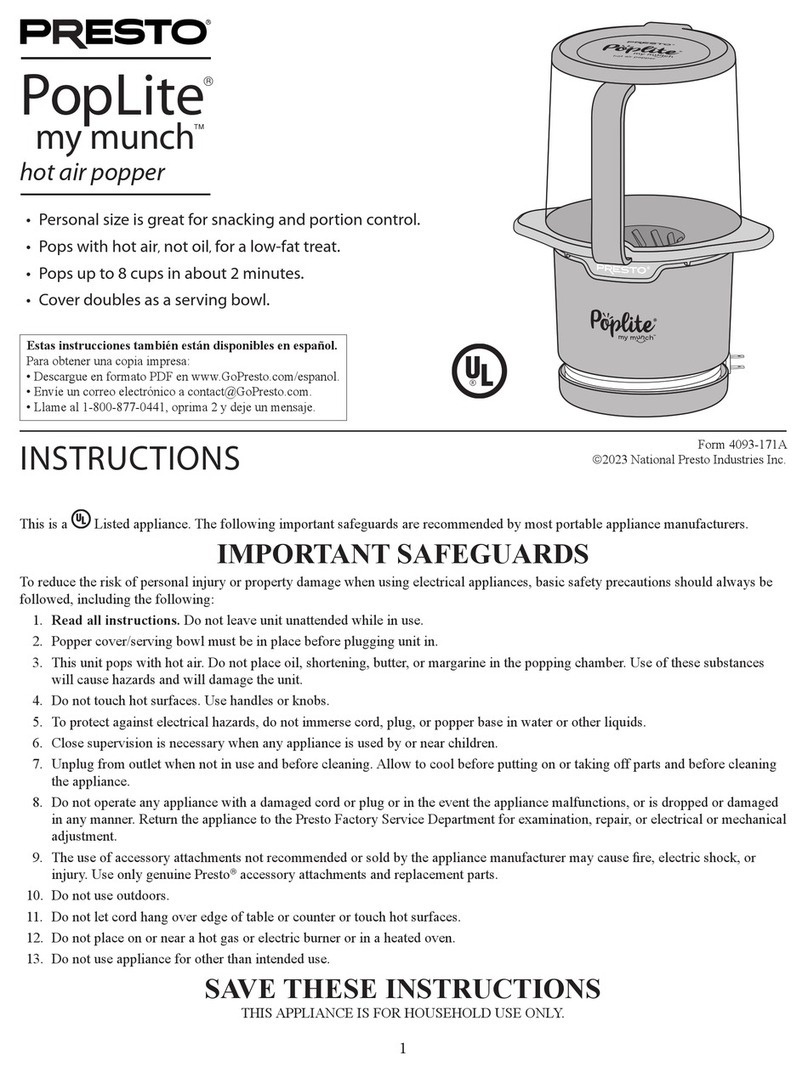
Presto PopLite my munch 04811 User manual

Presto

Presto PopLite my munch 04811 User manual

Presto 02/CAA12H Owner's manual

Presto

Presto 02/CAA12H Owner's manual

Presto Foldaway 16 User manual

Presto

Presto Foldaway 16 User manual

Presto Dehydro User manual

Presto

Presto Dehydro User manual

Presto fountain popper User manual

Presto

Presto fountain popper User manual

Presto Collapsible silicone Microwave Multi-cooker User manual

Presto

Presto Collapsible silicone Microwave Multi-cooker User manual

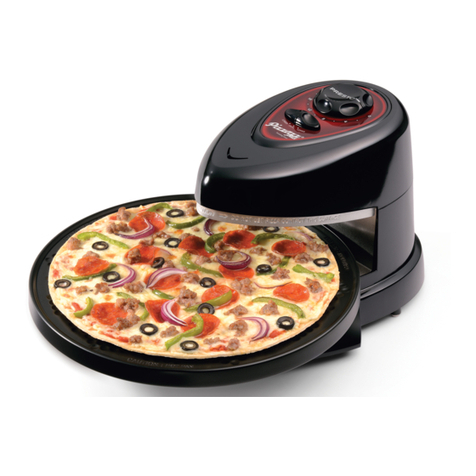
Presto Pizzazz User manual

Presto

Presto Pizzazz User manual

Presto 0600711 User manual

Presto

Presto 0600711 User manual

Presto DiamondCoat Tilt’nDrain User manual

Presto

Presto DiamondCoat Tilt’nDrain User manual

Popular Kitchen Appliance manuals by other brands

Glacier bay QK011 owner's manual

Glacier bay

Glacier bay QK011 owner's manual

Holstein Housewares HU-09008 Important safeguards

Holstein Housewares

Holstein Housewares HU-09008 Important safeguards

Philips HR7620 user manual

Philips

Philips HR7620 user manual

Impecca COURANT CCG-2871 user guide

Impecca

Impecca COURANT CCG-2871 user guide

Coleman 9914 Series Instructions for use

Coleman

Coleman 9914 Series Instructions for use

Westinghouse QL045 owner's manual

Westinghouse

Westinghouse QL045 owner's manual

Livoo DOP192 user manual

Livoo

Livoo DOP192 user manual

Roller Grill CVE 400 Instructions for use and installation

Roller Grill

Roller Grill CVE 400 Instructions for use and installation

Kalorik USK CHM 16314 operating instructions

Kalorik

Kalorik USK CHM 16314 operating instructions

KoRo Sahara user manual

KoRo

KoRo Sahara user manual

Princess 493041 manual

Princess

Princess 493041 manual

Baumatic BCE620SS instruction manual

Baumatic

Baumatic BCE620SS instruction manual

Ninja Nutri BL480D owner's guide

Ninja

Ninja Nutri BL480D owner's guide

Parkinson Cowan Minuet 50 Owner's handbook

Parkinson Cowan

Parkinson Cowan Minuet 50 Owner's handbook

TREVIDEA Girmi GT45 user manual

TREVIDEA

TREVIDEA Girmi GT45 user manual

Royal Catering EX10012908 user manual

Royal Catering

Royal Catering EX10012908 user manual

Electrolux Single ovens specification

Electrolux

Electrolux Single ovens specification

AEG CCS6741ACM user manual

AEG

AEG CCS6741ACM user manual

manuals.online logo
manuals.online logoBrands
  • About & Mission
  • Contact us
  • Privacy Policy
  • Terms and Conditions

Copyright 2025 Manuals.Online. All Rights Reserved.