2
Important Cord Information
This appliance has a polarized plug (one blade is wider than the other). To reduce the risk of electric shock, this plug is intended to fit
into a polarized outlet only one way. If the plug does not fit fully into the outlet, reverse the plug. If it still does not fit, contact a quali-
fied electrician. Do not attempt to modify the plug in any way.
A short power supply cord is provided to reduce the risk of becoming entangled in or tripping over a longer cord. An extension cord
may be used if care is properly exercised in its use.
If an extension cord is used, the marked electrical rating of the extension cord should be at least as great as the electrical rating of the
appliance. The extension cord should be arranged so that it will not drape over the countertop or tabletop where it can be pulled on by
children or tripped over unintentionally.
Connect the power supply cord to a 120VAC electrical outlet only.
Before First Use
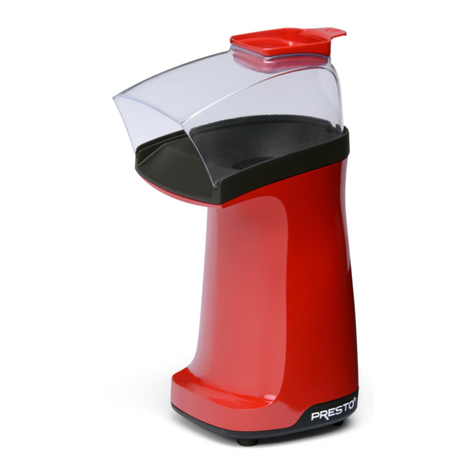
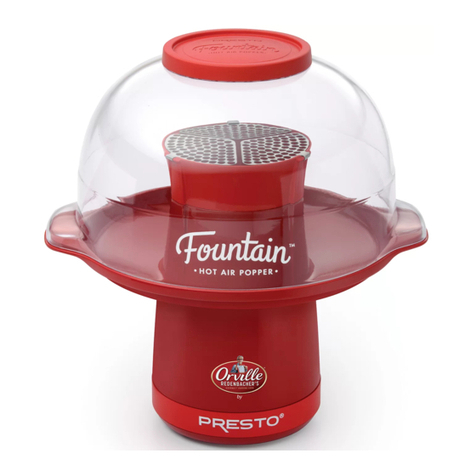
1. Become familiar with the various parts of the popper
(Fig. A) and read and follow the instructions carefully.
2. Prior to making your rst batch of popcorn, wash the
cover/serving bowl in warm, soapy water. Rinse and
dry thoroughly. Do not wash in the dishwasher.
Wipe the popping tray with a damp cloth.
WARNING! To protect against electrical hazards,
never ll the base of your popper with water, immerse
it in water or other liquid, or wash it in a dishwasher.
How to Use
1. Open the two restrictors without the lever and pour a
level ½ cup of popping corn into the popping chamber
for a full batch of popcorn. Return the restrictors to
the closed position. (If a smaller quantity is desired,
you can use as little as 2 tablespoons of popping corn.)
NOTE: Two of the restrictors will open completely,
but the restrictor with the lever (this is the restrictor
above the cord) will only open partially. This is by design. Do not force the third restrictor open completely.
IMPORTANT: Never use more than a level ½ cup of popping corn. Overloading the popping chamber may cause the unit to
overheat and shut off. It may also cause smoking and scorched corn. If this happens, refer to the Helpful Hints on page 3.
WARNING! Do not place salt, seasoning, butter, margarine, shortening, or microwave popcorn in the popping chamber as this could
damage the popper and cause a re hazard.
2. Place the cover/serving bowl over the popper base so the cover handles align with the base handles.
3. Remove the serving bowl lid to allow steam to vent during popping.
NOTICE: Failure to remove the lid will result in chewy popcorn and may result in melting of the lid and the cover vents.
4. To avoid steam damage to cabinets, position the popper so the cover vents are not directly under the cabinets. Plug the popper into
a 120VAC electrical outlet. Popping will begin in approximately 1½ minutes. When you plug the unit in and also during popping,
you may notice popcorn chaff releasing from the popping chamber as a result of the hot air blowing. This is normal.
5. Near the end of the popping cycle, when making a full batch, you may notice a buildup of popped corn on one side of the cover. If
the buildup approaches the cover vents, grasp the cover handles and popper base handles and gently shake the popper in a back and
forth motion a couple of times.
CAUTION! Do not shake prematurely. Premature shaking releases unpopped kernels from the popping chamber, resulting in poor
performance. Unpopped kernels may also escape through the cover vents.
Keep well away from the cover vents during popping. Popcorn varies tremendously from kernel to kernel and, although unlikely,
it is possible that a hot unpopped kernel could escape through one of the vents.
6. At the rst sign that popping is slowing (about 1 to 2 seconds between pops), unplug the unit and snap the lid onto the
cover/serving bowl.
®
Cover/serving bowl
Popper base
Serving bowl lid
Popping chamber
Fig. A
Stainless steel
restrictors
Lever
Cover vents
Cover handles
Popper base handles
Popping tray
Lever
