manuals.online logo
Brands
  1. Home
  2. •
  3. Brands
  4. •
  5. Prier
  6. •
  7. Plumbing Product
  8. •
  9. Prier P-118 User manual

Prier P-118 User manual

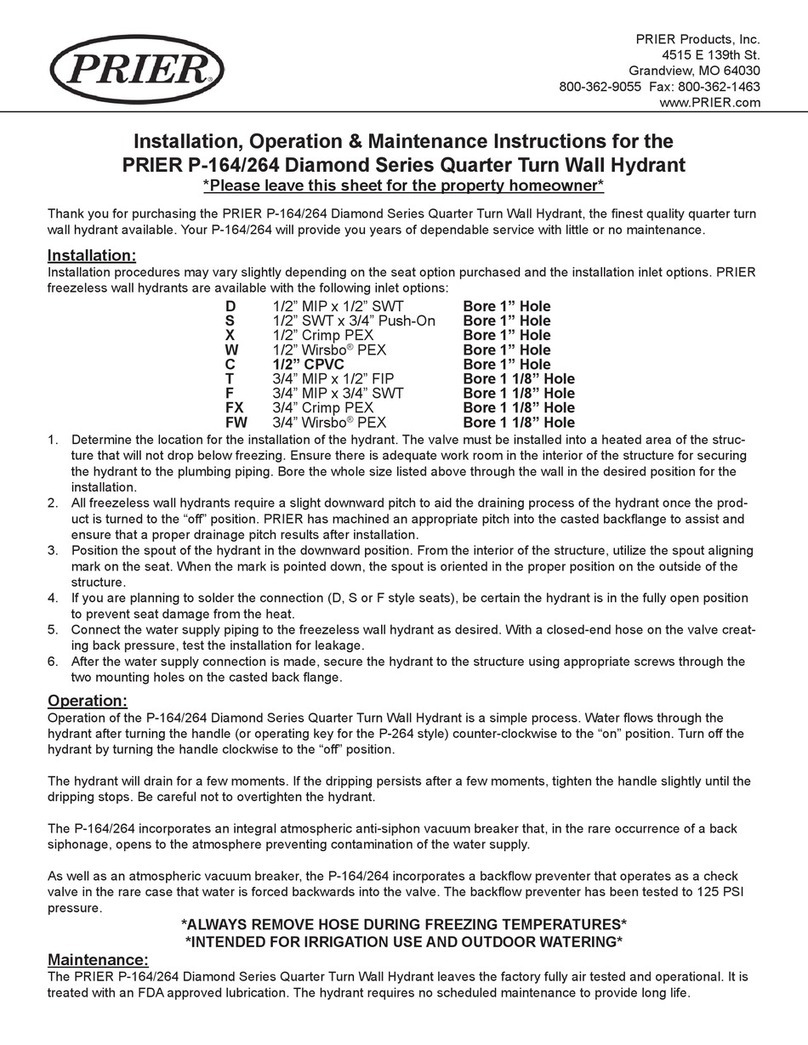
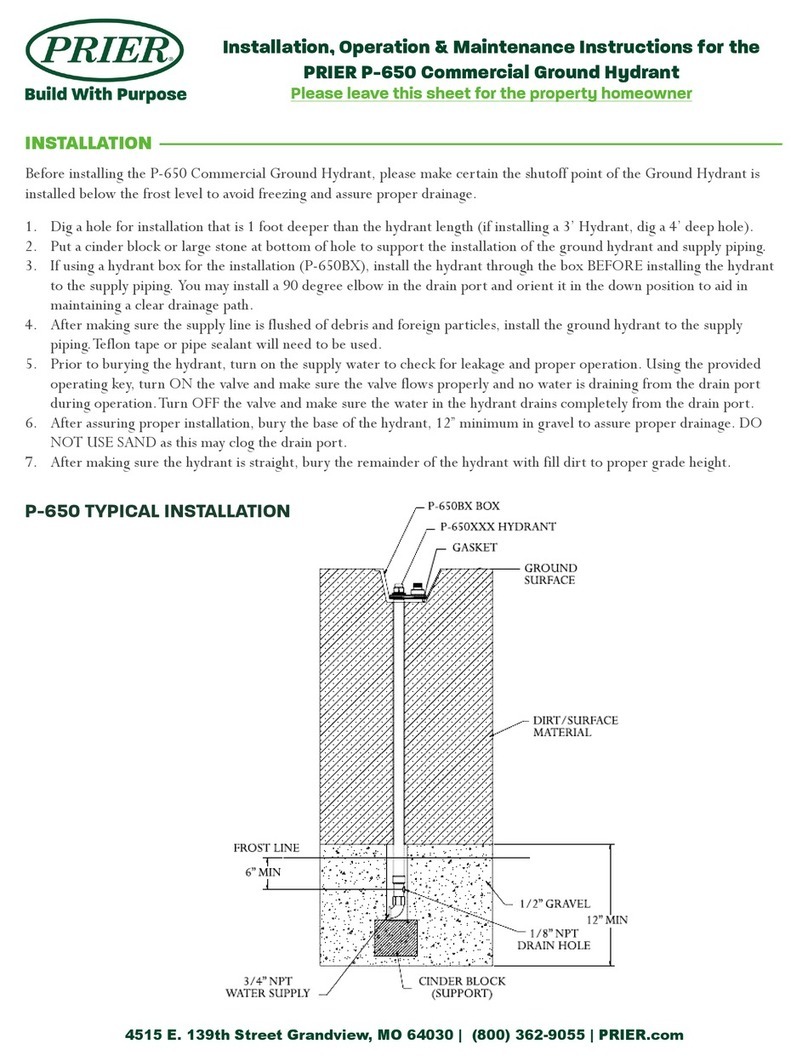
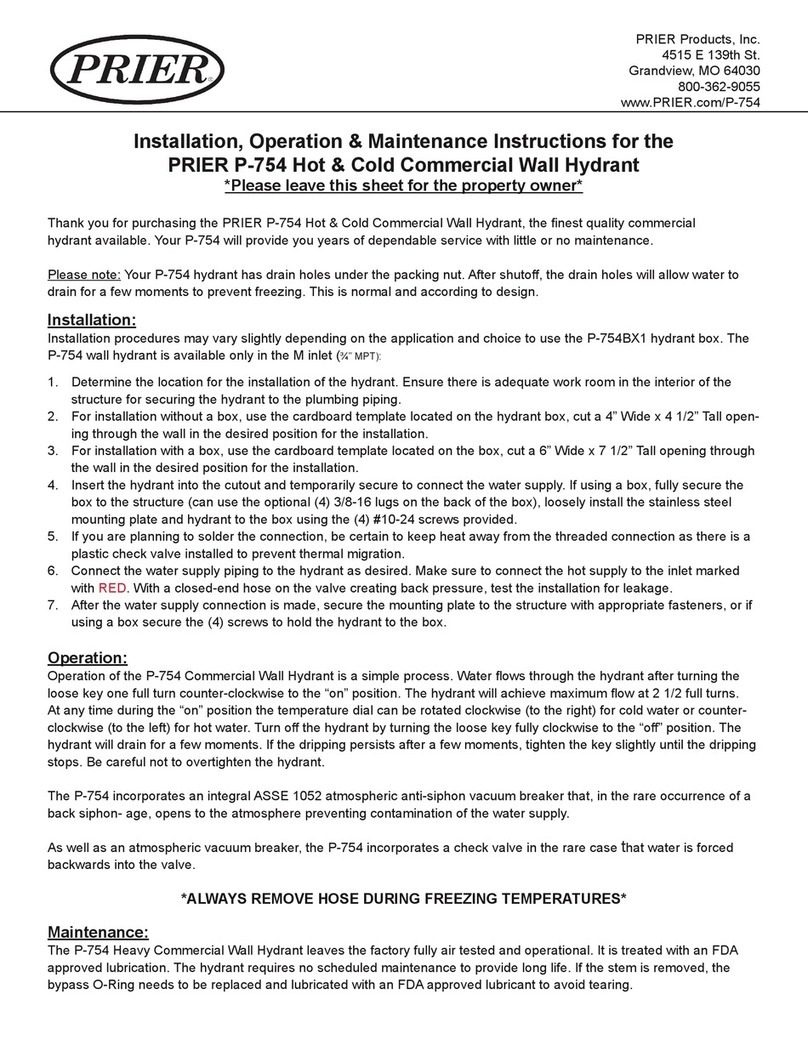
PRIER Products, Inc.
4515 E 139th St.
Grandview, MO 64030
800-362-9055 Fax: 800-362-1463
Installation Instructions for PRIER
P-118 Hot & Cold Wall Hydrant
Tools Required:
• 2” Hole Saw
• Level
• Power Screwdriver/Drill
(or Phillips screwdriver)
1. Determine the location for the installation of the hydrant. The valve must be installed into a
heated area of the structure that will not drop below freezing. Ensure there is adequate work
room in the interior of the structure for securing the hydrant to the plumbing system (hot and
cold).
2. Prepare the mounting surface and entry hole. The P-118 requires a vertical and smooth
mounting surface to ensure proper installation and draining. Depending on the surface the
hydrant will be mounted, a mounting block may be required to provide the vertical and smooth
mounting surface. Mounting blocks can be purchased or made on-site with a piece of wood or
other materials on hand.
Installation:
Soldered Connection:
• Soldering Torch, Solder, Flux
PEX Connection:
• PEX Crimp or Clamp tool
• Crimp or Clamp rings
3. Bore a 2” hole through the wall (and mounting block if using one) in the desired position for the
installation.
4. Center and level the mounting bracket with the 2” hole and attach to structure with the (4) - 1”
supplied screws. Depending on the substrate, you may want to drill a pilot hole. The tab with
a hole in it needs to be positioned at the bottom.
Step 4: Tab with hole positioned at 6 o’clock Step 4 cont’d: Ensure mounting bracket is level
Operation:
Operation of the P-118 Freezeless Hot/Cold Wall Hydrant is a simple process. Water ows through
the hydrant when the larger handle is turned counter-clockwise. Turn o󰀨 the hydrant by turning the
handle clockwise to the ‘OFF’ position.
The hydrant will drain for a few moments. If the dripping persists after 30 seconds, tighten the
handle slightly until the dripping stops. Be careful not to overtighten the hydrant.
To adjust the temperature of the water, simply turn the smaller temperature selector handle to the
desired position as indicated on the handle. All the way to the left (9 o’clock) is hot, in the middle
(12 o’clock) is warm, and all the way to the right (3 o’clock) is cold. The temperature selector
handle can be set at any position between the 9 and 3 o’clock position to reach the desired tem-
perature.
5. Slide the P-118 hydrant through the mounting
bracket into the structure. Align spout to the
3 o’clock position and fully insert the hydrant
ush to the wall. Once fully inserted rotate
clockwise to the 6 o’clock position. Use a
level to ensure proper alignment.
6. Install the remaining 5/8” screw through the
bottom of the hydrant and into the mounting
bracket. Tighten until the hydrant is secure.
Since this screw is forming the threads into
the mounting bracket, the use of an electric
drill/driver may be required.
7. Proceed to the interior of the structure to com-
plete installation by connecting the hydrant to
the plumbing system.
8. Depending on the plumbing system, you may
need to solder adapter ttings to the inlet
tubes to make compatitble with the existing
plumbing system. DO NOT OVERHEAT.
Overheating will cause damage and void the
warranty.
Step 5: Vacuum breaker is at the 9 o’clock
position, and the spout is at 3 o’clock
Step 6: Install remaining screw
9. Make sure to connect the hot water to the inlet tube labeled with a red dot. Complete the
installation by connecting the cold water line to the reamaining inlet tube and turning on the
water supply.
10.Attach a closed-end hose to the outlet of the hydrant and open hydrant to create backpres-
sure. Inspect the hydrant and connection points inside the house for leaks.
This ASSE 1019 device is intended for irrigation use and outdoor watering and shall not be subjected
to more than 12 hours of continuous water pressure.
*ALWAYS REMOVE HOSE DURING FREEZING TEMPERATURES*
For installation or other technical questions, please call our customer service team at 1-800-
362-9055.
Maintenance:
The PRIER P-118 Hot/Cold Wall Hydrant leaves the factory fully tested and operational. It is treated
with an FDA approved lubricant where needed. The hydrant requires no scheduled maintenace to
provide long life. If a problem does arise, all the serviceable components are o󰀨ered in repair kits.
The hydrant can be fully serviced from the exterior of the structure so there is no need to maintain
access from the inside.
P-118 Replacement Parts:
3
6
Hydrant Length
L Style - 57/8”
X Style - 63/4”
2
5
4
1Includes: 2,4, 5, internal valve
control parts, and exterior
protective sleeve
ID Part No. Description
1 See Below Overhaul Kit
2 See Below Stem
3 P-118KT-805 Handle Kit - Satin Nickel Plated
P-118KT-805-ORB Handle Kit - Oil-Rubbed Bronze
ID Part No. Description
4 P-299-0001 Temperature Control Kit
5 P-118KT-801 All Seals Kit
6 630-7500 Vacuum Breaker Kit - Satin Nickel Plated
630-7500-ORB Vacuum Breaker Kit - Oil-Rubbed Bronze

Other Prier Plumbing Product manuals

Prier C-633 Guide

Prier

Prier C-633 Guide

Prier 400 Diamond Series Guide

Prier

Prier 400 Diamond Series Guide

Prier P-164/264 Guide

Prier

Prier P-164/264 Guide

Prier P-650 Guide

Prier

Prier P-650 Guide

Prier P-754 Guide

Prier

Prier P-754 Guide

Prier C-434 Guide

Prier

Prier C-434 Guide

Prier P-114 Series Guide

Prier

Prier P-114 Series Guide

Popular Plumbing Product manuals by other brands

Moen SANI-STREAM 8797 manual

Moen

Moen SANI-STREAM 8797 manual

Grohe Allure Brilliant 19 784 manual

Grohe

Grohe Allure Brilliant 19 784 manual

Cistermiser Easyflush EVO 1.5 manual

Cistermiser

Cistermiser Easyflush EVO 1.5 manual

Kohler Triton Rite-Temp K-T6910-2A installation guide

Kohler

Kohler Triton Rite-Temp K-T6910-2A installation guide

BEMIS FNOTAB100 Installation instruction

BEMIS

BEMIS FNOTAB100 Installation instruction

Hans Grohe ShowerTablet Select 700 13184000 Instructions for use/assembly instructions

Hans Grohe

Hans Grohe ShowerTablet Select 700 13184000 Instructions for use/assembly instructions

Akw Stone Wash Basin Installation instructions manual

Akw

Akw Stone Wash Basin Installation instructions manual

Enlighten Sauna Rustic-4 user manual

Enlighten Sauna

Enlighten Sauna Rustic-4 user manual

Moen ShowHouse S244 Series quick start guide

Moen

Moen ShowHouse S244 Series quick start guide

Sanela SLWN 08 Mounting instructions

Sanela

Sanela SLWN 08 Mounting instructions

Franke 7612982239618 operating instructions

Franke

Franke 7612982239618 operating instructions

Heritage Bathrooms Granley Deco PGDW02 Fitting Instructions & Contents List

Heritage Bathrooms

Heritage Bathrooms Granley Deco PGDW02 Fitting Instructions & Contents List

Tres TOUCH-TRES 1.61.445 instructions

Tres

Tres TOUCH-TRES 1.61.445 instructions

STIEBEL ELTRON WS-1 Operation and installation

STIEBEL ELTRON

STIEBEL ELTRON WS-1 Operation and installation

Miomare HG00383A manual

Miomare

Miomare HG00383A manual

BELLOSTA revivre 6521/CR1 quick start guide

BELLOSTA

BELLOSTA revivre 6521/CR1 quick start guide

American Standard Heritage Amarilis 7298.229 parts list

American Standard

American Standard Heritage Amarilis 7298.229 parts list

BorMann Elite BTW5024 quick start guide

BorMann

BorMann Elite BTW5024 quick start guide

manuals.online logo
manuals.online logoBrands
  • About & Mission
  • Contact us
  • Privacy Policy
  • Terms and Conditions

Copyright 2025 Manuals.Online. All Rights Reserved.