Prima PRSO110 User manual

PRSO110
BUILT-IN PYROLITIC OVEN
Safety instructions......................................................................................................4
How to save energy.............................................................................................................5
Disposal of the appliance....................................................................................................5
Unpacking.............................................................................................................................5
Description of the appliance..................................................................................6
Installation......................................................................................................................7
Operation.......................................................................................................................9
Prior to first use........................................................................................................................9
Electronic programmer.......................................................................................................9
Oven....................................................................................................................................16
Cleaning and maintenance...................................................................................19
Operation in case of emergency........................................................................21
Baking in the oven....................................................................................................22
Technical information..............................................................................................27
Children less than 8 years of age shall be kept away unless
supervised.continuously
During use the appliance becomes hot. Care should be taken
touching heating elements inside the ovento avoid
WARNING: Accessible parts may become hot during use.
Young children should be kept away
This appliance can be used by children aged from 8 years and above and persons
with reduced physical, sensory or mental capabilities or lack of experience and
knowledge if they have been given supervision or instruction concerning use of the
appliance in a safe way and understand the hazards involved. Children shall not play
with the appliance. Cleaning and user maintenance shall not be made by children
without supervision.
The instructions for pyrolytic self-cleaning ovens shall state that excess
spillage must be removed before cleaning and shall specify which utensils can
be left in the oven during cleaning.
If, for cleaning, the manufacturer instructs the user to set the controls to a position
higher than for normal cooking purposes, the instructions shall state that under such
conditions the surfaces may get hotter than usual and children should be kept away.
DISPOSAL OF THE APPLIANCE
Old appliances should not
simply be disposed of with
normal household waste,
but should be delivered to
a collection and recycling
centre for electric and
electronic equipment.
A symbol shown on the product, the
instruction manual or the packaging shows
that it is suitable for recycling.
Materials used inside the appliance are
recyclable and are labeled with information
concerning this. By recycling materials or
other parts from used devices you are
making a significant contribution to the
protection of our environment.
Information on appropriate disposal
centers for used devices can be provided
by your local authority.
2
3
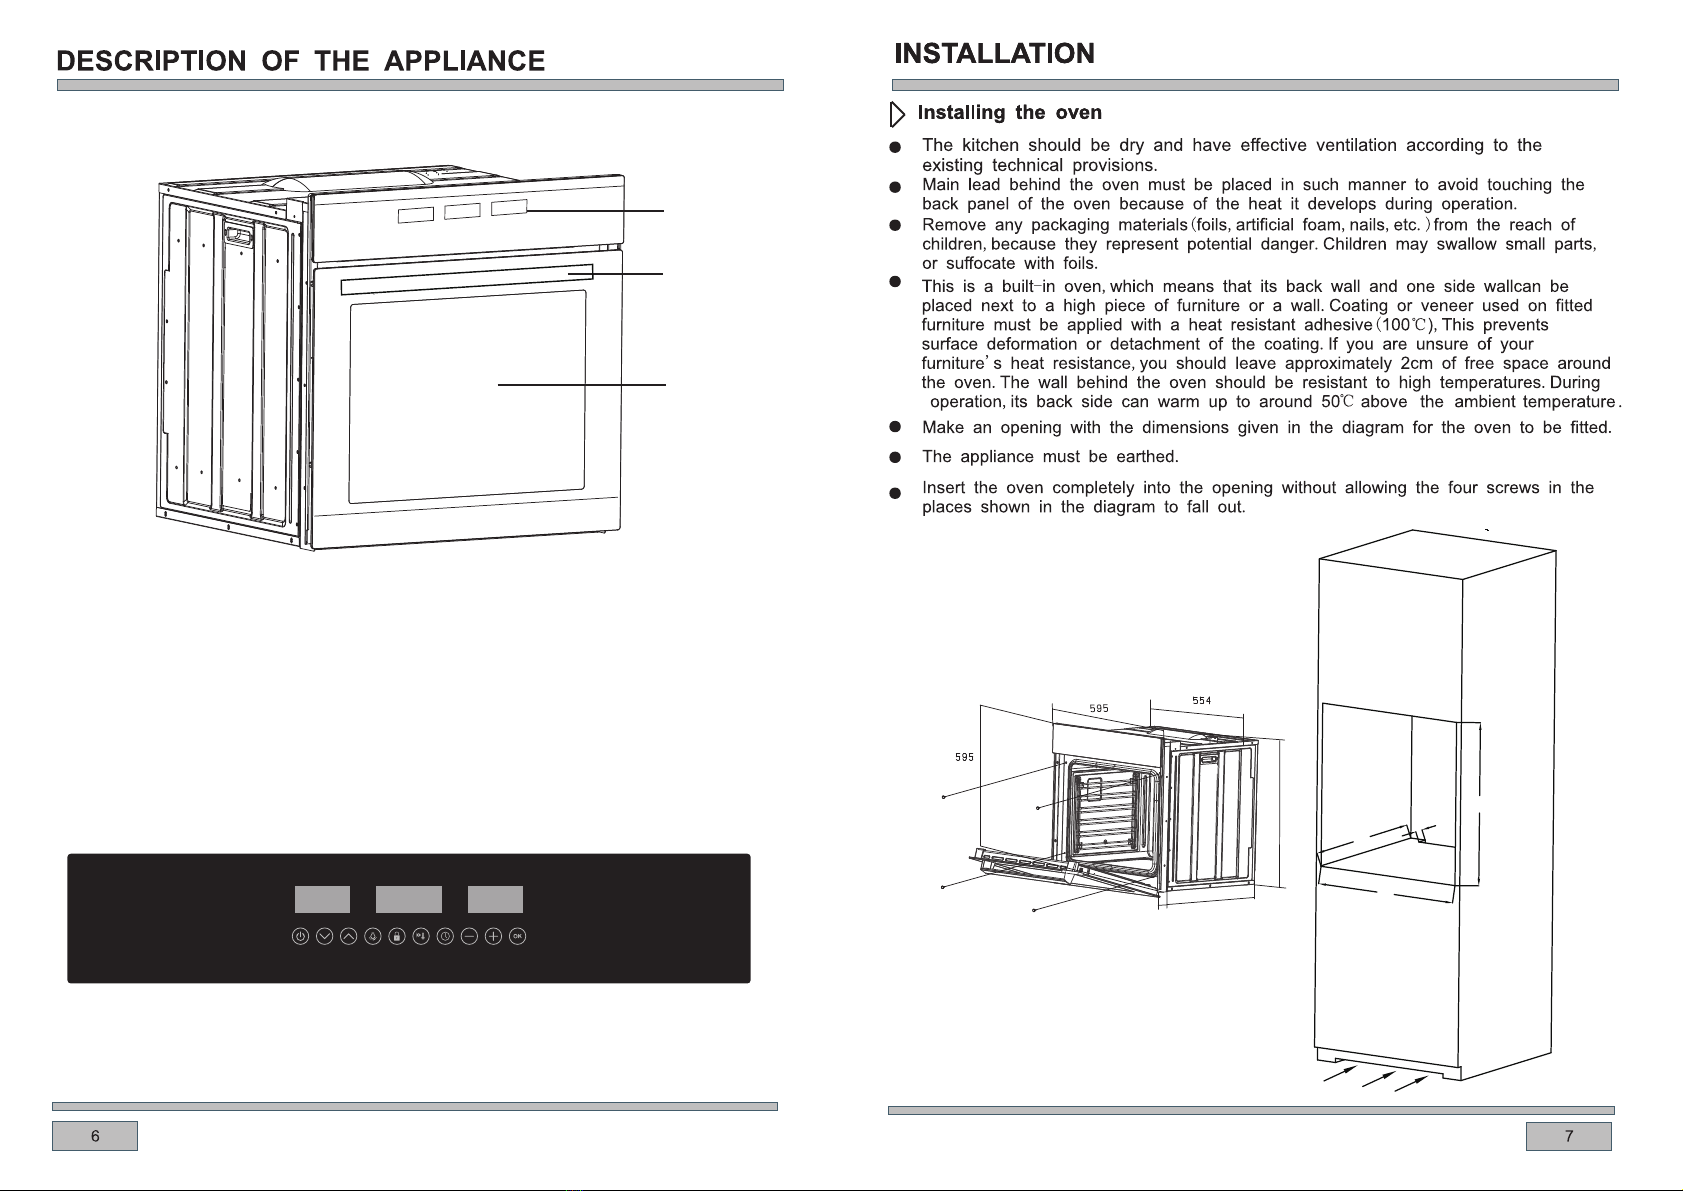
1
1. Control panel
2. Oven door handle
3. Oven door
570
20
547
564
600
560
40

1.5
The means for disconnection from
the supply mains having a contact
separation in all poles that provide
full disconnection under over voltage
the grounding wire shall be
longer than the other wires.
fixed wiring in accordance with the
wiring rules.
HO5RR-F
570
20
547
564
600
560 40
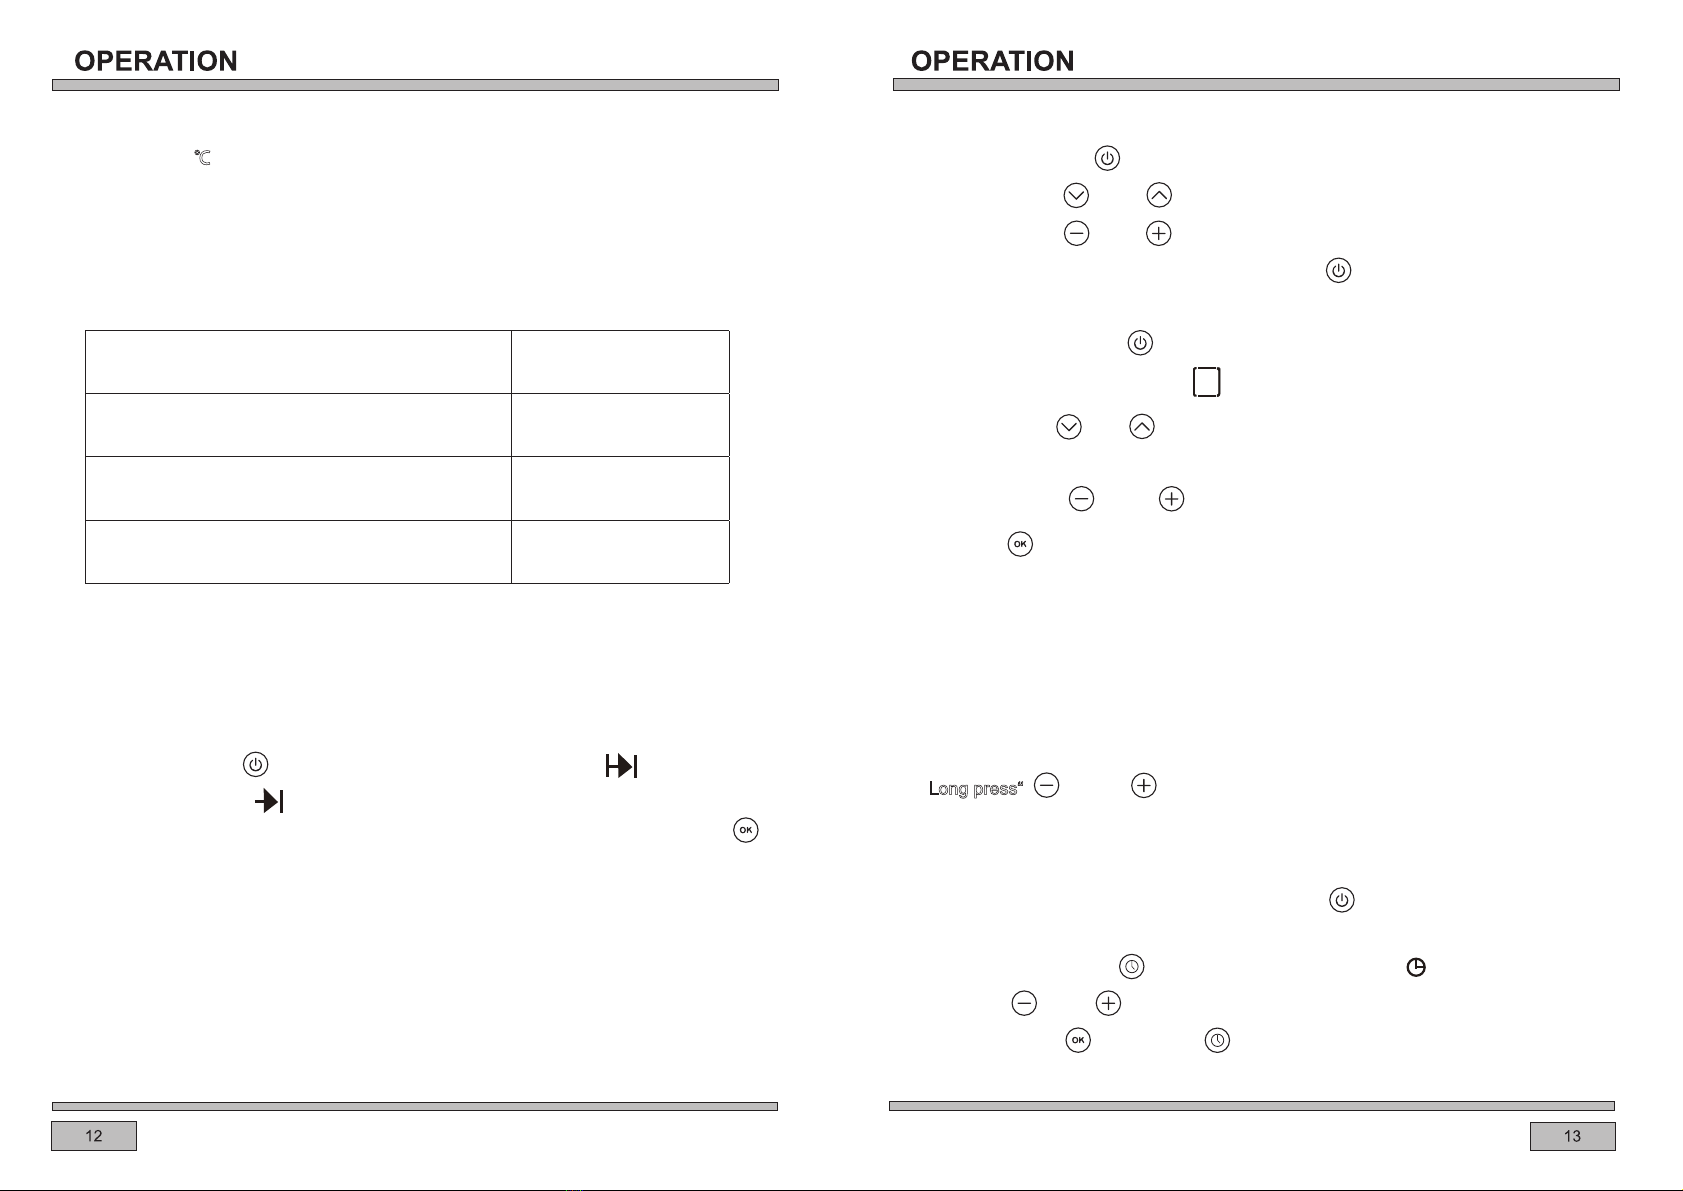
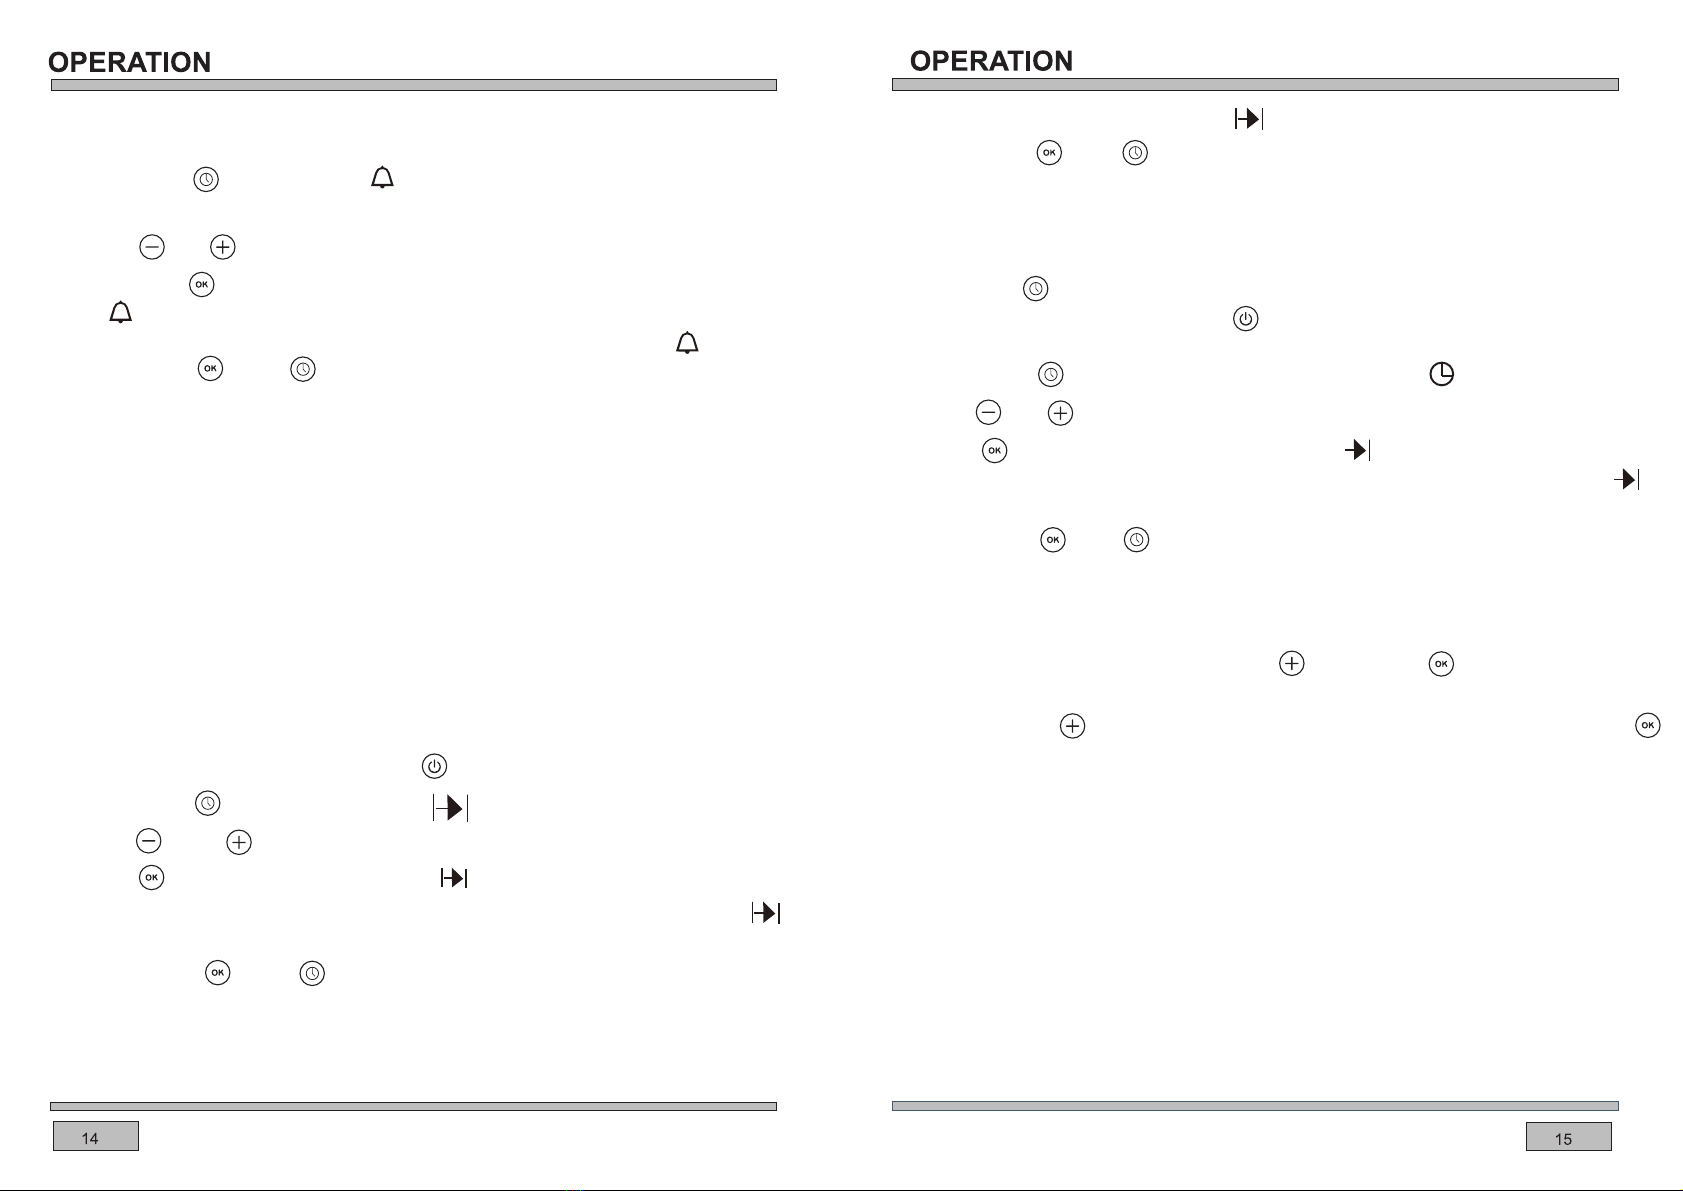
Time display Temperature display
Child lock
OK button
ON/OFF button
Oven function
selection
Selector Buttons
Clock Function
Speed cook
Oven lamp
P
Timer
Cooking time
Current time
End of cooking time
Child Safety Device
Working mode display
E=earthing wire, the colour is green/
yellow green.
The colour is usually blue/white.

Button Explanation
ON/OFF button For on / off the oven.
Oven function selection For upward downward selection of functional.
Oven lamp For on / off oven lamp. Select a function, the light
will turn on.
Clock Function Used to set the clock, alarm, cooking time and
end of cooking time.
OK button Used to confirm selection during the heating process.
Selector Buttons Used to set different temperatures, set the clock,
alarm, cooking time, end of cooking time.
Speedcook Enable rapid pre-heating of oven. After setting the
function and temperature, touch this button and the
oven will heat to the selected temperature faster.
Child lock button This enables you to lock the control panel. You
must unlock before you can use the oven panel.
Remark:
Use the function and temperature selector at the same time can turn on/off the oven.
Above is the control panel diagram, actual function please refer to product.
”.
Select or set a function, must press button“
Heating Indicator
When the “ ” is on, that the oven is heating.
”, total 5 sections, each present 20% of the
Also will show the heating status “
setting temperature.
” show the residual
Residual Heat Indicator
After oven stop working, temperature display“
heat information. 5 sections each stand for 20% of setting temperature.
Speedcook
Speedcook function is mainly used for preheating the oven. When the preheating
function is not yet complete, you can by pressing the speedcook button“ ”any
time to execute.
do the following:
1. Setting the function and temperature (See steps on page 12 “Feature Selection
/temperature regulation”).
” the temperature display will show “ ”.
2. Touch the rapid cooking button “
the rapid cooking function is activated.
3. This time Top element+Grill+Bottom element+Fan simultaneously work to rapidly increase
the internal temperature of the oven to reach the selected temperature in a shorter
period of time.
” disappears. The“ ”
4. After rapid heating to reach the set temperature,Icon “
is full grid logo.
5. Oven in step 1 settings continued heating.
Caution
Setting temperature lower than 100℃,you are unable to use the speedcook function .
Child Safety Device
To avoid tampering of operation while the oven is working, the child lock function has
been added to this oven series.
1. Touch “ ”button and hold for 5 seconds.
Time display area shows key icon “ ” , the appliance is locked.
”,
2. All the buttons are disabled after the child lock active, and the key icon“
keeps flashing, to show that machine is locked.
3. Touch and hold“ ”button for 5 seconds to unlock.
Caution
Child Safety Device can be used when the ON/OFF button in any positon
Li
ghting function
●Press “ ” to turn on/off the light when power on.
”
●Light will be automatically turn on while heating, touch key to turn off “
and re-turn on the light.
Caution
When select 20 ℃defrost function, the oven light used as a heating element and can-
not turn off. Lighting function can not be turned off while child safety device on.
Automatic shut-off feature
Each mode has a maximum working time, auto shut off function noted in the following
criteria:
Temperature Working Hours
20-120 °C 24h
121-200 °C 6 h
201-250 °C 4 h
When select oven cook time, its prior to the auto shut off function (assume that
set shut off temperature to 201℃-250℃, set cook time to 5 hours, so oven will
not auto shut off when working for 4hours, and keep working when reach 5
hours).
When functions conflicts
●Use ON/OFF switch“ )and the
end of cooking time(“ ”
” turn off the oven, the cooking time(“ ”
) will be cancelled.
”,it will continue.
●Change the temperature setting during working, time count down stop, press“
●Press several keys at the same time, functions will not operate.
●Change the function during working, time count down will stop.
Caution!
When use touch control, to get the best result, touch the displays softly and
quickly, unless the manual specifically gives alternative directions.
Tips: Make sure your finger and buttons both dry and cool.
How to operate the oven
” turn on the oven.
”or “ ” to select function.
1. Touch the button “
2. Touch button “
3. Touch button “ ”or “ ” to set temperature.
”
4. Touch ON/OFF button to switch off the oven“
Function selection / Temperature regulation
1.Touch ON/OFF button“ ” to switch on the oven.
2. Heat program display empty “ ” .
3.Touch button“ ”or“ ” to select function.
4. A suggested temperature will appear on display and blinking when function selected.
5. Touch button “ ”or “ ” to set the temperature.
6. Touch “ ”to confirm the selected temperature.
7. Oven starts working.
Caution
●Never put food or tray on bottom of the oven.
●Keep children away.
●Set time before use.
●The temperature scope is 50℃- 250 ℃(defrost is 20℃- 60℃) .
●Long press“ ” and “ ” can speed up temperature setting.
Setting the time
This is a 24 hour clock, make sure to set the right time before first use.
The clock can be set when the ON/OFF button “ ” in OFF position.
1. Turn on the oven and the display will show “00:00”.
2. Touch clock button “
3. Touch “ ” or “
”, time display “12:00 ”,and “ ”keep flashing.
” to set time.
4. Touch button “ ” or button “ ” to confirm time, or will auto confirm
after 30 seconds.
” flashes on the display, and time
Timer
To set the timer you should:
1. Touch button“ ”until the timer “
2. Touch “ ”or “ ” to set time.
3. touch button“ ” to confirm.
4. The “ ” stop flashing, the time will begin to count down.
5. Alarm sounds when the set time has been reached, and the alarm icon“ ” will flash.
”,the alarm signal will go off. or it will be turned off6. Touch button “ ”, or “
automatically after 90 seconds.
7. If you want to cancel the timer, you can set the time to “ 0:00 ”.
Caution
●Always keep the control panel clean, or the grease may damage the touch panel.
●Touch panel need to be regular cleaned by soft cloth.
●I f alarm countdown time, cooking time, and clock functions are set up, the display will
show the alarm count down.
●The alarm time range is 1 second to 23 hours 55 minutes. Alarm is just to reminder, it
does not turn the oven off.
Semi-automatic operation
This mode is to set the oven cooking time, when time is reached, the oven will turn
off and a alarm sound will be heard.
Set the cooking time when ON/OFF button “ ” is on, and the oven is working:
1. Touch button“ ” twice, cooking time “ ” flashes, display shows “ 0:00 ”.
”or “ ” to set the cooking time .
2. Touch“
3. Touch “ ” to confirm, the cooking time“ ” lights on, time set saved.
4. Set cook time run out, oven stop heating, alarm sounds, the cooking time icon “ ”
and temperature icon both flashin
.g
,the alarm signal will go off. or it will be turned off
5. Touch button “ ”, or “ ”
automatically after period of time.
For example
Current time is “2:00”, set cook time to 1 hour, so oven stop heating when“ 3:00”.
Alarm sounds, the cooking time icon “ ” and temperature icon both flashing.
”,the alarm signal will go off or it will be turned off
Touch button “ ”, or “
autimatical after period of time.
6. If you want to cancel the cooking time, you can set the cooking time to “ 0:00 ”.
Automatic operation
Touch button “ ” to set end time only after set cook time.
Set end time when the ON/OFF button “ ” is on, oven is working, and cook
1. Touch button“ ”for 3 times, the end of cooking time icon“ ” flashing.
”or “ ” to set the end of cooking time.2. Touch“
3. Touch“ ” to confirm, the end of cooking time“ ” light on, setting is saved.
4. Oven stop heating when reach setting end time, alarm sounds, the cooking time “
" and temperature icon both flashing.
”, the alarm signal will go off or alarm signal will be turned
5. Touch button “ ”, or “
display “0: 00”.
time already se:t
off automatically after period of time.
For example
The current time is 2:00, set the cooking time to 1 hour, and set the end of cooking time to
“3:00”, if not adjust end of cooking time by “ ”, but touch“ ” to save, then the
oven will stop heating by “ 3:00 ” .
If you touch button“ ” to adjust the end of cooking time to“3:30” , and touch button“
”to save ,
then the
oven start working at “ 2:30”and stop at “ 3:30”
Caution
End of the work time priority display than the current time
We suggest that you supervise the first few cooks to make sure time temperature are right.
Then you can make adjustment to avoid over or insufficient cook.
Cooking time range: 0 < t < 24 hours
End of cooking time range: current time < end of cooking time ≤ current time
+ waiting time + cooking time
End of cooking time = current time + waiting time + cooking time
The cooking time、waiting time and end of cooking time range:
Oven
Possible settings of the oven function knob
Bottom and top elements on
Setting the knob to this position allows the oven to be heated conventionally.
Bottom element
At this oven function knob position, the oven activates the bottom heater.
Full Grill
(Grill and the top element)
When the "combined grill" is active the entire top element is in use. This function
allows a higher temperature at the top of the cooking area, which causes more
intense browning of the dish and permits larger portions to be grilled.
Warning!
When using function Grill it is required that the oven door is closed. Warning!
When the grill is in use accessible parts can become hot. It is best to keep children
away from the Oven.
Fan, bottom and top elements on
At this knob position the oven executes the cake function. Conventional oven with a
fan. Caution!
When the functions with fan have been selected but the temperature knob is set to
zero only the fan will be on. With this function you can cool the dish or the oven
chamber.
Circular fan element on
At this function, allows the oven to be heating up in a forced way with the thermos-
fan, which is in the central part of the oven chamber.
Heating the oven up in this way permits even heat circulation around the dish in the
oven. The advantage of this heating method is:
Reduction of overheating-up time and of the initial heating stage. Possibility to bake at
two cooking levels simultaneously.
Reduction in the amount of fats and juices coming out of meat dishes, which
results in an improvement in taste.
Fan (Defrost)
At this function, only the fan and light work. You can cool the dish or the oven
chamber or defrost food.
Circular Fan and bottom elements on
This operates the fan oven with the convection element and the
bottom element allowing for cooking with increased temperature from the bottom
of the dish when using shelf position 3 or 4. Set the oven
operation knob to the function and the default temperature of 220 is displayed.
You
can adjust the temperature.
Fan and bottom element on
At this oven function, the oven actives the bottom heater and fan function.
The mode is useful for baking loe pastry and preparation of preserved fruit
and
vegetables.

P\Pyrolytic Function
This oven can clean itself by a process known as pyrolysis, heating the cavity to a
temperature of approximately 430˚C. This will burn off the residue from spattering and
spillages caused by cooking. Pyrolytic programmes should be used when the oven
smokes during preheating or cooking or if the oven smells even when cold.
It is not necessar
y to run a pyrolytic programme after every use of the oven.
Do not wait until the oven is coated in grease to run a pyrolytic programme.
The smoke produced by pyrolysis is broken down by passing through a catalyser.
Please note: Before selecting pyrolytic programme, remove all shelves, trays and
other accessories from the oven and clean up any major spills to avoid the risk of fire
or excessive smoke.
Do not hang towels or cloths on the oven handle during pyrolysis.
The programme immediately locks the door and starts the cooling fan at a slow
setting; the cooling fan speed increases to its maximum when the oven heat builds
up.
Note: This function has an added safety feature to prevent it from being selected
accidentally. To run the pyrolytic function, select “Pyrolytic” function on the
“Function Sel
ector Display”, Then touch the “ ” key to confirm the selection.
Economy Grill (variable)
Use the economy grill to grill or brown mall amounts of food. Locate the grill
pan in the 4th or 5thshelf position. Pre-heat the grill for 5 minutes before use .
Warning! When the grill is in use accessible parts can become hot. It is best to
keep children away from the oven.
Fan grill element
The oven actives the grill top heater and fan function. In practice, this function
allows the grilling process to be speeded up an improvement in the taste of
dish, you should only use the grill with the oven door shut.
5
Other manuals for PRSO110
1
Table of contents
Other Prima Oven manuals

Prima
Prima PMO26H User manual

Prima
Prima LPR 9020 User manual

Prima
Prima LPR802 User manual

Prima
Prima LPR808 User manual

Prima
Prima LPR 9022 Operating and installation instructions

Prima
Prima PRSO202 Owner's manual

Prima
Prima PRSO103 User manual

Prima
Prima PRSO301 User manual

Prima
Prima PRSO106 User manual

Prima
Prima LPR806 User manual


