5
Warning
To prevent serious injury, electrical shock or fire:
• Do not operate with bottom plate removed.
• Keep away from rain and moisture.
• Always disconnect all cable connections to and from preamplifier before changing fuses and/or
tubes.
• Do not replace fuses with any fuse other than the same type and rating as used by the factory.
• Do not replace tubes without reading instructions.
• Do not replace fuses or tubes if you have any doubt about your ability to do so. We accept no
responsibility for any personal or material damage due to incompetent use or users.
Package Contents
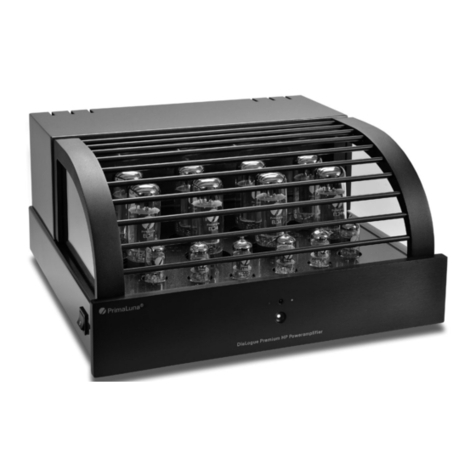
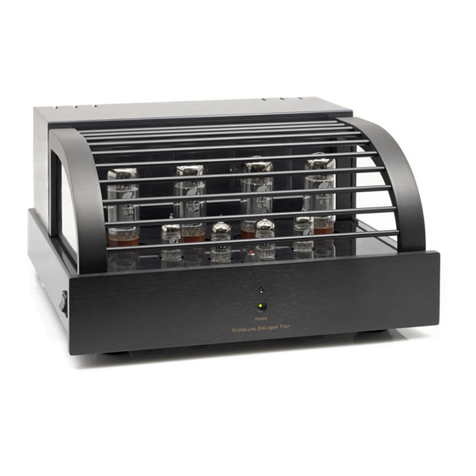
DiaLogue Three Preamplifier.................................... 1
Power Cord.......................................................................................... 1
This Owner's Manual ............................................................ 1
White Gloves .................................................................................... 1 pair
Tube Complement..................................................................... 2 x 5AR4
4 x 12AU7
Main Fuse ............................................................................................. 1 x Littelfuse® 213 Series 1A Slo-Blo® 5 x 20 mm fuse for
100-120VAC and Littelfuse® 213 Series 0.5A Slo-Blo®
5 x 20 mm fuse for 200-240VAC
Heavy Metal System Remote Control......... 1
Initial Setup
• Carefully remove the DiaLogue Three from its packaging. Use the white gloves to prevent
fingerprint smudges.
• Remove the tube cage by carefully pulling it up and away from the preamplifier.
• Remove the protective foam surrounding the tubes.
• Tubes are already installed. Check that each tube is firmly seated in its socket. Use gloves.
• Replace cage back in its place if desired.
• Check to see the power switch is off (down).
• Connect each source to the corresponding plugs.
• Connect output of preamp with input of poweramp.
• Connect your speaker wires, positive to positive, negative to negative, to your power amp.
• Plug the powercords into the preamplifier and amplifier, then into the wall sockets.
• Switch the preamplifier on; the main outputs will be muted for 30-60 seconds while the tubes
warm up.
• Switch the poweramplifier on when the mute of the preamp is released.
• The tubes will be warmed up and ready to use in about 30 seconds. Other parts (capacitors) will
need more time to sound at their best, specially the first time you use the preamplifier.
PrimaLuna®DiaLogueThree
12
Troubleshooting
Some tips:
• No output. Power is on, but power LED is off and tubes do not light up.
Mains fuse is out. Replace fuse as per instructions on page 11.
• No output. Power LED is on and tubes do light up normally.
Check if preamp comes out of MUTE after 30-60 seconds.
Check input selector setting, input and output wiring; if all seems to be OK check power amplifier.
• Noise coming from one channel.
Noisy tube. First swap the 12AU7 tubes left to right. If noise follows tube swap, than you have
found the problem tubeset. Now swap 1 by one from left to right. If noise follows, you have found
the problematic tube.
• Hum coming from one channel.
Check rectifier tube 5AR4: swap L to R, if hum follows tube then replace faulty tube.
• Noise/distortion coming from both channels.
Tubes may be in need of replacement. Read page 10 for tube basics and replacement options.
If you try these possible solutions and problems persist, contact us or your local distributor for further
investigation.
Tube Selection
While matched tubes are not a requirement, it is still recommended if you want to get the very best
results. You can get the very best in replacement tubes as well as rare vintage NOS (New Old Stock)
tubes from us and other parties if you wish to upgrade. In the USA, Upscale Audio's inventory of New
Old Stock tubes is the largest you can find. Elsewhere, independent suppliers can assist you to make
your best choice.
PrimaLuna®DiaLogueThree


