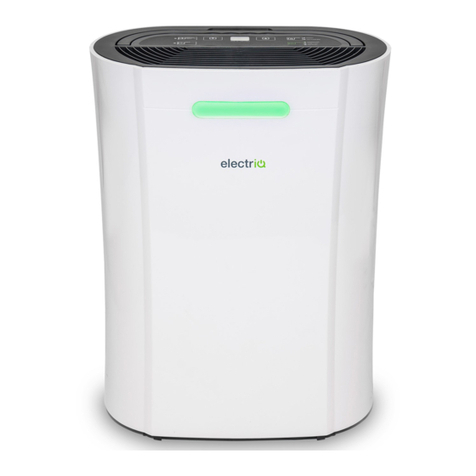
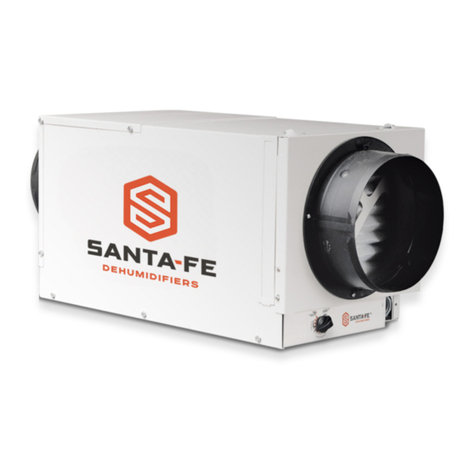
PrimeAire PA7010E User manual

770-821-6204
Model: PA7010E & PA5010E

TABLE OF CONTENTS
Dehumidier Safety
Installation Requirements
Electrical Requirements
Location Requirements
Dehumidier Use
Setting the Controls
Draining the Dehumidier
Normal Sounds
Dehumidier Care
Cleaning the Air Filter
Cleaning the Dehumidier
Troubleshooting
3
3
3
4
4
5
7
9
9
10
10
11
2

INSTALLATION REQUIREMENTS
Electrical Requirments
Recommended Grounding Method
This dehumidier must be grounded. This dehumidier is
equipped with a power supply cord having a 3-prong
grounding plug. The cord must be plugged into a mating,
grounding 3-prong outlet, grounded in accordance with
all local codes and ordinances. If a mating outlet is not
available, it is the customer’s responsibility to have a
properly grounded 3-prong outlet installed by a qualied
electrical installer.
It is the customer's responsibility:
To contact a qualied electrical installer.
To assure that the electrical installation is
adequate and in conformance with Nation
Electrical Code, ANSI/NFPA 70-last edition,
and all local codes and ordinances.
Copies of the standards listed may be obtained from:
Nation Fire Protection Association
1 Battery march Park
Quincy, MA 02169-7471
Please recycle or dispose of the packaging material for product in an environmentally responsible manner.
DEHUMIDIFIER SAFETY
Your safety and safety of others are very important
We have provided many important safety messages in this manual and on your appliance. Always
read and obey all safety messages.
You can be killed or seriously injured if you do not
immediately follow instructions.
This is the safety alert symbol.
This symbol alerts you to potential hazards that can kill or hurt you and others. All
safety messages will follow the safety alert symbol and either the word “DANGER”
or “WARNING”.
These words mean:
You can be killed or seriously injured if you
do not follow instructions.
All safety messages will tell you what the potential hazards are, tell you how to reduce the chance of injury, and
tell you what can happen if the instructions are not followed.
3
DISPOSING OF THE UNIT
Before disposing of the remote control, it is necessary to remove the batteries and dispose of them in an
environmentally responsible manner.
When you need to dispose of the unit, consult with your local recycling center for information on how to dispose
of the unit in anenvironmentally responsible manner.
IMPORTANT SAFETY INSTRUCTIONS
WARNING: To reduce the risk of re, electrical shock ,injury or sickness when using your dehumidier , follow these
basic precautions:
• Plug into a grounded 3 prong outlet.
• Do not remove ground prong.
• Do not use an adapter.
• Do not use an extension cord.
• Unplug dehumidier before servicing.
• Do not drink water collected in the water bucket
SAVE THESE INSTRUCTIONS

Location Requirments
NOTE: Your model may dier from the one shown.
Do not block the louvers.
Allow at least 12”to 18” (30.5 cm to 45.7 cm) of airspace on the
side of the dehumidier for models with side louvers and above
the dehumidier for models with top louvers.
You will need a surface strong enough to support the dehumidier
when its bucket is full of water.
You will need a surface level enough to keep the water from spilling
when the bucket is full of water.
Keep all outside doors, windows and other openings closed when
you are operating the dehumidier. Humid outdoor air will increase
the dehumidier workload.
Install the dehumidier in an area where the temperature will be at
least 38°F (3°C). Lower temperatures will cause your performance
to decrease.
Dehumidier Use
4

5
The deicer will turn o the compressor if
a low temperature condition exists. Pressing
the desired humidity button or the plus or
minus arrow button will not increase or
decrease the amount of moisture removed.
When the deicer senses the correct operating
temperature, the compressor will cycle back on.
Normal - Will operate the dehumidier at
the selected fan speed and desired humidity.
If the humidity level of the room is higher than
the desired humidity setting, the compressor
will turn on. If the humidity level of the room is
lower than the desired humidity setting, the
compressor will turn o.
Continuous - Will operate the dehumidier
continuously. The Fan Speed can be adjusted.
The Desired Humidity cannot be adjusted. The
LED display will show the room humidity level.
Auto Dry - Will operate the dehumidier only in
the dry mode. Auto Fan Speed is set automatically.
The desired humidity is set to 50% automatically.

6

7
If you plan to run your dehumidier continuously,
you may want to attach a garden hose to the drain
hose connector.
1. Turn the connector cover counter clockwise to
remove it.

8

9

10
a
Cleaning the dehumidifier
Cleaning the air filter

11
112912 1
TROUBLESHOOTING
Is the dehumidier turned on?
Turn on the dehumidier.
Is the power cord plugged into a grounded
3 prong outlet?
Plug into a grounded: 3 prong outlet.
See Electrical Requirements.
Has a household fuse blown, or has a circuit
breaker tripped?
Replace the fuse or reset the circuit breaker.
If the problem continues, call an electrician.
See "Electrical Requirements.”
Is the bucket installed properly?
Reinstall the bucket so that it ts all the way
into the dehumidier.
Does the bucket need to be emptied?
Empty the bucket.
Is the water level oat in place?
Remove the bucket. Make sure the oat is
snapped in place. Reinstall the bucket.
All models have an automatic deicer that will
shut o the compressor and allow the fan to
run. This reduces the ice buildup on the coils.
The compressor will cycle back on when
the deicer senses the correct operating
temperature.
All models have an automatic deicer that
will shut o the compressor and allow the
fan to run. When the deicer senses the
correct operating temperature, the
compressor will cycle back on.
Is the control set to Continuous Run?
If you have selected Continuous Run, the
dehumidier will run continuously. If the
humidity level is low, little or no water may
be collected.
The lter is dirty or obstructed by debris.
Clean the lter.
Dehumidier will put out warm air under
normal operating conditions.
This manual suits for next models
1
Table of contents
