Pro-Lift G5Z User manual


ThankyouforpurchasingaPro‐LIFTG5Z.ThePro‐LIFTproductlineisdesignedtoenhanceyour
interactivewhiteboardsandprojectorsorLCD.Pleasefollowallassemblyinstructionscorrectlyto
provideoptimaluse.
OnlyaqualifiedcontractorshouldinstallthePro‐LIFTG5Z.Ifyoudonotunderstandanyoftheassembly
instructions,pleasecontactyourlocalre‐sellerorvisitwww.proliftstand.com.
IMPROPERINSTALLATIONCANCAUSEDAMAGETOYOURPro‐LIFTANDLEADTOSERIOUSPHYSICAL
INJURY.JOROManufacturingcannottakeanyresponsibilityfordamageorinjuryresultingfrom
improperinstallation.
DonotoperatePro‐LIFTG5Zifthereareanyobstructionsbeloworabovethe
board.Doingsomaycauseunitmalfunctionorleadtoseriousphysicalinjury.
ThesuppliedmountinghardwareisforuseonthePro‐LIFTstandsonly.Ifyouencounteranyproblems
orinsufficienthardwareduringinstallation,pleasecontactyourlocalre‐seller.

16x
M6 x 14mm Socket Cap Screw
Wing Nut - 10-24
4x
5/32" Allen (Hex) Key
1x
ProLift G5ZL ASSY Instructions : 0.007
JORO Button Head
5x
5/16 Hex Nut
8x
3/16" Allen (Hex) Key
1x
5/16x1" Button Head
4x
LCD Mount Fastener Kit
G5ZL Main Frame Kit
ZLT Kit
(ONLY available with Accessories)
6x
Cable Tie Mount
1x
Handle
Thread-Cutting Screw (8-32 x 1/4" Lg.)
6x
Thread-Cutting Screw (8-32 x 1/2" Lg.)
2x
5/16" Washer
4x
2x
M6 x 20mm Socket Cap Screw
Low Profile
5/32" Allen (Hex) Key
1x 3/16" Allen (Hex) Key
1x
Tube End Cap
4x
M6 x 10mm Countersunk Screw
4x
1/4" Washer
2x
COPYRIGHT 2014
www.proliftstand.comwww.joromfg.com

For ease of installation, do this step while Pro-LIFT G5Z is lying down
Mount the Pro-LIFT G5Z Feet
Be sure to NOT over tighten
ProLift G5ZL ASSY Instructions : 0.007
M6 x 14mm Socket Cap Screw
Be sure to use the M6 x 14mm Socket Cap Screws provided
COPYRIGHT 2014
www.proliftstand.comwww.joromfg.com
1

ProLift G5ZL ASSY Instructions : 0.007
Pro-LIFT PRO-LIFT LCD ARM
Pro-LIFT PRO-LIFT LCD ARM
5/16x3/4" SILVER Button Head
5/16x3/4" SILVER Button Head
Remove the 5/16x3/4" SILVER Button Heads and unhook the
Pro-LIFT LCD Arm
Be sure to NOT misplace the 5/16x3/4" SILVER Button Heads
Pro-LIFT G5Z-ACC-LUPR RIGHT
Pro-LIFT G5Z-ACC-LUPR LEFT
COPYRIGHT 2014
www.proliftstand.comwww.joromfg.com
2

M6 x 14mm Socket Cap Screw
G5Z-ACC-LUPR LEFT
Mount the Pro-LIFT G5Z-ACC-LUPR
Be sure to use the M6 x 14mm Socket Cap Screws supplied
Be sure to NOT overtighten
G5Z-ACC-LUPR LEFT
G5Z-ACC-LUPR RIGHT
ProLift G5ZL ASSY Instructions : 0.007
COPYRIGHT 2014
www.proliftstand.comwww.joromfg.com
3

ProLift G5ZL ASSY Instructions : 0.007
5/16x1" Button Head
5/16x1" Button Head
5/16 Hex Nut
5/16 Hex Nut
5/16 Hex Nut
5/16x1" Button Head
G5-ACC-PT5
5/16x1" Button Head
5/16x1" Button Head
5/16 Hex Nut
5/16 Hex Nut
5/16 Hex Nut
5/16 Hex Nut
5/16x1" Button Head
5/16x1" Button Head
Fasten the 5/16x1" Button Head Screws to the G5-ACC-PT5
G5-ACC-PT5
Tube1020 End Cap
Tube1020 End Cap
Tube1020 End Cap
Tube1020 End Cap
Use rubber mallet to knock Tube1020 End Caps into place
Be sure to NOT over tighten
When fastened end result should resemble this
5/16 Hex Nut 5/16x1" Button Head
COPYRIGHT 2014
www.proliftstand.comwww.joromfg.com
4

600 VESA
800 VESA
600 VESA
400 VESA
200 VESA
200 VESA
400 VESA
800 VESA
Be sure to use the appropriate fasteners as specified in the LCD owners manual
Be sure to NOT over tighten
LCD Fastener from
LCD TV Kit provided
G5-ACC-PT5
G5-ACC-PT5
Fasten the G5-ACC-PT5 to your LCD (not included) using the
fasteners from the LCD TV Kit
ProLift G5ZL ASSY Instructions : 0.007
Please use the appropriate mounting holes for your
LCD (not included) as shown above
COPYRIGHT 2014
www.proliftstand.comwww.joromfg.com
5

ProLift G5ZL ASSY Instructions : 0.007
G5-ACC-PT5
PRO-LIFT LCD ARM
PRO-LIFT LCD ARM
5/16 Hex Nut
5/16" Washer Narrow
5/16 Hex Nut
5/16" Washer Narrow
5/16 Hex Nut
5/16" Washer Narrow
5/16 Hex Nut
5/16" Washer Narrow
G5-ACC-PT5
DO NOT COMPLETELY TIGHTEN! Allow for PRO-LIFT LCD ARM alignment
Be sure to use the fasteners supplied
Mount the Pro-LIFT LCD Arms prior to hanging on the Pro-LIFT G5Z main frame
Mount the Pro-LIFT LCD Arms to the G5-ACC-PT5 tubes
COPYRIGHT 2014
www.proliftstand.comwww.joromfg.com
6

Be sure to hang on all four (4) pins on uprights
Hang the LCD assembly
Pin
Pin
G5Z-ACC-LUPR RIGHT
G5Z-ACC-LUPR LEFT
G5Z-ACC-LUPR RIGHT
G5Z-ACC-LUPR LEFT
ProLift G5ZL ASSY Instructions : 0.007
COPYRIGHT 2014
www.proliftstand.comwww.joromfg.com
7

ProLift G5ZL ASSY Instructions : 0.007
5/16x3/4" SILVER Button Head
5/16x3/4" SILVER Button Head
5/16 Hex Nut
5/16 Hex Nut
Be sure to use the 5/16x3/4" SILVER Button Head Screws that were removed earlier
Tighten all 5/16 Hex Nuts
Secure Pro-LIFT LCD Arms to G5ZL Uprights
Be sure to NOT over tighten
COPYRIGHT 2014
www.proliftstand.comwww.joromfg.com
8

Thread-Cutting Screw (8-32 x 1/4" Lg.)
Handle
Be sure to use the Thread-Cutting Screw (8-32 x 1/4" Lg.)
Fasten the Handle
Be sure to NOT over tighten
ProLift G5ZL ASSY Instructions : 0.007
G5Z Main Support
G5Z Upright (G5ZL UPRIGHT)
G5Z-ACC-LUPR LEFT
G5Z Upright (G5ZL UPRIGHT)
G5Z-ACC-LUPR RIGHT
Cable Tie Mount
Thread-Cutting Screw (8-32 x 1/4" Lg.)
Thread-Cutting Screw (8-32 x 1/4" Lg.)
Cable Tie Mount
Be sure to use the Thread-Cutting Screw (8-32 x 1/4" Lg.)
Fasten the Cable Tie Mounts (Wire Management)
Be sure to NOT over tighten
Mounting holes provided on both G5Z Uprights and
G5Z Main Support
G5Z Main Support
Cable Tie Mount
Thread-Cutting Screw (8-32 x 1/4" Lg.)
G5Z Upright (G5ZL UPRIGHT)
G5Z-ACC-LUPR RIGHT
COPYRIGHT 2014
www.proliftstand.comwww.joromfg.com
9


Page Left Blank On Purpose

G
5
(
(
L
5
Z-
A
Ordere
d
L
aptop
A
C
C
d
sepa
r
not inc
l
C
-T
L
r
ately)
l
uded)
L
T

ProLift G5ZL ASSY Instructions : 0.007
M6 x 20mm Socket Cap Screw
1/4" Washer
G5Z-ACC-LTA
For ease of installation, mount the G5Z-ACC-LTA first
Be sure to use the M6 x 20mm Socket Cap Screw and
1/4" Washers from the ZLT Kit
Be sure to NOT over tighten
Mount the Laptop Tray (if ordered with your product)
G5Z-ACC-TLT
JORO Button Head
G5Z-ACC-LTA
Mount the G5Z-ACC-TLT
Be sure to use the JORO Button Head Screws provided
in the ZLT Kit
COPYRIGHT 2014
www.proliftstand.comwww.joromfg.com

Page Left Blank On Purpose

G
5
(
5
Z-
A
Ordere
d
A
C
C
d
sepa
r
C
-D
C
r
ately)
C
T

Be sure to NOT over tighten
Mount the Documetn Camera Tray (if ordered with your product)
Be sure to use the M6 x 20mm Socket Cap Screw and
1/4" Washers from the ZLT Kit
M6 x 20mm Socket Cap Screw
1/4" Washer
G5Z-ACC-LTA
For ease of installation, mount the G5Z-ACC-LTA first
Mount the Stamped Top Arm
Be sure to use the JORO Button Head Screws provided
in the ZLT Kit
Be sure to use the M6 x 10mm Countersunk Screws and
Wing Nuts provided in the ZLT Kit
Mount the G5Z-ACC-DCT
G5Z-ACC-DCT
G5Z-ACC-LTA
ProLift G5ZL ASSY Instructions : 0.007
M6 x 10mm Countersunk Screw
Wing Nut - 10-24
JORO Button Head
G5Z-ACC-DCT
Stamped Top Arm
COPYRIGHT 2014
www.proliftstand.comwww.joromfg.com

CUSTOMER SATISFACTION SURVEY
JOROManufacturingwouldliketoknowwhatyouthinkaboutourPro‐LIFTproductline,sowecan
continuetoprovideyouwithbestproduct/servicewecan.Pleasehelpusbytakingafewmomentstofill
outthesurveybelow.
1. Whatarethetwothingsyoulikemostaboutourproduct/service?
..........................................................................................................
..........................................................................................................
2. Wouldyourecommendourproduct/servicetoafriend?
YesNo
3. Ifso,whatreasonwouldyougivethemfortherecommendation?
..........................................................................................................
..........................................................................................................
..........................................................................................................
4. Haveyouboughtotherproducts/serviceslikeours?
Yes(Pleasegivedetails).............................................................
No.............................................................................................
5. Whydidyoubuythoseparticularproducts/services?
..........................................................................................................
..........................................................................................................
6. Whydidyoustopbuyingthoseproducts/servicestobuyours?
..........................................................................................................
..........................................................................................................
7. Onascaleof1to10,with1beingnotatallsatisfiedand10extremelysatisfied,wherewould
yourankyourexperiencewithourproduct/service?(Pleasecircleone)
12345678910
Thankyou.NowpleasereturnthecompletedsurveytoJOROManufacturing:
JOROManufacturingLtd.
48EastLakeGreenNE
Airdrie,AB,Canada
T4A2J2
Oremail:[email protected]
This manual suits for next models
1
Table of contents
Popular Outdoor Cart manuals by other brands
Children's Factory
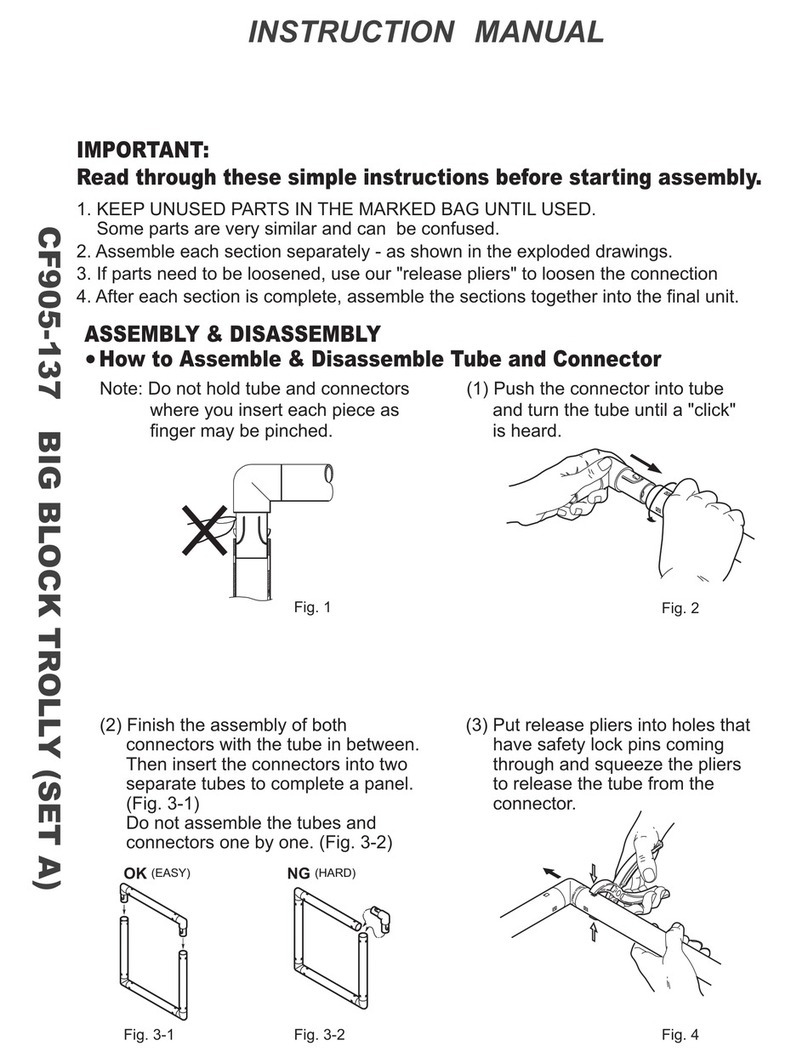
Children's Factory CF905-137 instruction manual

IES
IES Keywatt 19 user manual

Agri-Fab
Agri-Fab Poly Lawn Cart 45-02264 owner's manual
Harper
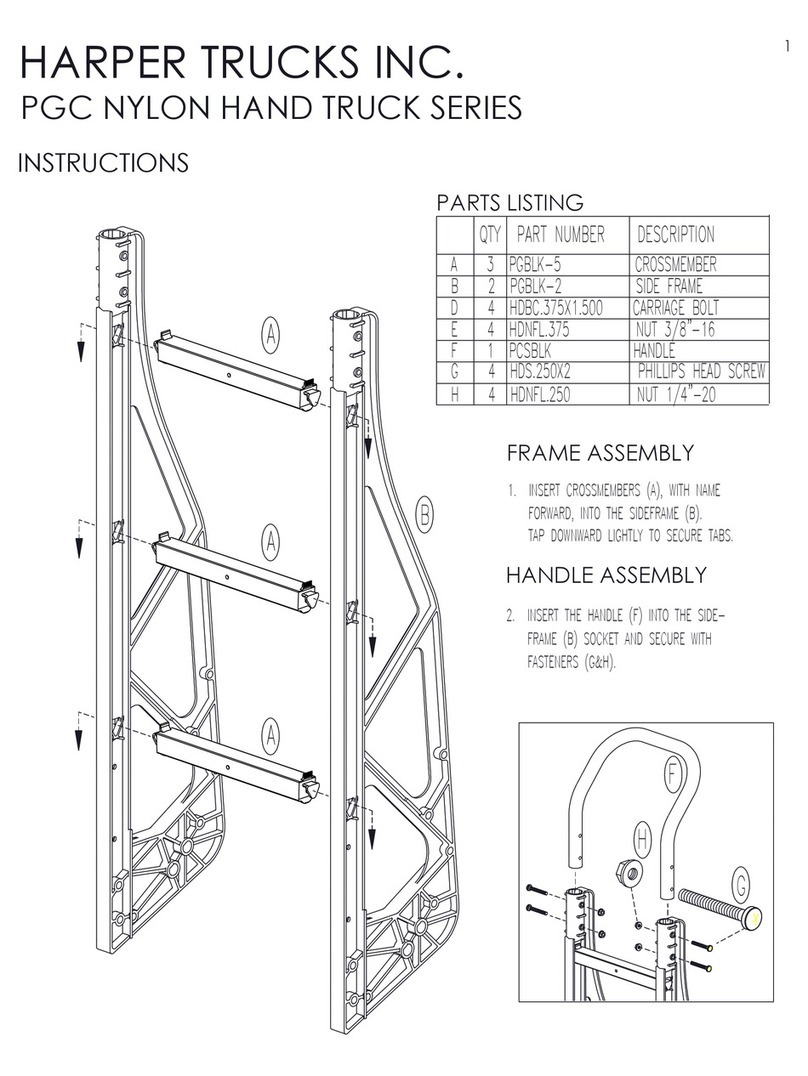
Harper PGC NYLON HAND TRUCK Series instructions
DECK DOLLY
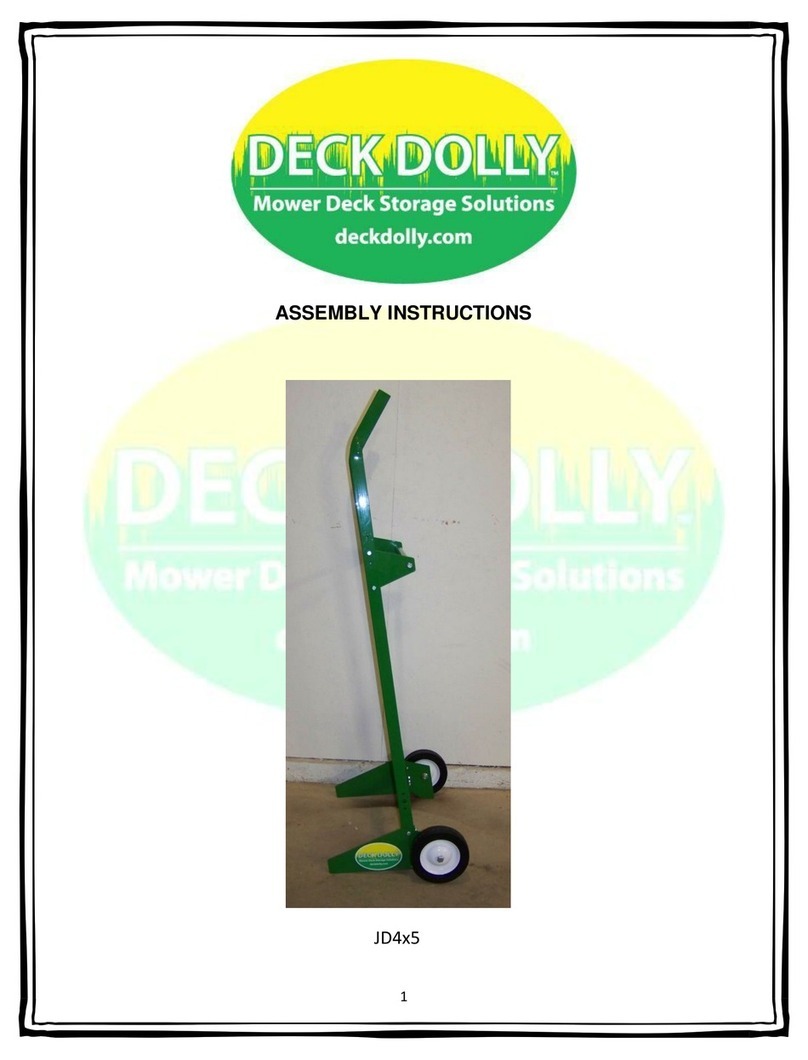
DECK DOLLY JD4 5 Series Assembly instructions
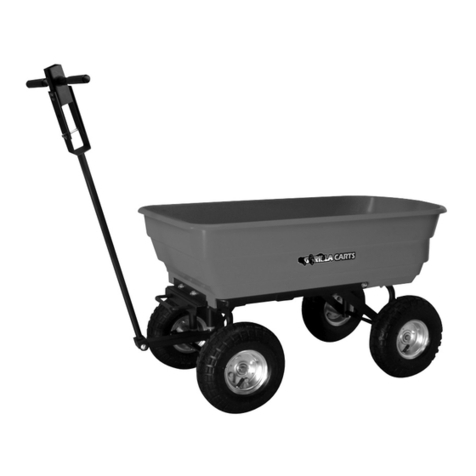
Gorilla Carts
Gorilla Carts GOR200-T owner's manual
